Page 89 of 308

88
ControlsControls overview
1.Push button 1 in the turn signal/high beam
lever up or down repeatedly until the appro-
priate symbol appears in the display,
accompanied by the time and the word
"SET".
2. Press button 2.
3. Use button 1 to set the hours.
4. Press button 2 to confirm the entry.
5. Use button 1 to set the minutes.
6. Press button 2 to confirm the entry.
7. Press button 2.
The system accepts the new time.
Via iDrive
1. Press the MENUbutton.
The main menu is displayed.
2. "Settings"
Setting the time
1."Settings"
2. "Time/Date"
3. "Time:"
4. Turn the controller until the desired hours
are displayed, and then press the controller.
5. Turn the controller until the desired minutes
are displayed, and then press the controller.
The time is stored.
Setting the time format
1. "Settings"
2. "Time/Date"
3. "Format:"
4. Select the desired format and press the
controller.
The time format is stored.
Setting time zone
1. "Settings"
2. "Time/Date"
3. "Time zone:"
4. Select desired time zone.
The time zone is stored.
Date
The settings are stored for the remote control
currently in use, refer also to Personal Profile on
page 30.
00320051004F004C00510048000300280047004C0057004C005200510003
Page 90 of 308

89
Controls overview
Controls
Setting the date
In the instrument cluster
To set the dd/mm or mm/dd date format, refer
to Setting the date format below.
1.
Push button 1 in the turn signal/high beam
lever up or down repeatedly until the appro-
priate symbol appears in the display,
accompanied by the date and the word
"SET".
2. Press button 2.
3. Use button 1 to set the day of the month.
4. Press button 2 to confirm the entry.
5. Set the month and the year in the same way.
6. Press button 2.
The system stores the new date.
Via iDrive
1. "Settings"
2. "Time/Date"
3. "Date:"
4. Turn the controller until the desired day is
displayed, and press the controller.
5. Create the necessary settings for the
month and year.
The date is stored.
Setting the date format
1. "Settings"
2. "Time/Date" 3.
"Format:"
4. Select the desired format.
The date format is stored.
Check Control
The concept
The Check Control monitors vehicle functions
and alerts you to any malfunctions in the sys-
tems monitored. Such a Check Control mes-
sage includes indicator and warning lamps in
the instrument cluster and, in some circum-
stances, an acoustic signal as well as text mes-
sages at the top of the Control Display.
Indicator and warning lamps
Indicator and warning lamps can light up in a
variety of combinations and colors.
Several of the lamps are checked for proper
functioning and light up temporarily when the
engine is started or the ignition is switched on.
00320051004F004C00510048000300280047004C0057004C005200510003
Page 91 of 308

90
ControlsControls overview
indicates that Check Control messages have
been stored. These Check Control messages
can be viewed again later, refer to page 91.
Text messages
Text messages at the upper edge of the Control
Display explain the meaning of the displayed
indicator and warning lamps.
Supplemental text messages
You can call up more in formation on the Control
Display, e.g. on the cause of a malfunction and
on how to respond, via Check Control.
The text of urgent messages is displayed auto-
matically.
To exit the display:
Select "OK" and press the Controller.
Symbols
Depending on the Check Control message, you
can select from among the following functions
in the supplementary text messages.
> "Service request"
Contact your BMW center. >
"Roadside Assistance"
Contact BMW Roadside Assistance.
Hiding Check Control messages
Press the button on the turn signal/high beam
lever.
> Some Check Control messages are dis-
played continuously and remain visible until
the malfunction has been rectified. If several
malfunctions occur at once, the messages
are displayed consecutively.
These messages can be hidden for approx.
8 seconds. After this, they are displayed
again automatically.
They are marked with the symbol
shown here.
> Other Check Control messages are hidden
automatically after approx. 20 seconds.
They are stored and can be displayed again
later.
They are marked with the symbol
shown here.
00320051004F004C00510048000300280047004C0057004C005200510003
Page 92 of 308

91
Controls overview
Controls
Displaying stored Check Control
messages
1.
Push button 1 in the turn signal/high beam
lever up or down repeatedly until the appro-
priate symbol appears in the display,
accompanied by the words "CHECK CON-
TROL".
2. Press button 2.
If there are no Check Control messages,
then "CHECK OK" is displayed.
If a Check Control message has been
stored, the corresponding lamp lights up. It
is accompanied by a text message on the
Control Display.
3. Push button 1 to check for other messages.
4. Press button 2.
The display again shows the outside tem-
perature and the time.
Via iDrive
1. "Vehicle Info"
2. "Vehicle status"
3. "Check Control"
4. Select the text message.
Speed limit
You can enter a speed, and a Check Control
message will indicate when you reach this
speed. This enables you, for example, to
receive warnings if you exceed a speed limit in
an urban area.
You are only warned of reaching this speed a
second time if your vehicle speed falls below it
again by at least 3 mph or 5 km/h.
Displaying, setting or changing the
limit
1."Settings"
2. "Speed"
3. "Warning at:"
4. Turn the controller until the desired speed
is displayed.
5. Press the controller.
The speed limit is stored.
Applying your current speed as the
limit
1. "Settings"
2. "Speed"
00320051004F004C00510048000300280047004C0057004C005200510003
Page 93 of 308
92
ControlsControls overview
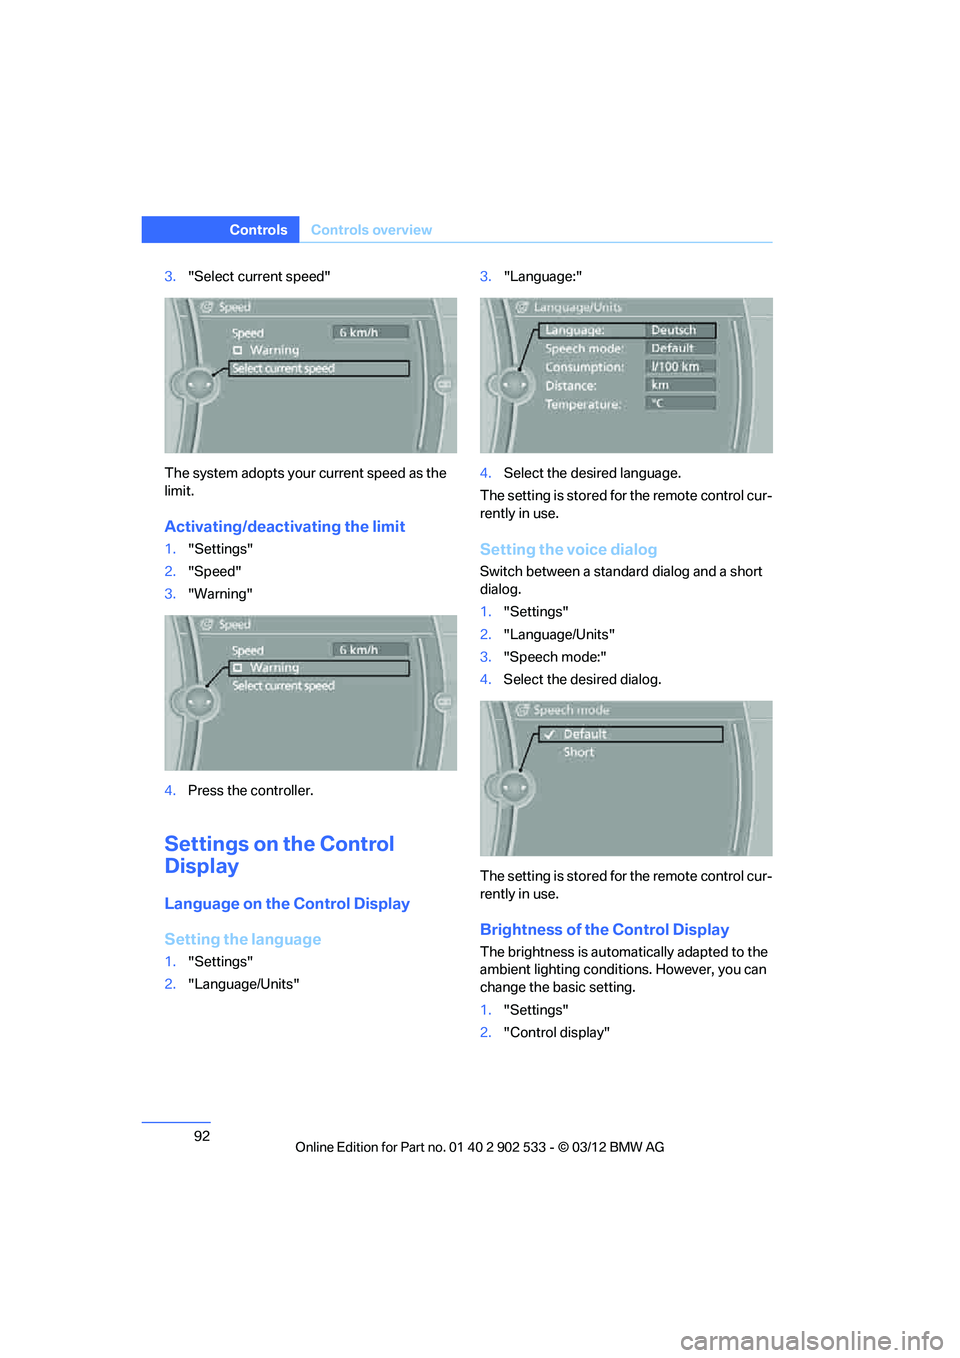
3."Select current speed"
The system adopts your current speed as the
limit.
Activating/deactivating the limit
1. "Settings"
2. "Speed"
3. "Warning"
4. Press the controller.
Settings on the Control
Display
Language on the Control Display
Setting the language
1."Settings"
2. "Language/Units" 3.
"Language:"
4. Select the desired language.
The setting is stored for the remote control cur-
rently in use.
Setting the voice dialog
Switch between a standard dialog and a short
dialog.
1. "Settings"
2. "Language/Units"
3. "Speech mode:"
4. Select the desired dialog.
The setting is stored for the remote control cur-
rently in use.
Brightness of the Control Display
The brightness is automatically adapted to the
ambient lighting conditions. However, you can
change the basic setting.
1. "Settings"
2. "Control display"
00320051004F004C00510048000300280047004C0057004C005200510003
Page 94 of 308
93
Controls overview
Controls
3.
"Brightness"
4. Turn the controller until the desired setting
is selected.
5. Press the controller.
The setting is stored for the remote control cur-
rently in use. In bright conditions, for example,
the brightness control may not be clearly visi-
ble.
00320051004F004C00510048000300280047004C0057004C005200510003
Page 95 of 308

94
ControlsTechnology for driving comfort and safety
Technology for driving comfort and safety
Vehicle equipment
In this chapter, all production, country, and
optional equipment that is offered in the model
range is described. For this reason, descrip-
tions will be given of some equipment that may
not be available in a vehicle, for example due to
the special options or national-market version
selected. This also applies to safety related
functions and systems.
Park Distance Control PDC
The concept
The PDC assists you with maneuvering in tight
parking spaces. Acoustic signals and a visual
indicator warn you of the presence of an object
in front of or behind your vehicle.To measure
the distance, there are four ultrasonic sensors
in either bumper.
These sensors have a range of approx. 6.5 ft/
2 m. However, an acoustic warning does not
sound until an object is approx. 24 in/60 cm
from the front sensors and rear corner sensors,
or approx. 5 ft/1.50 m from the rear center sen-
sors.
PDC is a parking aid that can indicate
objects when they are approached
slowly, as is usually the case when parking.
Avoid approaching an object at high speed; oth-
erwise, physical circumstances may lead to the
system warning being issued too late. <
Switching on automatically
With the engine running or the ignition switched
on, the system is activated after approx. one
second when you shift into reverse or move the
automatic transmission selector lever to
position R. Wait this short period before driving.
Switching off automatically
After approx. 160 ft/50 m of driving or above
approx. 20 mph or 30 km/h km/h, the system
switches off and the LED goes out.
Switching on manually
When parking in the forward direction, the sen-
sors must be switched on manually to enable
them to signal an approach to an object in front
of or behind the vehicle.
Press the button; the LED lights up.
Switching off manually
Press the button again; the LED goes out.
Signal tones
When nearing an object, its position is indicated
correspondingly by an interval tone. For exam-
ple, if an object is detected behind the vehicle,
the signal tone sounds from the rear. As the dis-
tance between vehicle and object decreases,
the intervals between the tones become
shorter. If the distance to the nearest object
falls to below roughly 1 ft/30 cm, then a contin-
uous tone sounds.
An interval tone is interrupted after approx.
3seconds
>If you remain in front of an object that has
been detected by only one of the corner
sensors
> If you are driving parallel to a wall.
00320051004F004C00510048000300280047004C0057004C005200510003
Page 96 of 308

95
Technology for driving comfort and safety
Controls
Malfunction
The warning lamp lights up. A mes-
sage appears on the Control Display.
PDC is malfunctioning. Have the sys-
tem checked.
To avoid this problem, keep the sensors clean
and free of ice or snow in order to ensure that
they will continue to operate effectively. When
using a high-pressure cleaner, do not spray the
sensors for extended periods of time and only
from a distance of at least 1 ft/30 cm.
Manual operation
The LED above the button also flashes.
PDC with visual warning
The approach of the vehicle to an object is
shown on the Control Display. Objects that are
farther away are displayed on the Control Dis-
play before a signal tone sounds. The display
appears on the Control Display as soon as PDC
is activated.
System limitations
Even with PDC, final responsibility for
estimating the distance between the
vehicle and any obstructions always remains
with the driver. Even when sensors are pro-
vided, there is a blind spot in which objects can
no longer be detected. The system is also sub-
ject to the physical limits that apply to all forms
of ultrasonic measurement, such as those
encountered with trailer towbars and hitches,
thin or wedge-shaped objects, etc. Low objects
that have already been displayed, e.g. curbs,
can disappear again from the detection area of
the sensors before or after a continuous tone
sounds. Higher, protruding objects, e.g. ledges,
cannot be detected. Therefore, always drive
cautiously; otherwise, there is a risk of personal
injury or property damage.
Loud sound sources outside or inside the car
can drown out the PDC signal. Therefore,
always drive cautiously; otherwise, there is a
risk of personal injury or property damage. <
Driving stability control
systems
Your BMW has a number of systems that help
to maintain the vehicle's stability even in
adverse driving conditions.
ABS Antilock Brake System
ABS prevents locking of the wheels during
braking. Safe steering response is maintained
even during full braking. Active safety is thus
increased.
The ABS is operational every time you start the
engine. Braking safely, refer to page138.
Electronic brake-force distribution
EBV
The system controls the brake pressure in the
rear wheels to ensure stable braking behavior.
Dynamic Brake Control DBC
When you apply the brakes rapidly, this system
automatically produces the maximum braking
force boost and thus helps to achieve the short-
est possible braking distance during full brak-
ing. This system exploits all of the benefits pro-
vided by ABS.
Do not reduce the pressure on the brake for the
duration of the full braking application.
Dynamic Stability Control DSC
DSC prevents the driving wheels from losing
traction when you pull away from rest or accel-
erate. The system also recognizes unstable
driving conditions, for example if the rear of the
car is about to swerve or if momentum is acting
at an angle past the front wheels. In these
cases, DSC helps the vehicle maintain a safe
course within physical limits by reducing engine
output and through braking actions at the indi-
vidual wheels.
The laws of physics cannot be repealed,
even with DSC. An appropriate driving
style always remains the responsibility of the
driver. Therefore, do not reduce the additional
00320051004F004C00510048000300280047004C0057004C005200510003