2013 BMW 335IS CONVERTIBLE remove seats
[x] Cancel search: remove seatsPage 50 of 308

49
Adjustments
Controls
Longitudinal adjustment from outside/
behind
To move the front seats forward or backward
from outside or from one of the rear seats: with
the door open, press the front end
1 or rear
end 2 of the switch.
Head restraints
Correctly adjusted head restraint
A correctly adjusted head restraint reduces the
risk of neck injury in the event of an accident.
Correctly adjust the head restraints of all
occupied seats; otherwise, there is an
increased risk of injury in an accident. <
Height
Adjust the head restraint so that its center is
approximately at ear level.
Distance
Adjust the distance so that the head restraint is
as close as possible to the back of the head.
Front active head restraints
In a rear collision of a sufficient strength, the
active head restraint reduces the distance to
the head. Do not use seat or head restraint covers
that could impair the function of the active
head restraint.
Do not hang any items, e.g. clothes hangers,
directly on the head restraints. Attach only
BMW approved accessories to the seat or head
restraint.
Otherwise, the protective function of the active
head restraint will not be ensured and its full
potential in reducing the risk of injury in the
event of a rear collision may not be realized.
In the event of faults, immobilization, or after the
active head restraints have been triggered,
have the testing, repair, or disassembly per-
formed only by your BMW center or a workshop
that has the required explosives licenses.
Unprofessional attempts to work on the system
could lead to failure in an emergency or to
undesired airbag activation, either of which
could result in personal injury.<
For technical reasons, the head restraint
cannot be removed. <
Coupe: front seats
Height adjustment
>To raise: pull up.
> To lower: press the button, arrow 1, and
slide the head restraint down.
00320051004F004C00510048000300280047004C0057004C005200510003
Page 51 of 308

50
ControlsAdjustments
Convertible: front seats
Height adjustment
>To raise: press the button upward.
> To lower: press the button downward.
Adjusting the distance to the back of
the head
>Forward: pull up.
> Back: press the button and push the head
cushion toward the rear.
Do not insert objects behind the head
cushion; otherwise, the head restraint
may not function properly. <
Coupe: rear seats
Height adjustment
>To raise: pull up.
> To lower: press the button, arrow 1, and
slide the head restraint down.
Removing
Only remove a head restraint if no one will be
sitting on the seat in question.
1. Pull up as far as it will go.
2. Press the button, arrow 1 , tilt the rear seat
backrest slightly forward and pull the head
restraint all the way out.
Entering the rear seats
Coupe: seat with manual longitudinal
adjustment
Easy entry
The easy entry feature includes a memory func-
tion for the longitudinal adjustment and back-
rest angle.
00320051004F004C00510048000300280047004C0057004C005200510003
Page 105 of 308

104
ControlsTechnology for driving comfort and safety
Malfunction
The warning lamp lights up. A mes-
sage appears on the Control Display.
Servotronic is malfunctioning or has
failed. Steering response will be different. You
can continue your journey, but moderate your
speed and exercise due caution. Have the sys-
tem checked as soon as possible.
Brake Force Display
On the left: normal braking.
On the right: sharp braking.
Airbags
The following airbags are located under the
marked covers:
1 Front airbags
2 Coupe: head airbags
3 Side airbags in the seat backrests
4 Convertible: knee airbags
Protective action
Observe the adjustment instructions on
page 46 to ensure the best possible per-
sonal protection. <
The front airbags help protect the driver and
front passenger by responding to frontal
impacts in which safety belts alone cannot pro-
vide adequate restraint. When needed, the
head and side airbags help provide protection in
the event of side impact. The relevant side air- bag supports the side upper body area. The
head air bag supports the head.
The airbags have been designed to not be trig-
gered in every collision situation, e.g. not in
minor accidents or rear-end collisions.
Do not apply adhesive materials to the
cover panels of the airbags, cover them or
modify them in any other way.
Keep the dashboard and windows on the front
passenger side clear, i.e. do not cover with
adhesive labels or coverings, and do not attach
holders such as for navigation instruments or
mobile phones.
Do not attach seat covers, cushions or other
objects not specifically approved for seats with
integral side airbags to the front seats. Do not
hang items of clothing such as coats or jackets
over the backrests. Do not attempt to remove
00320051004F004C00510048000300280047004C0057004C005200510003
Page 106 of 308

105
Technology for driving comfort and safety
Controls
the airbag retention system from the vehicle. Do
not modify the individual components of the
system or its wiring in any way. This includes
the upholstered covers on the steering wheel,
instrument panel, seats and roof posts, as well
as the sides of the roof lining. Do not attempt to
remove or dismantle the steering wheel.
Do not touch the individual components imme-
diately after the system has been triggered,
because there is a danger of burns.
In the event of faults, immobilization, or after the
airbag system has been triggered, have the
testing, repair, or disassembly and scrapping of
gas generators performed only by your BMW
center or a workshop that has the required
explosives licenses. Unprofessional attempts to
work on the system could lead to failure in an
emergency or to undesired airbag activation,
either of which could result in personal injury.
<
Warning notices and information about the air-
bags can also be found on the sun visors.
Automatic deactivation of the front
passenger airbags
An analysis of the impression in the front pas-
senger seat cushion determines whether and
how the seat is occupied. The front and side air-
bags for the front passenger are activated or
deactivated by the system accordingly. The indicator lamp above the interior
rearview mirror shows the current status
of the front passenger airbags, deactivated or
activated, refer to Status of front passenger air-
bags below. <
Before transporting a child on the front
passenger seat, read the safety precau-
tions and handling instructions under Trans-
porting children safely, refer to page 56.
The front and side airbags can also be deacti-
vated by adolescents and adults sitting in cer-
tain positions; the indicator lamp for the front
passenger airbags lights up. In such cases, the
passenger should change his or her sitting
position so that the front passenger airbags are
activated and the indicator lamp goes out. If the
desired airbag status cannot be achieved by changing the sitting posi
tion, transport the rele-
vant passenger on a rear seat. Do not attach
seat covers, seat cushion padding, ball mats or
other items to the front passenger seat unless
they are specifically recommended by BMW.
Do not place any items under the seat which
could press against the seat from below. Other-
wise, a correct analysis of the seat cushion is
not ensured. <
Status of front passenger airbags
The indicator lamp for the front passenger air-
bags shows the functional status of the front
passenger front and side airbags in accordance
with whether and how the front passenger seat
is occupied. The indicator lamp shows whether
the front passenger airbags are activated or
deactivated.
>The indicator lamp lights up when a child in
a specially designated child restraint sys-
tem is detected, as intended, on the seat.
The front and side airbags for the front pas-
senger are not activated.
Most child seats are detected by the
system, This particularly applies to
child seats that were required by NHTSA at
the time of manufacture of the vehicle. After
mounting a child seat, ensure that the indi-
cator lamp for the front passenger airbag is
lit. It indicates that the child seat has been
detected and that the front passenger air-
bags are deactivated. <
> The indicator lamp does not light up as long
as a person of sufficient size and in a correct
sitting position is detected on the seat.
00320051004F004C00510048000300280047004C0057004C005200510003
Page 130 of 308

129
Practical interior accessories
Controls
aging the seats. Depending on the vehicle
equipment, the mounting points for the trunk
net are found on the rear panel of the backrest.
To unlock the rear seat backrest: press the but-
ton on the driver's or the opposite side.
Closing
Return the rear seat backrest to the upright
seating position and engage it.
When returning the backrest to its seating
position, make sure that the seat's lock-
ing mechanism engages properly. Otherwise,
cargo could be thrown around in the event of
sharp braking or swerving and endanger the
occupants. <
Bag holder
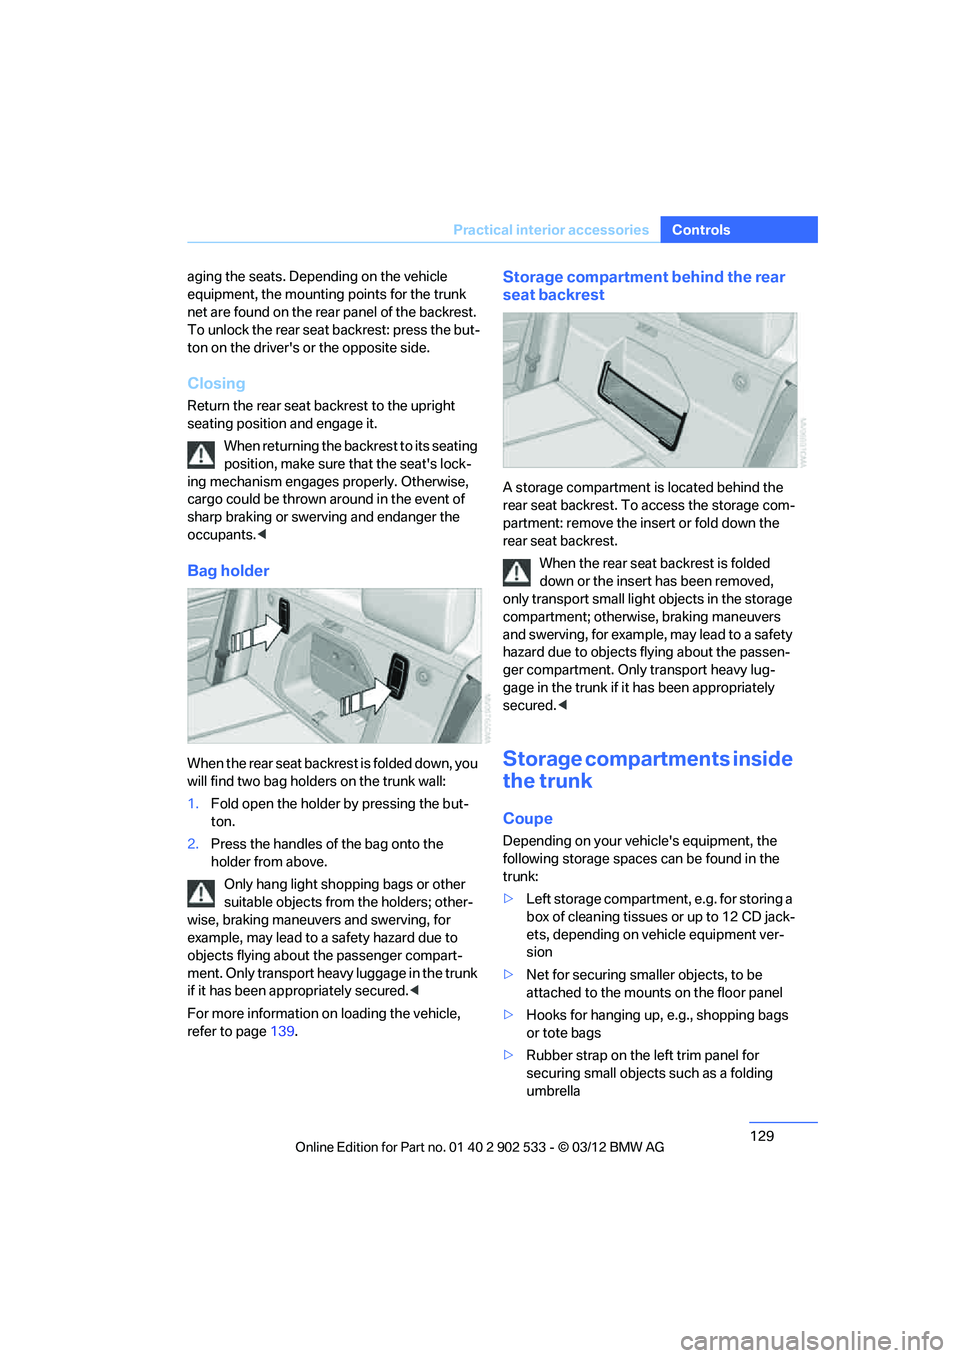
When the rear seat backrest is folded down, you
will find two bag holders on the trunk wall:
1.Fold open the holder by pressing the but-
ton.
2. Press the handles of the bag onto the
holder from above.
Only hang light shopping bags or other
suitable objects from the holders; other-
wise, braking maneuvers and swerving, for
example, may lead to a safety hazard due to
objects flying about the passenger compart-
ment. Only transport heavy luggage in the trunk
if it has been appropriately secured. <
For more information on loading the vehicle,
refer to page 139.
Storage compartment behind the rear
seat backrest
A storage compartment is located behind the
rear seat backrest. To access the storage com-
partment: remove the insert or fold down the
rear seat backrest.
When the rear seat backrest is folded
down or the insert has been removed,
only transport small ligh t objects in the storage
compartment; otherwise, braking maneuvers
and swerving, for example, may lead to a safety
hazard due to objects flying about the passen-
ger compartment. Only transport heavy lug-
gage in the trunk if it has been appropriately
secured. <
Storage compartments inside
the trunk
Coupe
Depending on your vehicle's equipment, the
following storage spaces can be found in the
trunk:
>Left storage compartment, e.g. for storing a
box of cleaning tissues or up to 12 CD jack-
ets, depending on vehicle equipment ver-
sion
> Net for securing smaller objects, to be
attached to the mounts on the floor panel
> Hooks for hanging up, e.g., shopping bags
or tote bags
> Rubber strap on the left trim panel for
securing small objects such as a folding
umbrella
00320051004F004C00510048000300280047004C0057004C005200510003
Page 133 of 308

132
ControlsPractical interior accessories
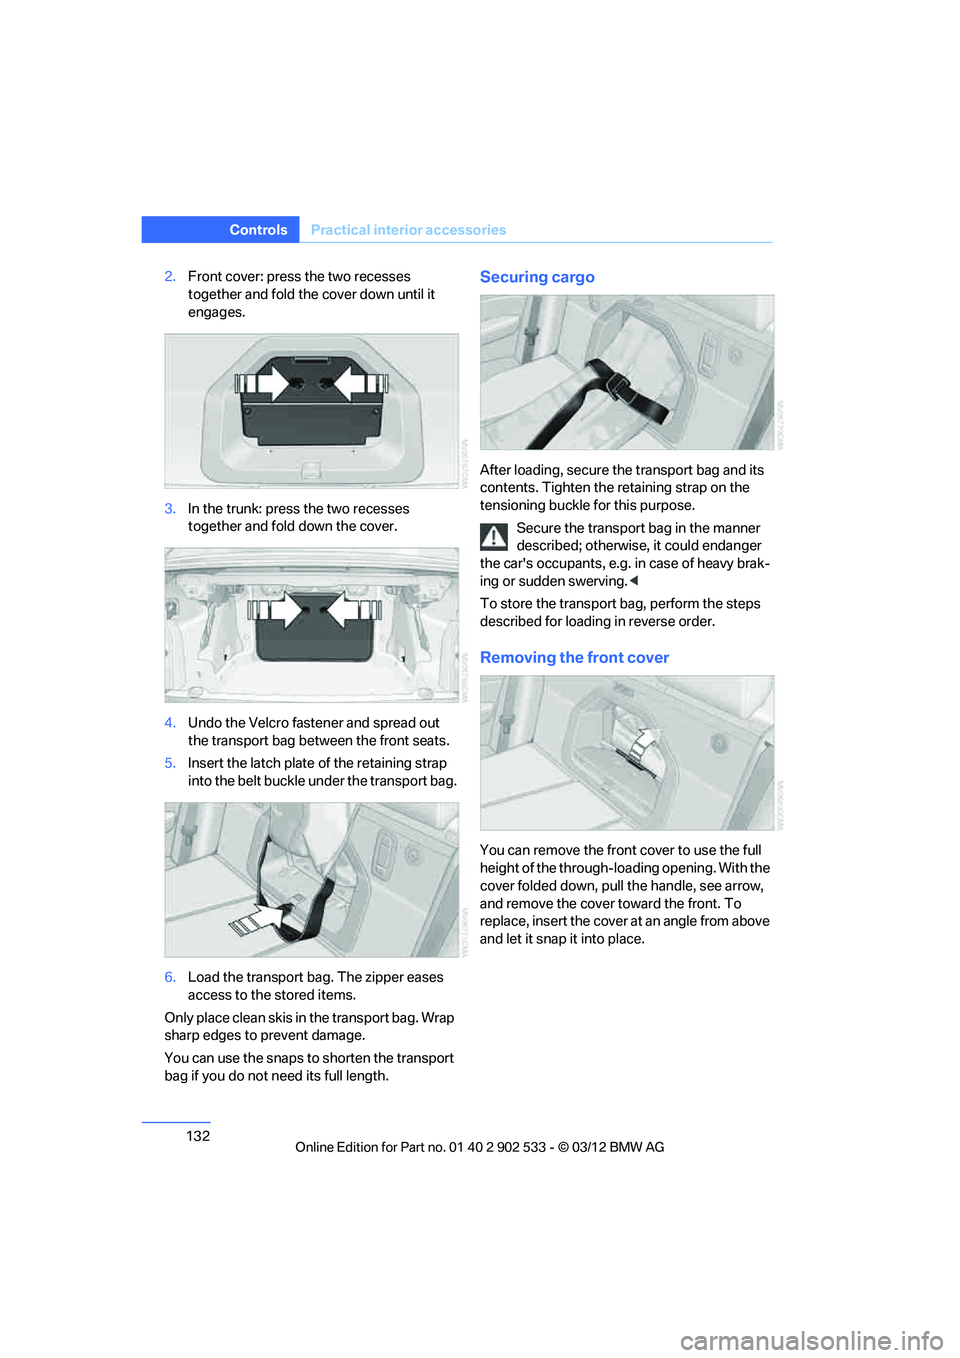
2.Front cover: press the two recesses
together and fold the cover down until it
engages.
3. In the trunk: press the two recesses
together and fold down the cover.
4. Undo the Velcro fastener and spread out
the transport bag between the front seats.
5. Insert the latch plate of the retaining strap
into the belt buckle under the transport bag.
6. Load the transport bag. The zipper eases
access to the stored items.
Only place clean skis in the transport bag. Wrap
sharp edges to prevent damage.
You can use the snaps to shorten the transport
bag if you do not need its full length.Securing cargo
After loading, secure the transport bag and its
contents. Tighten the retaining strap on the
tensioning buckle for this purpose. Secure the transport bag in the manner
described; otherwise, it could endanger
the car's occupants, e.g. in case of heavy brak-
ing or sudden swerving. <
To store the transport bag, perform the steps
described for loading in reverse order.
Removing the front cover
You can remove the front cover to use the full
height of the through-loading opening. With the
cover folded down, pull the handle, see arrow,
and remove the cover toward the front. To
replace, insert the cover at an angle from above
and let it snap it into place.
00320051004F004C00510048000300280047004C0057004C005200510003