2013 BMW 335IS CONVERTIBLE light
[x] Cancel search: lightPage 151 of 308

150
NavigationDestination entry
Deleting the last destinations
1."Navigation"
2. "Last destinations"
3. Highlight the destination.
4. Open "Options".
5. "Delete entry" or " Delete all last destina-
tions".
Special destinations
General information
Even with the most up-to-date navigation data,
information about certain special destinations
may have changed; for ex ample, filling stations
may not be in operation.
Opening the search for special
destinations
1. "Navigation"
2. "Points of Interest"
The search can be narrowed by entering the
location and type of special destination.
Searching online
1. "Google™ Local Search"
2. Select the special destination.
3. Select the symbol.
4. "Start guidance"
Special destination location
As you input the search destination, you can
select from among various options.
>"At current location"
> "At destination"
> "At different location"
> "Along route"
A-Z search
1."A-Z search"
2. "Town/City" 3.
Select or enter town/city.
4. "Category"
5. Select category.
6. "Category details"
For some special destinations, it is possible
to select several category details.
Move the controller toward the left to exit
category details.
7. "Keyword"
8. Enter keyword.
A list of the special destinations is dis-
played.
9. Select the special destination.
Details are displayed.
If several details are stored, then you can
scroll through the pages.
If a phone number is available, a connection
can be established, if desired.
10. Select the symbol.
11. "Start guidance" or "Add as another desti-
nation". Adding destination as another des-
tination, refer to page 154.
"Start search": without entering a search term,
the search is repeated with the last stored
search term.
Category search
1. "Category search"
2. "Town/City"
3. Select or enter town/city.
4. "Category"
5. Select category.
6. "Category details"
For some special destinations, it is possible
to select several category details.
Move the controller toward the left to exit
category details.
7. "Start search"
A list of the special destinations is dis-
played.
00320051004F004C00510048000300280047004C0057004C005200510003
Page 155 of 308
154
NavigationDestination entry
Entering intermediate destinations
A maximum of 30 intermediate destinations can
be entered for one trip.
1."Enter new destination"
2. Select the type of destination entry.
3. Enter the intermediate destination.
4. "Add as another destination"
The intermediate destination is inserted
into the destination list and highlighted.
5. Turn the controller until the intermediate
destination is at the desired place in the list.
6. Press the controller.
Starting the trip
After entering all intermediate destinations,
highlight the first destination and say "Start
guidance"
For example if the second destination is high-
lighted at the start of route guidance, then the
first destination is skipped over.
The symbol indicates the active intermedi-
ate destination.
Storing a trip
Up to 30 trips can be stored in the trip list.
Delete existing trips as necessary to permit you
to store new trips.
1.Open "Options".
2. "Store trip"
3. Enter a name.
4. "OK"
The trip is stored in the trip list under the
entered name.
Selecting a stored trip
1. "Navigation"
2. "Stored trips"
3. Select the desired trip.
4. "Start guidance"
Trips, changing
Changing the trip direction
Intermediate destinations are displayed in
reverse order in the list.
1."Map"
2. "Guidance"
3. Open "Options".
4. "Reverse order of trip dest."
Options for intermediate destinations
1."Map"
2. "Guidance"
3. "Display all trip destinations"
4. Select an intermediate destination.
>"Edit destination"
> "Reposition dest. in the trip": move the
intermediate destination within the list.
> "Delete dest. in the trip"
> "Go to next dest. in the trip"
Some options are not possible for some trips.
Deleting a stored trip
1. "Navigation"
2. "Stored trips"
3. Select the desired trip.
4. Open "Options".
5. "Delete all trips" or "Delete trip".
Selecting last trip
1."Navigation"
2. "Stored trips"
3. "Last trip"
4. "Start guidance"
00320051004F004C00510048000300280047004C0057004C005200510003
Page 157 of 308
156
NavigationDestination guidance
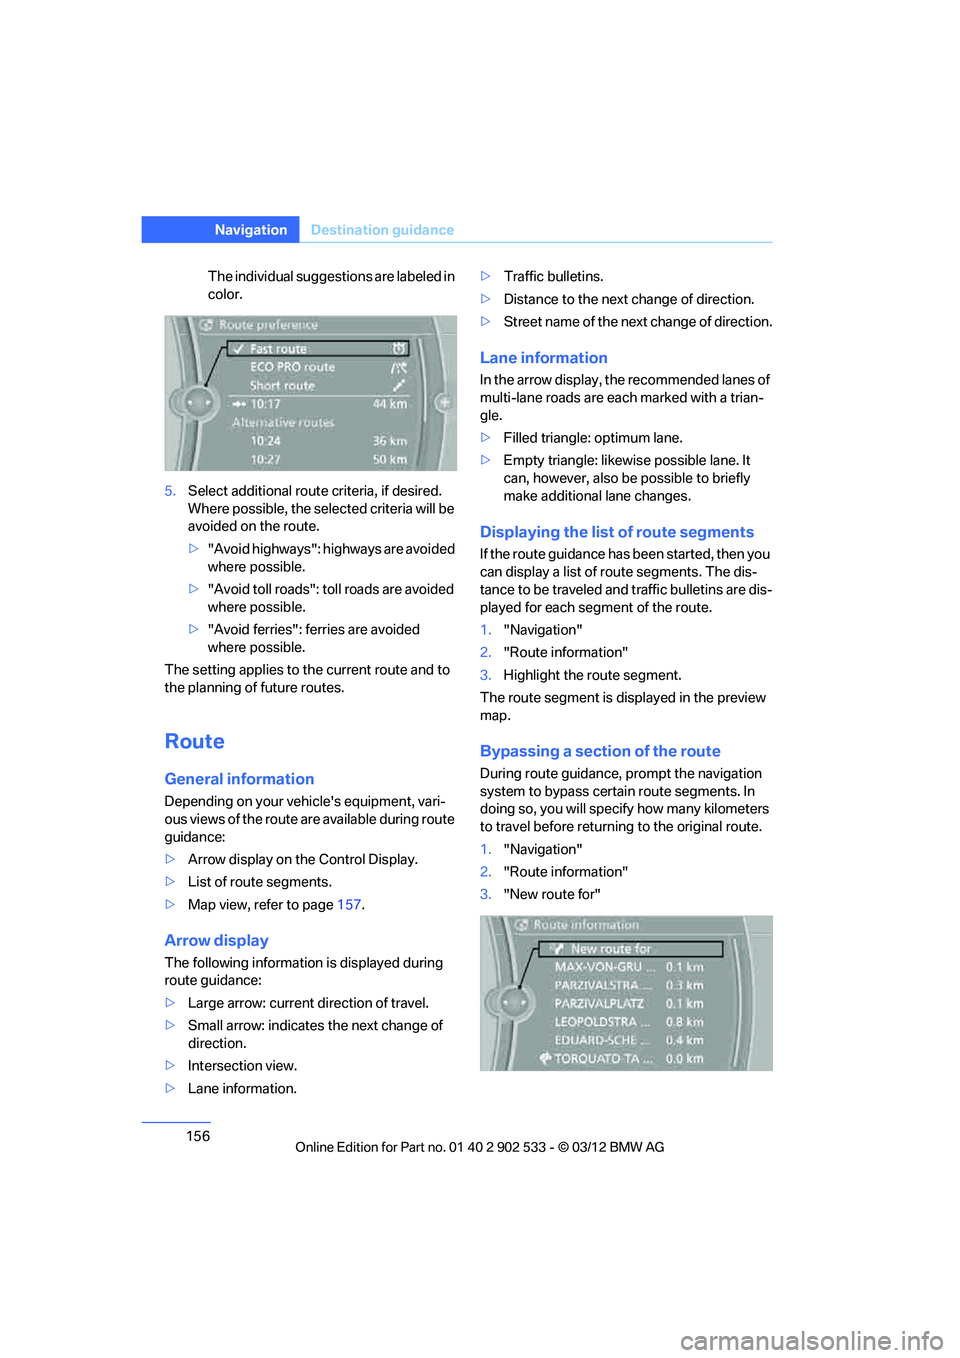
The individual suggestions are labeled in
color.
5. Select additional route criteria, if desired.
Where possible, the selected criteria will be
avoided on the route.
>"Avoid highways": highways are avoided
where possible.
> "Avoid toll roads": toll roads are avoided
where possible.
> "Avoid ferries": ferries are avoided
where possible.
The setting applies to the current route and to
the planning of future routes.
Route
General information
Depending on your vehicle's equipment, vari-
ous views of the route are available during route
guidance:
> Arrow display on the Control Display.
> List of route segments.
> Map view, refer to page 157.
Arrow display
The following information is displayed during
route guidance:
>Large arrow: current direction of travel.
> Small arrow: indicates the next change of
direction.
> Intersection view.
> Lane information. >
Traffic bulletins.
> Distance to the next change of direction.
> Street name o f the next change of direction.
Lane information
In the arrow display, the recommended lanes of
multi-lane roads are each marked with a trian-
gle.
>Filled triangle: optimum lane.
> Empty triangle: likewise possible lane. It
can, however, also be possible to briefly
make additional lane changes.
Displaying the list of route segments
If the route guidance has been started, then you
can display a list of route segments. The dis-
tance to be traveled and traffic bulletins are dis-
played for each segment of the route.
1."Navigation"
2. "Route information"
3. Highlight the route segment.
The route segment is displayed in the preview
map.
Bypassing a section of the route
During route guidance, prompt the navigation
system to bypass certain route segments. In
doing so, you will specify how many kilometers
to travel before returning to the original route.
1. "Navigation"
2. "Route information"
3. "New route for"
00320051004F004C00510048000300280047004C0057004C005200510003
Page 158 of 308
157
Destination guidance
Navigation
4.
Turn the controller: enter the desired mile-
age.
5. Press the controller.
Resuming the original route
If the route section should no longer be
bypassed:
1."Navigation"
2. "Route information"
3. "New route for"
4. "Remove blocking"
Gas station recommendations
The remaining range is calculated and filling
stations along the route are displayed.
Even with the most up-to-date navigation data,
information about certain special destinations
may have changed; for ex ample, filling stations
may not be in operation.
1. "Navigation"
2. "Route information"
3. "Recommended refuel"
A list of filling stations is displayed.
4. Select a gas station.
5. Select the symbol.
6. "Start guidance": route guidance to the
selected filling station is started.
"Add as another destination": the filling sta-
tion is incorporated into the route.
Destination guidance
through voice instructions
Switching voice instructions on/off
Voice instructions can be switched on or off
during destination guidance.
1."Navigation"
2. "Map"
3. "Voice instructions" For rapid access, the feature can be stored on a
programmable memory key, refer to page
23.
Repeating a voice instruction
1. "Navigation"
2. "Map"
3. Highlight the symbol.
4. Press the controller twice.
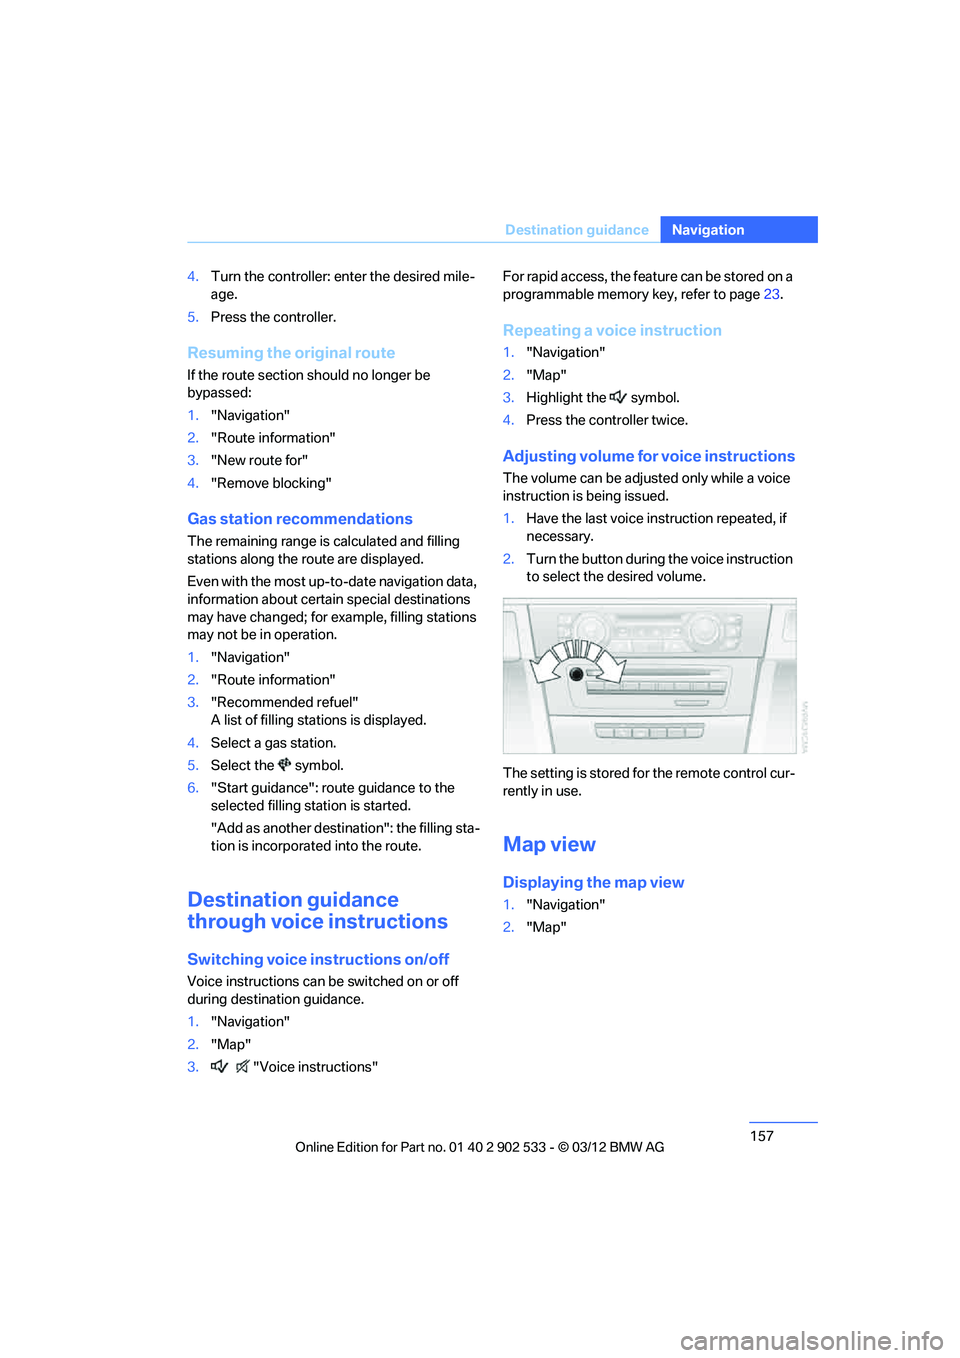
Adjusting volume for voice instructions
The volume can be adjusted only while a voice
instruction is being issued.
1.Have the last voice instruction repeated, if
necessary.
2. Turn the button during the voice instruction
to select the desired volume.
The setting is stored for the remote control cur-
rently in use.
Map view
Displaying the map view
1. "Navigation"
2. "Map"
00320051004F004C00510048000300280047004C0057004C005200510003
Page 160 of 308
159
Destination guidance
Navigation
Automatic scaling of the map
In the map view facing north, turn the controller
in any direction until AUTO is displayed as the
map scale.
The map shows the entire range from your loca-
tion to the destination.
Settings for the map view
The map is shown on the Control Display.
1.
Open "Options".
2. "Settings"
Set the optimized map view.
> "Day/night mode"
Select and adjust depending on light condi-
tions.
"Traffic conditions/gray map" active:
Settings are not taken into account.
> "Satellite images"
Depending on the availability and resolu-
tion, satellite images are displayed in scales
of approx. 1 mile to 600 miles/2 km to
1,000 km.
> "Perspective view in 3D"
Displays a three-dimensional view. Promi-
nent areas that are contained in the naviga-
tion data are displayed on the map in 3D.
> "Traffic conditions/gray map"
The map is optimized for displaying traffic
bulletins. Symbols for the special destina-
tions are no longer displayed.
Map view for the split screen display
The map view for the split screen can be
selected separately from the main screen.
1.Open "Options".
2. "Split screen"
3. Move the controller to the right repeatedly
until the split screen content is selected.
4. Select "Split screen content" or scale. 5.
Select the map view:
>"Arrow display"
> "Map facing north"
> "Map direction of travel"
> "Map view with perspective"
> "Position"
> "Exit ramp view"
> "Traffic conditions/gray map"
6. To change the scale: switch to the split
screen and turn the controller.
Traffic bulletins
Overview
>You can display the traffic bulletins from
radio stations that broadcast the TMC
(Traffic Message Channel) of a traffic infor-
mation service. Bulletins about traffic
obstructions and hazards are continuously
updated.
> Traffic bulletins are indicated by symbols on
the map.
> Traffic bulletins for the surrounding area are
stored in a list.
The symbol in the toolbar of the map view
turns red if a traffic bulletin relates to the calcu-
lated route.
Real Time Traffic Information End-User
Provisions
Certain BMW models equipped with navigation
have the capability to display real-time traffic
information. If your system has this capability
the following additional terms and conditions
apply:
An End-User shall no longer have the right to
use the Traffic Data in the event that the End-
User is in material breach of the terms and con-
ditions contained herein.
A. Total Traffic Network, a division of Clear
Channel Broadcasting, In c. ("Total Traffic Net-
00320051004F004C00510048000300280047004C0057004C005200510003
Page 174 of 308
173
Satellite radio
Entertainment
4.
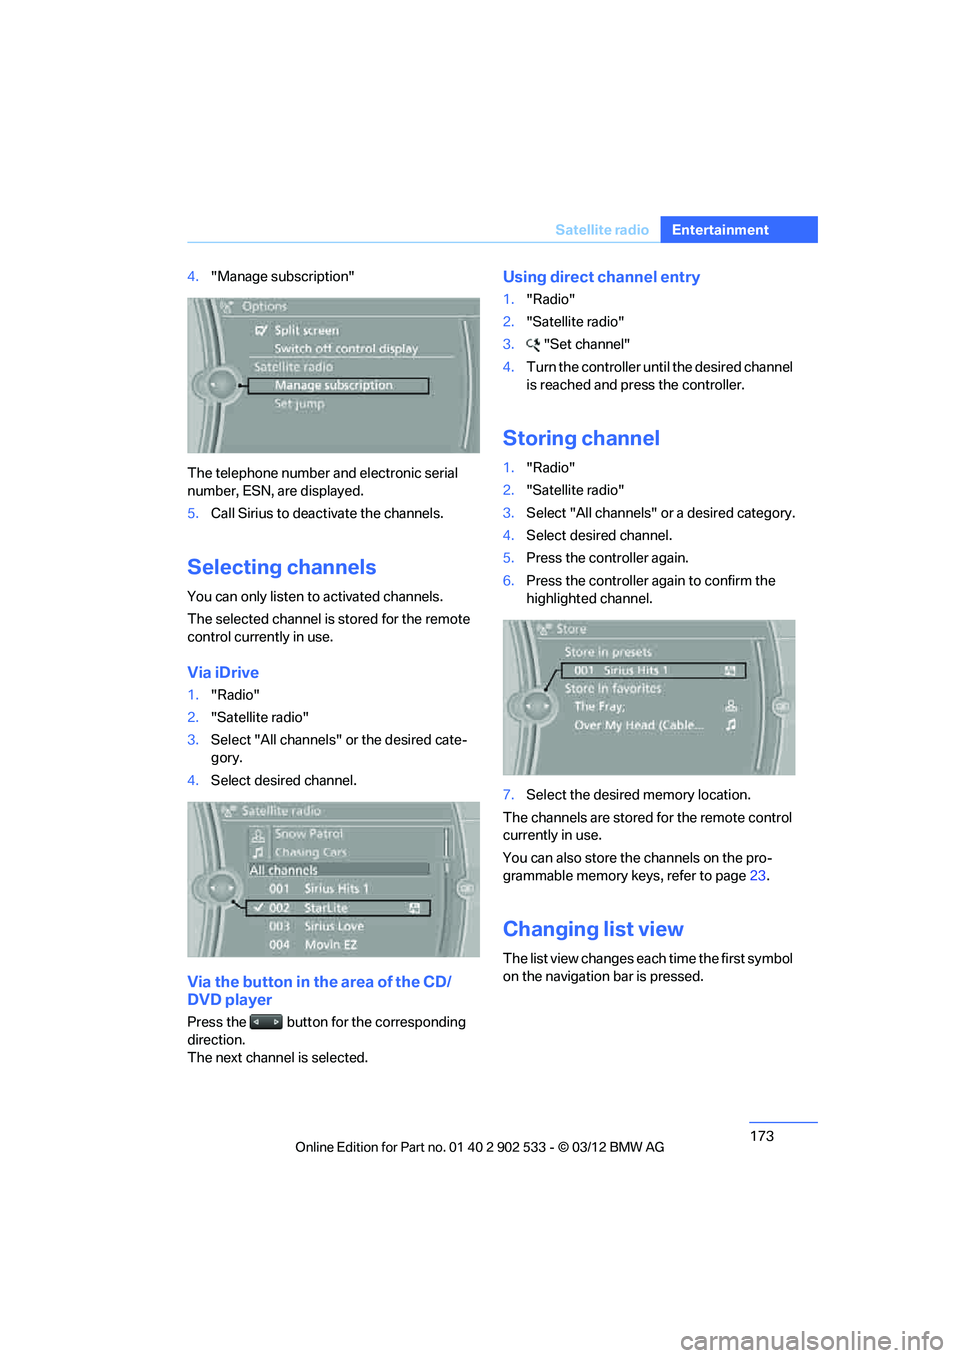
"Manage subscription"
The telephone number and electronic serial
number, ESN, are displayed.
5. Call Sirius to deactivate the channels.
Selecting channels
You can only listen to activated channels.
The selected channel is stored for the remote
control currently in use.
Via iDrive
1."Radio"
2. "Satellite radio"
3. Select "All channels" or the desired cate-
gory.
4. Select desired channel.
Via the button in the area of the CD/
DVD player
Press the button for the corresponding
direction.
The next channel is selected.
Using direct channel entry
1."Radio"
2. "Satellite radio"
3. "Set channel"
4. Turn the controller until the desired channel
is reached and press the controller.
Storing channel
1."Radio"
2. "Satellite radio"
3. Select "All channels" or a desired category.
4. Select desired channel.
5. Press the controller again.
6. Press the controller again to confirm the
highlighted channel.
7. Select the desired memory location.
The channels are stored for the remote control
currently in use.
You can also store the channels on the pro-
grammable memory keys, refer to page 23.
Changing list view
The list view changes each time the first symbol
on the navigation bar is pressed.
00320051004F004C00510048000300280047004C0057004C005200510003
Page 176 of 308
175
Satellite radio
Entertainment
Storing favorites
Up to 30 favorites can be stored in the favorites
list. Possible favorites include artist, track,
game, league, and team.
Storing artist, track, or game
Only current broadcasts can be stored as favor-
ites. The channel information must be available.
1.
"Radio"
2. "Satellite radio"
3. Select "All channels" or the desired cate-
gory.
4. Select desired channel.
5. Press the controller again.
6. Select artist, track, or game.
Storing league or team
Leagues or teams can be added to the favorites
from a selection list.
1."Radio"
2. "Satellite radio"
3. "Manage favorites"
4. "Add sports information"
5. Select the desired league.
6. Select "Add all teams" or a desired team.
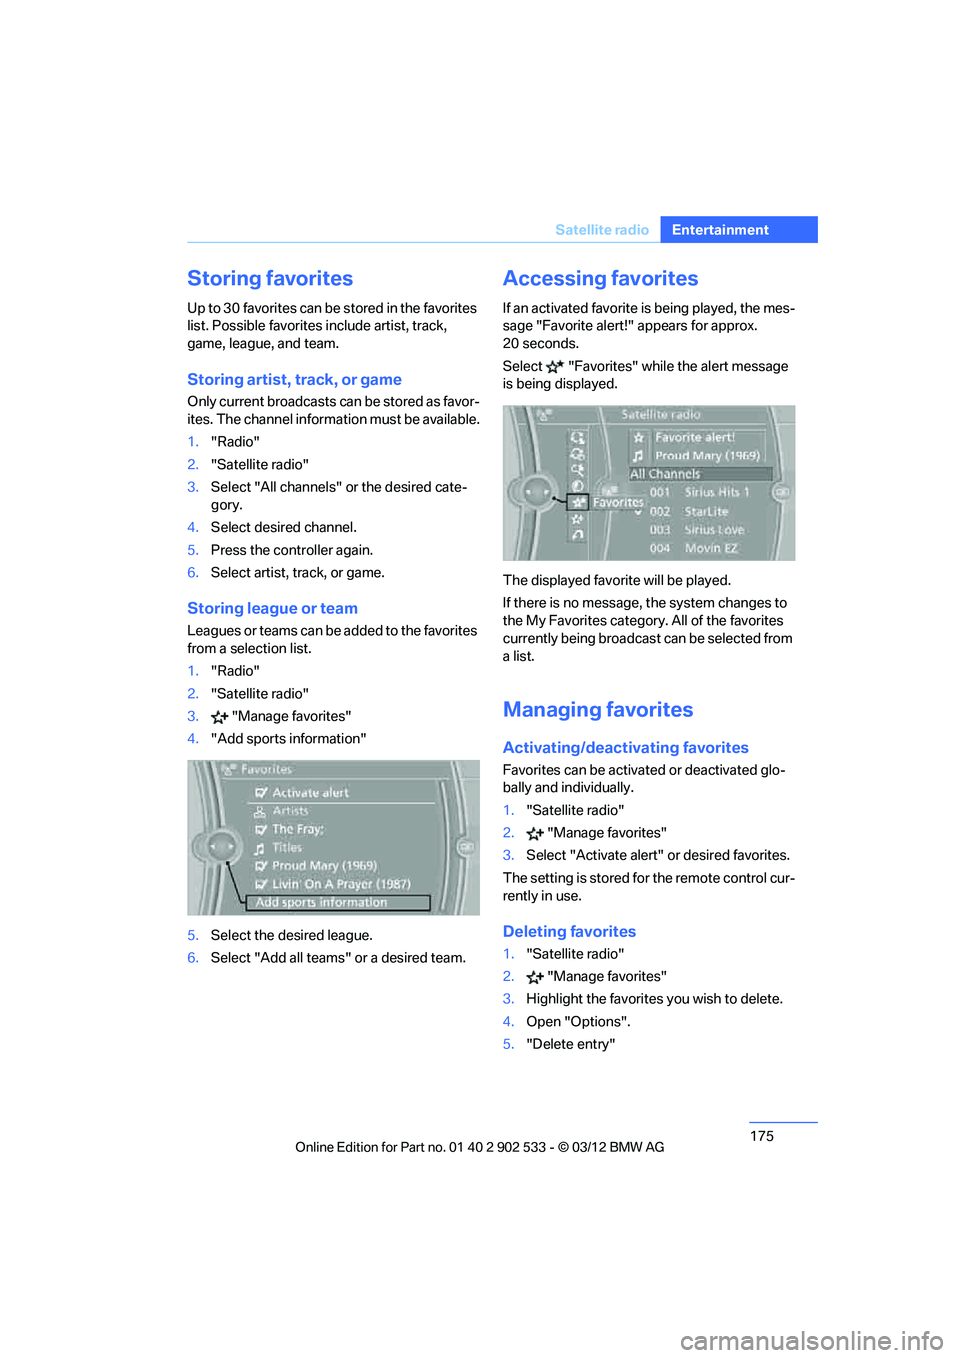
Accessing favorites
If an activated favorite is being played, the mes-
sage "Favorite alert!" appears for approx.
20 seconds.
Select "Favorites" while the alert message
is being displayed.
The displayed favorite will be played.
If there is no message, the system changes to
the My Favorites category. All of the favorites
currently being broadcast can be selected from
a list.
Managing favorites
Activating/deactivating favorites
Favorites can be activated or deactivated glo-
bally and individually.
1."Satellite radio"
2. "Manage favorites"
3. Select "Activate alert" or desired favorites.
The setting is stored for the remote control cur-
rently in use.
Deleting favorites
1. "Satellite radio"
2. "Manage favorites"
3. Highlight the favorites you wish to delete.
4. Open "Options".
5. "Delete entry"
00320051004F004C00510048000300280047004C0057004C005200510003
Page 178 of 308

177
CD/DVD player and CD changer
Entertainment
CD/DVD player and CD changer
Vehicle equipment
In this chapter, all production, country, and
optional equipment that is offered in the model
range is described. Equipment is also described
that is not available because of, for example,
selected options or country version. This also
applies to safety related functions and systems.
CD/DVD playback
Inserting a CD/DVD
Insert the CD/DVD into the drive with the
labeled side facing up. The CD/DVD is drawn in
automatically.
Playback starts automatically if the sound out-
put is on. For CDs/DVDs with compressed
audio files, it can take several minutes to read in
the data, depending on the directory structure.
Playable formats
CD/DVD player
>
DVD: DVD-ROM, DVD-R, DVD+R, DVD-
RW, DVD+RW, DVD-R DL, DVD+R DL, DVD
audio (video part only), DVD video
> CD: CD-ROM, CD-R, CD-RW, CD-DA
> Compressed audio files: MP3, WMA, AAC,
M4A
CD changer
> CD: CD-ROM, CD-R, CD-RW, CD-DA
Starting playback
There is a CD/DVD in the CD/DVD player or a
CD in the CD changer.
1."CD/Multimedia"
2. "CD/DVD"
3. Select the desired CD or DVD:
Fill the CD/DVD magazine and insert it, refer to
page 181.
Ejecting a CD/DVD
Press the button next to the CD/DVD player.
The CD/DVD emerges slightly from the drive.
Audio playback
Selecting the track using the button
Press the button for the appropriate
direction as often as necessary until the desired
track is reached.
SymbolMeaning
CD/DVD player
CD changer
00320051004F004C00510048000300280047004C0057004C005200510003