2013 BMW 328I XDRIVE COUPE ESP
[x] Cancel search: ESPPage 105 of 308
104
ControlsTechnology for driving comfort and safety
Malfunction
The warning lamp lights up. A mes-
sage appears on the Control Display.
Servotronic is malfunctioning or has
failed. Steering response will be different. You
can continue your journey, but moderate your
speed and exercise due caution. Have the sys-
tem checked as soon as possible.
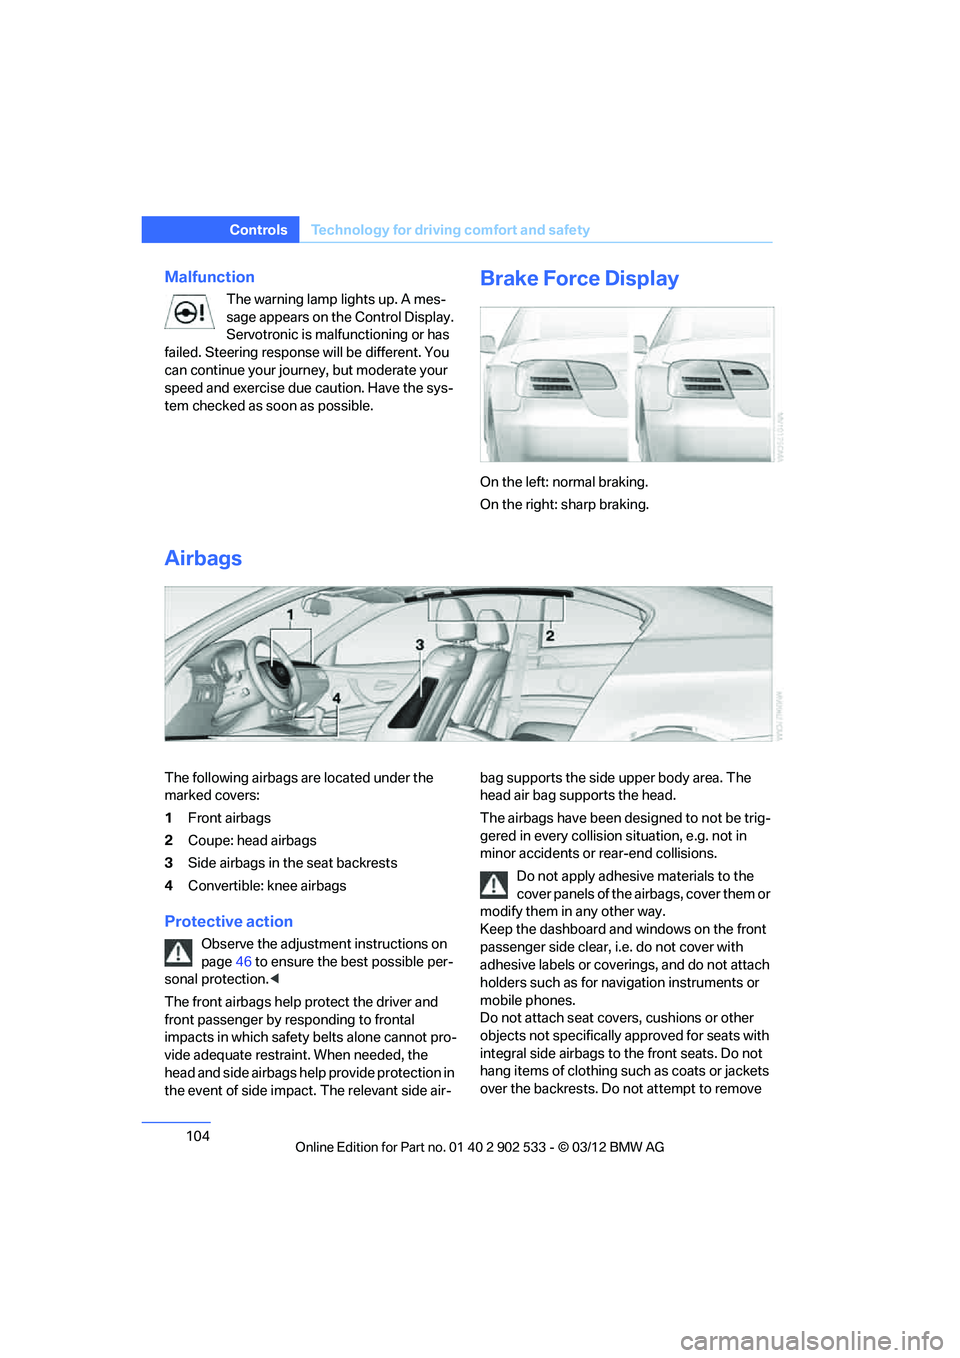
Brake Force Display
On the left: normal braking.
On the right: sharp braking.
Airbags
The following airbags are located under the
marked covers:
1 Front airbags
2 Coupe: head airbags
3 Side airbags in the seat backrests
4 Convertible: knee airbags
Protective action
Observe the adjustment instructions on
page 46 to ensure the best possible per-
sonal protection. <
The front airbags help protect the driver and
front passenger by responding to frontal
impacts in which safety belts alone cannot pro-
vide adequate restraint. When needed, the
head and side airbags help provide protection in
the event of side impact. The relevant side air- bag supports the side upper body area. The
head air bag supports the head.
The airbags have been designed to not be trig-
gered in every collision situation, e.g. not in
minor accidents or rear-end collisions.
Do not apply adhesive materials to the
cover panels of the airbags, cover them or
modify them in any other way.
Keep the dashboard and windows on the front
passenger side clear, i.e. do not cover with
adhesive labels or coverings, and do not attach
holders such as for navigation instruments or
mobile phones.
Do not attach seat covers, cushions or other
objects not specifically approved for seats with
integral side airbags to the front seats. Do not
hang items of clothing such as coats or jackets
over the backrests. Do not attempt to remove
00320051004F004C00510048000300280047004C0057004C005200510003
Page 109 of 308

108
ControlsLamps
Lamps
Vehicle equipment
In this chapter, all production, country, and
optional equipment that is offered in the model
range is described. For this reason, descrip-
tions will be given of some equipment that may
not be available in a vehicle, for example due to
the special options or national-market version
selected. This also applies to safety related
functions and systems.
At a glance
0Lamps off,
daytime running lights
1 Parking lamps and daytime running lights
2 Low beams,
welcome lamps
3 Automatic headlamp control, daytime run-
ning lights, welcome lamps, High-beam
Assistant, and Adaptive Light Control
Parking lamps/low beams,
automatic headlamp control
General information
When the driver's door is opened with ignition
switched off, then the exterior lighting is auto-
matically switched off if the light switch is in
position 0, 2, or3.
Parking lamps
In switch position 1, the front, rear and side
vehicle lighting is switched on. You can use the
parking lamps for parking.
The parking lamps will discharge the bat-
tery. Therefore, do not leave them on for
unduly long periods of time; otherwise, the bat-
tery might not have enough power to start the
engine. It is preferable to switch on the left-
hand or right-hand roadside parking lamps,
refer to page 110.<
Low beams
The low beams light up when the light switch is
in position 2 and the ignition is on.
Automatic headlamp control
When the switch is in position 3, the low beams
are switched on and off automatically depend-
ing on ambient lighting conditions, e.g. in a tun-
nel, in twilight, or if there is precipitation. The
Adaptive Light Control is active. The LED next
to the symbol is illuminated when the low
beams are on. You can also activate the daytime
running lights, refer to page 109. In the situa-
tions described above, the lamps then automat-
ically switch from daytime running lights to low
beams.
The headlamps may also come on when the
sun is sitting low on a blue sky.
The low beams remain switched on inde-
pendent of the ambient lighting condi-
tions when you switch on the fog lamps. <
The automatic headlamp control cannot
serve as a substitute for your personal
judgment in determining when the lamps
should be switched on in response to ambient
lighting conditions. For example, the system
cannot detect fog or hazy weather. To avoid
safety risks, you should always switch on the
00320051004F004C00510048000300280047004C0057004C005200510003
Page 111 of 308

110
ControlsLamps
angle and other parameters, the light from the
headlamp follows the course of the road.
In tight curves at speeds up to 40 mph/70 km/h,
e.g. on mountainous roads or when turning, an
additional, corner-illuminating lamp is switched
on that lights up the inside area of the curve.
Activating Adaptive Light Control
With the ignition switched on, turn the light
switch to position 3, refer to page 108.
The corner-illuminating lamp is switched on
automatically, depending on the steering wheel
angle or turn signal indicator.
Standstill function: to avoid blinding oncoming
traffic, the Adaptive Light Control does not
direct light toward the driver's side when the
vehicle is at a standstill.
When you are reversing, only the corner-illumi-
nating lamps are switched on and active on
both sides.
Malfunction
The warning lamp lights up. A mes-
sage appears on the Control Dis-
play.The Adaptive Light Control is
malfunctioning or failed. Have the system
checked as soon as possible.
High beams/roadside parking
lamps
1 High beams
2 Headlamp flasher
3 Roadside parking lamps
Roadside parking lamps, left or right
There is an additional option of switching on the
lamps on the side of the car facing the road
when parked.
Switching on
After parking the vehicle, press the lever up or
down beyond the pressure point for a longer
period, arrow 3 .
The roadside parking lamps drain the bat-
tery. Therefore, do not leave them on for
unduly long periods of time; otherwise, the bat-
tery might not have enough power to start the
engine. <
Switching off
Press the lever in the opposite direction to the
pressure point, arrow 3.
High-beam Assistant
The concept
This system automatically switches the high
beams on and off. The procedure is controlled
by a sensor on the front of the interior rearview
mirror. The assistant ensures that the high
beams are switched on whenever the traffic sit-
uation allows. It handles this task for you and
gives you the benefit of the best possible view.
You can intervene at any time and switch the
high beams on and off as usual.
Activating the system
1. Turn the light switch to position 3, refer to
page 108.
2. With the low beams switched on, briefly
push the turn signal/high beam lever in the
direction of the high beam.
The indicator lamp in the instrument
cluster lights up when the high beams
are activated. The system automati-
cally switches from high beams to low beams
and vice versa in response to oncoming traffic,
00320051004F004C00510048000300280047004C0057004C005200510003
Page 117 of 308
116
ControlsClimate
directed toward the windshield, the side win-
dows, the upper body and the footwell.
Pressing the AUTO button automatically
switches on the cooling function.
At the same time, a condensation sensor con-
trols the program so as to prevent window con-
densation as much as possible.
The program is switched off when the air distri-
bution is set manually or the button is pressed
again.
Intensity of the AUTO program
With the AUTO program switched on, auto-
matic control of the air volume and air distribu-
tion can be adjusted:
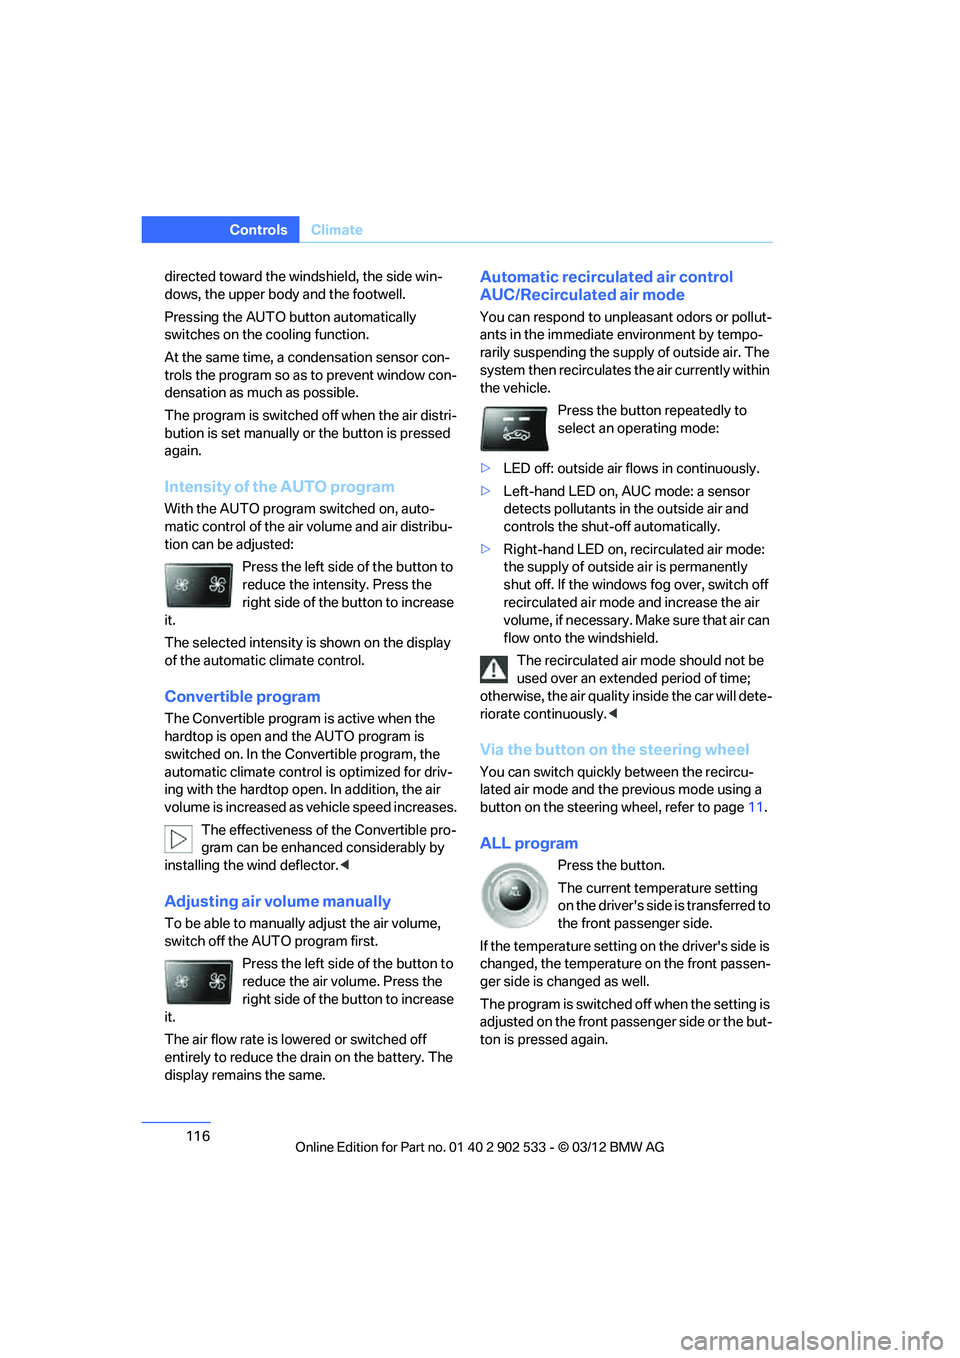
Press the left side of the button to
reduce the intensity. Press the
right side of the button to increase
it.
The selected intensity is shown on the display
of the automatic climate control.
Convertible program
The Convertible program is active when the
hardtop is open and the AUTO program is
switched on. In the Convertible program, the
automatic climate control is optimized for driv-
ing with the hardtop open. In addition, the air
volume is increased as vehicle speed increases.
The effectiveness of the Convertible pro-
gram can be enhanced considerably by
installing the wind deflector. <
Adjusting air volume manually
To be able to manually adjust the air volume,
switch off the AUTO program first.
Press the left side of the button to
reduce the air volume. Press the
right side of the button to increase
it.
The air flow rate is lowered or switched off
entirely to reduce the drain on the battery. The
display remains the same.
Automatic recirculated air control
AUC/Recirculated air mode
You can respond to unpleasant odors or pollut-
ants in the immediate environment by tempo-
rarily suspending the supply of outside air. The
system then recirculates the air currently within
the vehicle.
Press the button repeatedly to
select an operating mode:
> LED off: outside air flows in continuously.
> Left-hand LED on, AUC mode: a sensor
detects pollutants in the outside air and
controls the shut-off automatically.
> Right-hand LED on, recirculated air mode:
the supply of outside air is permanently
shut off. If the windows fog over, switch off
recirculated air mode and increase the air
volume, if necessary. Make sure that air can
flow onto the windshield.
The recirculated air mode should not be
used over an extended period of time;
otherwise, the air quality inside the car will dete-
riorate continuously. <
Via the button on the steering wheel
You can switch quickly between the recircu-
lated air mode and the previous mode using a
button on the steering wheel, refer to page 11.
ALL program
Press the button.
The current temperature setting
on the driver's side is transferred to
the front passenger side.
If the temperature setting on the driver's side is
changed, the temperature on the front passen-
ger side is changed as well.
The program is switched off when the setting is
adjusted on the front passenger side or the but-
ton is pressed again.
00320051004F004C00510048000300280047004C0057004C005200510003
Page 120 of 308
119
Climate
Controls
8.
Press the controller: the setting is
accepted.
The symbol on the automatic climate Control
Display lights up.
The symbol on the automatic climate Control
Display flashes when the system has switched
on.
The respective system is switched on
within the next 24 hours only. After these
have elapsed, it must be reactivated. <
00320051004F004C00510048000300280047004C0057004C005200510003
Page 121 of 308
120
ControlsPractical interior accessories
Practical interior accessories
Vehicle equipment
In this chapter, all production, country, and
optional equipment that is offered in the model
range is described. For this reason, descrip-
tions will be given of some equipment that may
not be available in a vehicle, for example due to
the special options or national-market version
selected. This also applies to safety related
functions and systems.
Integrated universal remote
control
The concept
The Integrated universal remote control can be
used to operate up to 3 functions of remote-
controlled devices such as garage door open-
ers or lighting systems. The Integrated univer-
sal remote control thus replaces as many as
three different hand-held transmitters. To oper-
ate them, the buttons on the interior rearview
mirror must be programmed with the desired
functions. Programming requires the hand-held
transmitter for the respective device.
To prevent possible damage or injury,
before programming or using the inte-
grated universal remote control to operate a
device, always inspect the immediate area to
make certain that no people, animals or objects
are within the pivoting or travel range of the
device being operated.
Also follow the safety instructions supplied with
the hand-held transmitter. <
For security reasons, make sure to delete the
stored functions before selling the vehicle, refer
to page 122.
Compatibility
If this symbol appears on the package
or in the instructions supplied with the
device to be operated, you can gener-
ally assume that the device is compatible with
the Integrated universal remote control.
For additional questions, please consult:
> your BMW center.
> www.homelink.com on the Internet.
HomeLink is a registered trademark of Johnson
Controls, Inc.
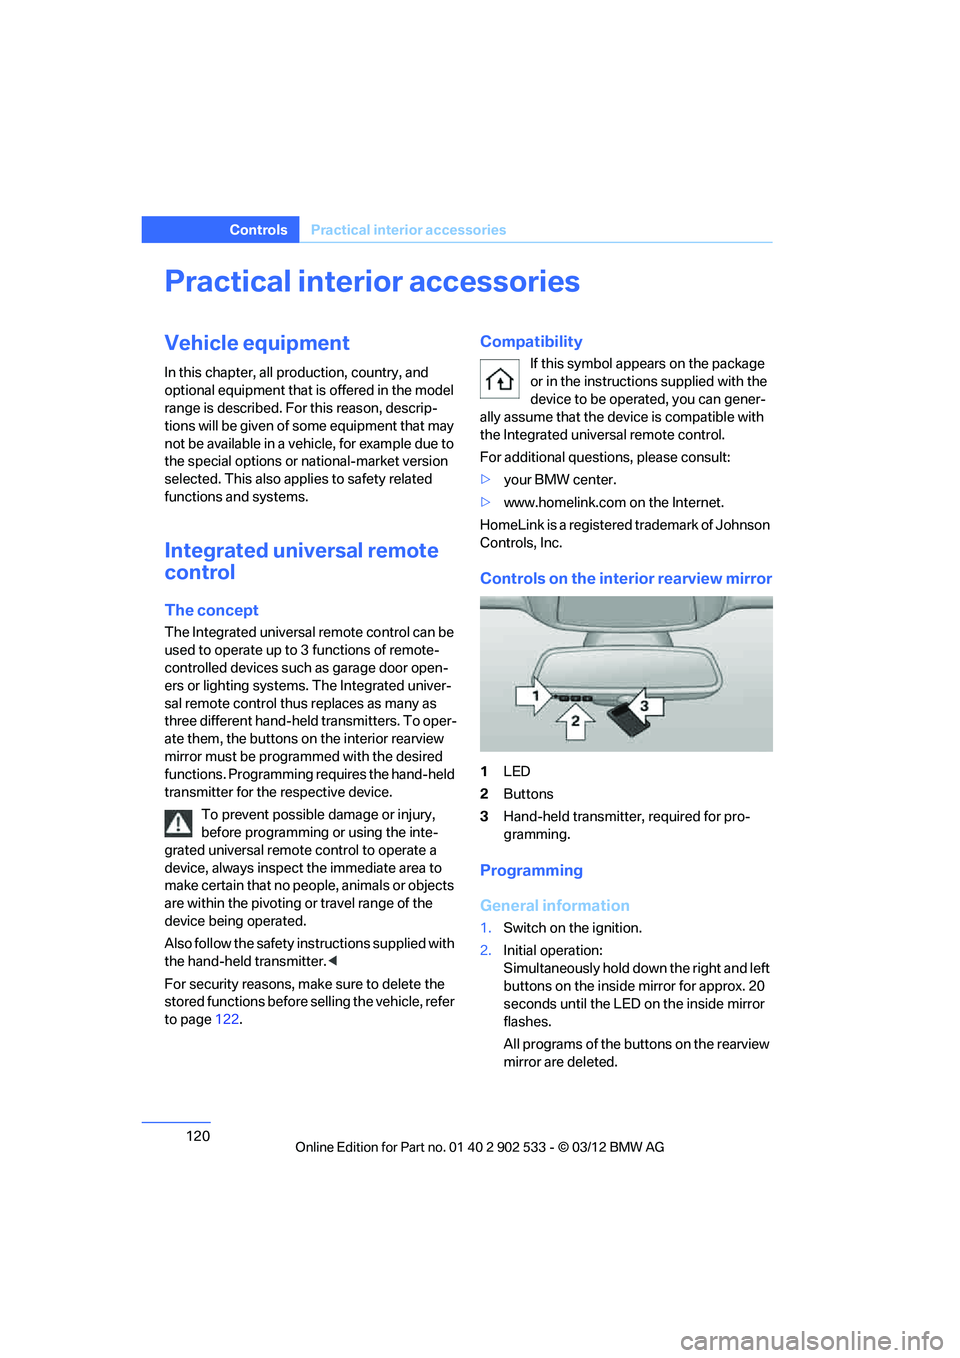
Controls on the interior rearview mirror
1 LED
2 Buttons
3 Hand-held transmitter, required for pro-
gramming.
Programming
General information
1.Switch on the ignition.
2. Initial operation:
Simultaneously hold down the right and left
buttons on the inside mirror for approx. 20
seconds until the LED on the inside mirror
flashes.
All programs of the buttons on the rearview
mirror are deleted.
00320051004F004C00510048000300280047004C0057004C005200510003
Page 123 of 308
122
ControlsPractical interior accessories
by means of the hand-held transmitter was
interrupted, hold down the button on the
inside mirror and then press and release the
button on the hand-held transmitter several
times, holding it down for 2 seconds each
time.
Operation
To prevent possible damage or injury,
before programming or using the inte-
grated universal remote control to operate a
device, always inspect the immediate area to
make certain that no people, animals or objects
are within the pivoting or travel range of the
device being operated.
Also follow the safety instructions supplied with
the hand-held transmitter.
door, if the engine is running or the ignition is
switched on. To do so, within the reception
range of the device, press the button of the
device until the function is triggered. The LED
on the inside mirror remains lit during transmis-
sion of the radio signal.Deleting stored functions
Simultaneously hold down the right and left
buttons on the inside mirror for approx. 20 sec-
onds until the LED on the inside mirror flashes
rapidly. All stored functions are deleted. The
functions cannot be deleted individually.
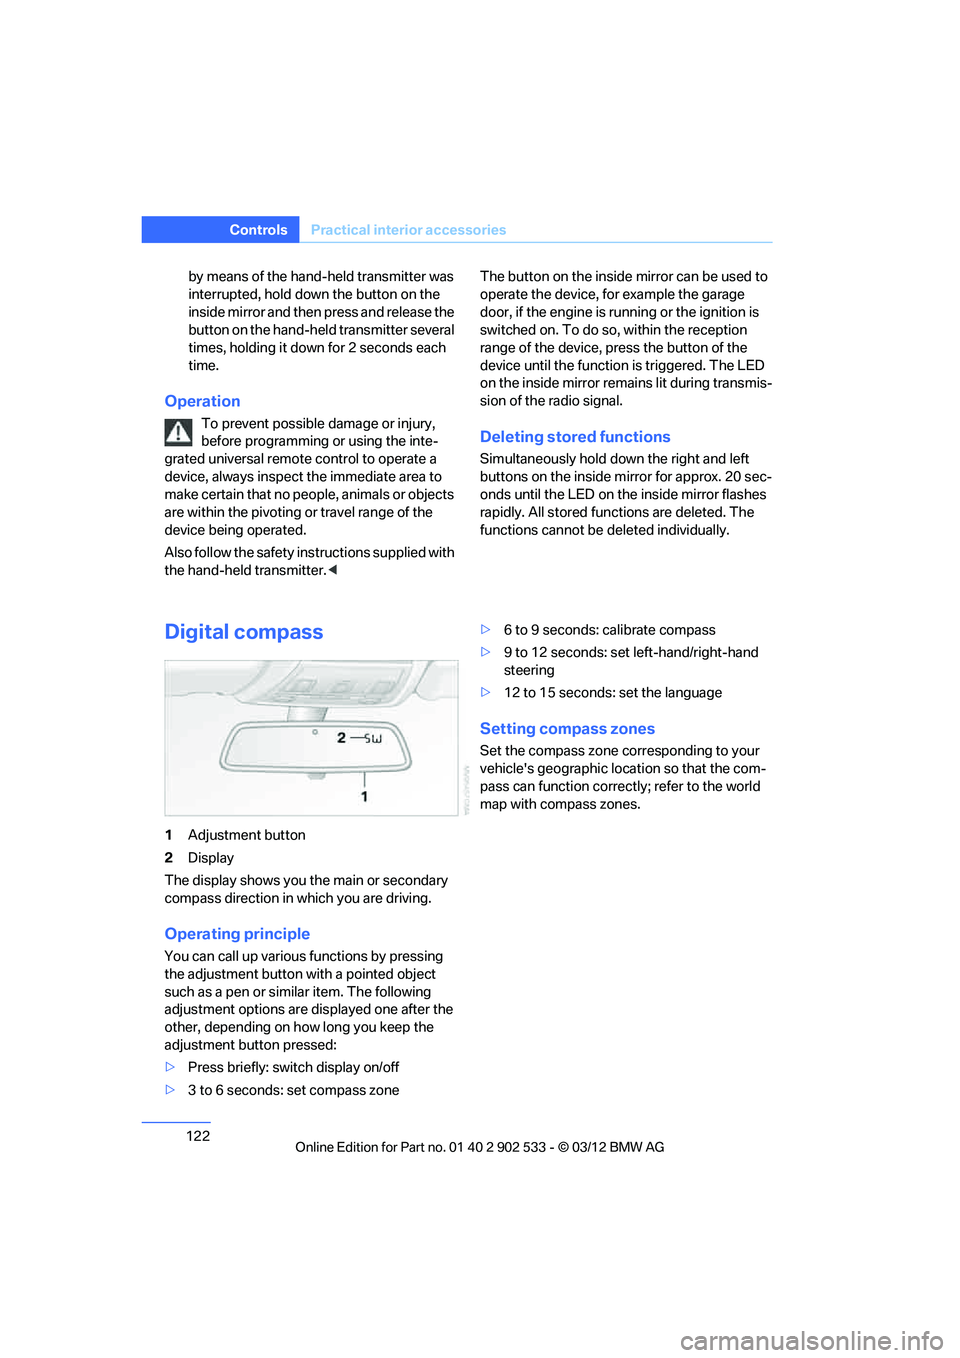
Digital compass
1
Adjustment button
2 Display
The display shows you the main or secondary
compass direction in which you are driving.
Operating principle
You can call up various functions by pressing
the adjustment button with a pointed object
such as a pen or similar item. The following
adjustment options are displayed one after the
other, depending on how long you keep the
adjustment button pressed:
> Press briefly: switch display on/off
> 3 to 6 seconds: set compass zone >
6 to 9 seconds: calibrate compass
> 9 to 12 seconds: set left-hand/right-hand
steering
> 12 to 15 seconds: set the language
Setting compass zones
Set the compass zone corresponding to your
vehicle's geographic location so that the com-
pass can function correctly; refer to the world
map with compass zones.
00320051004F004C00510048000300280047004C0057004C005200510003
Page 129 of 308
128
ControlsPractical interior accessories
Coupe:
Through-loading system
Opening
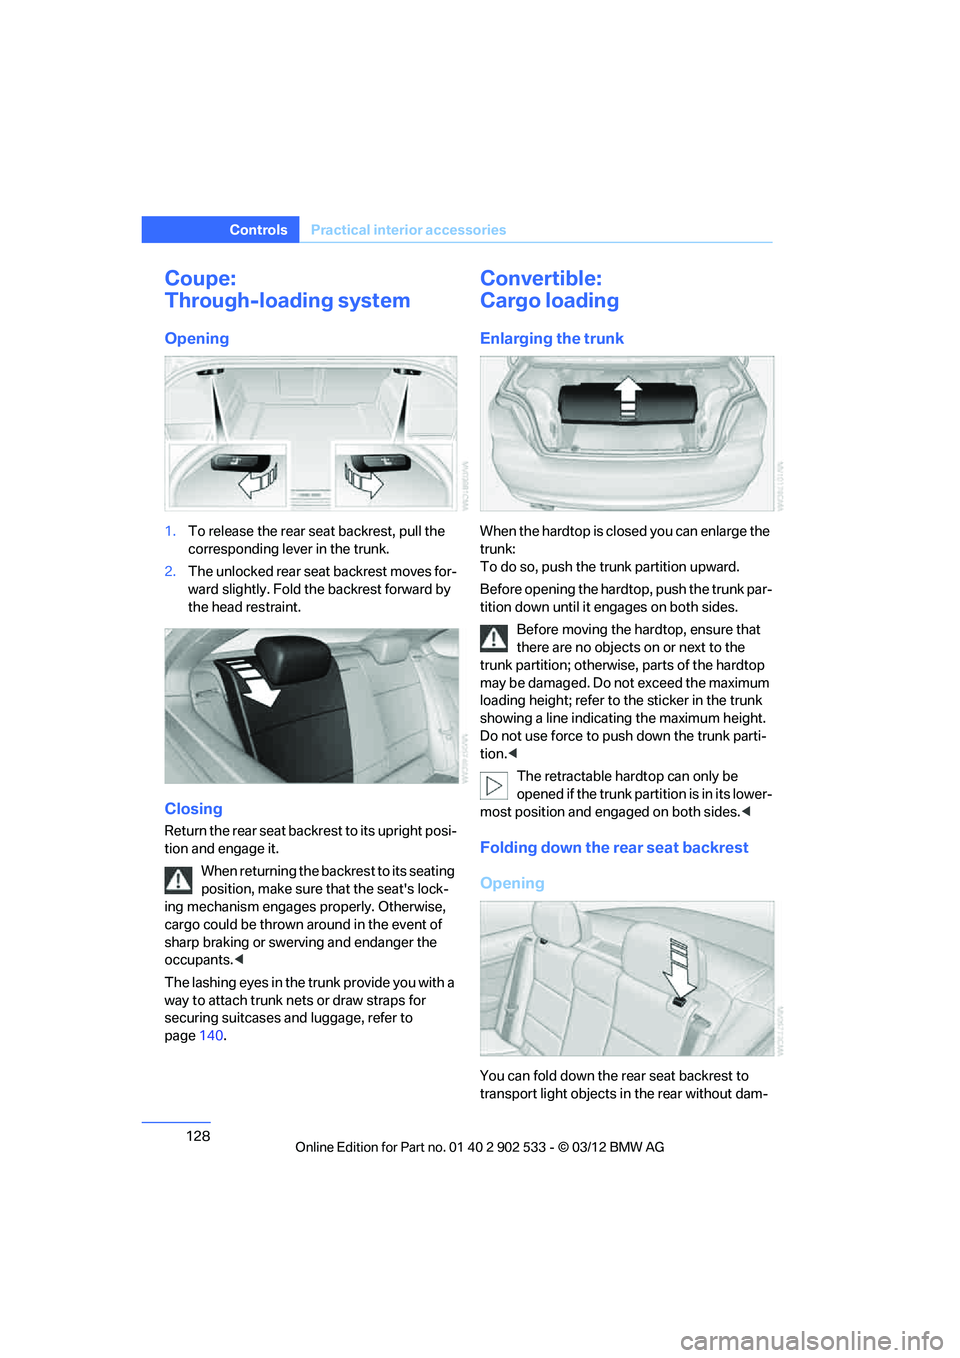
1.To release the rear seat backrest, pull the
corresponding lever in the trunk.
2. The unlocked rear seat backrest moves for-
ward slightly. Fold the backrest forward by
the head restraint.
Closing
Return the rear seat backrest to its upright posi-
tion and engage it.
When returning the backrest to its seating
position, make sure that the seat's lock-
ing mechanism engages properly. Otherwise,
cargo could be thrown around in the event of
sharp braking or swerving and endanger the
occupants. <
The lashing eyes in the trunk provide you with a
way to attach trunk nets or draw straps for
securing suitcases and luggage, refer to
page 140.
Convertible:
Cargo loading
Enlarging the trunk
When the hardtop is closed you can enlarge the
trunk:
To do so, push the trunk partition upward.
Before opening the hardtop, push the trunk par-
tition down until it engages on both sides.
Before moving the hardtop, ensure that
there are no objects on or next to the
trunk partition; otherwise, parts of the hardtop
may be damaged. Do not exceed the maximum
loading height; refer to the sticker in the trunk
showing a line indicating the maximum height.
Do not use force to push down the trunk parti-
tion. <
The retractable hardtop can only be
opened if the trunk partition is in its lower-
most position and engaged on both sides. <
Folding down the rear seat backrest
Opening
You can fold down the rear seat backrest to
transport light objects in the rear without dam-
00320051004F004C00510048000300280047004C0057004C005200510003