Page 23 of 252

22System Setup
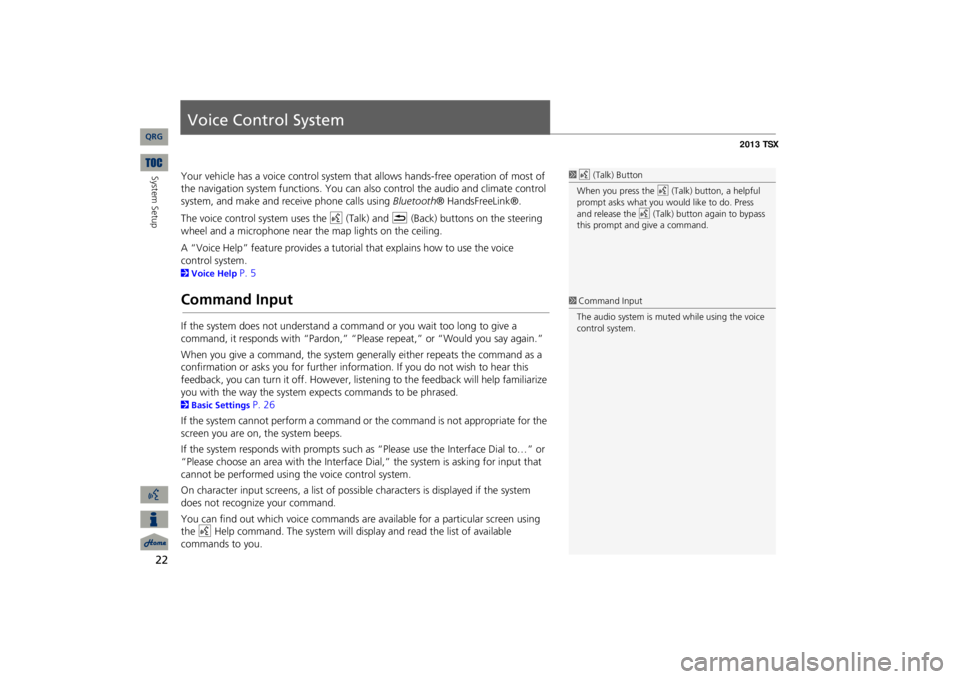
Voice Control SystemYour vehicle has a voice con
trol system that allows hand
s-free operation of most of
the navigation system functions. You can also control the audio and climate control system, and make and rece
ive phone ca
lls using
Bluetooth
® HandsFreeLink®.
The voice control system uses the
d
(Talk) and
K
(Back) buttons on the steering
wheel and a microphone near the map lights on the ceiling. A “Voice Help” feature provides a tutorial that explains how to use the voice 2Voice Help
P. 5
Command InputIf the system does not understand a command or you wait too long to give a command, it responds with “Pardon,” “Please repeat,” or “Would you say again.” When you give a command, the system ge
nerally either repeats the command as a
confirmation or asks you for further informa
tion. If you do not wish to hear this
feedback, you can turn it off. However, list
ening to the feedback will help familiarize
you with the way the system expe
cts commands to be phrased.
2Basic Settings
P. 26
If the system cannot perform a command or the command is not appropriate for the screen you are on, the system beeps. If the system responds with prompts such
as “Please use the Interface Dial to…” or
“Please choose an area with the Interface Di
al,” the system is as
king for input that
cannot be performed using the voice control system.On character input screens, a list of possi
ble characters is displayed if the system
does not recognize your command. You can find out which voice commands are available for a particular screen using the
d
Help command. The system will disp
lay and read the list of available
commands to you.
1d
(Talk) Button
When you press the
d
(Talk) button, a helpful
prompt asks what you would like to do. Press and release the
d
(Talk) button again to bypass
this prompt and give a command.1Command InputThe audio system is muted while using the voice control system.
QRG
control system.
Page 24 of 252
23
Voice Control System
Voice Recognition
Voice RecognitionTo achieve optimum voice recognition wh
en using either the navigation voice
control system or
Bluetooth
® HandsFreeLink®:
•Make sure the correct screen is displayed for the voice command that you
are using.
2Voice Commands
P. 236
•Close the windows and moonroof.•Adjust the dashboard and side vents so air does not blow onto the microphone on the ceiling.•Speak clearly in a clear, natural speaking
voice without pausing between words.
•Reduce any background noise if possible. The system may misinterpret your command if more than one person
is speaking at the same time.
•Refer to the Voice Help tutorial.2Voice Help
P. 5
1Voice RecognitionThe voice control system can only be used from the driver’s seat beca
use the microphone unit
removes noises from the
front passenger’s side.
QRG
System Setup
Page 25 of 252
24System Setup
Interface SettingsDisplay and Volume SettingsHINFO/PHONE button
Setup
Use the Main Setup screen to ad
just the display and volume.
1.Rotate
i
to select an item.
2.Rotate
i
to make the
adjustment. Press
u
.
The following item
s are available:
•Brightness:
Adjusts the screen’s brightness.
•Contrast:
Adjusts the screen’s contrast.
•Black Level:
Adjusts the screen’s black level.
•Volume:
Adjusts the navigation system volume level.
1Display and Volume SettingsYou can set separate
daytime and nighttime
settings for
Brightness
, Contrast
, and
Black
Level
. Adjust each setting when the display is in
either daytime or
nighttime mode.
You can set the display and volume settings using voice commands on the Setup screen. 2Main Setup Screen Commands
P. 242
Volume If you set
Volume
to
OFF
, you will not hear
route guidance or voic
e command confirmations.
If you then select
Voice
in the Map Menu, you
will hear route guidance
at the default volume.
QRG
Press
u
.
Page 29 of 252
28
Interface Settings
Color
HINFO/PHONE button
Setup
Other
Color
Map Color
Set separate map colors for Day and Night modes.
1.Rotate
i
to select
Day
or
Night
.
Press
u
.
2.Rotate
i
to select a color for the
map screen. Press
u
.
HINFO/PHONE button
Setup
Other
Color
Menu Color
Set separate menu colors for Day and Night modes.
1.Rotate
i
to select
Day
or
Night
.
Press
u
.
2.Rotate
i
to select a color for the
menu screens. Press
u
.
■Map Color
1Map ColorFor Day mode Set to
WHITE
(factory default is
BEIGE
) to obtain
the best daytime
display contrast.
For Night modeSet to
BLACK
(factory default) to obtain the best
nighttime display contrast.
■Menu Color
1Menu ColorFor Day mode Set to
WHITE
(factory default) to obtain the best
daytime display contrast. For Night mode Set to
BLACK
(factory default) to obtain the best
nighttime display contrast.
QRG
System Setup
Page 30 of 252
29
Interface Settings
Color
Set the screen brightness separately for Day and Night modes. Press the
a
(Display mode) button to cycle through the display modes (Day to Night to Off).
1.Press the
a
button.
The Brightness bar is displayed for a few seconds.
2.Press the
a
button again.
Repeat the procedure to switch the display modes.
Rotate
i
to adjust the
brightness. Press
u
.
■Switching Display Mode Manually
1Switching Display Mode ManuallyA visual guide helps y
ou see the difference
between Day an
d Night modes.
2Day or Night Mode
P. 11
Recommended Settings•Select mid-range for
the dash illumination.
•Select
WHITE
for the map Day display and
BLACK
for the map Night display.
Continued
QRG
System Setup
Page 31 of 252

30
Interface Settings
Color
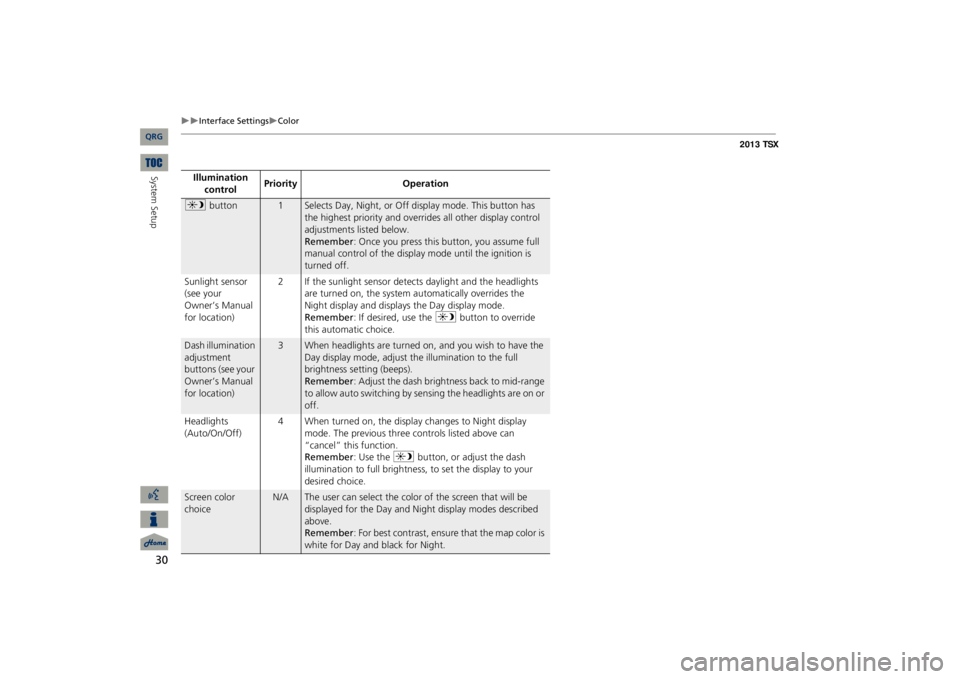
Illumination control
Priority
Operation
a
button
1
Selects Day, Night, or Off display mode. This button has the highest priority and overrides all other display control adjustments listed below.Remember
: Once you press this button, you assume full
manual control of the display mode until the ignition is turned off.
Sunlight sensor (see your Owner’s Manual for location)
2 If the sunlight sensor detects daylight and the headlights
are turned on, the system automatically overrides the Night display and displays the Day display mode.Remember
: If desired, use the
a
button to override
this automatic choice.
Dash illumination adjustment buttons (see your Owner’s Manual for location)
3
When headlights are turned on, and you wish to have the Day display mode, adjust the illumination to the full brightness setting (beeps).Remember
: Adjust the dash brightness back to mid-range
to allow auto switching by sensing the headlights are on or off.
Headlights (Auto/On/Off)
4 When turned on, the display changes to Night display
mode. The previous three controls listed above can “cancel” this function.Remember
: Use the
a
button, or adjust the dash
illumination to full brightness,
to set the display to your
desired choice.
Screen color choice
N/A
The user can select the color of the screen that will be displayed for the Day and Night display modes described above.Remember
: For best contrast, ensure
that the map color is
white for Day and black for Night.
QRG
System Setup
Page 32 of 252
31
Interface Settings
Language
LanguageHINFO/PHONE button
Setup
Other
Language
Set the system language used on all scr
eens. You can choose from three languages:
English
, Français
(French),
Español
(Spanish).
Rotate
i
to select the system
language. Press
u
.
1LanguageVoice confirmation of ci
ties and streets only
occurs when
English
is the system language.
When
Français
or
Español
is selected, some
messages continue to be
displayed in English.
QRG
System Setup
Page 33 of 252
32
Interface Settings
Wallpaper
WallpaperHINFO/PHONE button
Setup
Other
Wallpaper
Select, delete, and import wallpaper pi
ctures for display on the screen.
Rotate
i
to select an item. Press
u
.
The following item
s are available:
•Select a Picture for Wallpaper
: Sets the desired picture for the wallpaper.
2Selecting a Wallpaper Picture
P. 33
•Delete Pictures on HDD
: Deletes pictures on the Hard Disc Drive.
2Deleting Pictures from HDD
P. 34
•Import Pictures from USB
: Stores pictures on the Hard Disc Drive.
2Importing Pictures from USB
P. 35
QRG
System Setup