Page 214 of 516
Not using a booster seat, using the booster seat improperly, incorrectly a booster seat or using the vehicle safety belt improperly increases the risk of serious person
shoulder.
Always make sure the
as possible across the child's pelvis.
Never belt portion of the safety belt pass over the
Never a child stand or kneel on any seat, for example, the front seat.
Never a chi ld ride in the cargo area of your vehicle.
leaning for
ward, sitting sideways or out of position in any way during a This
BAG light does not come on and stay on, perform the checks described
Take the child restraint off the front passenger seat and it properly at one of the seating positions on the rear seat if the BAG light does not stay on whenever the ignition is switched on.
Always read and heed whenever using a restraint in a vehicle.
Child safety and child restraints.
A
Always secure unused rear seat safety belts out of the reach of children in
Never activate the switchable locking retractor when routing the safety belts around the head restraints.
Never anyone sit at the center rear seating position if the center rear safety belt has been routed around a rea r head restraint.
Be
careful not to activate the switchable locking retractor when routing the sa fety belts
around the head restraints. you to route the belt around the head restraint.
Please first read and note the introductory informat ion and heed the WARNon page
be lts fo r the rear se ats a nd the fr on t pa s
s enger seat mu st b e with th e swi tc h able fea ture to p ro pe rly sec ure child restraints.
p orti on of the 3 po int
res traints that can b e used with lower uni v e rsa l a nch o rag es.
Reg ardle ss of the kind of ch ild restraint that you
use, a lways make s ure that the ch ild res tra int is
p ro perly se cur ed in the vehicle ; o therw ise the child
c oul d be ser ious ly injur ed in a c ras h. Al ways
req uirem ent s regarding the installatio n of ch ild restr aint s.
proper ly and safely 1115
Page 223 of 516
with the Lights & Vision menu, the feature can
be deactivated by an authorized Volkswagen deal
er or authorized Volkswagen Service Facility.
use of high beams can distract and blind others, causing accidents and serious injuries.
299.
Switching
The indicator twice as fast if a turn signa l bulb is burned out.
High beams can only be switched on when low beams are on.
tory information and hee d the WARNon page 122.
Turn
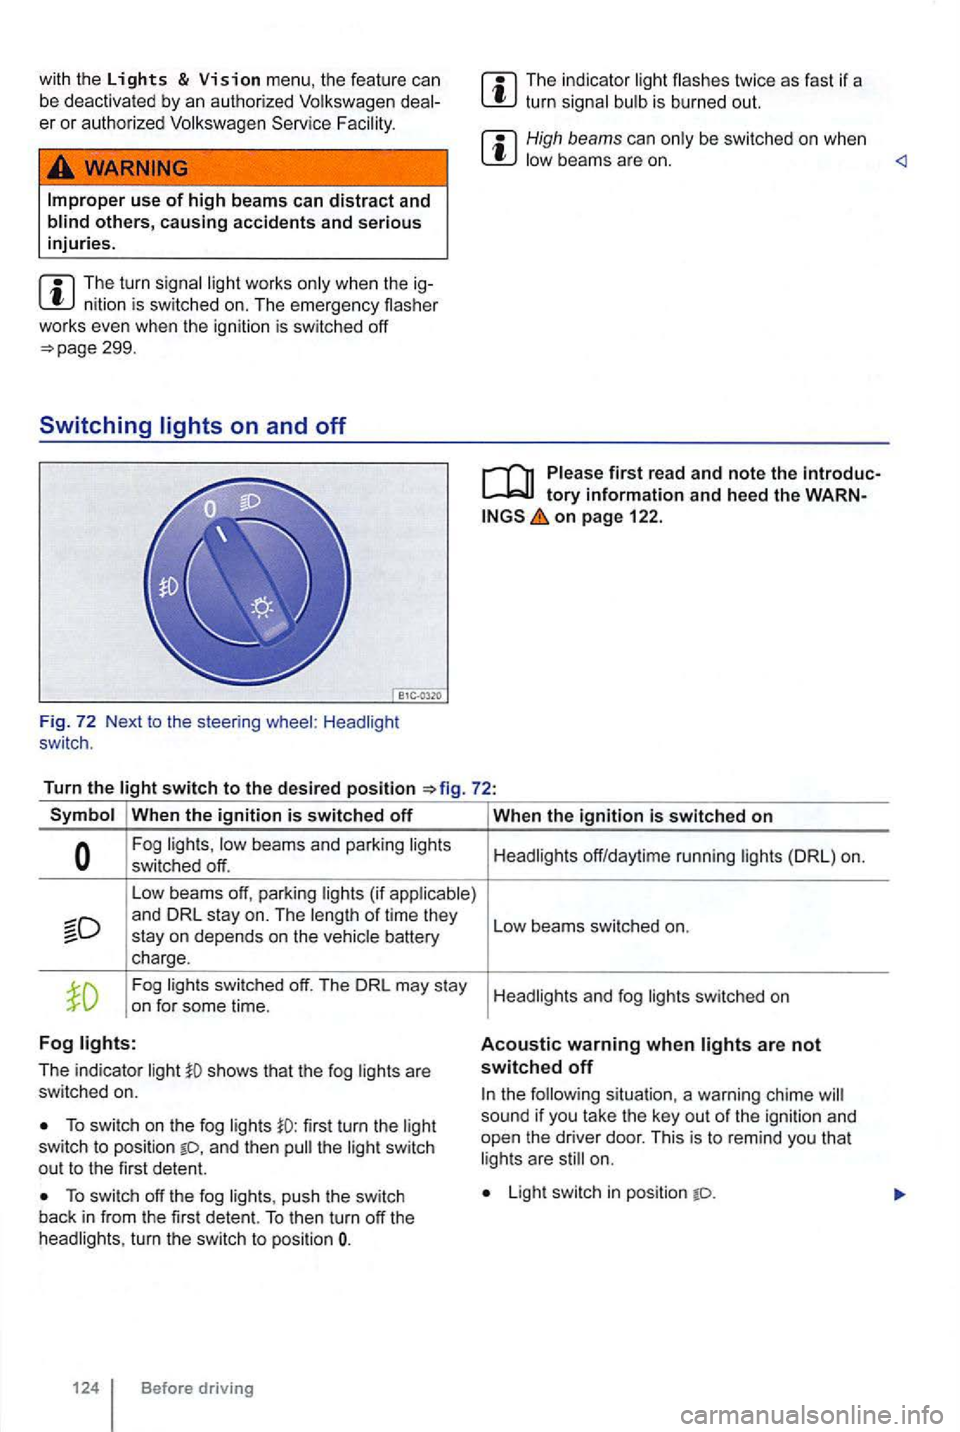
the switch to the desired position
Symbol When the ignition is switched off
Fog lights, low beams and parking lights
switched off.
Low beams off, parking lights (if applicable)
Fog lights switched off. The DRL may stay
on for some time.
Fog lights:
The indicator li ght shows that the fog lights are
switched on.
To switch on the fog lights first turn the light
switch to posi tion and then the li ght switch
out to the first detent.
To switch off the fog lights , push the switch
back in from the first detent. To then turn off the
headlights , turn the switch to position
124 Before driving When
the ig
nition is switched on
Headlights off/daytime running lights (DRL) on.
L
ow beams switched on.
H eadlights and fog
switched on
Acoustic warning when lights are not switched off
the following situation, a warning chime sound if yo u tak e th e ke y out of the ignition and
open the driver door. This is to remind you that
l ig hts are still on.
Light switch in position
Page 224 of 516
are not bright enough to le t you see ahead or be see n by others when it is dark.
not let you see far enough
Lights and
tory information and the WARNon page 122.
Daytime running
lamps are or in the front bumper fo r t he daytime running lights
( DRL ).
Turning on DRL
ahead for safety,
at dusk or when it i s dark .
are on, a vehicle cannot be seen by others
cool or humid weathe r, th e insides of the
lighting system.
When the dayt ime running are switched on,
only these separa te lamps com e on =>
Th e daytime running lights are switched on when
ever the ign itio n is swi tched on and the ligh t sw itch is in position The indicator or in th e instrument cluster indicates that the feature is active =>page 122.
Turning
off DRL
P ress and ho
ld the turn signa l leve r and high beam Press and hold the turn signa l lever and high beam
switc h up and to the back (right turn sign al and switch down and to the back (left turn signa l and
headlight flasher). headlight flasher).
the ignit ion on f or about 3 seconds and then off again .
th e ignition on.
- Turn the ligh t swi tch to the posi tion.
the parki ng brake.
vehicl e may have fog lights under the front
bumpe r that are also static corneri ng l ight s. A t
speeds below about 25 mp h km/h ), th e l igh t on
one side of t he
yo u turn to the right , the righ t fog light -
Release the parking brake.
-
Turn the light swit ch to the tD pos ition.
-the igni tio n off.
comes on; turn left and the left fog l
ight comes on .
T he light dims and goes out when the steering
whee l is st
raig ht ened out again.
T he static cornering lights work only when the
are on. The static corneri ng lights do not come on when the switch is in the position or when the fog lights themselves have
been switched on =>page 124.
Light s and vision
Page 226 of 516
first read and note the introductory information and heed the on
is
the doors . They
compartment
The compartments may have that come on automatically when they are
opened and go off when they are
Background
When the ignition and are switched on,
the roof buttons up. There
may
be
go out when you the or a few minutes after
you remove the to prevent unnecessary drain on the battery .
Lights and vision
Page 229 of 516
on
to the desired position
® Wiper switched off.
wiping for the windshield. ® Adjust the settings with switch 76
© wiper speed.
the pressed down to wipe faster.
® toward the steering to activate the front windshield washers, then re-
Intermittent wiping for the rear window . The wipe r wipes about every 6 seconds .
Press the forward as far as it
To prevent damage to the wiper outside, ways make sure that before ope rating the wipers. ing the service position can be weather so the wipers do not fre eze to the 132 .
the ignition is switched off the continue at the same wiping speed when the ignition is switch-
Remove snow and ice from the wipers fore you b egin driving.
the wiper
mends using a deicing spray.
if the lion is sw itched on and the engi ne hood is The
Page 231 of 516
Windshield wiper service position
Fig. 78
first re ad and no te the introduc
on page 129.
away from the
Press the wiper down briefly 76 @ when the ign ition is off.
Wipers move into service position.
be
fore driving! Switch the ignition on and press the
down briefly position.
Lifting the wipe r blades and tilting them a w ay from the windshield
Put the wiper arms in service position
Do not the wiper the wip
er arms
To pre ven t da mage to the e ngine hood
and the winds hi eld wiper arms, o nl y when th ey
a re in the service position.
put the wipe r arm s down ag ai nst the
Checking and
washer fluid reservoir .
first r ea d an d note the intro duc
on p age 12 9.
the
the engine hood 222.
The washer 79.
if there is was her
with an appropriate
weather, use a that
capacity
T h e washer reservoir
Page 234 of 516
Auto-dimming inside mirror (if
light
When
auto-d imming is activated , the indicator light
on.
the ignition is switched the
Outside mirrors
. . . . .:.:
;
on page 1 34 .
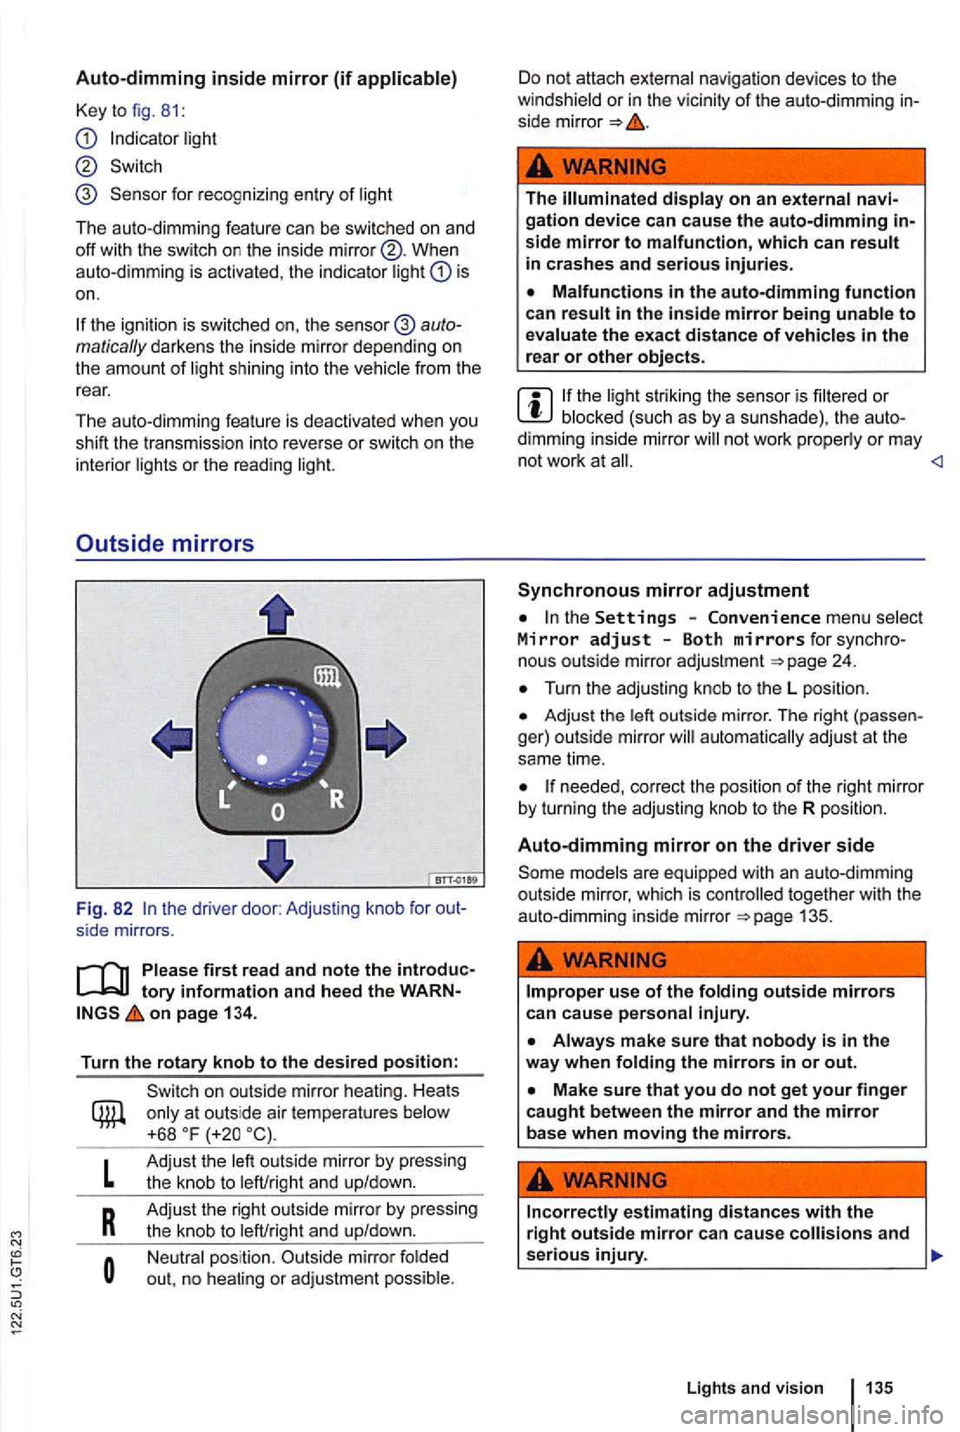
Turn the rotary knob to the desired position:
L
R
outside mirror by pressing
the knob to and up/down.
Adjust the right outside mirror by pressing
the knob to left/right and up/down.
Neutral position. Outside mirror folded
ou t, no
or adjustment possible.
Do not attach external navigation devices to the
winds hield or in the vicinity of the auto-dimming side mirror
The gation device can cause the auto-dimming
blocked (such as by a s unshade), the not work properly or m ay
not work at
Synchronous mirror adjustment
the Settings Convenience menu select Mirror adjust Both mirrors for n ous outside mirror adjustment 24.
Turn the adjusting knob to the L position .
Adjust the outside mirror . The right ger) outside mirror
needed , correct the position of the right mirror
b y tu rning the adjusting knob to the R position.
Auto-dimming mirror on the driver side
mode ls are equipped with an auto-dimming
outside mirror, which is together with the
auto-dimming inside mirror
Lights and vision 135
Page 262 of 516
N
12 Volt sockets
Introduction
sockets in the . . . . . . . . . . . . . . 163
devices can be connecte d to the 12 socke ts .
Th e co nn ected devices
must be in good worki ng
order .
More information:
Parts . accessories. repairs a nd modifications 283
Consume r informa tion
use of
unattended in the and connected devices can be
used when the ignition is switched on.
switch it off and disconnect the power
12
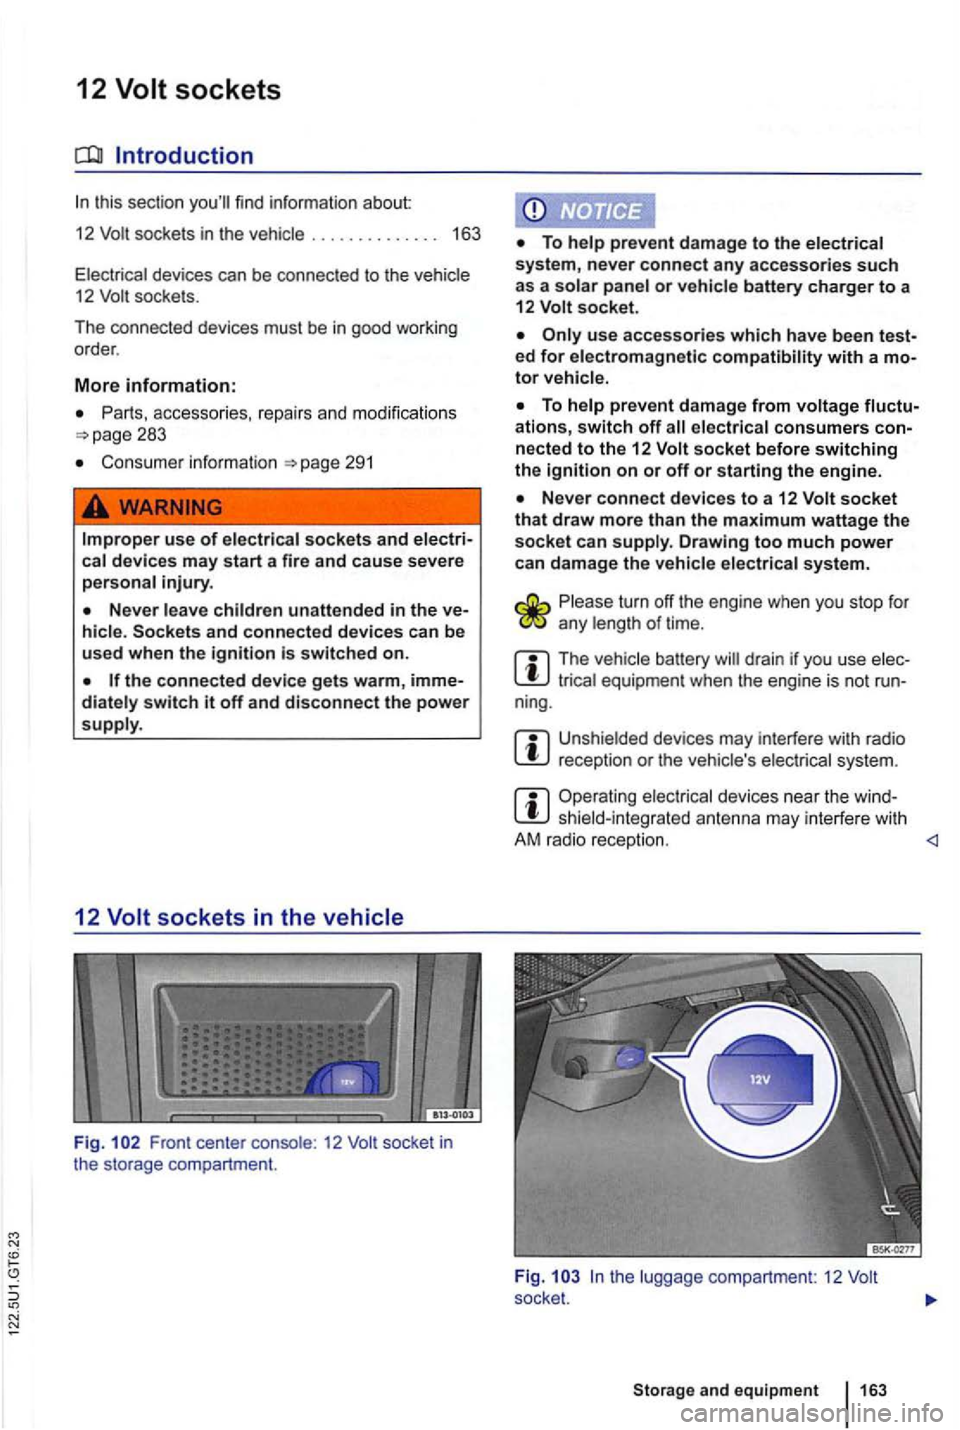
Fig . Front center 12
or battery charger to a
12 socket.
ed for electromagnetic with a
ations, switch off nected to the 12 socket before switching the ignition on or off or starting the engine.
socket that draw more than the maximum wattage the socket can Drawing too much power
can damage the
turn off the engine when you stop for any of time.
m The battery drain if you use equipmen t when the engine is not run-
ning.
m reception or the system.
m Operating shiel d-integrat ed ant enna may interfere with
A M r adio recept ion.
Fig . the luggag e compartment: 12 socket.
and equipment