2012 VOLKSWAGEN GOLF clock
[x] Cancel search: clockPage 411 of 516
a wheel bolt does not come loose, ca ref ully push
the end of the lug wrench with your foot. Make
sure you are standing firmly on the ground and
hold on
to the vehicle for support .
Loosening the wheel bolts
Push the lug wrench over the wheel bolt all the
way
H oldi ng the lug wrench at the end , loosen the
wheel bolt by turning it countercloc kwise about one comp lete turn
Loosening the anti-theft wheel bolt
Take the adapter for the anti-theft wheel bolt
out of the vehicle tool kit.
Holding the lug wrench at the end , lo osen the wheel bolt by turning it counterclockwise about one comp lete turn
information regarding wheel bolts
The design of rims and whee l bolts is matched to
the factory- in sta lled whee ls . diffe re nt wheels are
ins ta lled , wheel bolts with the right length and bolt
head shape must be used . T
he a ttachment of the
wheels and function of the brake system depend
on this .
may not be possible to use wheel bolts from ferent vehicles of the same model.
a whee l with a w hee l cover , the anti-theft whee l 161 in relation to the position of the tire valve
tight ened bolts for stee l a nd alloy wheel
r im s shou ld have a torque of 88ft lbs
Do
Improperly tightened wheel bolts can come loose while driving and cause you to lose
control over the vehicle, resulting in
and grease .
Loosen the wheel bolts only about one turn before lifting the vehicle with the jack.
Never loosen bolted connections on wheel
rims with bolted rim rings.
the wheel bolts are not tig hten ed to the proper torque, the wheel can come off the
Page 414 of 516
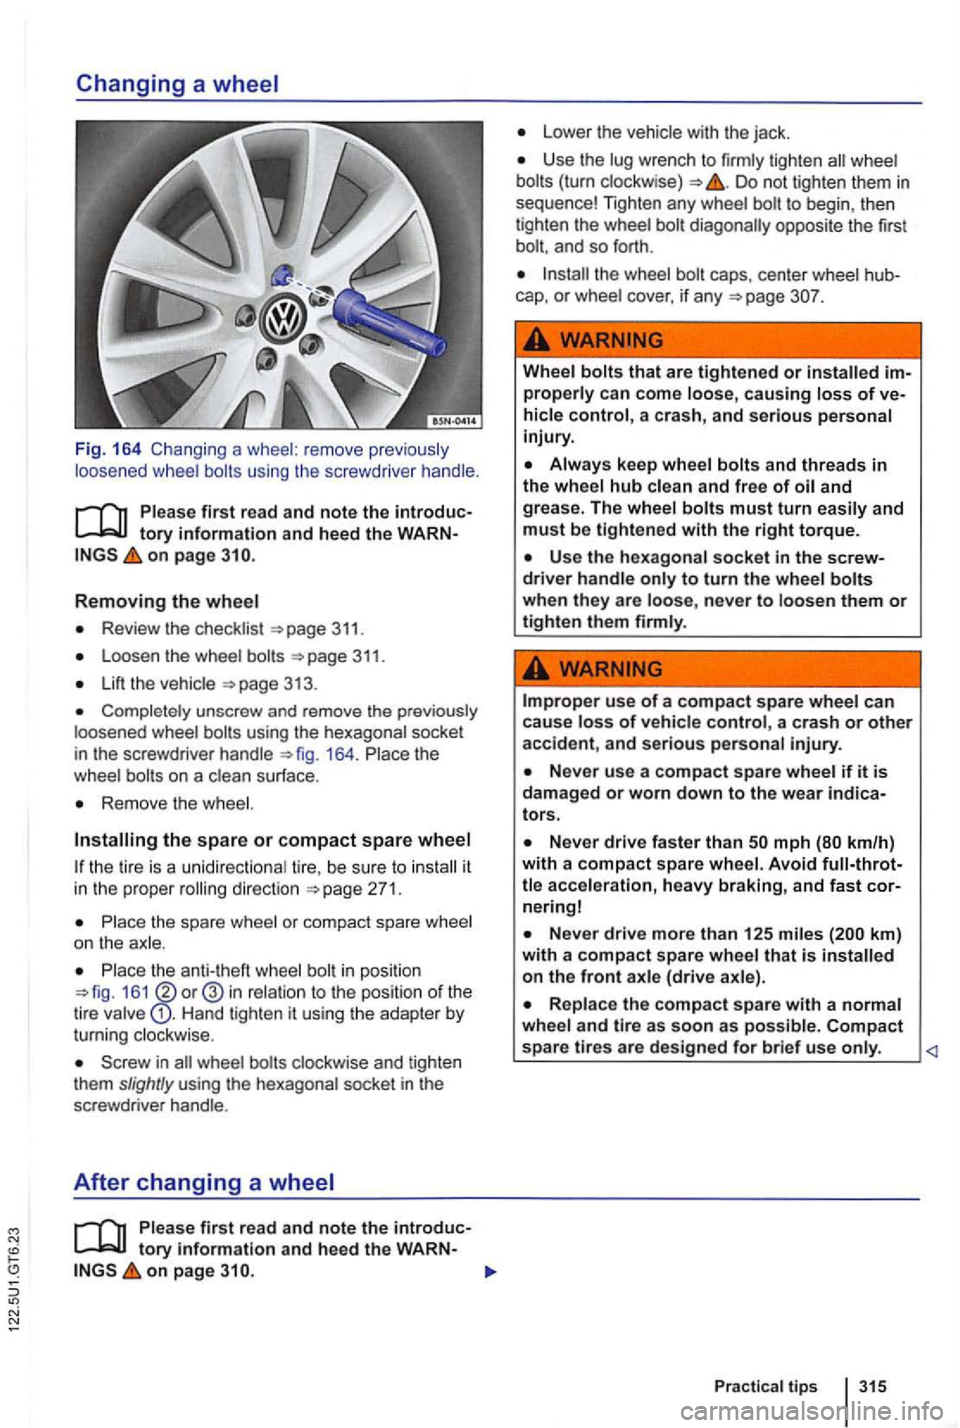
Fig. 164 Chang ing a whee l: remove previous ly
loos ened wheel bolts using the screwdrive r hand le .
on page
Removing the wheel
Review the checklist 311.
Loosen the wheel
Lift the
Completely unscrew and remove the previously
l oosened wheel
164. Place the
wheel
Remove the wheel.
the tire is a unidirectional ti r e , be sure to
Place the spare wheel or compact spare wheel
on the ax le.
in posit ion 161 in relation to the position of the
tire valve Hand tighten it using the adapter by
turning clockwise .
on page
Lower the vehicle with the jack .
Use the lug wrench to firmly tighten wheel Do not tighten them in sequence! Tighten any wheel to begin , then
tighten the wheel
and so forth .
caps , center wheel
Wheel bolts that are tightened or
Always keep wheel bolts and threads in the whee l hub clean and free of
Improper use of a compact s pare wheel can
cause loss o f vehicle control, a crash or other accident , and serious person al injury.
nering!
km ) with a compact spare wheel that is on the front axle (drive axle).
Replace the compact spare with a normal wheel and tire as soon as possible. Compact spa re tires are designed for brief use only.
Practical tip s 3 15
Page 431 of 516
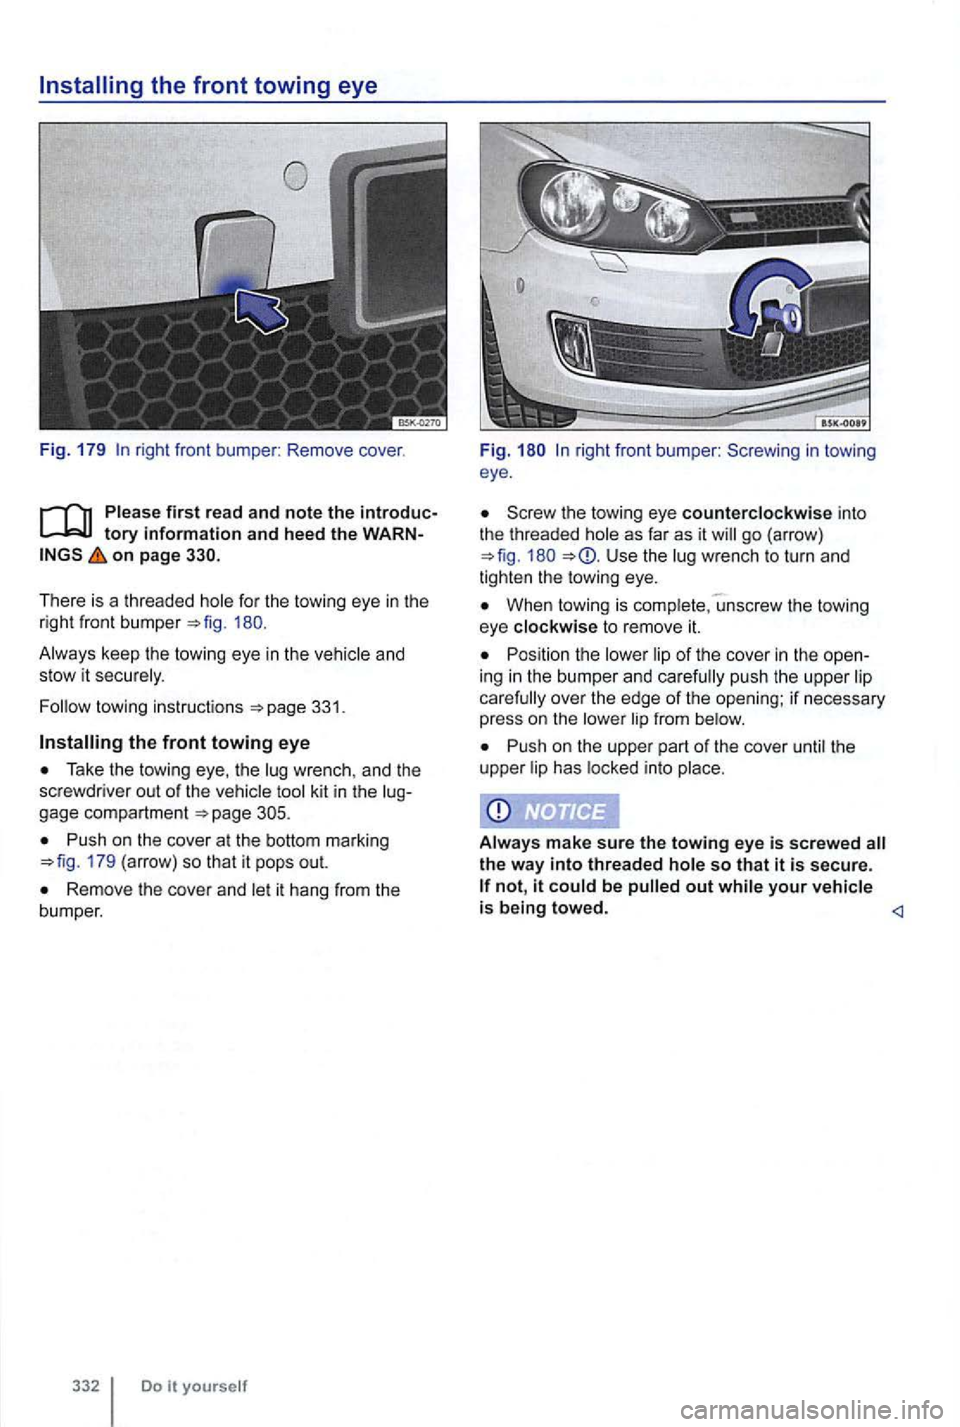
right front bumper : Remove cover.
first read and note the introduc
on page
There is a threaded 180.
33 1.
Take the towing eye, the
Push on the cover at the bottom marking =>fig. 179 (arrow ) so that it pops out.
Remove the cover and it hang from the
b um per.
332 Do
F ig .
Screw the towing eye counterclockwise into
the threaded
Use the
When towing is to remove it.
Posit ion the of the cover in the open
ing in the bumper and
Push on the upper part of the cover the
upper i n to
m ake sure the towing eye is screwed the way into threaded s o that it is secure.
Page 432 of 516
N
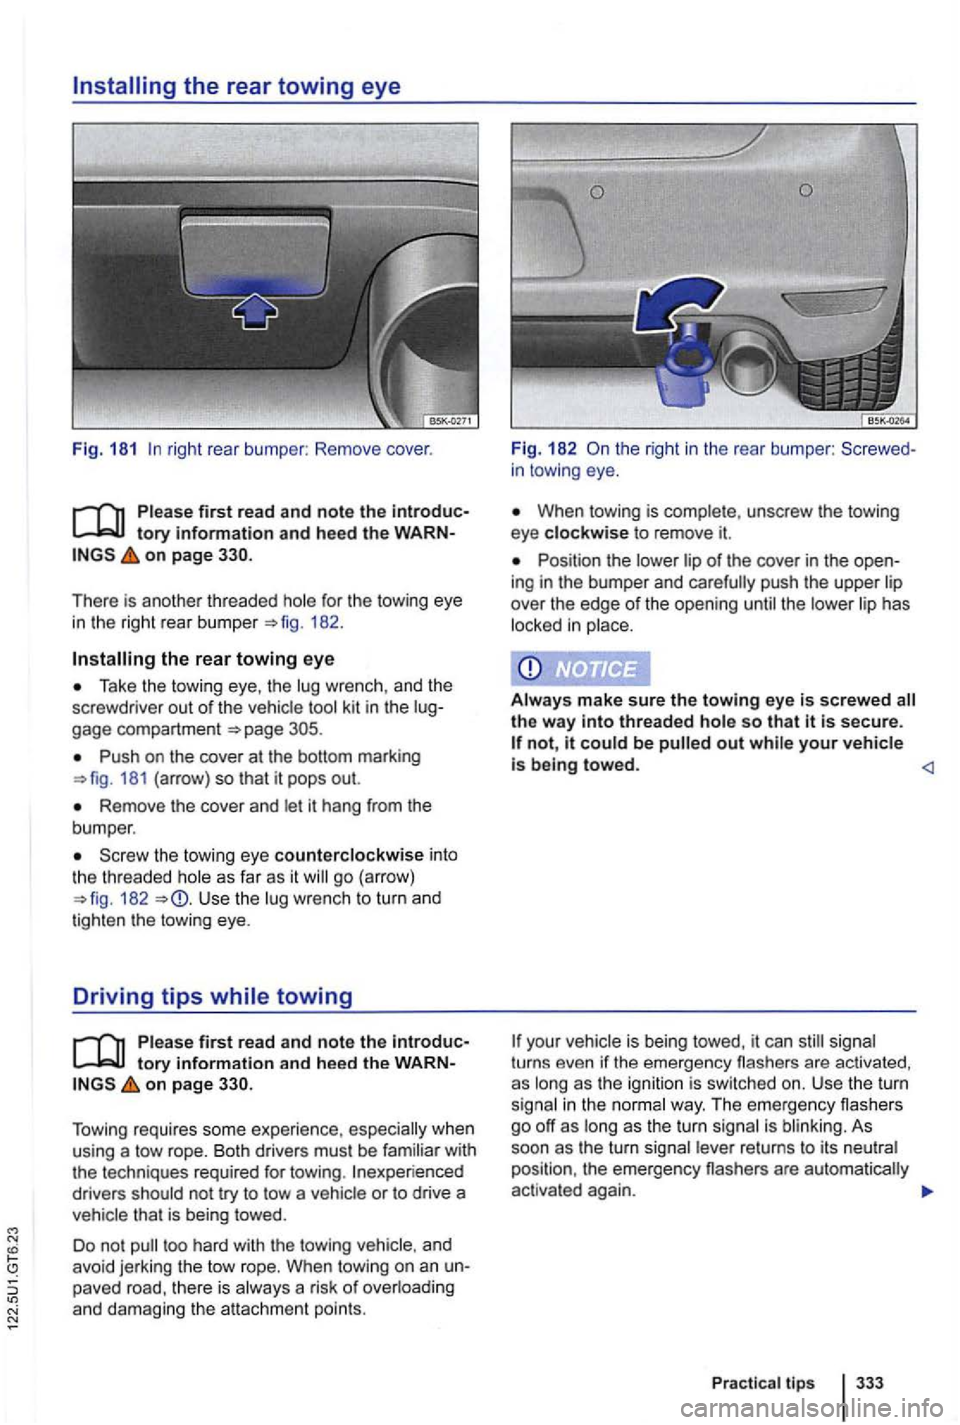
right rear bumper : Remove cover.
on page
for the towing eye
in the right rear bu mper 182 .
the rear towing eye
Take the tow ing eye , th e wrenc h, and the
screwdrive r out of the vehicle gage compartment
Push on the cover at the bottom marking 181 (arrow) so that it pops out.
Remove the cover and let it hang from the
bumper .
the towing eye counterclockwise int o the th readed as far as it go (arrow) 182 Use the lug wrench to turn and
t ighten th e towing eye.
Driving tips while towing
tory information and hee d the on page
Tow ing requires some experie nce , whe n
u sin g a tow rope. Both drivers must be familiar with
the techniques required for towing .
drivers should not try to tow a that is being towed.
Do not
in towing eye.
When towing is complete , unscrew the towing
eye clockwise to remove it.
Position the of the cover in the ing in the bumper and the
Aiways make sure the towing eye is screwed so that is secure. not, it out
your turns even if the eme rgency flashers are activated ,
as
i n the way. The em ergency flashers
go off as long as the turn signal is As soon as the turn re turns to its
Pr actica l tips
Page 438 of 516
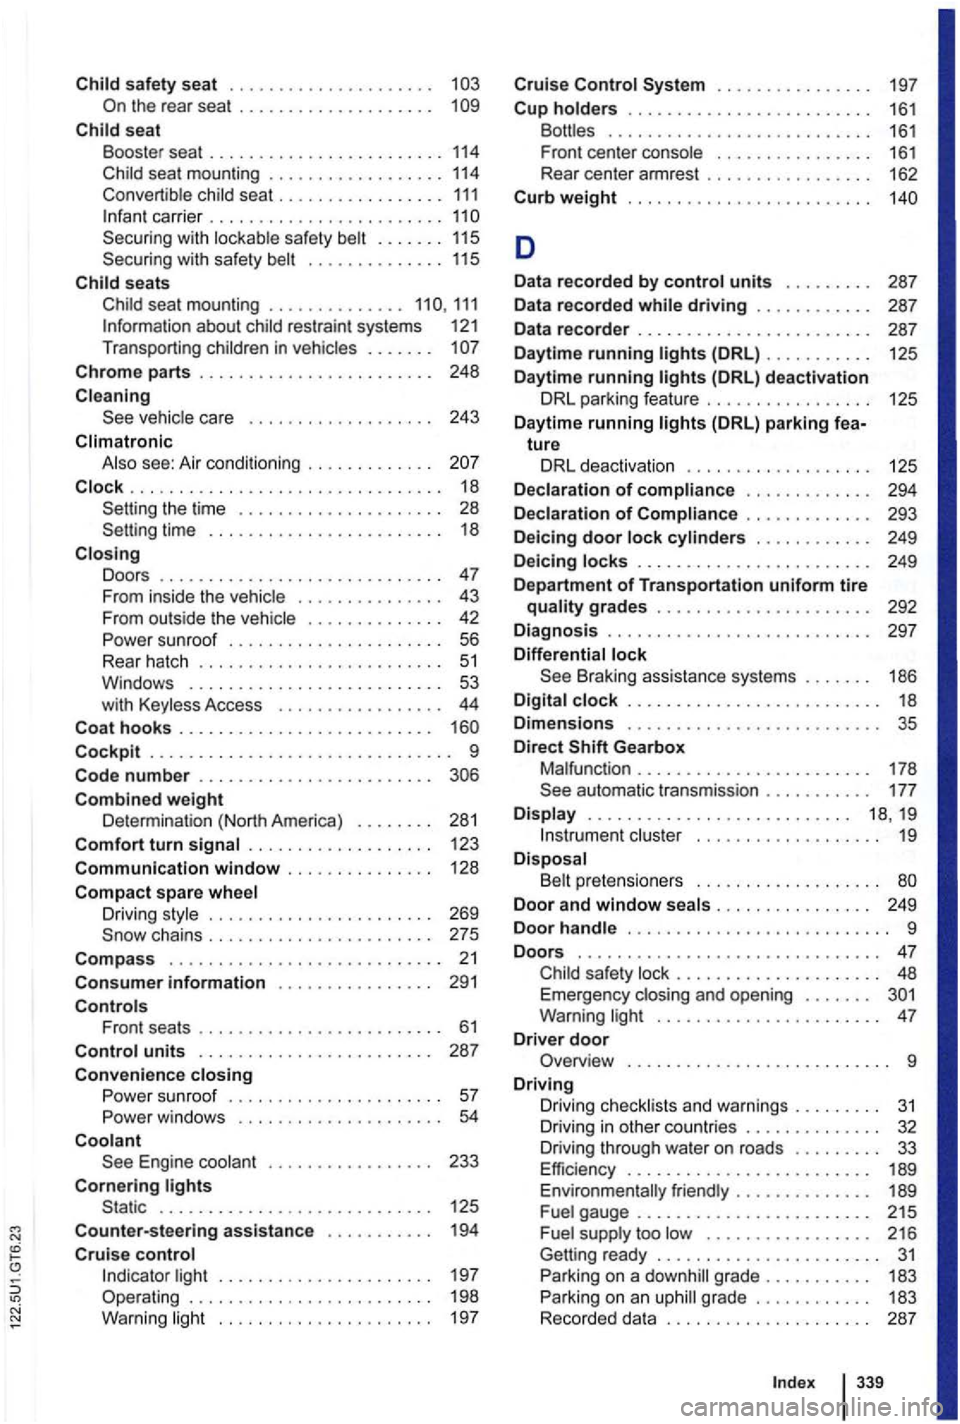
safety seat . . . . . . . . . . . . . . . . . . . . . 103 the rear seat . . . . . . . . . . . . . . . . . . . . 109
seat
B ooster seat ........................ 114 Child seat mounting .................. 114 Co nvertible child sea t . . . . . . . . . . . . . . . . . 111 Infant carrier . . . . . . . . . . . . . . . . . . . . . . . . 110 Sec uring with loc ka bl e safety belt ....... 115 Securing with safety belt .............. 115
seats
Child seat mounting .............. 110, 111 Informati on about child restraint systems 121 Transpo rting children in vehicles . . . . . . . 107
veh ic le care . . . . . . . . . . . . . . . . . . . 243
Climatronlc
Also see: Air cond iti o ning . . . . . . . . . . . . . 207
............. ........•.......... 18 Sett ing t he time . . . . . . . . . . . . . . . . . . . . 2 8 Setting time . . . . . . . . . . . . . . . . . . . . . . . 18
Closing
Doors . . . . . . . . . . . . . . . . . . . . . . . .
. . . . . . . . 51 Windows .......................... 53 w ith Keyless Access . . . . . . . . . . . . . . . . 44 . . . . . . . 160
Cockp it ......................... ...... 9
. . . . . 28 1
Comfort turn . . . . . . . . . . . . . . . . . . . 123
Communication window . . . . . . . . . . . . . . . 128
Compact spare Drivin g style . . . . . . . . . . . . . . . . . . . . . . . 269
Front seats . . . . . . . . . . . . . . . . . . . . . . . . . 61
sunro of . . . . . . . . . . . . . . . . . . . . . . 57 win dows . . . . . . . . . . . . . . . . . . . . . 54
Engine coo la nt . . . . . . .
. . . . . . . . . . . . . . . . . . . . . . . . . . . . 125
Counter-steering assistance . . . . . . . . . . . 194
. . . . . . . . . . . . . . . . 197
weight . . . . . . . . . . . . . . . . . . . . . . . . . 140
D
Data recorded by control units . . . . . . . . . 287
Data recorded
(DRL) . . . . . . . . . . . 125
Daytime running (DRL) deactivation
DRL parking feat ure . . . . . . . . . . . . . . . . . 125
Daytime running lights (DRL) parking fea-
ture DRL deact i
vation . . . . . . . . . . . . . . . . . . 125
Declaration of compliance . . . . . . . . . . . . 294
. . . . . . . . . . . . . 293 Deicing door lock cylinders . . . . . . . . . . . . 249
Deicing locks . . . . . . . . . . . . . . . . . . . . . . . . 2 49
Department of Transportation uniform tire quality grades . . . . . . . . . . . . . . . . . . . . . . 292
Diagnosis . . . . . . . . . . . . . . . . . . . . . . . . . . . 297 Differential lock Br aking ass istance systems . . . . . . . 186
Digital clock . . . . . . . . . . . . . . . . . . . . . . . . . . 18 Dim en sions . . . . . . . . . . . . .
. . . . . . . . . . . . . 19
. . . . . . . . . . . . . . . . . . . . . . . . . . . 9
Doors ............................... 47 Child safe ty lock . . . . . . . . . . . . . . . . . . . . . 48 Emergency closing and ope ning . . . . . . . 301 Warnin g light . . . . . . . . . . . . . . . . . . . . . . . 47 Driver door Overview .....................•..... 9 Driving
Driving checklists and warning s . . . . . . . . . 31 Driving in other countries . . . . . . . . . . . . . . 32 Driving throug h wa te r on roads . . . . . . . . 33 Efficiency . . . . . . . . . . . . . . . . . . . . . . . . . 189 Environmen tally . . . . . . . . . . . . . . 189 gauge . . . . . . . . . . . . . . . . . . . . . . . . 21 5 too . . . . . . . . . . . . . . . . . 216 Getting ready . . . . . . . . . . . . . . . . . . . . . . . 31 on a dow nhill grade . . . . . . . . . . . 183 on an