2012 VOLKSWAGEN GOLF MK6 navigation system
[x] Cancel search: navigation systemPage 61 of 516
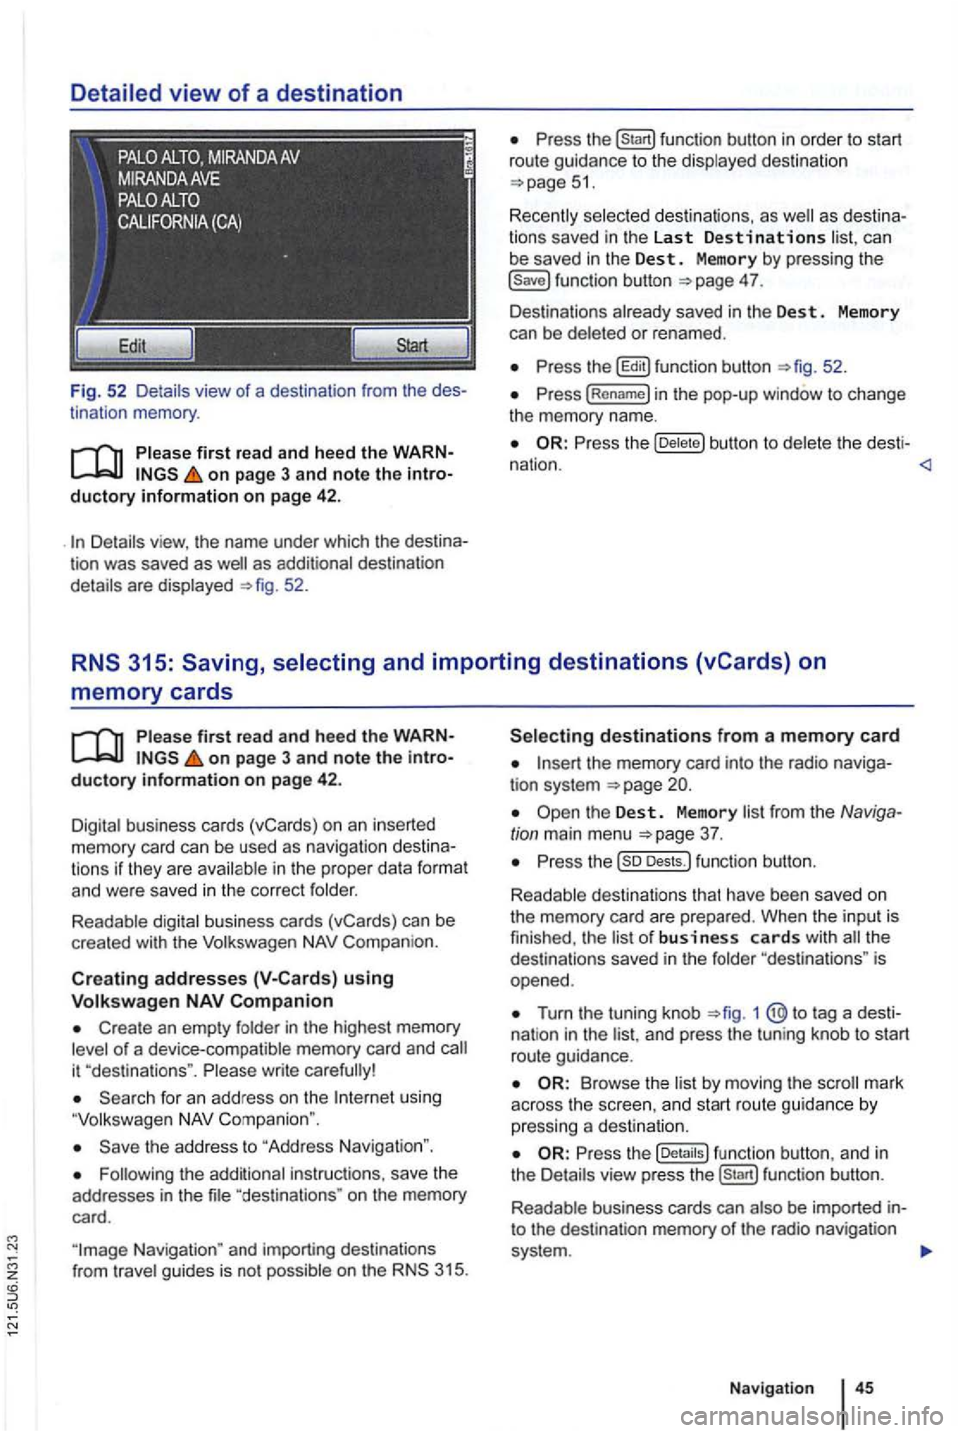
Detailed view of a destination
Fig. 52 Detail s view of a destination from the des
tinat ion memory .
first read and heed the WARNon page 3 and note the introductory information on page 42 .
as additional destination
details are displayed 52.
can
be saved in the Dest . Memory by pressing the 4 7.
Des tinations already saved in the Des t. Memory
can be deleted or renamed .
the b utton to del et e t he desti -
nation .
memory cards
on page 3 and note the introductory information on page 42.
Digital business cards (vCards) on an inserted memory card can be used as naviga tion des tin a
t ions if they are avai lable in th e proper data format and were saved in the cor rect folder.
Readable digital business cards (vCards) can be
crea ted with the
Compan ion.
Creat ing addresses using
Create an empty folder in the highest memory of a device-compatible memory card and
using
the address to "Address Navigation ".
"destina tions " on the memory
card.
the memory card into the radio naviga
tion system
Turn the tuning knob 1 @ to tag a dest i
nat ion in the and press the tun ing knob to start
route guidance.
Browse th e list by moving the
the fu nc tion button , a nd in
the Details view pre ss function button.
R eadab le business cards can also
be imported into the destination memory of the radio navigation
system .
Navigation
Page 70 of 516
Two-dimensional, viewed from above ,
facing the direction of
Travel ): Three-dimensional , bird's eye-view, viewed from the front.
the three types of Map view can be browsed by tapp ing the co mpass on the
map .
D uring route guidance , th e
route can so be
Press the (Map overview) fun ction button in the
pop-up window to
of the overview map cannot be chang ed.
Press the function button in the overview
ma p to change back to the previo us map view.
the speed ca n be on the of
the turning arrow has priori ty over the speed
during route guidance.
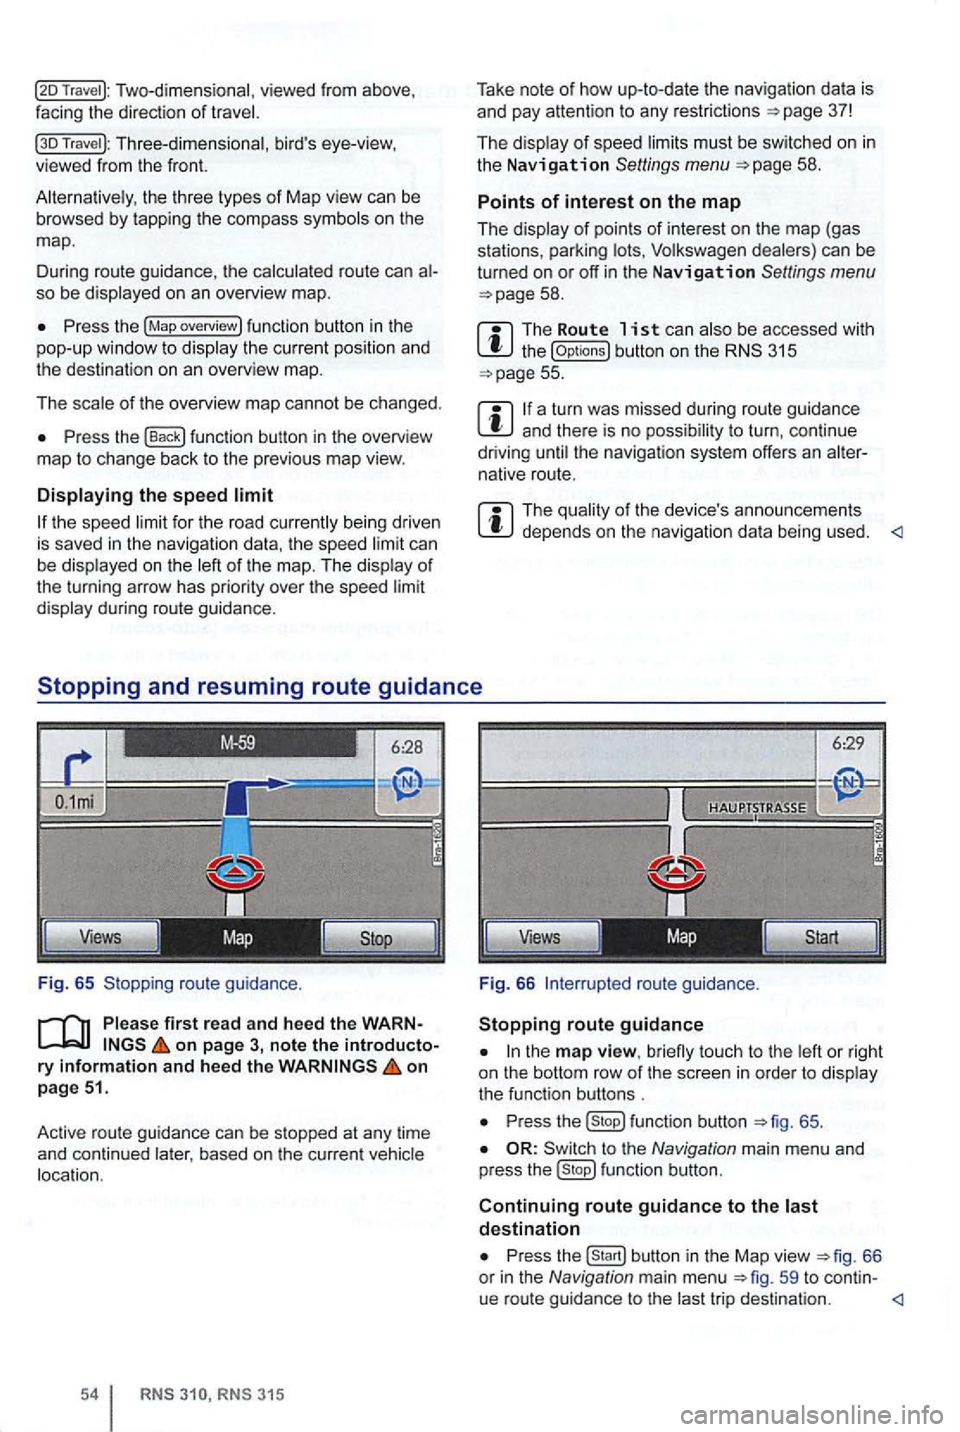
Fig. 65 Stopping route guidan
ce.
first rea d and heed the WARNon page 3, note the introductory information and hee d the on
p age 51.
Active route gu idan ce
can be stopped at any time
and continued based on the curre nt
RN S RNS 315
Take note of how up-to-date the nav igation data is
and pay attention to any restrictions =>page 37!
The
must be sw itched on in the Navigation Settings menu =>page 58 .
Points of interest on the map
The
the (Op tions) button on the 315 =>page 55.
a turn was missed during route guidance and there is no t o turn , con tinue
driving the navigat ion system offers an native route.
The depends on the navigation data being used.
6:29
Views
Fig. 66
to u ch to the
P ress function button =>fig. 65 .
to the Navigation main menu and
p ress fu nction button.
Continuing route guidance to the destination
Press
trip desti nation.
Page 73 of 516
on page 3, note the ry and heed the on pag e 51.
An upcoming section of road can be blocked
while route guidance is in process.
Pre ss the nus (exce pt for
Press the (Route) function button in the Info dow .
Press the ahead ) function button in the
pop-up window.
the length of the section which is to be
blocked by turning the tuning knob 1 @.
The length of the section being blocked is played at the bottom of the screen . (Max) pears at the bottom , thi s signifies the max imum distance.
Route guidance in Demo mode
on page 3, note the introductory on page 51.
Demo mode is activated in the Navigation tings menu ,
Touch ing the (D emo ) function button starts route guidance " to the entered trip destinatio n.
ance are compa rable to route guidance .
route guidance is repeated after reaching
the fictional trip destinat ion, and always restarts
from
in t he Navigation settings menu, the n
virtual route guidance starts from this position.
A
entered starting point is overwr itten by
the current vehicle location when the is
moved and the current location of the vehicle can
be determined via
Press the tun ing knob or press the function
button to confirm the block.
Blocked sections are displayed on the map in gray.
The route is recalculated
as as the navigation
system can determi ne a reasonable route to avoid
the blocked section.
R e
moving a
Pre ss the button in any of the navigation
Pre ss the (Rout e) function button in the Info dow .
Press the Rem ove Ex.) function button in the pop-up window .
regarding manually blocking ditional upcoming route sections 56.
afte r virtua l route guidance in Demo mode, rea l
route guidance is started , then the device must be
re -orien ted . Depending on the number of being received at the time, this may take a wh ile. movement can reduce the re-o rientation
t ime
Ending D emo mode
The demo mode should be deactivated after being
used , as you are
tween a virtua l or a normal route guidance at the
beg inning of any naviga tion .
Demo mode is
automatically ended when
the route guidance is fini shed or a new final
also Demo mode.
You end Demo mode in the
N av ig a tion settings menu.
Press the button in any of the naviga
tion menus.
Deactivate the checkbox in Demo mode) functio n button .
Navigation
Page 78 of 516
Please first read and note the introductory information and hee d the WARN on page 59.
A
one-time pairi ng of both devices is necessary to
connect a
some countries , pairing driving is not possi
For 315, the radio navigation system can be
used to complete pairing.
63.
When connecting via the
315 radio navigation
system , the mobile ph one can be connected in one
of two ways :
Active connection
The Bluetooth® function must be activated
and v isible on both the
The should be disa
The phone's key and warning tones should be disabled .
You
phone be automatically transferred . T he
length of the transfer depends on the volume of data saved on the phone . After the transfer is com
p lete , the data is
active telephone pairing
An active mobile phone connection ends an exist
ing connection to anot her mobile phone.
Press the button.
Press the (SETUP ) button.
Press the [Biuetooth settings)l l func tion button .
Press the [search for devices) function button.
T he scan ning process can
15 to seconds .
When the process has bee n comple ted, the names
o f t he Bluetoot h devices f ound
72.
Access the telephone to be paired from the 72.
T he radio navigation system and the mobile phone
code displaye d on th e screen of th e rad io nav
i gation system.
When the pairing is successfully completed, the
63 .
passive telephone pairing
Press the button.
Press button.
Press th e [Biuetooth settings)1l funct ion button.
Press the (Make BT fu nc tion butto n .
15 to phone
of Bluetooth audio accesso ries and
start a connec tion.
T he radio naviga tio n system and the
some cases, additional entries are required on the phone to complete the connection of both devices.
Where the code displayed on the
radio navigation system's screen must be entered
and confirmed with
is entered inco rrectly. For safety reasons ,
t h e duration of the radio navigatio n system's toot h visibil ity is li m ited to precisely 5 min utes.
When the pairing is successfully completed, the
63 .
tho connection function butto ns are not the d evice has to be connected via the instrument p age 63.
Page 79 of 516
z
Pairing and connecting
There can be up to four one can be connected to the rad io -navigation system at any one time.
When the radio navigation system
is switched on,
it
connect
ed.
attempt to connect to
t h e next phone on the of paired devices.
T
he maximum reception distance for a connection is con
nection be interru pted if this distance is ex- ceeded
. The connection
as soon as a paired device is within range again.
four one is to be connected , one
Press button .
Press the (Biuetooth settings)1l function button.
Press the (Paired device lis t) function bu tto n.
of paired devices, tag the phon e to be
Connecting the
Please first read and note the introductory information and heed the WARNon page 59.
is connected , via the radio naviga
tion system.
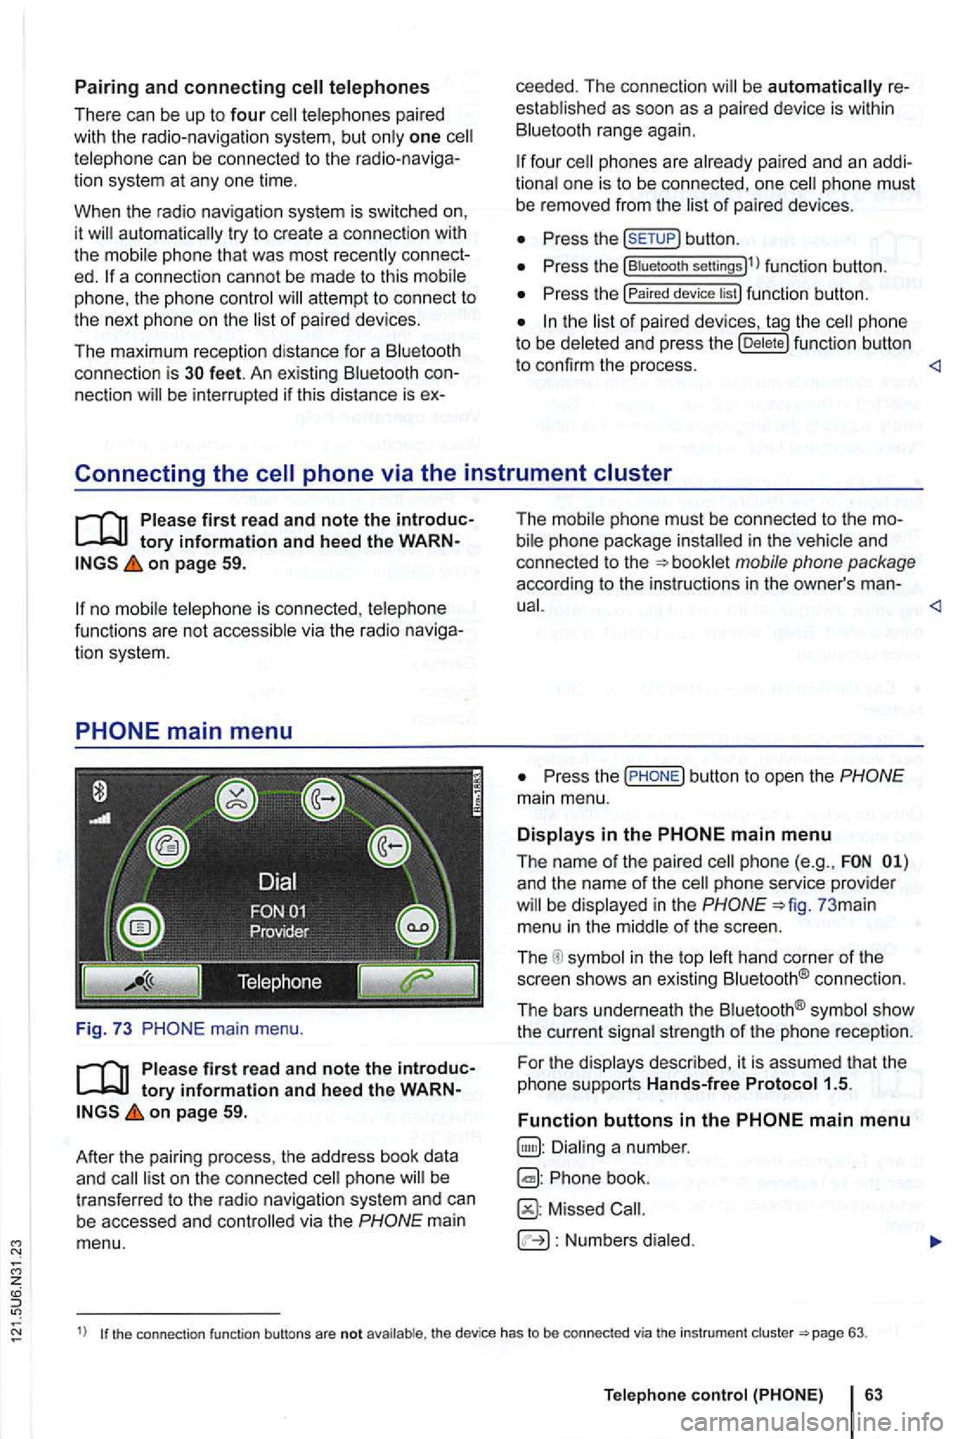
main menu.
first read and note the introductory information and heed the WARNon page 59.
After
the pair ing process , the address book data
and
mai n
menu. T
he i
n the and
co nnected to the
P ress the
and the name of the phone service provider in the 73 mai n
menu in the
in the top connect io n .
The bars underneath the
strength of the phone reception.
F or th e
Phone book.
Missed
Numbers
1) the connection function buttons are not the device has to be connected via th e instrument 63.
Telep hone
Page 83 of 516
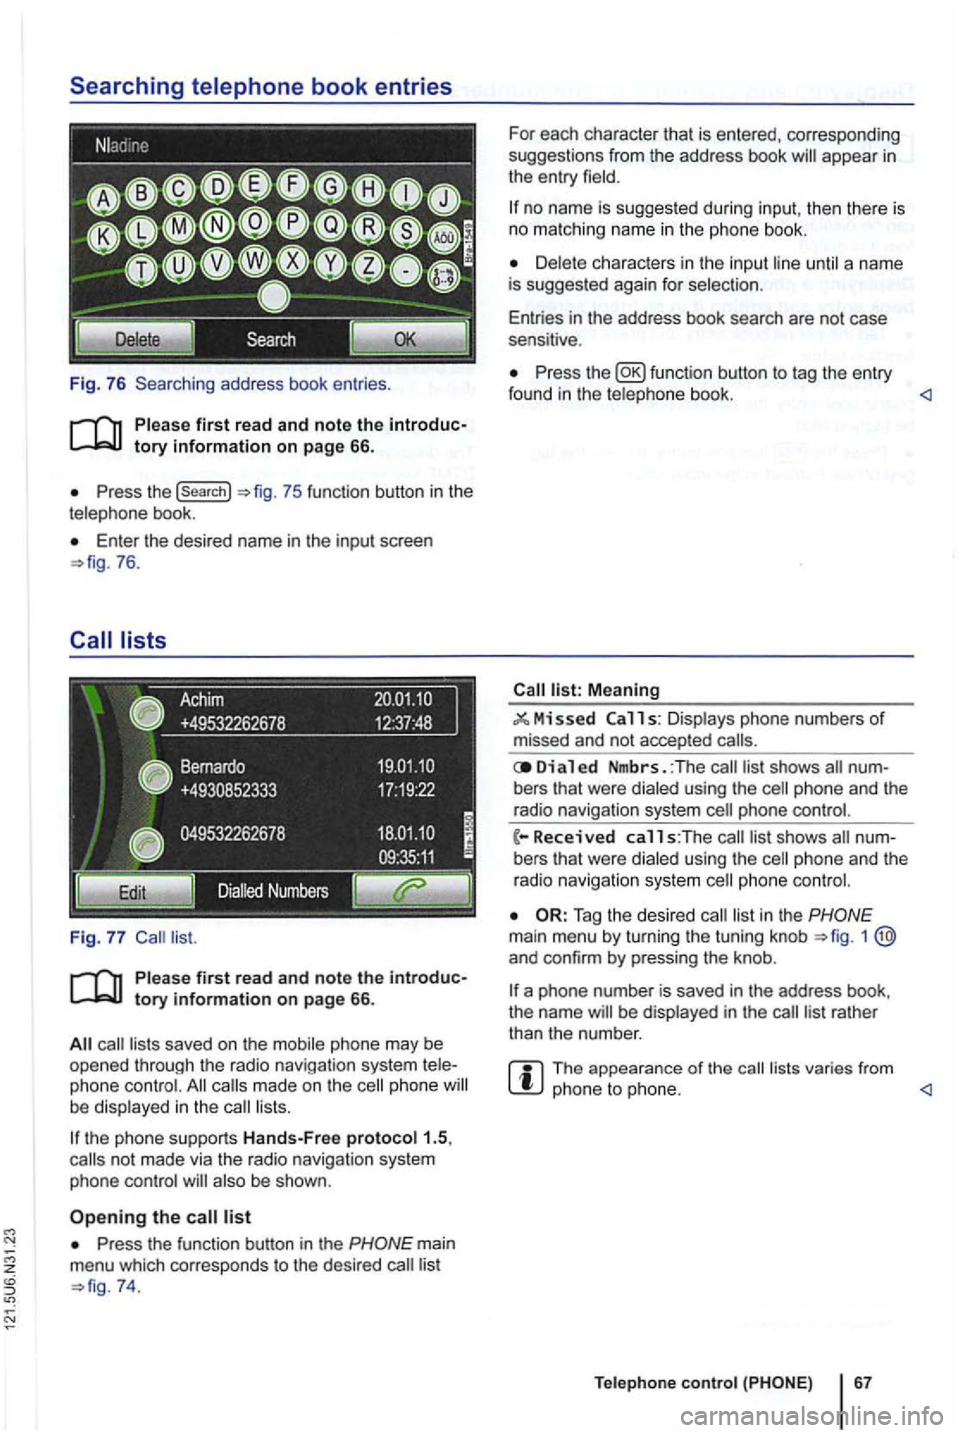
Fig. 76 Searching address book entries .
Press the (search}
Enter th e desired name in the input screen 76.
saved on the mobile phone may be opened through the radio navigation system phone made on the phone lists.
the phone supports Hands-Free proto col1.5,
also be shown .
Press the function button in the
74. For
each character that is entered, corresponding
suggestions from the address book
no name is suggested during input, then th ere is no matching name in the phone book.
until a name
is suggested again for selec tion .
Entries in the address book search are not case
sensitive .
Press the function button to tag the entry
found in the telephone book. <1
Meaning
11 s: Displays phone numbers of missed and not accepted
Di a 1 ed Nmbrs. :The bers that were dialed using the
phone and the
radio navigation system
list in the 1 and confirm by pressing the knob .
a phone number is saved in the address book,
the name be displayed in the
The appearance of the lists varies from phone to phone. <1
Teleph one c ontro l
Page 89 of 516
Tum the tuning knob or press the
be
the maximum is se t to a very the navigation messages to this This can in the need for ad
justments to navigation every time the de
vice is switched on.
au toma ti
firs t read and heed the WARNon page 3 and note the introductory information on page 72.
the button and press the
of inc rease
is set , th en the is somewhat
rai sed with increasing road speed. For a high
ue, the means
that the is
sw itched off
the to reset the device to its
fo r text and voice.
!Automatic) to accept the set in the instru ment
!Keypad display)
in th e inpu t sc reens.
l
aWERTY) : in the input screens.
settings.
!Brightness): of br igh tness.
!Day/Night): Change the map
!Automatic): The map changes depending on activation or deactiva tion of th e head lights.
The map in day design (bright).
!Night): The map is in night design (dark).
!Confirmation tone): (D e)activate confirmation sound when pressing a function button on the screen.
!
Factory sellings): Reset dev ice to stat us.
Display J
l3
sec] , ls sec],j1o sec) : Changes to the system be shown on the screen for 3, 5 or
system are not on the screen.
Setting s 73
Page 104 of 516
About this
At the end or this Manual , you
The list or Abbrevia tions at the end or the Man
ual explains the technical abbreviations and desig
nations.
Directions
Ill ustrations are only expla in the text descriptions
and instructions .
Any technical modifications to the vehicle that
were introduced
fere nces between your vehicle and the information
in this No the information , illu strations , or descr iptio ns in thi s
you
set
Warranty and Maintenance booklet
Owner's Manual
The set may
Supplemen t
Radio or Navigation system
Mobile Phone Package