2012 VOLKSWAGEN GOLF MK6 mirror
[x] Cancel search: mirrorPage 234 of 516
Auto-dimming inside mirror (if
light
When
auto-d imming is activated , the indicator light
on.
the ignition is switched the
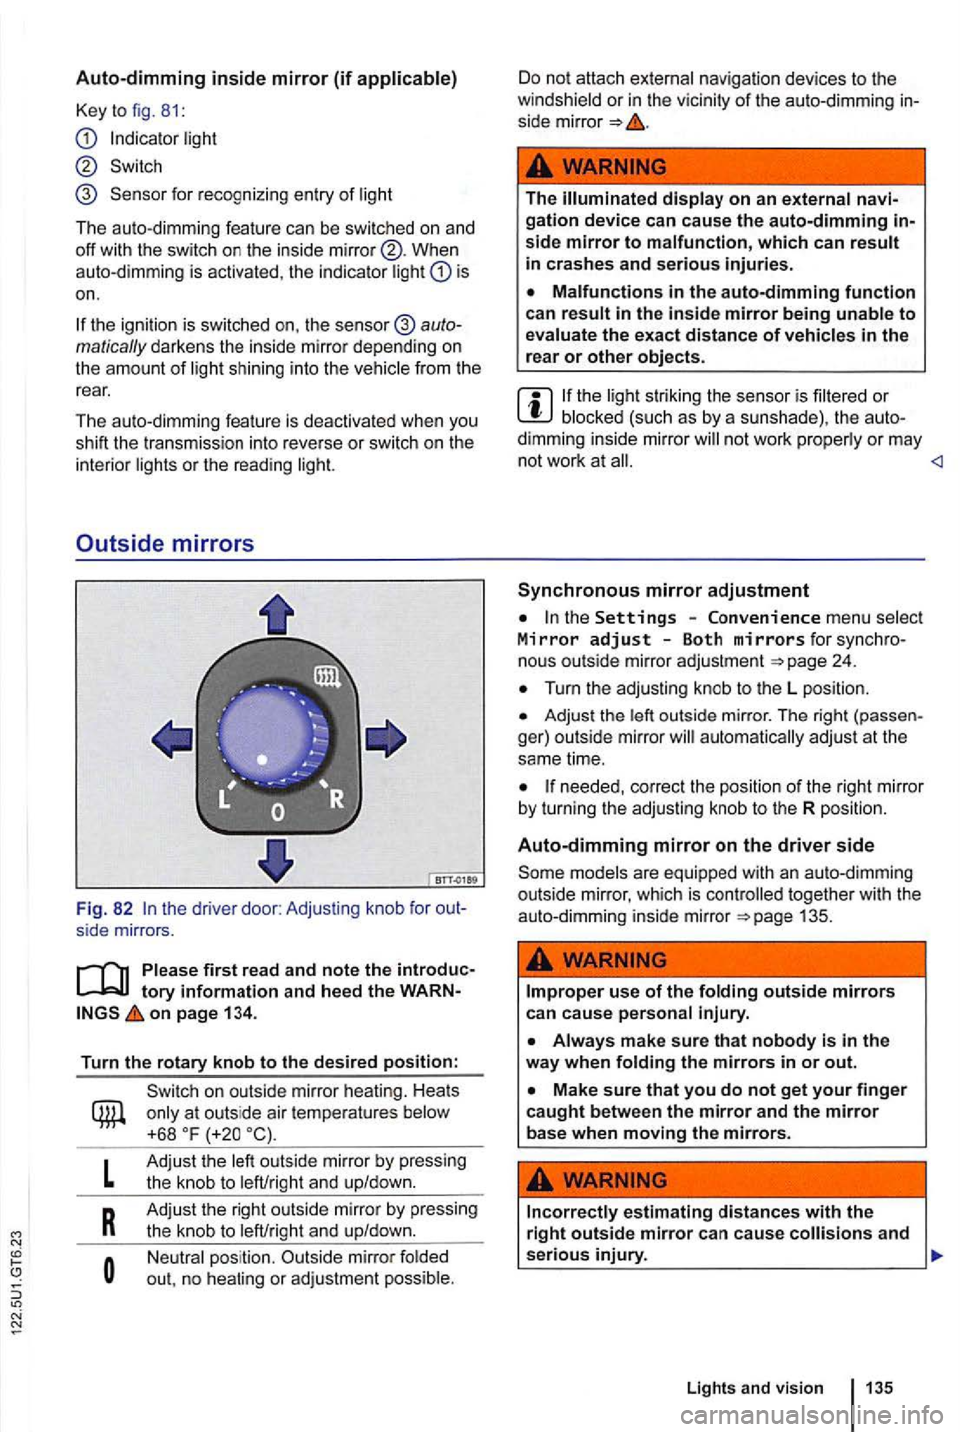
Outside mirrors
. . . . .:.:
;
on page 1 34 .
Turn the rotary knob to the desired position:
L
R
outside mirror by pressing
the knob to and up/down.
Adjust the right outside mirror by pressing
the knob to left/right and up/down.
Neutral position. Outside mirror folded
ou t, no
or adjustment possible.
Do not attach external navigation devices to the
winds hield or in the vicinity of the auto-dimming side mirror
The gation device can cause the auto-dimming
blocked (such as by a s unshade), the not work properly or m ay
not work at
the Settings Convenience menu select Mirror adjust Both mirrors for n ous outside mirror adjustment 24.
Turn the adjusting knob to the L position .
Adjust the outside mirror . The right ger) outside mirror
needed , correct the position of the right mirror
b y tu rning the adjusting knob to the R position.
Auto-dimming mirror on the driver side
mode ls are equipped with an auto-dimming
outside mirror, which is together with the
auto-dimming inside mirror
Lights and vision 135
Page 235 of 516
you use the right outside mirror to judge distance s from vehicles behind you when
changing lanes, you could estimate incorrect
ly and cause a crash and serious injuries.
Whenever possible, use the inside mirror to more accurately judge distance and size of vehicles or other objects seen in the convex
mirror.
Always make sure you have a clear view to the rear of the vehicle.
136 Before driving Always
fold
in the outside mirrors when taking the vehicle through an automatic car wash.
To reduce fuel consumption , use outside mirror heating only when needed.
When first switched on, outside mirror heating works with maximum heat for about 2 mi
nutes .
outside mirrors can be adjusted by hand by
pressing on the edges of the mirror surface .
Page 249 of 516
some area s, speed
is higher.
you are driv ing a new vehicle or a ve hicle with a new or rebui lt engine, do not tow a during the break-in period, about 283.
Technical requirements
tory informatio n an d heed the WARNon page 149.
Use only a weight-car rying
hitch must be suitable for
you r
a "weight -dis
tributing " or "load-equalizing " trailer hitch on your The vehicle is not designed for this kind of trailer hitch
Do not use a bumper-mounted traile r hitch
Never
a trailer hitch on the bumper or on the
bumper attachments. The trailer hitch must not in
terfe re with the impact-absorbing bumper system.
Do not make any changes to the vehicle exhaust
and brake systems. From time to time, check that trailer hitch mounting bolts are secure ly fas
tened. When you are not towing, remove the trailer
hitch. This
helps keep the trailer hitch from causing damage if your vehicle is hit from behind.
Engine cooling syste m
Tow i
ng a trailer makes the engine and its cooling
system work harder.
Before driving
maintenance more often because of the extra
load it has to move.
When you are not towing , remove the trailer hitch
Some models need a trailer hitch to tow or tow-start other vehicles. after it has
been removed. Be sure to stow it securely.
your trailer has its own brakes , make sure it
meets
151 .
T ra
iler
Trailer lights must meet regulations 151.
Never connect the trailer lights directly to the elec
t rical system
of your
Outside mirrors
you cannot see the traffic behind you using the
r egular outside mirrors, then you must ex
t ended mirrors. Extended mirrors may also be re
quired by law in some countries
I states I provin
ces . Always adjust the outside mirrors befo re dr iving. It's vital that you always have a clear view to
the rear of the veh icle .
Maximum po w er con sumption fo r the trailer
Do not exceed the power ratings listed in the chart
b elow.
E l
ectr ica l load Maximum power
Taillights total
Page 344 of 516
Washing with a power washer
tory information and heed the on page 243.
A lways
M ake sure th ere is e nough dista nc e to soft .
N ever u
se concentrated jet nozzles or dirt
use of power washers can cause serious invisible permanent damage leading to tire and loss of vehicle control. This can cause accidents and serious personal in-jury.
blasters" to clean tires .
Even spraying from a relatively long distance for a very short time can do visible or invisi-
After the vehicle has been washed, the wet brakes or, in winter, brake discs or pads coat-ed with react slower and need longer stopping distances.
Always dry the brake s and clean off any coatings with a few careful application s of the brake. Make sure not to endanger other motorists or cyclists or disobey require-ments.
P le a se first read and note the
on page 243 .
C lea
ning windows and outside mirrors
Water temperature should not be more than
To help prevent damage to the paint, do not wash the vehicle in direct sunlight.
When using a power washer or steam er, only spray the sensors directly for a short period of time and always keep the nozzle at least 4 inches em) from the sensor.
Do not clean icy or snow-covered windows with a power washer.
hav e
a bsorbe d an oily resid ue t ha t sme ar th e glass
s u rfaces .
U
se w indow cleaner or a s ilicone remover to mov e r ubbe r, oil, grease and silico ne dep osits
care and maint enanc e 245
Page 345 of 516
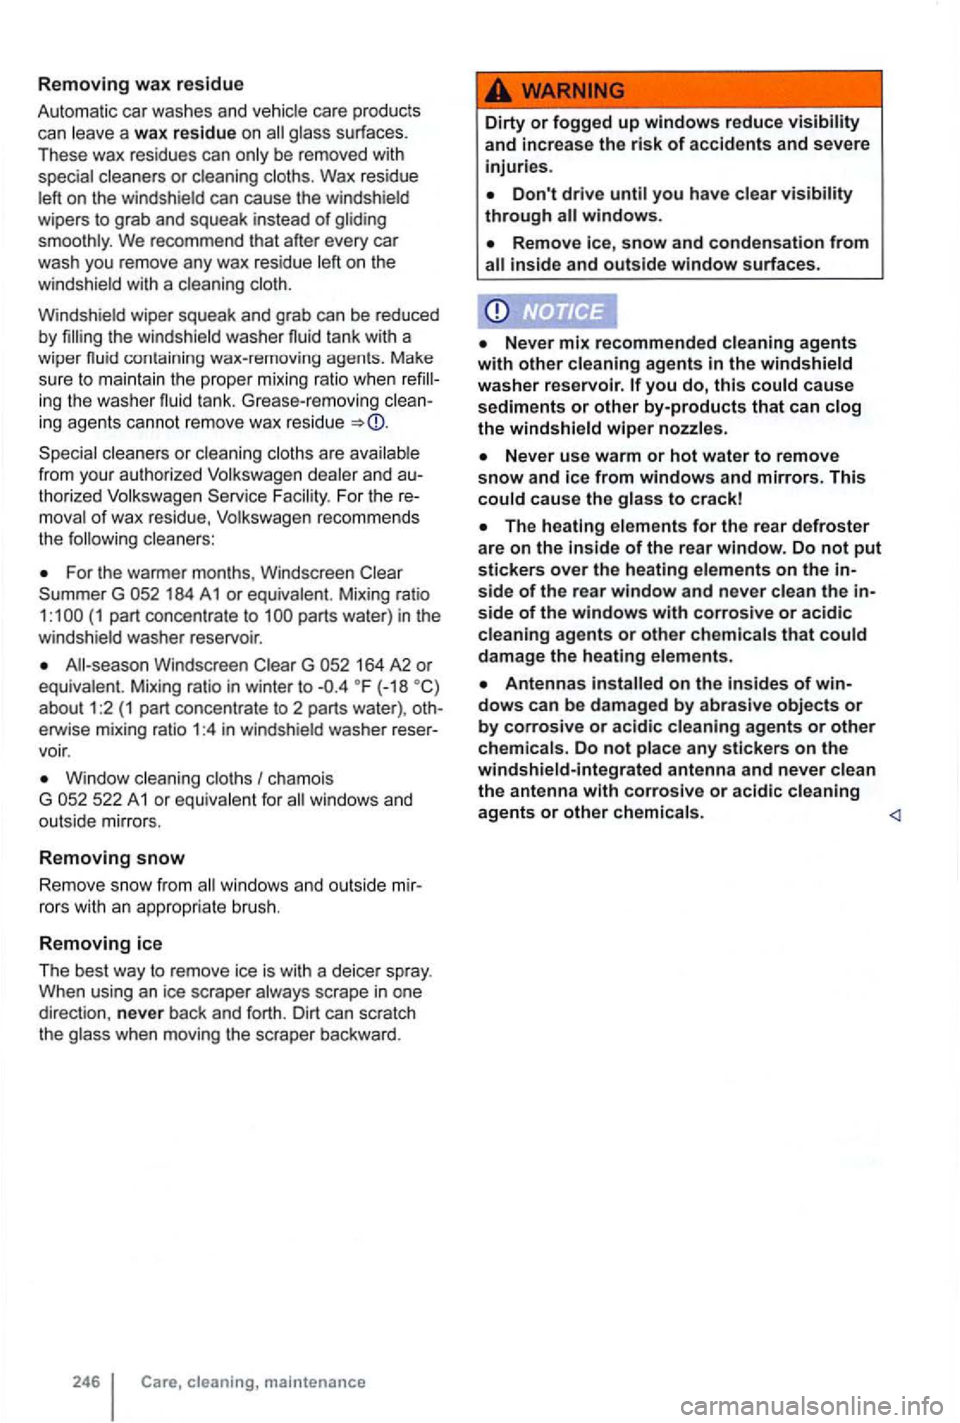
Removing wax residue
Automatic car washes and vehicle care products
can leave a wax residue on glass surfaces.
T hese wax residues can only be removed with
special cleane rs or clean ing clo ths. Wax residue
left on the wind shie ld can cause the windshield
wipe rs to grab and squeak instead
of
cloth.
Windshie ld wiper squeak and grab can be
reduced
by the winds hield washer fluid tank with a
wiper
fr om yo ur auth orized Volkswagen dealer and au
thorized Volkswagen For the re
moval of wax residue, Volkswagen recom mends
the cleaners:
For the warmer months, Windscreen Clear 184 A 1 or equivalent . Mixing ra tio (1 part concentra te to
(-18 about 1:2 (1 part conce ntrat e to 2 parts water) , oth
erwise mixing ra tio 1 :4 in windshie ld washer reser
voir .
Window cleaning cloths I ch amois
G 522 A 1 or equ iva le nt for windows an d
outside mirrors.
Removing snow
Rem ove snow from windows and outside mir
rors with an appropria te br ush .
Removing ice
Th e best way to remov e ice is wi
th a deice r sp ray. When using an ice scraper always scrap e in on e
direct ion , never bac k and forth . D irt can scratch
the glass when moving t he sc ra per backward .
WARNING
Dirty or fogged up windows re duce visibility and incre ase the risk of accidents and seve re
injuries .
Don't drive until you have clear visibility th rough all windows.
Never mix recommend ed cleaning agents
with other cleaning agents in the windshield
washer
Never use warm or hot water to remove snow and ice from windows and mirrors. This could cause the gla ss to crackl
The heating elements for the rear defroster are on the inside of the rear window. Do not put stickers over the heating elements on the inside of the rear window and never clean the inside of the windows with corrosive or acidic cleaning agents or other chemic als that could damage the heating element s.
Antenna s installed on the insides of windows can be damaged by abra sive objects or by corrosive or acidic cleaning agents or other chemicals . Do not place any stickers on the windshield-integrated antenna and never clean
the antenna with corrosive or acidic cleaning
agents or other ch emicals.
Page 422 of 516
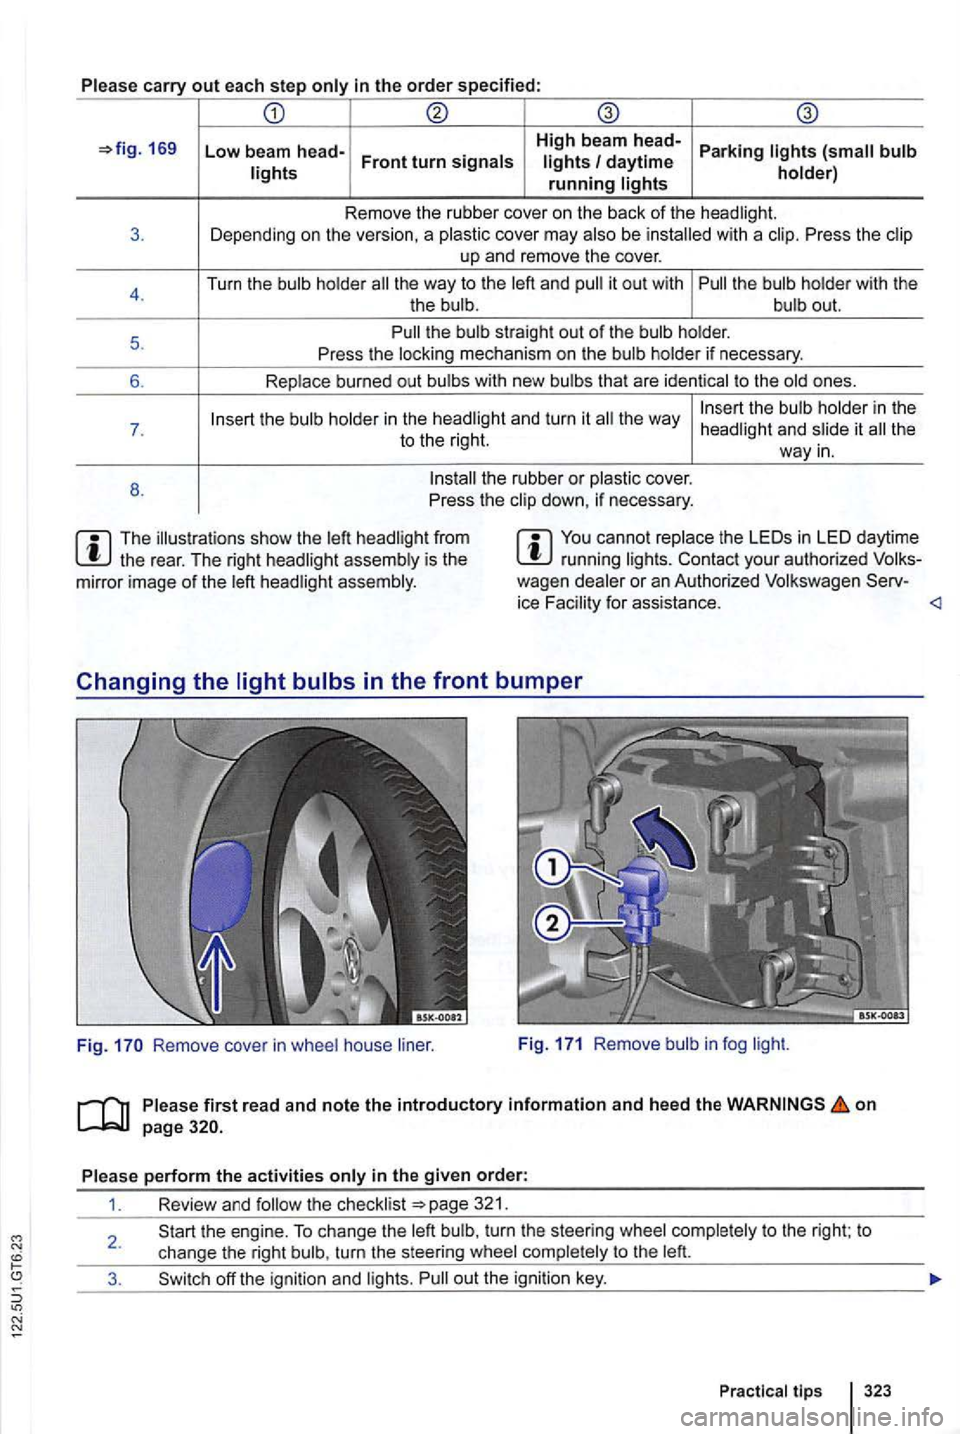
Please carry out each step only in the order specified:
169 Low beam head-High beam head-Parking lights
the way to the left and it out w ith
the way
the rear. The right headlig ht assembly is th e
mirror image of the left headlig ht assembly.
in LED daytime your authori zed wagen dealer or an Authorized Volkswagen ice Facility for assistance.
Remove cover in wheel house liner. Fi
g. 171 Remove bulb in fog light.
on page
321.
2.
323
Page 436 of 516
of the vehic le . . . . . . . . . . . . . . . . . . 292
Braking assistan ce sy ste ms . . . . . . . 185
Accessories . . . . . . . . . . . . . . . . . . . . . 283, 284
Acoustic warnings Light . . . . . . . . . . . . . . . . . . . . . . . . . . . . . 124
Warning and indicator lights . . . . . . . . . . . . 15
Adapti ve Front Lighting Dynami c . . . . . . . . . . . . . . . . . . . . . . . . . 126
Adjusting Electr ically ad justable front seat . . . .
. . . 63 sea ting position . . . . . . . . . . . . . . .
. . . . . . . . . . . . . . . 95
a nd child restrain ts . . . . . . . . . . . . . . . . . ........... ..................... 126
Afte rm arket equipment . . . . . . . . . . . . . . . . 285
Aftermar ket installation ph one . . . . . . . . . . . . . . . . . . . . . . . . 287
R adio equipment . . . . . . . . . . . . . . . . . . . 287
Aftermarket installations . . . . . . . . . . . . . . 291
Airbag system . . . . . . . . . . . . . . . . . . . . . . . . 82
Adva nced Airbag s . . . . . . . . . . . . . . . . . . . 97
Advanced Airbag . . . . . . . . . . . . . . 95
C le a ning the instrument panel . . . . . . . . . 256
D ea ctivation by we ight -sensing mat . . . . . 97
Deactivation
of passenger front airbag . . . 97
Descr ipt ion . . . . . . . . . . . . . . . . . . . . . . . . . 87
Front airbags . . . . . . . . . . . . . . . . . . . . . . . 92
Fun ction ality . . . . . . . . . . . . . . . . . . . . . . . . 87
Locking ve h icle afte r inflatio n . . . . . . . . . . . 42
airbags . . . . . . . . . . . . . . . . . . . . . . . . 99 Curt ain airbags . . . . . . .
. . . . . . . . . . . . . . . . . . . . . . . . . . conside rations 211
Air conditioning . . . . . . . . . . . . . . . . . . . . . . Climatron ic . . . . . . . . . . . . . . . . . . . . . . . .
Man ual . . . . . . . . . . . . . . . . . . . . . . . .
Air recirculation . . . . . . . . . . . . . . . . . . 212
Fun ctio nality . . . . . . . . . . . . . . . . . . . . . . . 212
off.. . . . . . . . . . . . . . . . . . . . . . 212
Air vents . . . . . . . . . . . . . . . . . . . . . . . . . . 212 Alarm button in vehicle key
. . . . . . . . . . 248
Anodized surfaces . . . . . . . . . . . . . . . . . . . 248
Antenna . . . . . . . . . . . . . . . . . . . . . . . . . . . . 292
Anti-Lock Brake . . . . . . . . . 185
. . . . . . . . . 186 , 187
Anti-th eft alarm system . . . . . . . . . . . . . . . . 45
Descr iption . . . . . . . . . . . . . . . . . . . . . . . . 45
Anti-th e
ft wheel bolts .....•.... 311
Antifreeze agent . . . . . . . . . . . . . . . . . . . . . . 235
Armrest.................. ...... ...... 66
braking assistan ce syste ms . . . . . . . 187 Braking assistan ce sy ste ms . . . . . . . 186 on and off... . . . . . . . . . . . . . . 187
A ss ista nce
systems Anti -Lock Brake . . . . . . . . 185 Regulation (ASR )........ 186, 187
Br ake Assi st . . . . . . . . . . . . . . . . . . . . . . . 185
Brak e Ass ist
. . . . . . . . . . . . . . . . . 185 ccs . . . . . . . . . . . . . . . . . . . . . . . . . . . . . 197
C ru ise Control . . . . . . . . . . . . . . . 197 Elect ronic Diff eren tial Lock (EDL) . . . . . . 186 Ele ct ronic Stabil it y Cont rol . . . . . . 185 H old . . . . . . . . . . . . . . . . . . . . . . . . . . 195 nre button . . . . . . . . . . . . . . . . . . . . . . . . . .
Auto-dimming inside mirror . . . . . . . . 134 Autom atic load deactivation...... . . . . . 241
Autom atic Lock . . . . . . . . . . . . 175 Automatic transmission . . . . . . . . . . . . . 171
Dir ect . . . . . . 177 Driving . . . . . . . . . . . . . . . . . . . . . . . . . . . 177 Driving on . . . . . . . . . . . . . . . . . . . . . 177 Emergency release for the sele cto r lever
l ock . . . . . . . . . . . . . . . . . . . . . . . . . . . .
Page 442 of 516
Luggag e compartment
Gearbox . . . . . . . . . . . . . . . . . 178 . . . . . . . . . . . . . . . . . . . . . . . 165 Power outside mirrors . . . . . . . . . . . . . . . 136 Power sunroof . . . . . . . . . . . . . . . . . . . . . . 56 Power windows . . . . . . . . . . . . . . . . . . . . . 54 Radio rece ption . . . . . . . . . . . . . . . . 163 , 292 Tire Pressure Monitoring . . . . . . .
Mechanical key . . . . . . . . . . . . . . . . . . . . . . . 38
. . . . . . . . 297
O cta ne rating . . . . . . . . . . . . . . . . . . . . . . . . 219 Odom ete r . . . . . . . . . . . . . . . . . . . . . . . . . . . . 18
. . . . . . . . . . . . . . . . . . . . 22 7
. . . . . . . . . . . . . . . 43 From outside the . . . . . . . . . . . . . . 42 Power sunroof . . . . . . . . . . . . . . . . . . . . . . 56 Rear hatch . . . . . . . . . . . . . . . . . . . . . . . . Wind ow s ............. ....... ...... 53 with
. . . . . . . . . . . . . . . . . . . . . . 28 4
Outside antenna . . . . . . . . . . . . . . . . . . . . . 287
Outs ide door . . . . . . . . . . . . . . . . . . . 6
Outs ide mirror Auto-dimming . . . . . . . . . . . . . . . . . . . . . . 13 5
. . . . . . . . . . . . . . . . . . . . .
Overview
Center
upper section . . . . . . . . . . 12 Driver door . . . . . . . . . . . . . . . . . . . . . . . . . . 9 Dr iver side .. .............. , . . . . . . . . Front view . . . . . . . . . . . . . . . . . . . . . . . . . . 7 . . . . . . . . . . . . . . . . . . . . . . 15 . . . . . . . . . . . . . . . . . . . . . . . . 18 Menu structure . . . . . . . . . . . . . . . . . . . . . . 24 Passenger side . .. . .. . .. .. .. .. .. .. .. 14 Rear view ....... ......• ........... .. 8 Roof . . . . . . . . . . . . . . . . . . . . . . . 14
and high beam switch . . 123 Warning . . . . . . . . . . . . . . . . . . . . . . 15 Owner's 1 59
p
P anic button . . . . . . . . . . . . . . . . . . . . . . . . . . 37 Parking . . . . . . . . . . . . . . . . . . . . . . . . . 179. 182
Parkin g brake . . . . . . . . . . . . . . . . . . . . . . 182
Parking . . . . . . . . . . . . . . . . . . . . . . . . . 124 P assenger front airbag
D eactivation by w ei ght -s e n sin g mat . . . . . 97 airb ag sys tem . . . . . . . . . . . . . . . . . . . 82 . . . . . . . . . . . . . . . . . . . . . . . . . . . 173
Phy sical principle of a . . . . 71
Pinch protection
P ow er sunr oof . . . . . . . . . . . . . . . . . . . . . . 57 Power windows . . . . . . . . . . . . . . . . . . . . . 54 cham ber . . . . . . . . . . . . . . . . . . . . . 249
. . . . . . . . . . . . . . . . . . . . . . . . 248