2012 VOLKSWAGEN GOLF MK6 stop start
[x] Cancel search: stop startPage 25 of 516

Changing the default volume
on page 3 and note the introductory informa
adjustments are indica te d on th e screen by a Meanwhile , d evice operatio n is blocked.
the device is mu ted (display:
Turn the volum e contro l Q counterclockwise is displayed.
ava ilab le on the devic e, br iefly press the !MUTE 1
on pag e 3 and note the
display s ca n be sho wn only after a co mplete
s yst em start of the radio naviga tio n syste m. T
he curr
ently played media source is stopped
wh ile the device is mu ted .
Please lower the volume befo re switching to another audio source if the base volume of an aud io source was increased considerably.
Country-dependent function button omission
Based on m arket specific conditions , it is poss ible
that not the fu nctions described in this manua l
a re exec utable , a nd the function buttons on the
scr een may be displayed differently than described
Depending on the vehicle, adju stments of air con
d itioning settings or displays regarding factory -in
z
1l no p h o ne pac kag e is
Introduction
Page 30 of 516

7 function button to save the tagged
station 16 .
Press button in order to close the FM
station list.
Fig. 8 main menu with station scanning
function
Pleas e first read and heed the on page 3 and note the ductory on page 12.
a station scan is running ,
Pop-up-window Options function
button.
P lease first on page ductory information on pag e 12 .
the main menu and select th e quency band 13.
Press the [Extras) function button.
315
and stopping station scanning
the main menu and select th e
Press the (Extras) functio n button .
Press the [Scan) function button in the pop-up
window .
scanning starts and the [Extras) fu nct io n
button switches to [scan) 8.
P ress the function button or press the
tuning knob 1 @in order to stop station
scanning at the current station .
scanning is also stopped if a station is selected via the arrow or station bu t-
tons, .
frequencies depends on the
device and the country.
Page 102 of 516

4
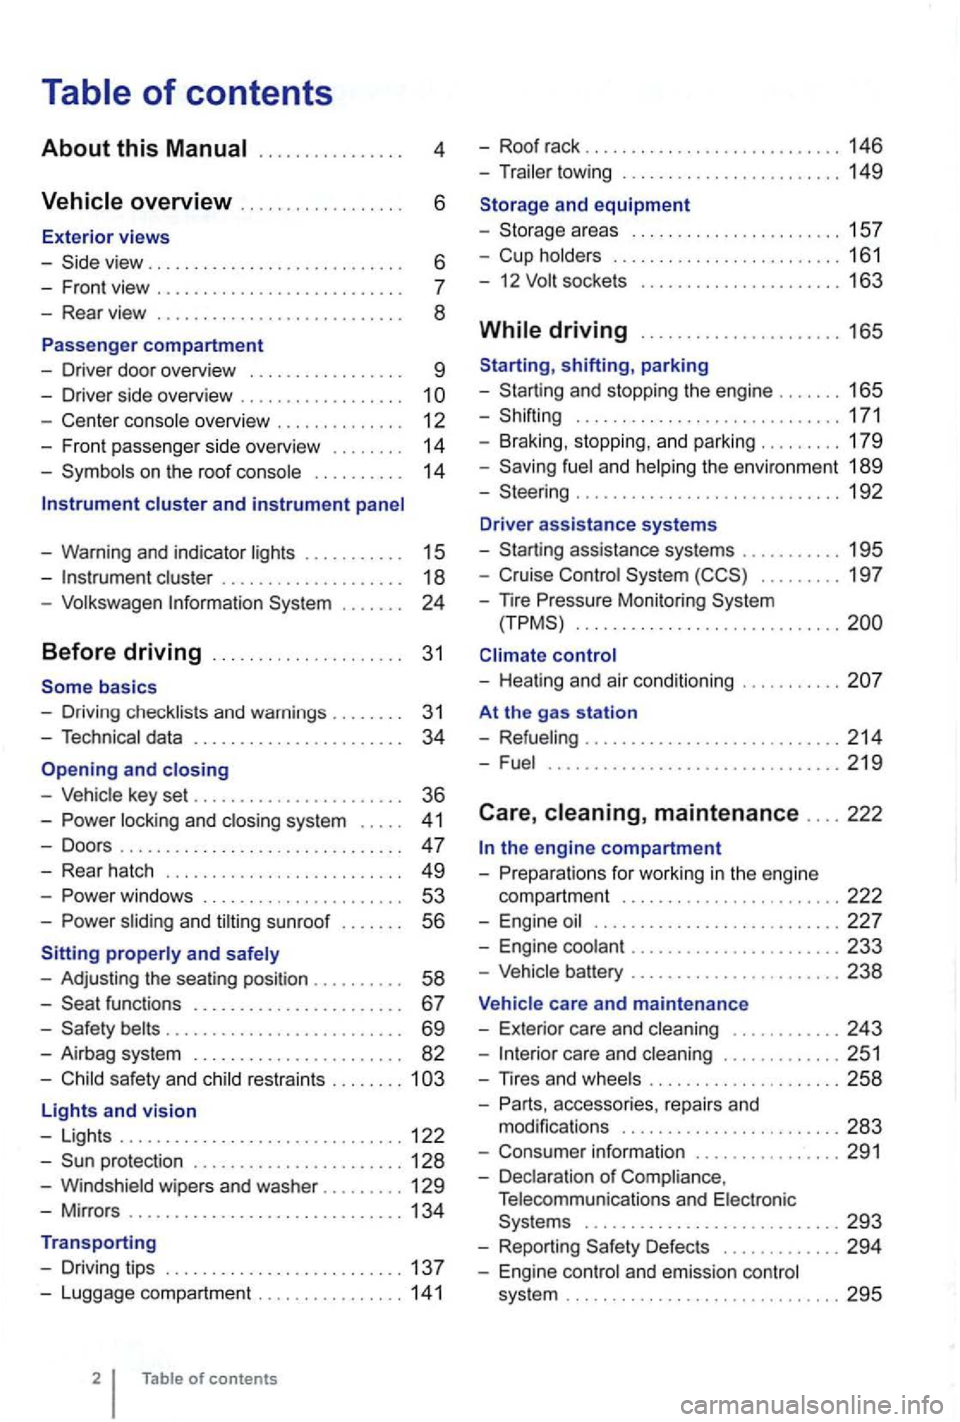
. . . . . . 6
- Front view . . . . . . . . . . . . . . . . . . . .
- Center console overview . . . . . . . . . . . . . . 12
- Fron t pa sse nger side overvi ew . . . . . . . .
14
- Symbo ls o n the roo f console . . . . . . . . . . 14
Instrument cluster and instrument panel
- Warning and indica tor
lights . . . . . . . . . . 15
-cluster . . . . . . . . . . . . . . . . . . . 18
-Volk swage n Information System . . .
basics
- Driv ing check lists and warnings .
....... 31
- Techn ical data . . . . . . . . . . . . . . . . . . . . . . . 34
and closing
- Vehic le key set . . . . . . . . . . . . . . . . . . . . . . . 36
-locking and closing system . . . . . 4 1
- Doo rs . . . . . . . . . . . . . . . . . . . . . . . . . . . . . . . 47
- Rear hatch . . . . . . . . . . . . . . . . . . . . . . . . . 49
-. . . 53
-s lidin g and sunroof . . . . . . . 56
properly and safely
- Adjusting the sea ting position . . . . . . .
. . 58
-functions . . . . . . . . . . . . . . . . . . . . . . 67
- Safety . . . . . . . . . . . . . . . . . . . . . . . . . . 69
- Airbag system . . . . . . . . . . . . . . . . . . . . . . . 82
-Child sa fety and child restraints ........ 1
Lights and vision
- Lights ............................... 122
-protectio n ....................... 128
-Windshield wipers and washer ......... 129
-Mir ro rs .............................. 134
Transporting
- Driving tips
.......................... 137
-Luggage compa rtment ................ 141
of contents
- Roof rack . . . . . . . . . . . . . . . . . . . . . . . . . 146
- Trailer towing ...... ............•. .... 149
1 5 7
- Cup holders
......................... 161
- 12
sockets . . . . . . . . . . . . . . . . . . . . . 163
shifting, park ing
- Sta rting and stoppin g
the engin e ....... 165
- Shifting ................... .......... 171
- Brak ing , stop ping , and park ing
......... 179
- Sav ing
fuel a nd helping the environm ent 189
-Steering ............................. 192
Driver assistance systems
- Starting assistance systems
........... 195
-Cruise Control System ......... 19 7
-
nre Mo nitori ng System .............................
control
- Healing and air cond itioning
At the gas station
- Refueling
........................ .... 214
-Fuel ...........................•.... 2 19
Care , maintenance .... 222
fo r work ing in the engin e
compartment
................... ..... 222
- Engine oil ........................... 227
- Engine coolant ....................... 233
-Vehicle battery ....................... 238
Vehicle care and maintenance
- Exteri or
care and cleaning ............ 243
-care and cleaning ............. 251
-
accesso ries, repa irs and
modi fications ........................ 283
- Consumer information ................ 291
- Declaration
of Complia nce,
T elecomm unicat ions and Electro nic
Systems
............................ 293
- Report ing Safe ty Defects ............. 294
- Engin e con trol and emission control
system .............................. 295
Page 135 of 516

Opening and closing
this section find info rmation about:
R em o
te control vehicle keys . . . . . . . . . . . . . . 37
Mec hanical key . . . . . . . . . . . . . . . . . . . . . . . . . 38
Volkswagen
Power locking and clos ing system 41
Starti ng and stopping the engine
Cons ume r inf ormat ion
Eme rgen cy closin g and opening
Always keep remote control vehicle key fobs with batteries, spare batterie s, as as
dead button mm batteries out of the reach of children.
Get medical attention immediately if you suspect that a battery has been swallowed .
use of vehicle key s can result in se-rious personal injury.
36 Before driving
Always take the key with you when you leave the vehicle . can be used to start the
engine and operate vehicle systems s uch as
the powe r windows, leading to se rious personal injury.
the vehicle is moving or to a stop. The steering wheel lock and you
Page 156 of 516

Power sunroof-convenience closing feature
on page 56.
Convenience closing
The conven ience closing feature lets you the power sunroof as fo llows:
Turn the vehicle key bit in the lock of the driver door to the closi ng position and hold it there The power sunroof is key in order to stop the process.
Convenience clos ing first closes the windows and
t hen the power sunroof.
Convenience from the out side leaves the rotary switch in
the l ast selected position. The switch must be new-
ly positioned when starting to drive again .
on page 56.
P inch protection
can help reduce the risk of If
the power sunroof clo sing meets resistance or
th ere is something in the way, the power sunroof opens again immedia te ly.
Check why the p ower sunroof did not close.
the power sunroof er sunroof close the next time without pinch protection .
31 ® and down th e rear part of the switch un til the power sunroof closes completely .
the power sunroof not close, please see an authorized Volkswagen dealer or an
Without pinc h protection, the power sunroof close with enoug h force t o cause serious personal injury.
Pinch protection is also active durin g ience
tection may not fu nction properly. thorized Volkswagen dealer or an authorized Volkswagen Service F acility for assis tance.
Page 161 of 516

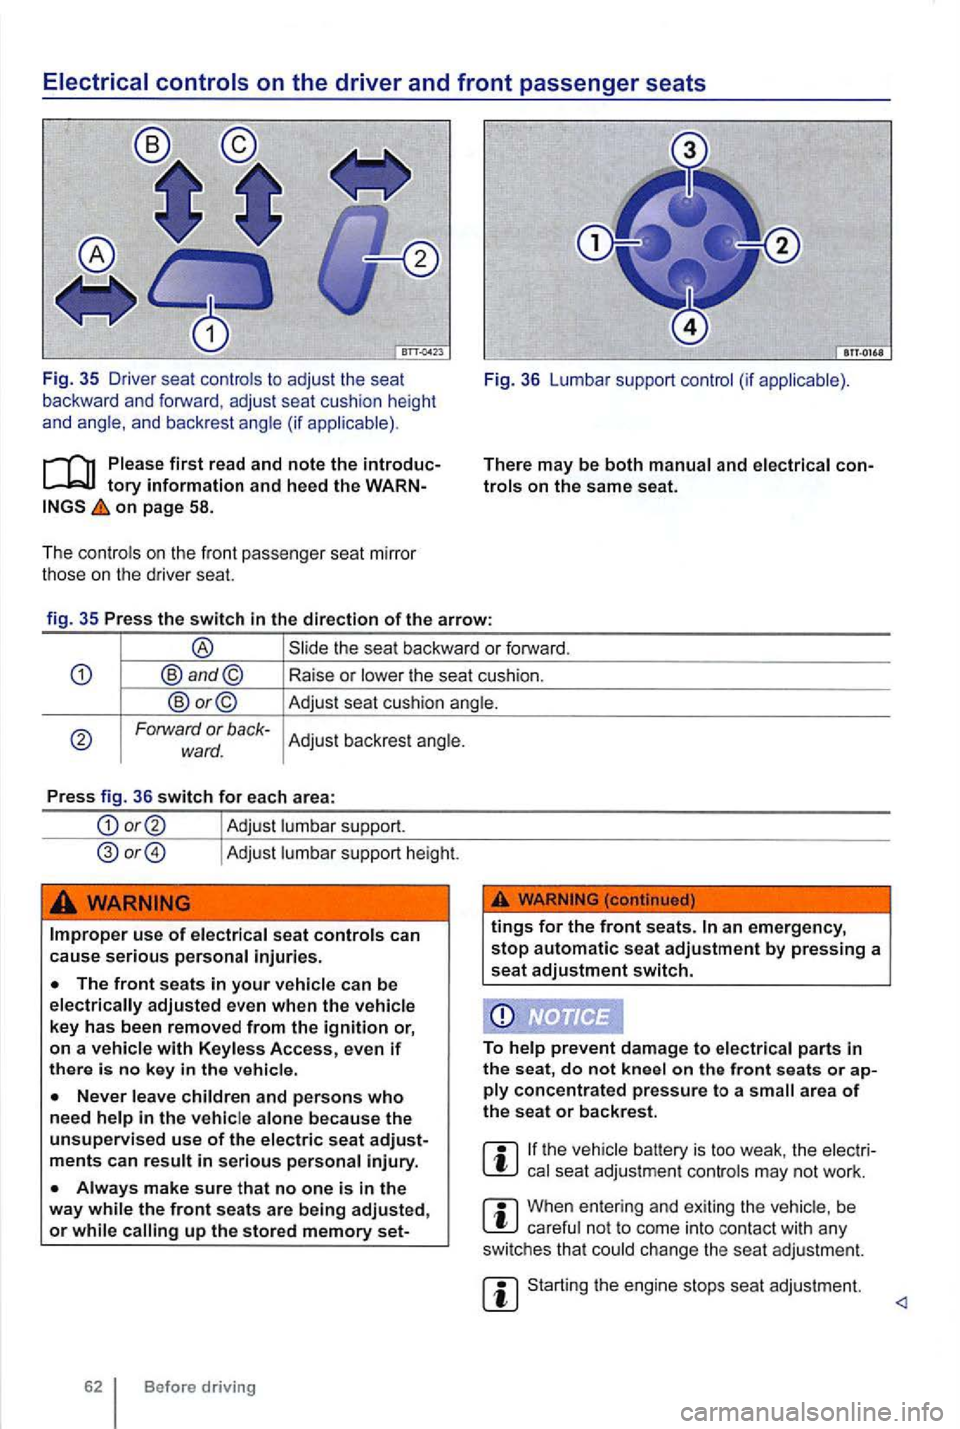
on page 58.
The cont rols on the front passenger seat mirro r
those on the driver seat. Fig
. 36 Lumbar support control (if app licable) .
There
may be both manual and elect rical
Forward or back-Adjust backrest angle. ward.
Press fig. 36 switch for each area:
Adjust lumbar support.
Adjust lumbar support height.
Improper use of electrical seat controls can cause serious personal injuries.
up the stored memory set-
tings for the front seats.
on ply concentrated pressure to a area of the seat or backrest.
the vehicle battery is too weak , the elect rical seat adjustment controls may not work .
When entering and exiting the vehicle , be careful not to come into contact with any
switches that could change the seat adjustment.
Starting the engine stops seat adjustment.
Page 252 of 516

Volkswagen Service Vehicles with Xenon
gas-discharge self-adjust to vehicle load
and do not need manual adjustment.
Special towing considerations
th e t railer has an overrun brake, apply the
br akes
Due to the combined towing weight including
the higher gross vehicle weight, the stopping
tance is longer.
Be fo re drivi ng especially on
The vehicle's center of grav ity and , in turn, the
Weight distribution is especially bad if the is emp ty and the trailer is loaded.
Depending on how steep the is an d the
backwards when you first start moving.
When starting off with a tra iler on a
Depress and hold the brake pedal and depress
and hold the clutch (manu al transmission).
171, Shifting .
Unlock the parking brake a nd gently release it
whi le holding the unlock button. At the same time,
release the brake pedal and
depress the
accelerator and, for manual transmissions , let out
the clutch
you can feel the car moving ward . applicable, follow the instruct ions for the Hold feat ure
Do not release the parking brake lever until the
engine starts to move the vehicle forward. your
vehicle has an automatic tr ansmission , you can
so depress and hold the brake peda l for added
b raking and then Jet up on the brake pedal when
you feel that the to move forward .
Drive ahead slowly.
hicle contro l and serious per sonal injury.
dles and increases the distance it needs to stop safely .
Always adapt your sp ee d and driving to th e heavier loa d and the weight distribution in the vehicle. Tak e road , weather , traffic, and visibility conditions into account as well .
Always avoid sudde n maneuv ers and ha rd braking.
atin g.
som e areas
s p ee d for vehicles towing trailers are
lower than for vehicles without trailers.
Page 262 of 516

N
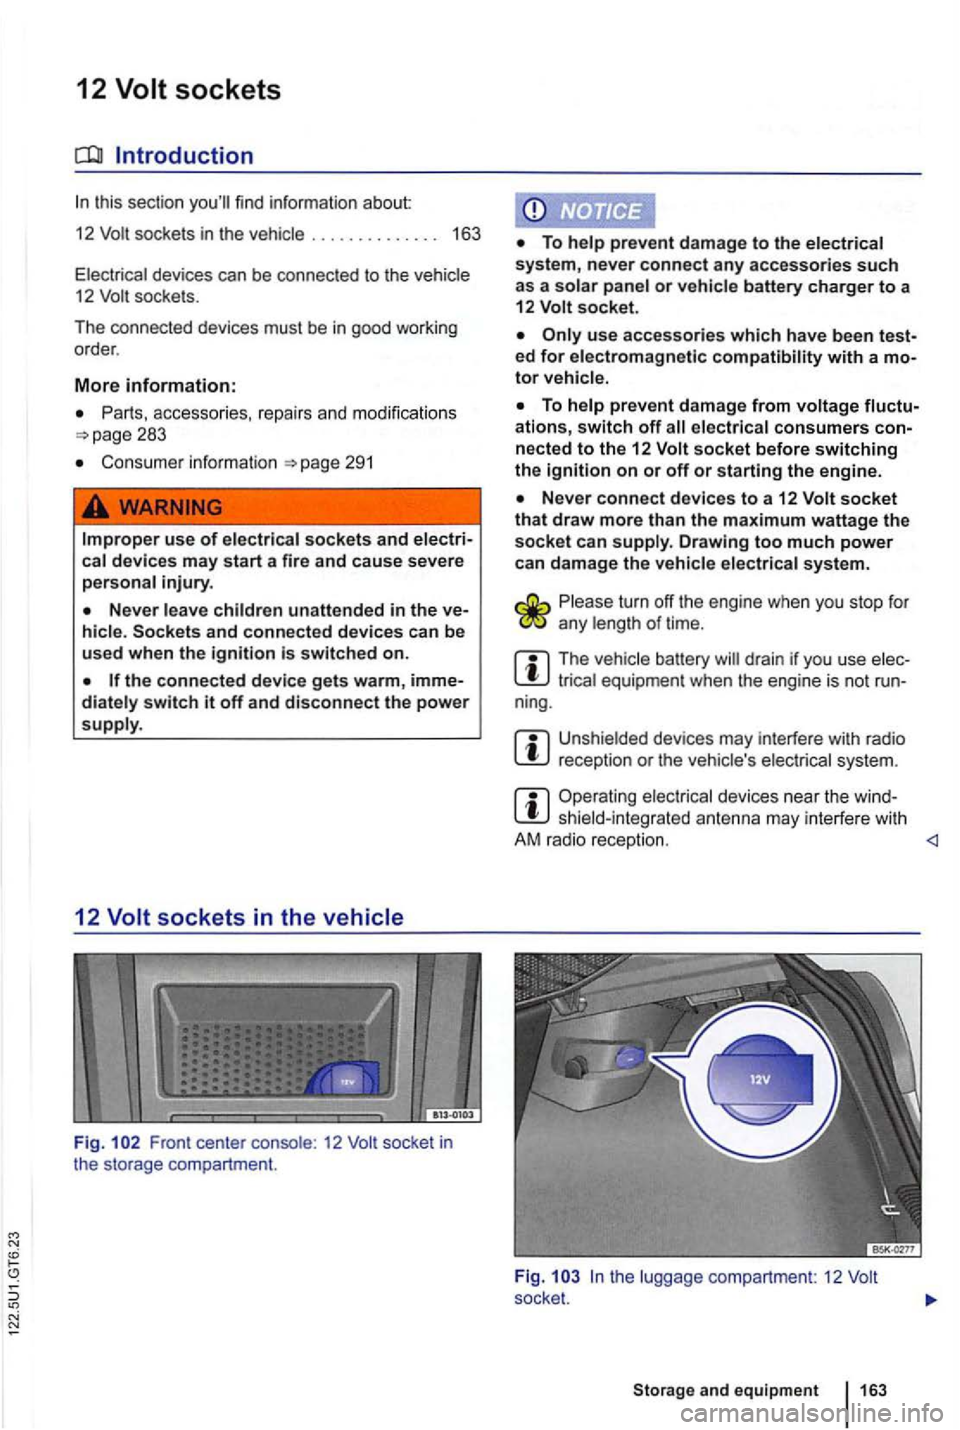
12 Volt sockets
Introduction
sockets in the . . . . . . . . . . . . . . 163
devices can be connecte d to the 12 socke ts .
Th e co nn ected devices
must be in good worki ng
order .
More information:
Parts . accessories. repairs a nd modifications 283
Consume r informa tion
use of
unattended in the and connected devices can be
used when the ignition is switched on.
switch it off and disconnect the power
12
Fig . Front center 12
or battery charger to a
12 socket.
ed for electromagnetic with a
ations, switch off nected to the 12 socket before switching the ignition on or off or starting the engine.
socket that draw more than the maximum wattage the socket can Drawing too much power
can damage the
turn off the engine when you stop for any of time.
m The battery drain if you use equipmen t when the engine is not run-
ning.
m reception or the system.
m Operating shiel d-integrat ed ant enna may interfere with
A M r adio recept ion.
and equipment