Page 4 of 529

TABLE OF CONTENTSIndex
4
3-5. Using the interior lightsInterior lights list ................. 307
• Interior light ...................... 309
• Personal lights ................. 309
• Personal/interior lights...... 310
3-6. Using the storage features List of storage features....... 311
• Glove box ......................... 312
• Console box ..................... 312
• Cup holders ...................... 314
• Auxiliary boxes ................. 317
• Bottle holders ................... 319
3-7. Other interior features Sun visors .......................... 320
Vanity mirrors ..................... 321
Clock .................................. 322
Ashtray ............................... 323
Cigarette lighter .................. 324
Power outlet ....................... 325
Seat heaters ....................... 326
Floor mat ............................ 328
Compass ............................ 329 4-1. Maintenance and care
Cleaning and protecting the vehicle exterior ........... 334
Cleaning and protecting the vehicle interior ............ 336
4-2. Maintenance Maintenance requirements .................... 339
General maintenance ......... 341
Emission inspection and maintenance (I/M)
programs .......................... 344
4-3. Do-it-yourself
main tenance
Do-it-yourself service precautions ....................... 345
Hood ................................... 349
Positioning a floor jack........ 351
Engine compartment .......... 354
Tires.................................... 368
Tire inflation pressure ......... 376
Wheels................................ 380
Air conditioning filter ........... 383
Key battery ......................... 385
Checking and replacing fuses ................................. 389
Light bulbs .......................... 399
4Maintenance and care
Page 10 of 529
10
Gauges and meters
Multi-information display P. 149
P. 156
Pictorial index
Headlight switch
Turn signal lever
Fog light switch
P. 160
P. 146
P. 164
Instrument panel
Windshield wiper and washer switch P. 166
Fuel filler door opener
P. 77
Emergency flasher
switch
P. 412
Shift lock override
button
P. 446
Cigarette lighter
Power outlet
Ashtray
Auxiliary box
P. 324
P. 325
P. 323
P. 317
Tire pressure warning
reset switch
P. 369
Horn P. 148
Clock P. 322
Audio system
P. 220
Hood lock release
lever
P. 349
Trunk opener P. 47
Tilt and telescopic
steering control lever
P. 66
Page 47 of 529
47
1
1-2. Opening, closing and locking the doors and trunk
Before driving
Trunk
The trunk can be opened using the entry function, wireless remote
control, key or trunk opener.
■ Opening the trunk from inside the vehicle
Release the trunk lid.
■ Opening the trunk from outside the vehicle
Entry function (vehicles with smart key system)
P. 2 5
Wireless remote control (if equipped)
P. 3 6
Key (vehicles with smart key system)
The trunk can be opened using the mechanical key. ( P. 448)
Key (vehicles without smart key system)
Turn the master key clockwise
to release the trunk lid.
Page 48 of 529
48 1-2. Opening, closing and locking the doors and trunk
Trunk opener cancelling systemTo protect luggage stored in the trunk against theft, do the following
procedure. Turn the master key (vehicles
without smart key system) or
mechanical key (vehicles with
smart key system) counterclock-
wise to lock the trunk opener fea-
ture.
The trunk lid cannot be opened
even with the wireless remote
control or the entry function.
■Internal trunk release lever
■ Which key to the vehicle is to leave with a parking attendant after the
trunk opener cancelling system is set
P. 2 3
The trunk lid can be opened by pulling
down on the glow-in-the-dark lever
located on the inside of the trunk lid.
The lever will continue to glow for some
time after the trunk lid is closed.
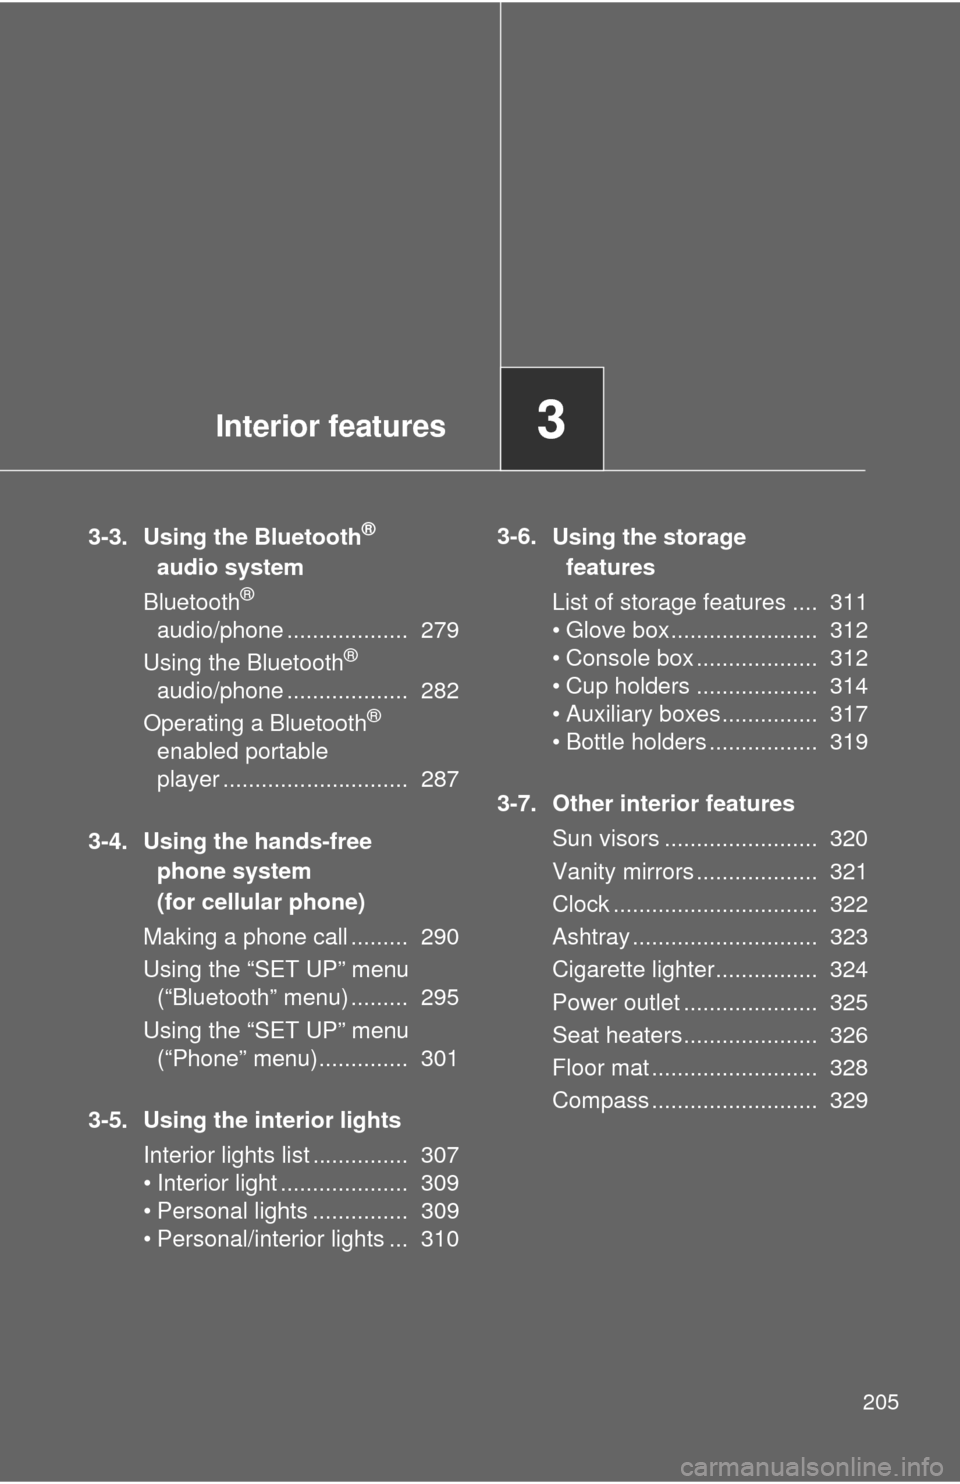
Page 205 of 529

Interior features3
205
3-3. Using the Bluetooth®
audio system
Blu etooth
®
audio/phone ................... 279
Using the Bluetooth
®
audio/phone ................... 282
Operating a Bluetooth
®
enabled portable
player ............................. 287
3-4. Using the hands-free phone system
(for cellular phone)
Making a phon e call ......... 290
Using the “SET UP” menu (“Bluetooth” menu) ......... 295
Using the “SET UP” menu (“Phone” menu).............. 301
3-5. Using the interior lights Interior lights list ............... 307
• Interior light .................... 309
• Personal lights ............... 309
• Personal/interior lights ... 310 3-6.
Using the storage
features
List of storage fea tures .... 311
• Glove box....................... 312
• Console box ................... 312
• Cup holders ................... 314
• Auxiliary boxes ............... 317
• Bottle holders ................. 319
3-7. Other interior features Sun visors ........................ 320
Vanity mirrors ................... 321
Clock ................................ 322
Ashtray ............................. 323
Cigarette lighter................ 324
Power outlet ..................... 325
Seat heaters..................... 326
Floor mat .......................... 328
Compass .......................... 329
Page 213 of 529
213
3-1. Using the air conditioning system
and defogger
3
Interior features
Adjusting the settings
■ Adjusting the temperature setting (heater)
Turn the temperature control dial clockwise to increase the temper-
ature.
■ Adjusting the temperature setting (air conditioning system)
Turn the temperature control dial clockwise (warm) or counter-
clockwise (cool).
If is not pressed, the system will blow ambient temperature air or
heated air.
Air conditioning system
Fan speed control dial
Air outlet selection dial
Air intake mode switch Air conditioning ON/OFF switchTemperature control dial
Page 214 of 529
214 3-1. Using the air conditioning system and defogger
■Adjusting the fan speed
Turn the fan speed control dial clockwise (increase) or counter-
clockwise (decrease).
Set the dial to “0” to turn the fan off.
■ Selecting the air outlets
Set the air outlet selection di al to an appropriate position.
The positions between the air outlet selections shown below can also be
selected for more detailed adjustment.
Air flows to the upper body.
Air flows to the upper body and
feet.
: Some models
Page 254 of 529
254 3-2. Using the audio system
Selecting a play modePress (MENU) to select iPod menu mode.
Turning clockwise changes the play mode in the fol-
lowing order:
“Playlists” “Artists” “Albums” “Songs” “Podcasts” “Genres”
“Composers” “Audiobooks”
Press to select the desired play mode.
■ Play mode list
Play modeFirst
selectionSecond
selectionThird
selectionFourth
selection
“Playlists”Playlists
select Songs
select
--
“Artists” Artists select Albums
selectSongs
select
-
“Albums” Albums
selectSongs
select
--
“Songs” Songs select - - -
“Podcasts”Podcasts
select Episodes
select
--
“Genres” Genre select Artists select Albums
selectSongs
select
“Composers”Composers
selectAlbums
select Songs
select
-
“Audiobooks”Audiobooks
selectChapters
select
--
STEP 1
STEP 2
STEP 3