2012 TOYOTA CAMRY key
[x] Cancel search: keyPage 158 of 328

158
2. SETUP
1Touch “Edit Quick Reply Messag-
es” .
2Touch the screen button correspond-
ing to the desired message.
3Use the software keyboard to edit the
message.
4Touch “OK”.
1Touch “Default” .
2Touch “Yes”.
1Press the “SETUP” button.
2Touch “Phone” on the “Setup” screen.
3Touch “Phone Display Settings” .
4Perform each setting according to the
procedures outlined on the following
pages.
5When each setting is completed, touch
“Save”.
EDIT QUICK REPLY
MESSAGES
Quick reply messages can be edited.
15 messages have already been
stored.
INITIALIZING THE SETTINGS
The settings can be initialized.
PHONE DISPLAY SETTINGS
The phone display settings can be
changed.
Page 164 of 328
164
2. SETUP
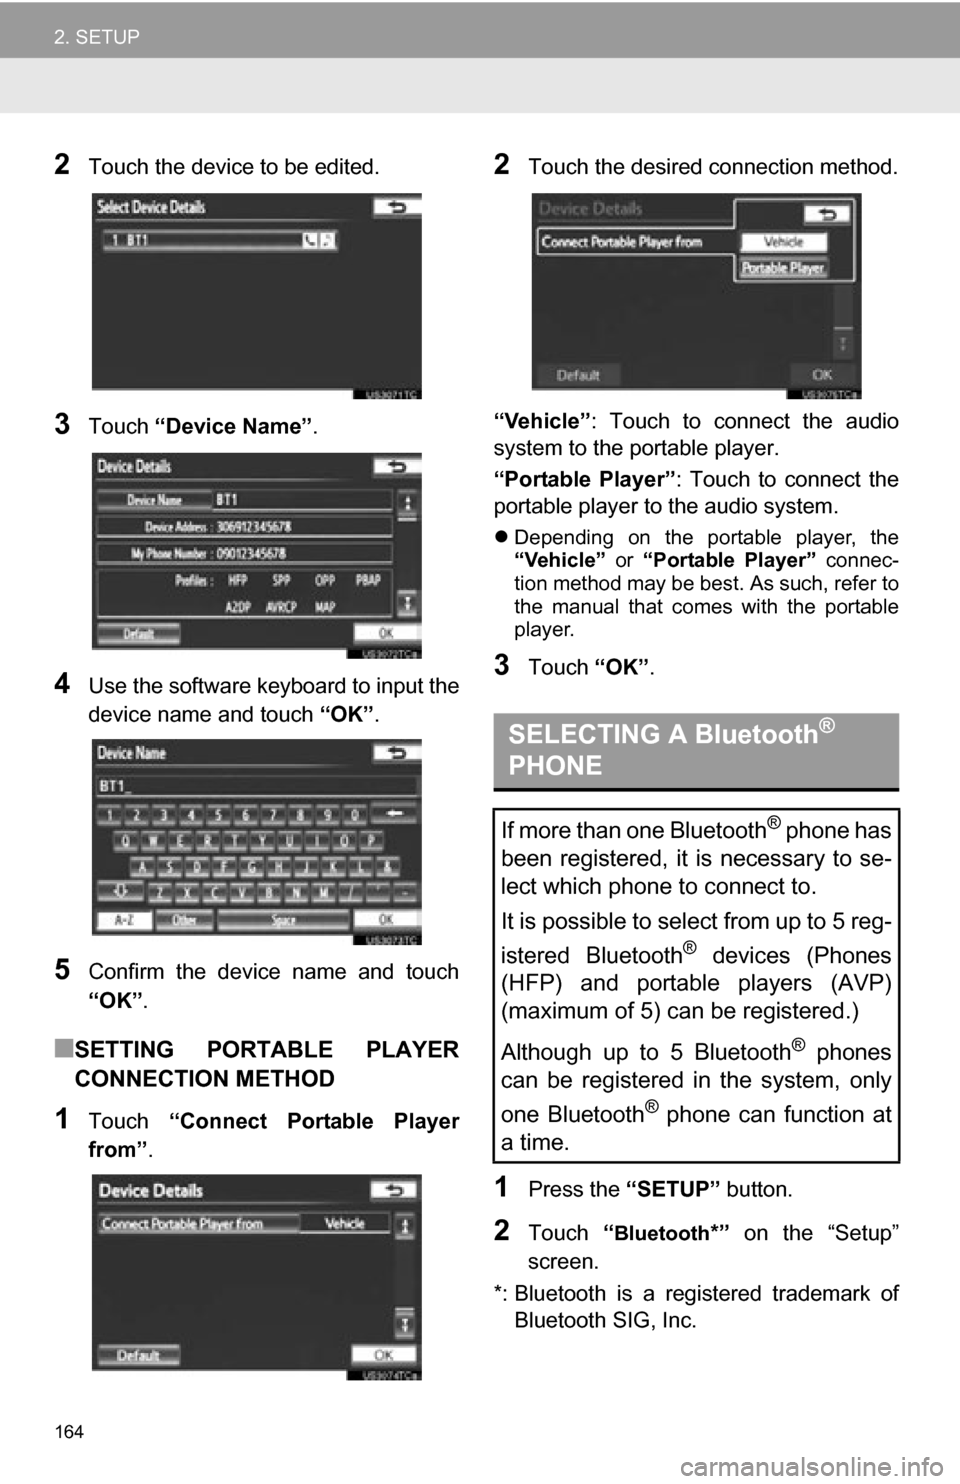
2Touch the device to be edited.
3Touch “Device Name” .
4Use the software keyboard to input the
device name and touch “OK”.
5Confirm the device name and touch
“OK”.
■SETTING PORTABLE PLAYER
CONNECTION METHOD
1Touch “Connect Portable Player
from” .
2Touch the desired connection method.
“Vehicle” : Touch to connect the audio
system to the portable player.
“Portable Player” : Touch to connect the
portable player to the audio system.
Depending on the portable player, the
“Vehicle” or “Portable Player” connec-
tion method may be best. As such, refer to
the manual that comes with the portable
player.
3Touch “OK”.
1Press the “SETUP” button.
2Touch “Bluetooth*” on the “Setup”
screen.
*: Bluetooth is a registered trademark of Bluetooth SIG, Inc.
SELECTING A Bluetooth®
PHONE
If more than one Bluetooth® phone has
been registered, it is necessary to se-
lect which phone to connect to.
It is possible to select from up to 5 reg-
istered Bluetooth
® devices (Phones
(HFP) and portable players (AVP)
(maximum of 5) can be registered.)
Although up to 5 Bluetooth
® phones
can be registered in the system, only
one Bluetooth
® phone can function at
a time.
Page 168 of 328
168
2. SETUP
■CHANGING “Bluetooth* Power”
When “Bluetooth* Power” is “On” :
Vehicles with a smart key system
The Bluetooth
® device is automatically
connected when the “POWER” <“ENGINE
START STOP”> switch is in ACCESSORY
or ON
Vehicles without a smart key system
The Bluetooth
® device is automatically
connected when the engine switch is
turned to the “ACC” or “ON” position.
When “Bluetooth* Power” is “Off” : The
Bluetooth
® device is disconnected, and
the system will not connect to it next time.
The “Bluetooth* Power” auto connection
state can be set on or off.
• “On” : The auto connection is turned on.
• “Off” : The auto connection is turned off.
The auto connection state cannot be
changed from “On” to “Off” while driving,
but it can be changed from “Off” to “On” .
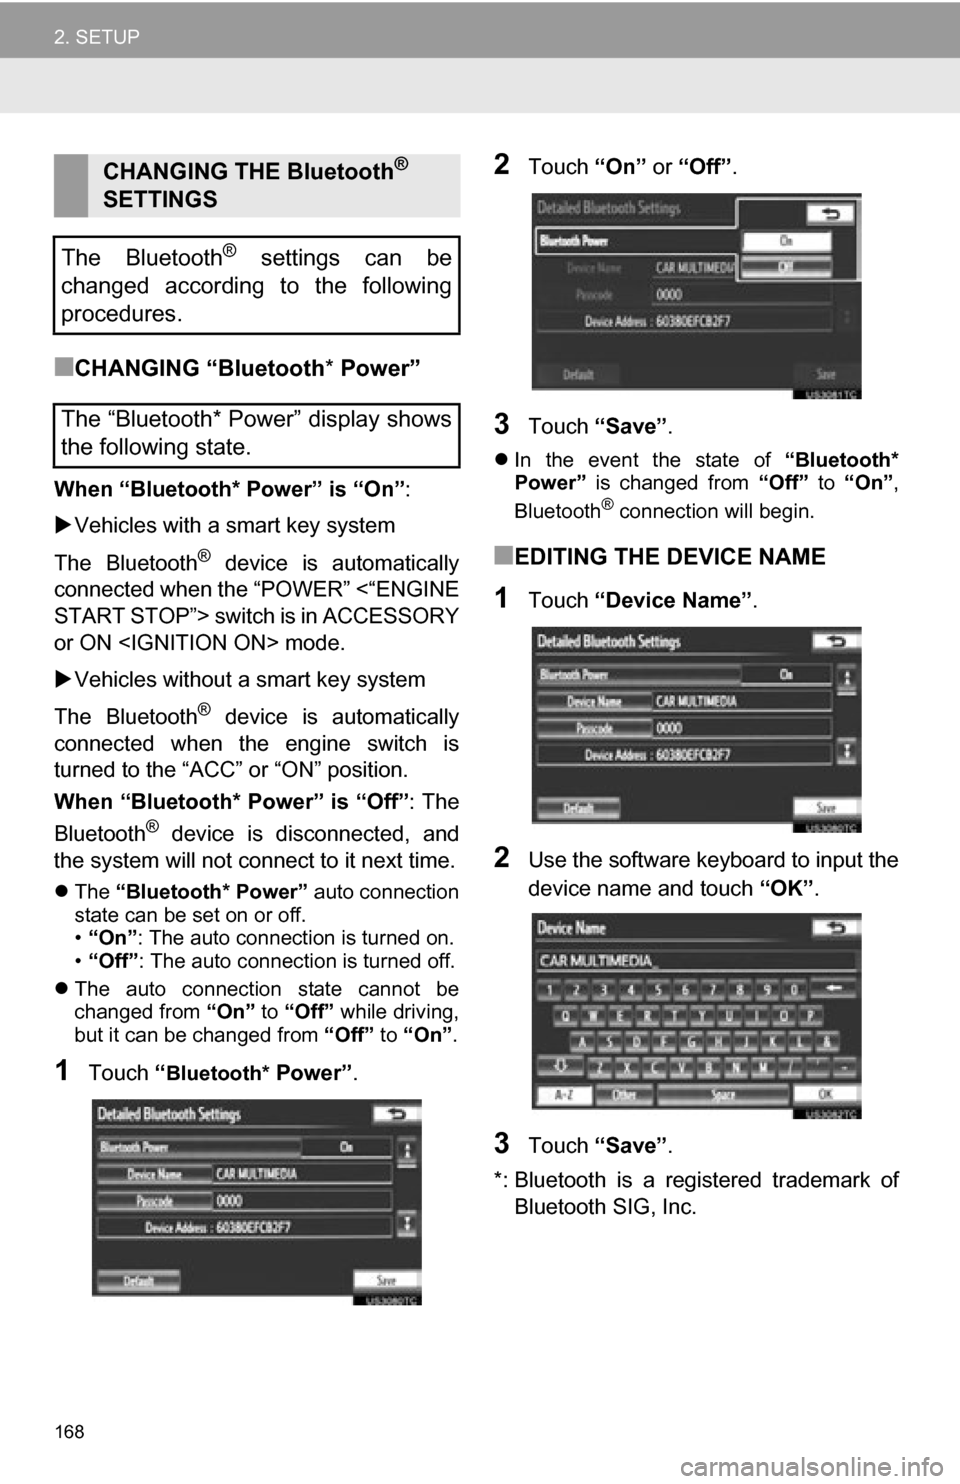
1Touch “Bluetooth* Power” .
2Touch “On” or “Off” .
3Touch “Save” .
In the event the state of “Bluetooth*
Power” is changed from “Off” to “On” ,
Bluetooth
® connection will begin.
■EDITING THE DEVICE NAME
1Touch “Device Name” .
2Use the software keyboard to input the
device name and touch “OK”.
3Touch “Save” .
*: Bluetooth is a registered trademark of Bluetooth SIG, Inc.
CHANGING THE Bluetooth®
SETTINGS
The Bluetooth
® settings can be
changed according to the following
procedures.
The “Bluetooth* Power” display shows
the following state.
Page 169 of 328

169
2. SETUP
4
PHONE
■EDITING THE PASSCODE
1Touch “Passcode” .
2Input a passcode and touch “OK”.
3Touch “Save” .
■Bluetooth® DEVICE CONNECTION
STATUS DISPLAY SETTINGS
1Touch “Display Phone Status” or
“Display Portable Player Status” .
2Touch “On”.
3Touch “Save” .
*: Bluetooth is a regi stered trademark of
Bluetooth SIG, Inc.
Vehicles with a smart key system
When “Bluetooth* Power” is “On”
and the “POWER” <“ENGINE START
STOP”> switch is in ACCESSORY or
ON
Bluetooth
® phone and portable
player’s connection status can be
displayed. (See “CHANGING
‘Bluetooth
* Power’” on page 168.)
Vehicles without a smart key system
When “Bluetooth* Power” is “On”
and the engine switch is in the “ACC”
or “ON” position, the Bluetooth
® phone
and portable player’s connection sta-
tus can be displayed. (See “CHANG-
ING ‘Bluetooth
* Power’” on page 168.)
Page 176 of 328
176
1. AUDIO/VIDEO SYSTEM OPERATION
2. SOME BASICS
This section describes some of the ba-
sic features of the audio/video system.
Some information may not pertain to
your system.
Vehicles with a smart key system
Your audio/video system works when
the “POWER” <“ENGINE START
STOP”> switch is turned to ACCES-
SORY or ON
Vehicles without a smart key system
Your audio/video system works when
the engine switch is turned to the
“ACC” or “ON” position.
CAUTION
●For vehicles sold in U.S.A. and Canada:
Part 15 of the FCC Rules
FCC Warning: Changes or modifications
in construction not expressly approved
by the party responsible for compliance
could void the user’s authority to operate
the equipment. Radio frequency expo-
sure. This device is approved for Mobile
Application only and, to comply with
applicable FCC radio frequency expo-
sure regulations, must be used with a
distance of at least 7.9 in. (20 cm)
between the antenna and the body of
any person at all time during use.
● Laser products
• Do not take this unit apart or attempt to
make any changes yourself. This is an
intricate unit that uses a laser pickup to
retrieve information from the surface of
compact discs. The laser is carefully
shielded so that its rays remain inside
the cabinet. Therefore, never try to dis-
assemble the player or alter any of its
parts since you may be exposed to
laser rays and dangerous voltages.
• This product utilizes a laser. Use of controls or adjustments or perfor-
mance of procedures other than those
specified herein may result in hazard-
ous radiation exposure.
NOTICE
● To prevent the 12-volt battery from being
discharged, do not leave the audio/video
system on longer than necessary when
the hybrid system is off
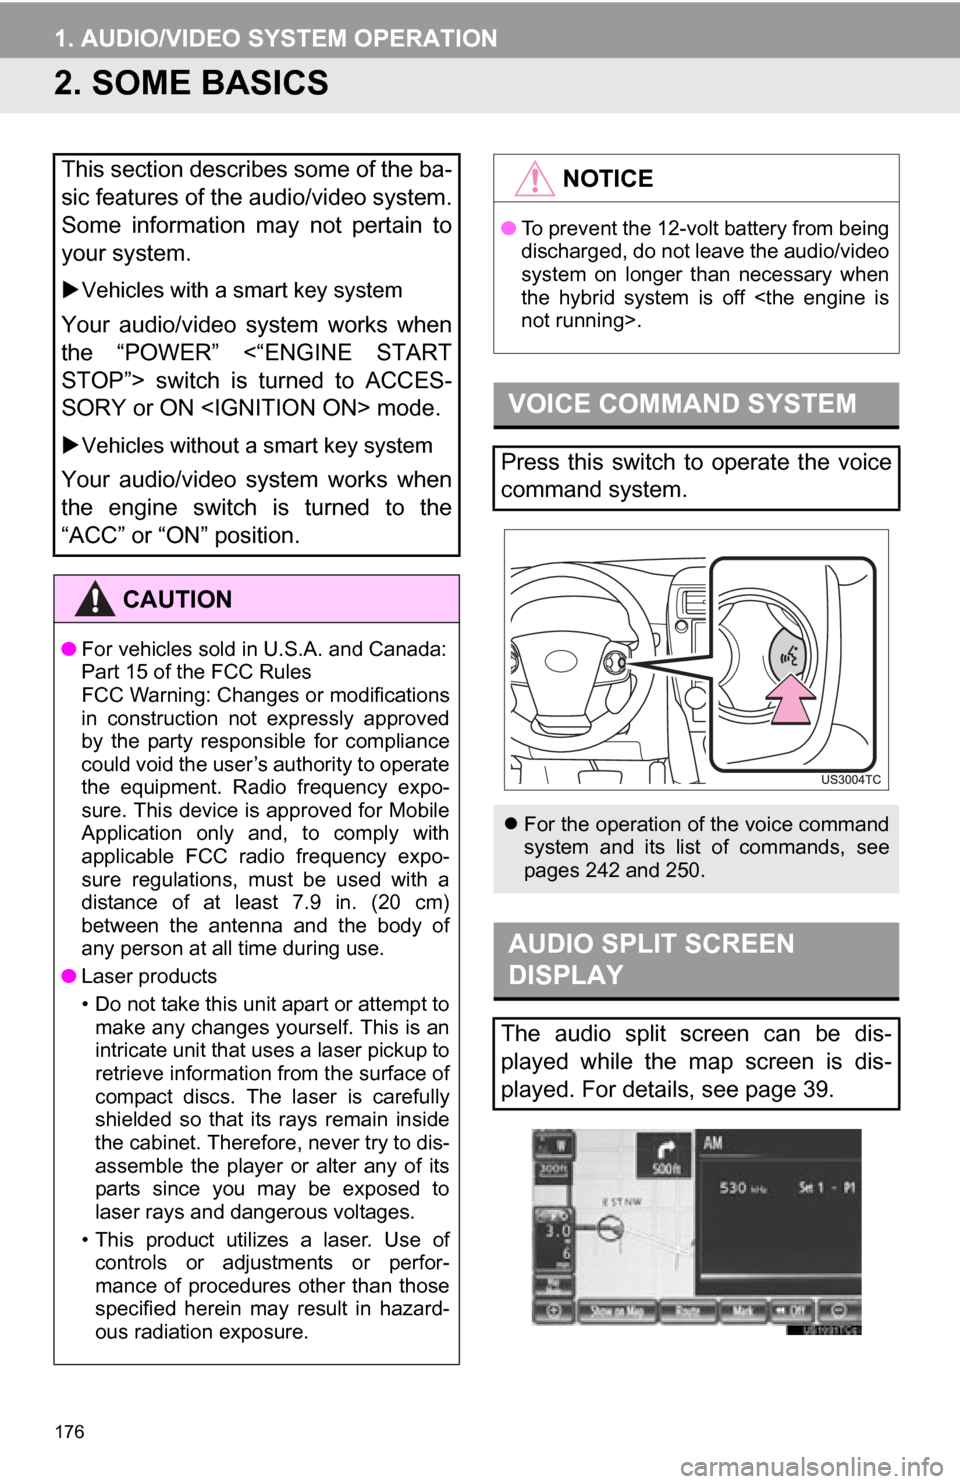
VOICE COMMAND SYSTEM
Press this switch to operate the voice
command system.
For the operation of the voice command
system and its list of commands, see
pages 242 and 250.
AUDIO SPLIT SCREEN
DISPLAY
The audio split screen can be dis-
played while the map screen is dis-
played. For details, see page 39.
Page 194 of 328
194
1. AUDIO/VIDEO SYSTEM OPERATION
7. DVD PLAYER OPERATION
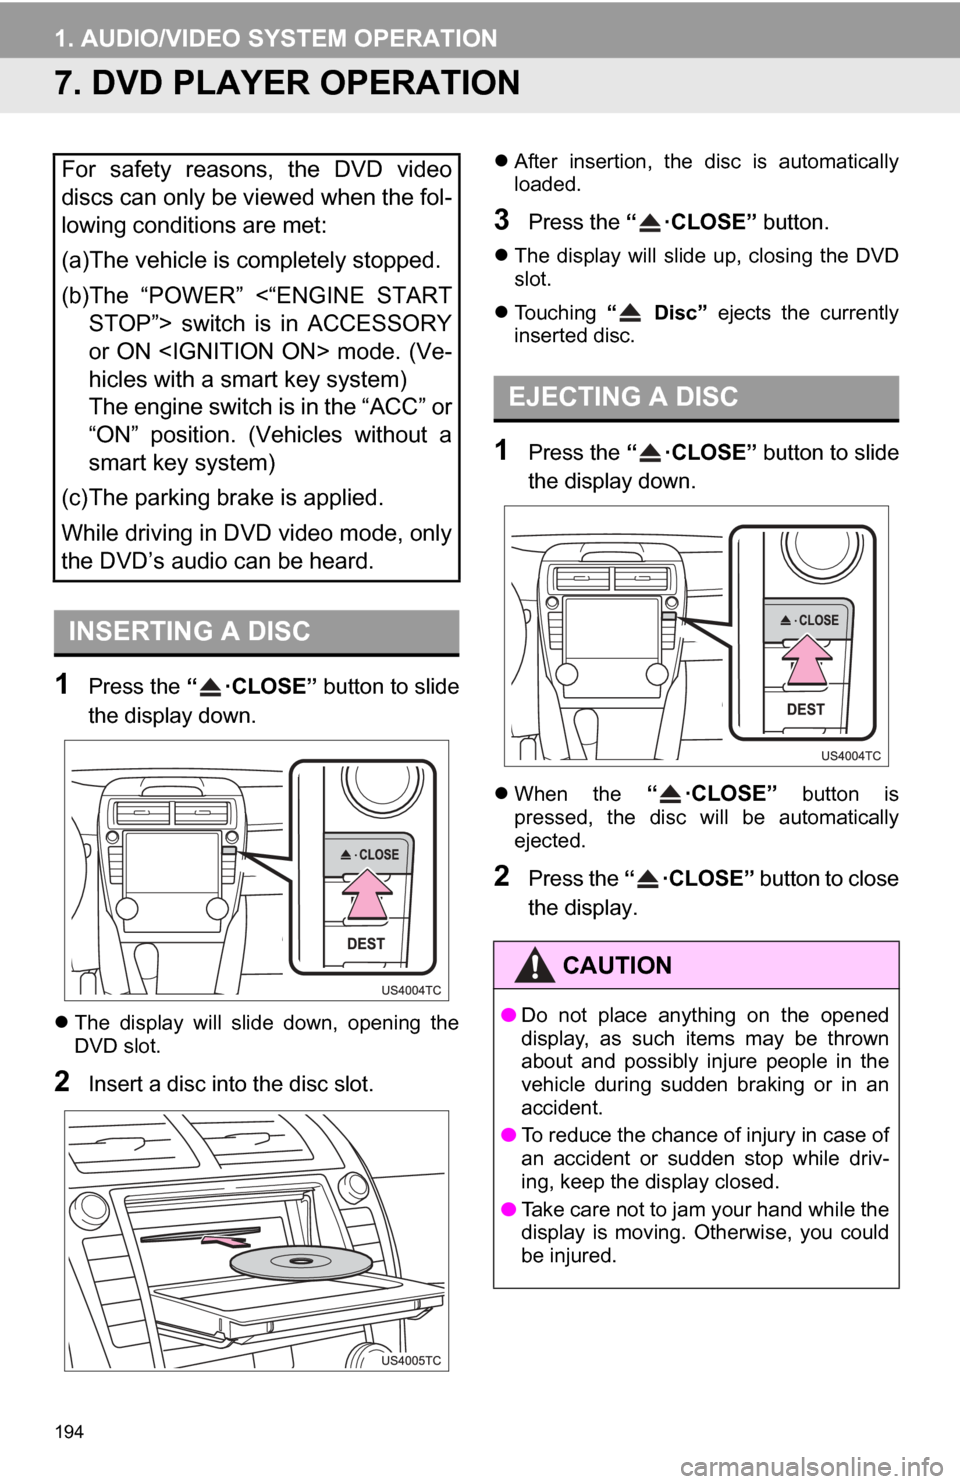
1Press the “ ·CLOSE” button to slide
the display down.
The display will slide down, opening the
DVD slot.
2Insert a disc into the disc slot.
After insertion, the disc is automatically
loaded.
3Press the “ ·CLOSE” button.
The display will slide up, closing the DVD
slot.
Touching “ Disc” ejects the currently
inserted disc.
1Press the “ ·CLOSE” button to slide
the display down.
When the “ ·CLOSE” button is
pressed, the disc will be automatically
ejected.
2Press the “ ·CLOSE” button to close
the display.
For safety reasons, the DVD video
discs can only be viewed when the fol-
lowing conditions are met:
(a)The vehicle is completely stopped.
(b)The “POWER” <“ENGINE START STOP”> switch is in ACCESSORY
or ON
hicles with a smart key system)
The engine switch is in the “ACC” or
“ON” position. (Vehicles without a
smart key system)
(c)The parking brake is applied.
While driving in DVD video mode, only
the DVD’s audio can be heard.
INSERTING A DISC
EJECTING A DISC
CAUTION
● Do not place anything on the opened
display, as such items may be thrown
about and possibly injure people in the
vehicle during sudden braking or in an
accident.
● To reduce the chance of injury in case of
an accident or sudden stop while driv-
ing, keep the display closed.
● Take care not to jam your hand while the
display is moving. Otherwise, you could
be injured.
Page 201 of 328
201
1. AUDIO/VIDEO SYSTEM OPERATION
5
AUDIO/VIDEO SYSTEM
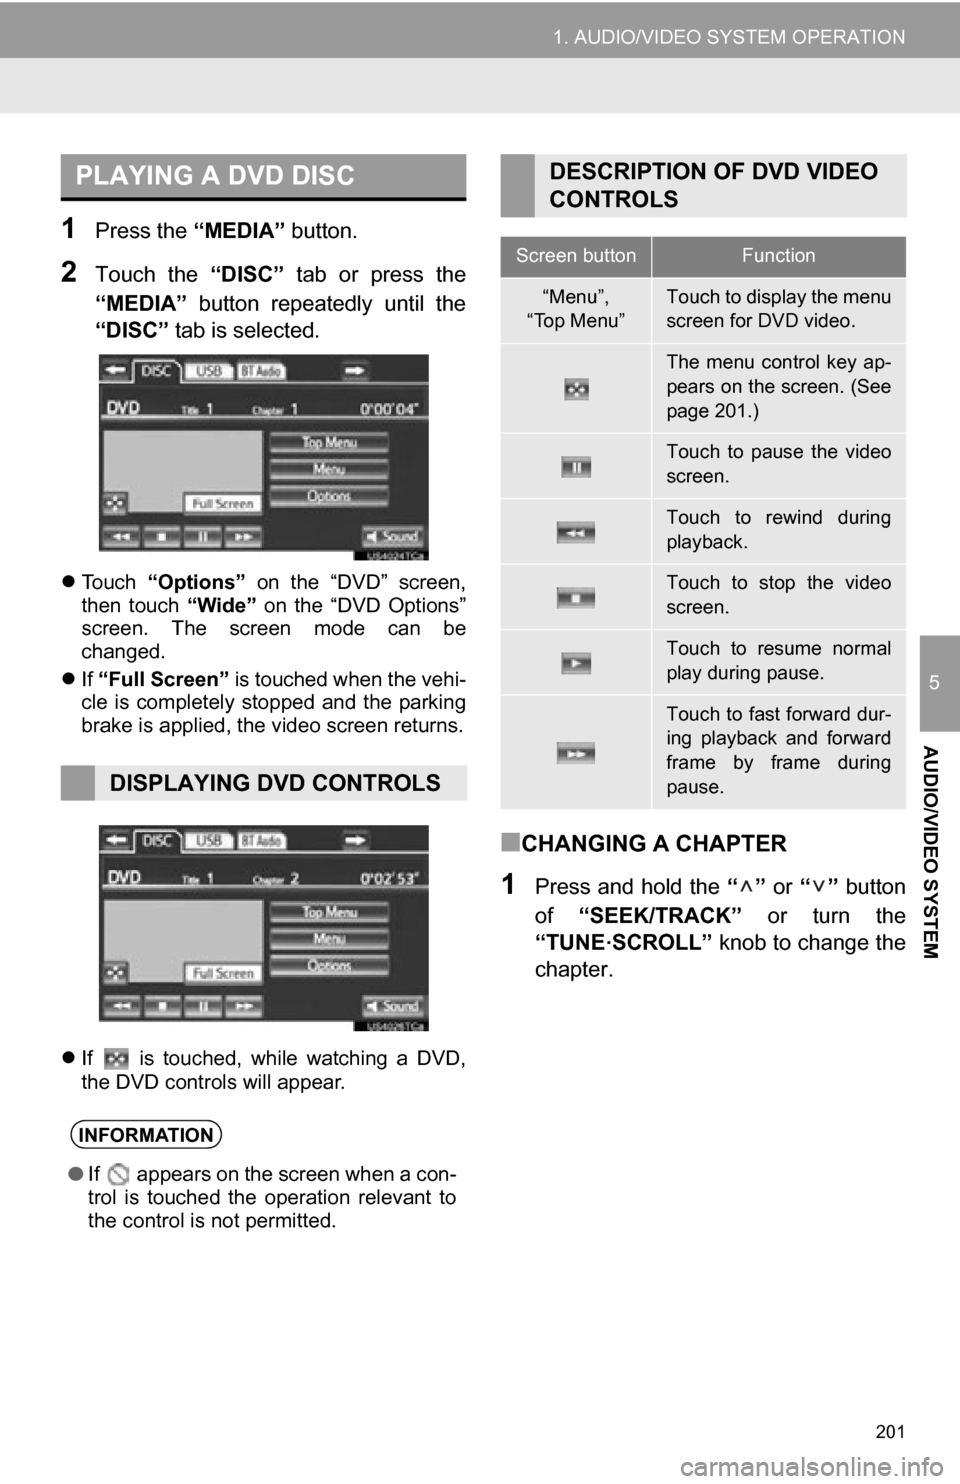
1Press the “MEDIA” button.
2Touch the “DISC” tab or press the
“MEDIA” button repeatedly until the
“DISC” tab is selected.
Touch “Options” on the “DVD” screen,
then touch “Wide” on the “DVD Options”
screen. The screen mode can be
changed.
If “Full Screen” is touched when the vehi-
cle is completely stopped and the parking
brake is applied, the video screen returns.
If is touched, while watching a DVD,
the DVD controls will appear.
■CHANGING A CHAPTER
1Press and hold the “” or “” button
of “SEEK/TRACK” or turn the
“TUNE
·SCROLL” knob to change the
chapter.
PLAYING A DVD DISC
DISPLAYING DVD CONTROLS
INFORMATION
● If appears on the screen when a con-
trol is touched the operation relevant to
the control is not permitted.
DESCRIPTION OF DVD VIDEO
CONTROLS
Screen buttonFunction
“Menu”,
“Top Menu”Touch to display the menu
screen for DVD video.
The menu control key ap-
pears on the screen. (See
page 201.)
Touch to pause the video
screen.
Touch to rewind during
playback.
Touch to stop the video
screen.
Touch to resume normal
play during pause.
Touch to fast forward dur-
ing playback and forward
frame by frame during
pause.
Page 205 of 328
205
1. AUDIO/VIDEO SYSTEM OPERATION
5
AUDIO/VIDEO SYSTEM
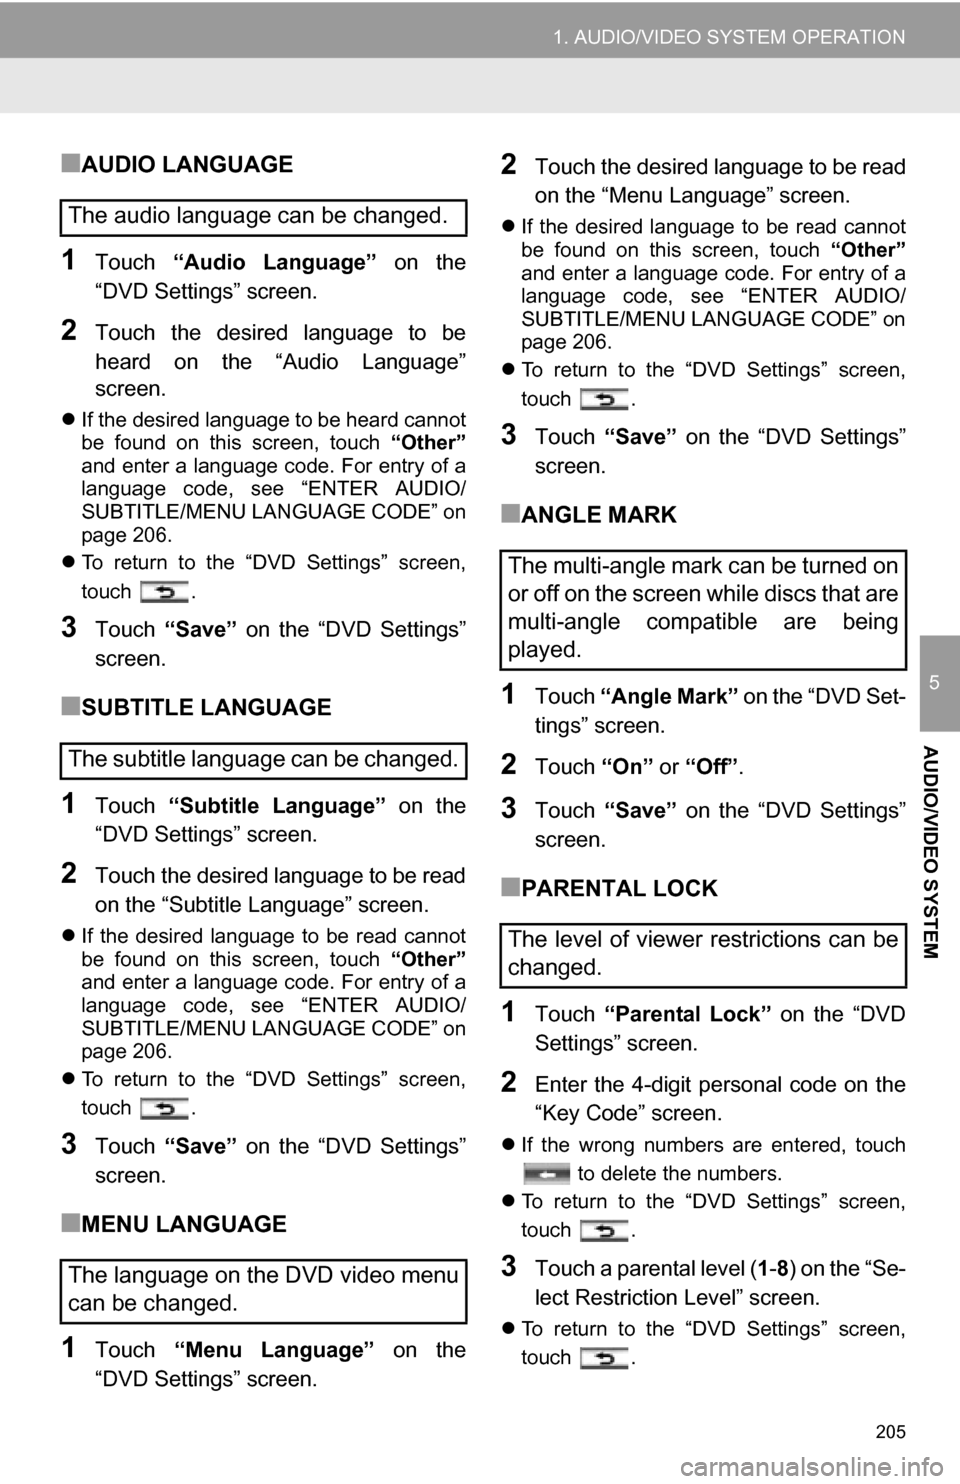
■AUDIO LANGUAGE
1Touch “Audio Language” on the
“DVD Settings” screen.
2Touch the desired language to be
heard on the “Audio Language”
screen.
If the desired language to be heard cannot
be found on this screen, touch “Other”
and enter a language code. For entry of a
language code, see “ENTER AUDIO/
SUBTITLE/MENU LANGUAGE CODE” on
page 206.
To return to the “DVD Settings” screen,
touch .
3Touch “Save” on the “DVD Settings”
screen.
■SUBTITLE LANGUAGE
1Touch “Subtitle Language” on the
“DVD Settings” screen.
2Touch the desired language to be read
on the “Subtitle Language” screen.
If the desired language to be read cannot
be found on this screen, touch “Other”
and enter a language code. For entry of a
language code, see “ENTER AUDIO/
SUBTITLE/MENU LANGUAGE CODE” on
page 206.
To return to the “DVD Settings” screen,
touch .
3Touch “Save” on the “DVD Settings”
screen.
■MENU LANGUAGE
1Touch “Menu Language” on the
“DVD Settings” screen.
2Touch the desired language to be read
on the “Menu Language” screen.
If the desired language to be read cannot
be found on this screen, touch “Other”
and enter a language code. For entry of a
language code, see “ENTER AUDIO/
SUBTITLE/MENU LANGUAGE CODE” on
page 206.
To return to the “DVD Settings” screen,
touch .
3Touch “Save” on the “DVD Settings”
screen.
■ANGLE MARK
1Touch “Angle Mark” on the “DVD Set-
tings” screen.
2Touch “On” or “Off” .
3Touch “Save” on the “DVD Settings”
screen.
■PARENTAL LOCK
1Touch “Parental Lock” on the “DVD
Settings” screen.
2Enter the 4-digit personal code on the
“Key Code” screen.
If the wrong numbers are entered, touch
to delete the numbers.
To return to the “DVD Settings” screen,
touch .
3Touch a parental level ( 1-8 ) on the “Se-
lect Restriction Level” screen.
To return to the “DVD Settings” screen,
touch .
The audio language can be changed.
The subtitle language can be changed.
The language on the DVD video menu
can be changed.
The multi-angle mark can be turned on
or off on the screen while discs that are
multi-angle compatible are being
played.
The level of viewer restrictions can be
changed.