2012 SUBARU OUTBACK ECO mode
[x] Cancel search: ECO modePage 177 of 474

4-6Climate control
and become damaged, the system may
not be able to control the interior tempera-
ture correctly. To avoid damaging the
sensors, observe the following precau-tions: –Do not subject the sensors to impact.
– Keep water away from the sensors.
– Do not cover the sensors.
The sensors are located as follows:– Solar sensor: beside the speaker grille
on the dashboard– Interior air temperature sensor: on the
side of the driver-side part of the center panel – Outside temperature sensor: behind
front grille. Manual climate control &
Airflow mode selection
Select the preferred airflow mode by
performing the following procedure. . Press the preferred airflow control
button (type A) . Press the airflow mode selection button
or defroster button (type B)
Airflow modes are as follows.
(Ventilation): Instrument panel outlets
(Bi-level): Instrument panel outlets and the
foot outlets
(Heat): Foot outlets, both side outlets of
the instrument panel and some through
windshield defroster outlets (A small
amount of air flows to the windshield and
Page 178 of 474

both side windows to prevent fogging.)
(Heat-def): Windshield defroster outlets,
foot outlets and both side outlets of the
instrument panel
(Defrost): Windshield defroster outlets and
both side outlets of the instrument panel&
Temperature control
! Type A
Turn the temperature control dial over a
range from the blue side (cool) to red side
(warm) to regulate the temperature of
airflow from the air outlets. ! Type B
To increase the temperature setting, press the “
”side of the temperature control
button. To decrease the temperature
setting, press the “
”side of the tempera-
ture control button.
Each temperature setting is shown on the
display. When “LO ”is shown, the system
provides maximum cooling performance.When “HI ”is shown, the system provides
maximum heating performance.
NOTE
When the “DUAL ”button is pressed,
separate temperature settings for the driver ’s side and passenger ’s side can
be enabled (DUAL mode). To cancel the
DUAL mode, press the “DUAL ”button
again. The temperature setting for thepassenger ’s side becomes the same as
the setting for the driver ’s side.
& Fan speed control
The fan operates only when the ignition switch is in the
“ON ”position. Select the
preferred fan speed by turning the fan
speed control dial (type A), or by pressing
the fan speed control buttons (type B).
& Air conditioner control
The air conditioner operates only when
the engine is running.
Press the air conditioner button while the
fan is in operation to turn on the air
conditioner. When the air conditioner is
on, the indicator light on the air conditioner
button (type A)/ “A/C ”indicator light (type
B) illuminates.
To turn off the air conditioner, press the
button again. The indicator light will turnoff. NOTE
For efficient defogging or dehumidify-
ing in cold weather, turn on the air
conditioner. & Air inlet selection
Select the air inlet by pressing the air inlet
selection button.
ON position (recirculation) : Interior air is
recirculated inside the vehicle. Press the
air inlet selection button to the ON position
for fast cooling with the air conditioner or
when driving on a dusty road. When the Climate control
4-7
– CONTINUED –
Page 192 of 474

!Tone and balance control (type A
and B audio)
“ TUNE ”dial:
Type A audio
Type B audio
Each brief press of the “TUNE ”dial
changes the control modes in the follow-
ing sequence.
Choose the preferred level for each mode
by turning the “TUNE ”dial.
The control function returns to the tune/
track/channel control mode after approxi-
mately 5 seconds. !
Other settings (type A and B audio)
Type A audio
Type B audio
Each brief press of the “MENU ”button
changes the control modes in the follow-
ing sequence.
Type A audio:
Type B audio:
Choose the preferred settings for each
mode by turning the “TUNE ”dial.
The control function returns to the tune/
track/channel control mode after approxi-
mately 5 seconds. !
Position setting (type A audio)
Position setting is used to adjust the
sound to the best condition for the
selected seating position.
ALL: The sound is adjusted to the best for all seating positions.
FR: The sound is adjusted to the best for the front passenger.
FL: The sound is adjusted to the best for the driver.
! Audio settings (type C audio)
“ SETTING ”dial
1. Press the “SETTING ”dial to display
the “Setting ”menu.
2. Turn the “SETTING ”dial clockwise or
counterclockwise to select the preferred
menu. The menu list is as follows. Audio
5-9
– CONTINUED –
Page 197 of 474

5-14Audio
erly if the station reception is weakened by
distance from the station or proximity to
tall buildings and hills. !PTY (Program type) group tuning
(only FM reception) (type A and Baudio)
Type A audio
Type B audio
Press the “PTY/CAT ”button to change to
the PTY selection mode. At this time, the
PTY group that you are currently listening
to will be displayed for 10 seconds. In PTY
selection mode, “PTY SEL ”is displayed
on the screen. !
PTY (Program type) group selection
In the PTY selection mode, press the
following button to change the PTY group
by one step at a time.
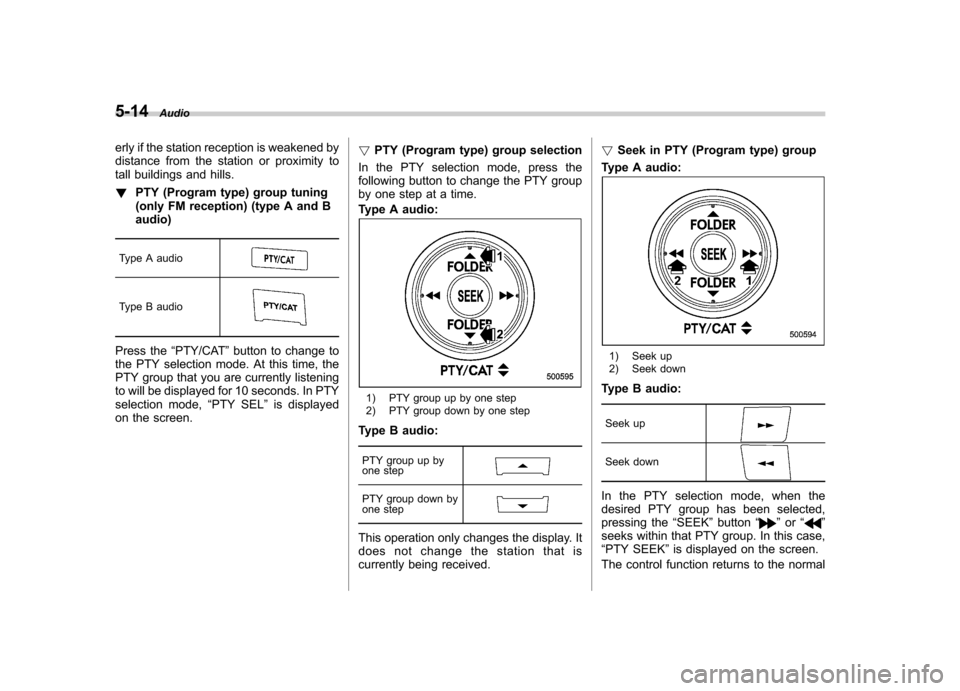
Type A audio:
1) PTY group up by one step
2) PTY group down by one step
Type B audio:
PTY group up by
one step
PTY group down by
one step
This operation only changes the display. It
does not change the station that is
currently being received. !
Seek in PTY (Program type) group
Type A audio:
1) Seek up
2) Seek down
Type B audio:
Seek up
Seek down
In the PTY selection mode, when the
desired PTY group has been selected,
pressing the “SEEK ”button “
”or “”
seeks within that PTY group. In this case, “ PTY SEEK ”is displayed on the screen.
The control function returns to the normal
Page 198 of 474

mode after approximately 10 seconds. &HD Radio
®Technology (Digi-
tal AM and FM Radio) (type C audio)
! HD Radio Technology Information
! What is HD Radio
®Technology and
how does it work?
HD Radio
TMTechnology is the digital
evolution of analog AM/FM radio. Your
radio product has a special receiver which
allows it to receive digital broadcasts
(where available) in addition to the analog
broadcasts it already receives. Digital
broadcasts have better sound quality than
analog broadcasts as digital broadcasts
provide free, crystal clear audio with no static or distortion. For more information,
and a guide to available radio stations and
programming, please visit www.hdradio.com. !
Using HD Radio
®Technology
As a consumer works through the analog
radio stations, (where applicable) the radio
receiver will automatically tune from an
analog signal to a digital signal within five
seconds. An orange
logo indicator will
be seen on the screen when in digital. NOTE The
logo will first appear in a gray
color indicating the station is indeed
(an analog and) a digital station. Once
the digital signal is acquired, the logo
will be a bright orange color. ! Benefits of HD Radio
®Technology
1.
Information: The song title, artist name
and music genre will appear on the screen
when available by the radio station. 2.
Multicast: On the FM radio frequency
most digital stations have “multiple ”or
supplemental programs on one FM sta-
tion. When the consumer pushes the
multicast button, they will move between
the multiple unique program content. 3.
Clear Reception: Unlike analog radio
signals, digital signals do not pass along static, hiss or pops. !
HD Radio
®Technology Trouble-
shooting
1.
Station blending: When acquiring a
radio station, as usual, the radio will play
content in analog. If the radio verifies the
broadcast is an HD Radio Technology
station, it will then shift or blend smoothly
to a digital signal within five seconds.
Depending on the station quality, the
consumer may hear a slight sound change
when the station switches from the analog
to digital signal. 2.
Reception area: Topography of the
earth can affect radio signals. For exam-
ple, when a vehicle is behind a hill or large
building from the radio tower location
analog reception will be poor and it is
highly likely that HD Radio reception will
not occur. When a consumer is on the
multicast or supplemental programming
(HD2/HD3/HD4) and the reception is
weak or lost, this will result in a “mute ”
condition. On the main or HD1 program, a
weak or lost digital signal will result in the
playing of an analog signal until a digital
signal is available. 3.
Station issues: In order to provide the
best experience, a contact form has been
developed to report any radio station
issues found while listening to a broad- Audio
5-15
– CONTINUED –
Page 199 of 474

5-16Audio
cast. Every radio station is independently
owned and operated. These stations are
responsible for ensuring all audio streams
and data fields are accurate. The form can
be found at www.ibiquity.com/automotive/report_radio_station_experiences. Experience Cause Action
Mismatch of time alignment-
Customer may hear a short
period of programming re-
played or an echo, stutter or skip. The radio stations analog and
digital volume is not properly
aligned or the station is in
ballgame mode.
None, radio broadcast issue.
Consumer can contact the
radio station.
Sound fades, blending in andout. Radio is shifting between ana-
log and digital audio.Reception issue, may clear-up
as you continue to drive. HD
Radio off button can force radio
in an analog audio.
Audio mute condition when on
an HD2/HD3 multicast chan-
nel, had been playing. The radio does not have ac-
cess to digital signals at the moment.This is normal behavior, wait
until the digital signal has re-
turned. If out of coverage area,
seek a new station.
Audio mute delay when se-
lecting HD2/HD3 multicast
channel preset. The digital multicast content is
not available until HD Radio
broadcast can be decoded and
make the audio available. This
takes up to seven seconds.
This is normal behavior, wait for
the audio availability.
Text information does not
match the present song audio. Data service issue by the radio
broadcaster.Broadcaster should be notified.
Complete the form: www.ibi-
quity.com/automotive/report_ra-
dio_station_experiences.
No text information shown for
the present selected fre-
quency. Data service issue by the radio
broadcaster.Broadcaster should be notified.
Complete the form: www.ibi-
quity.com/automotive/report_ra-
dio_station_experiences.
Page 205 of 474

5-22Audio
!Category selection (type C audio)
Change the cate-
gory up by one step
Change the cate-
gory down by one step
To activate the category search mode,
press the “”or “”button. When in the
category search mode, press the “”or
“” button to change the category up or
down.
When a category is selected, turning the “ TUNE ”dial selects channels only within
the selected category.
The control function returns to the normal
mode after approximately 6 seconds. ! Channel scan (type C audio)
“ SCAN/A.S ”button
Press the “SCAN/A.S ”button to change
the radio to the SCAN mode. In this mode,
under the selected category, the radio
scans through the channel until a station
is found. The radio will stop at the station
for 5 seconds while displaying the channel
number, after which scanning will continue
until the entire channel has been scanned. Press the
“SCAN/A.S ”button again to
cancel the SCAN mode and to stop on any
displayed channel.
& Channel preset
! How to preset channels
1. Press the “SAT ”button to select SAT1,
SAT2 and SAT3 reception.
2. Select the desired channel.
3. Press and hold one of the preset
buttons (from
to) to store the
channel. If the button is pressed briefly,
the preceding selection will remain in the
memory.
NOTE . Up to six SAT1, SAT2 and SAT3
channels each may be preset. . If the connection between the radio
and battery is broken for any reason
such as vehicle maintenance or radio
removal, all channels stored in the
preset buttons are cleared. If this
occurs, it is necessary to reset the
preset channels. !
Selecting preset channels
1. Press the “SAT ”button to select SAT1,
SAT2 or SAT3 reception.
2. Press the preferred preset button (from
to) briefly.
& When the following mes-
sages are displayed (type C audio)
If one of the following messages is
displayed when receiving XM signals,
determine the cause based on the follow-
ing information. If you cannot clear these
messages, contact your SUBARU dealer.
Page 211 of 474

5-28Audio
&Scan
Type A audio
Type B audio
Type C audio
The scan mode lets you listen to the first
10 seconds of each track/file in succes-
sion. Press the “SCAN ”button to start
scanning upward beginning with the track/
file(s) following the currently selected one.
After all track/file(s) in the disk/folder have
been scanned, normal playback will be
resumed. To cancel the scan mode, pressthe “SCAN ”button again.
NOTE
The scan mode will be cancelled if you
perform any of the following steps. . Press the “RPT/RDM ”button (type A
and B audio). . Press the “RPT ”button (type C
audio).. Press the “RDM ”button (type C
audio). .
Turn the “TUNE ”dial.
. Press the “
”or “”side of the
“ FOLDER ”button (type A and B audio).
. Press the “
”button.
. Press the “”or “”side of the
“ SEEK ”button.
. Select the radio or AUX mode.
. Turn off the power of the audio
equipment. . Turn the ignition switch to the
“ LOCK ”position.
& Display selection (type A and
B audio)
Type A audio
Type B audio
If you press the “TEXT ”button during
playback, the indication will change to the
next one in the following sequence.
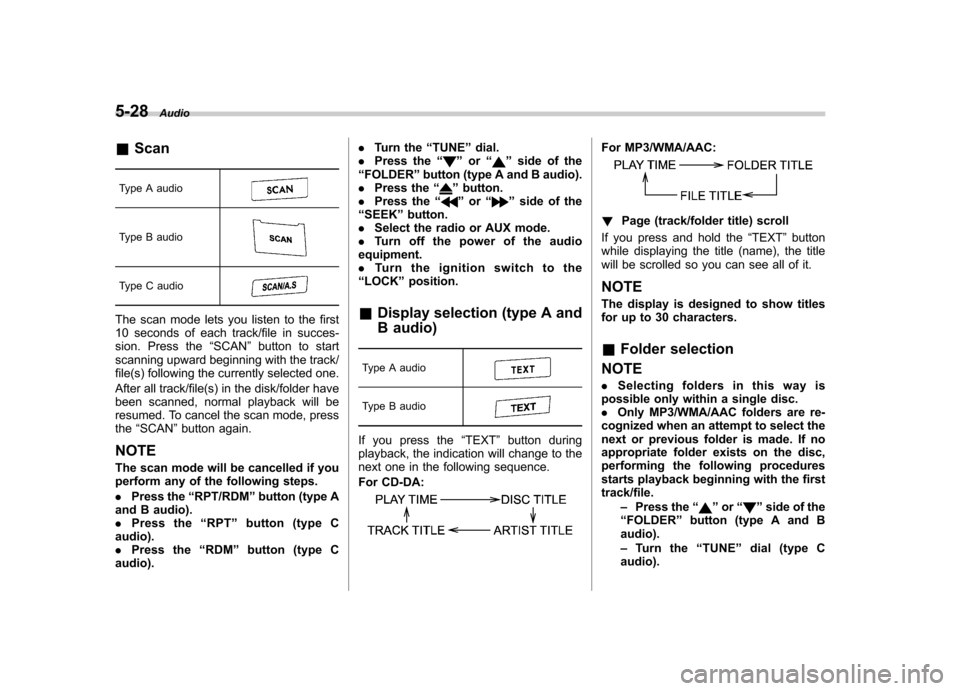
For CD-DA:
For MP3/WMA/AAC:
! Page (track/folder title) scroll
If you press and hold the “TEXT ”button
while displaying the title (name), the title
will be scrolled so you can see all of it. NOTE
The display is designed to show titles
for up to 30 characters. & Folder selection
NOTE . Selecting folders in this way is
possible only within a single disc. . Only MP3/WMA/AAC folders are re-
cognized when an attempt to select the
next or previous folder is made. If no
appropriate folder exists on the disc,
performing the following procedures
starts playback beginning with the firsttrack/file.
–Press the “
”or “”side of the
“ FOLDER ”button (type A and B
audio). – Tu r n t h e “TUNE ”dial (type C
audio).