Page 111 of 453
CAUTION
Even though the battery saver feature au-
tomatically turns off the headlights after a
period of time, you should turn the head-
light switch to the OFF position when the
engine is not running to avoid discharging
the vehicle battery.
DAYTIME RUNNING LIGHT SYSTEM
(Canada only)
The headlights automatically illuminate at a re-
duced intensity when the engine is started with
the parking brake released. The daytime running
lights operate with the headlight switch in the
OFF position or in the
Page 235 of 453

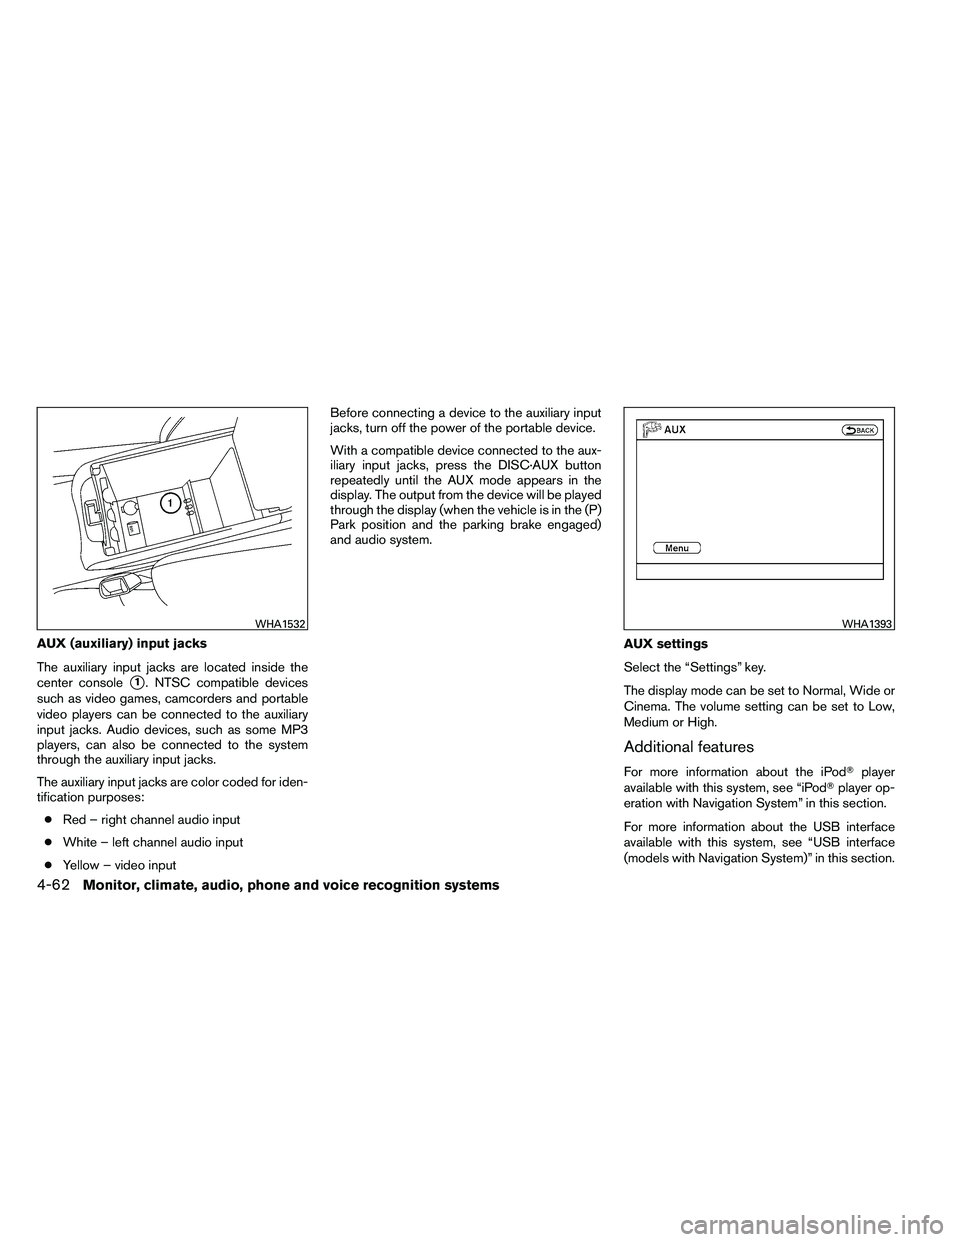
AUX (auxiliary) input jacks
The auxiliary input jacks are located inside the
center console
�1. NTSC compatible devices
such as video games, camcorders and portable
video players can be connected to the auxiliary
input jacks. Audio devices, such as some MP3
players, can also be connected to the system
through the auxiliary input jacks.
The auxiliary input jacks are color coded for iden-
tification purposes:
● Red – right channel audio input
● White – left channel audio input
● Yellow – video input Before connecting a device to the auxiliary input
jacks, turn off the power of the portable device.
With a compatible device connected to the aux-
iliary input jacks, press the DISC·AUX button
repeatedly until the AUX mode appears in the
display. The output from the device will be played
through the display (when the vehicle is in the (P)
Park position and the parking brake engaged)
and audio system.
AUX settings
Select the “Settings” key.
The display mode can be set to Normal, Wide or
Cinema. The volume setting can be set to Low,
Medium or High.
Additional features
For more information about the iPod�player
available with this system, see “iPod� player op-
eration with Navigation System” in this section.
For more information about the USB interface
available with this system, see “USB interface
(models with Navigation System)” in this section.
Page 236 of 453
For more information about the Music Box�fea-
ture available with this system, see “Music Box �”
in this section.
For more information about the Bluetooth�
streaming audio feature available with this sys-
tem, see “Bluetooth� streaming audio” in this
section.
DIGITAL VERSATILE DISC (DVD)
PLAYER OPERATION (models with
Navigation System)
Precautions
Start the engine when using the DVD entertain-
ment system.
Movies will not be shown on the front display
while the vehicle is in any drive position to reduce
driver distraction. Audio is available when a movie
is played. To view movies on the front display,
stop the vehicle in a safe location, move the shift
selector to the P (Park) position and apply the
parking brake.
Page 243 of 453

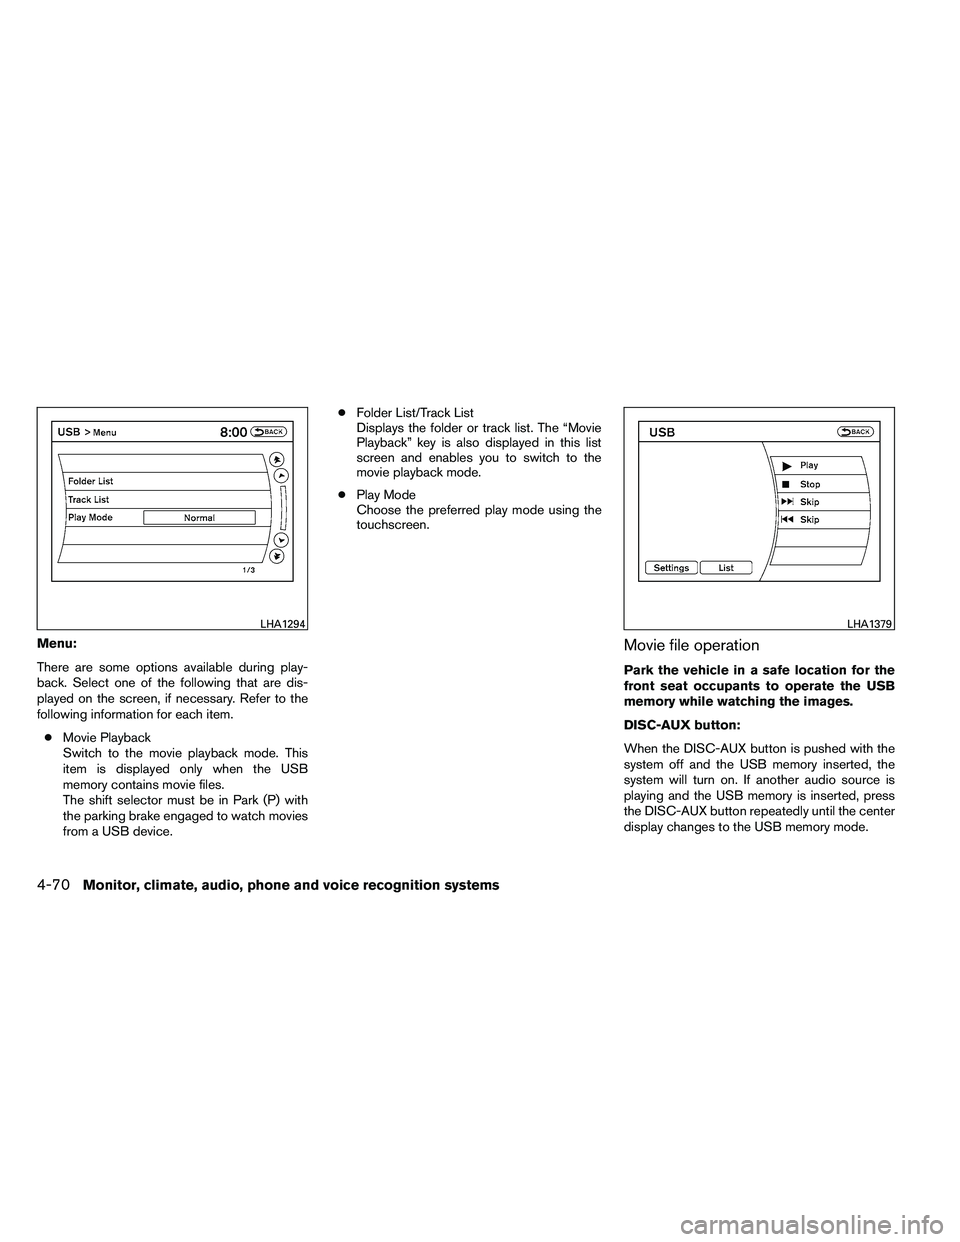
Menu:
There are some options available during play-
back. Select one of the following that are dis-
played on the screen, if necessary. Refer to the
following information for each item.● Movie Playback
Switch to the movie playback mode. This
item is displayed only when the USB
memory contains movie files.
The shift selector must be in Park (P) with
the parking brake engaged to watch movies
from a USB device. ●
Folder List/Track List
Displays the folder or track list. The “Movie
Playback” key is also displayed in this list
screen and enables you to switch to the
movie playback mode.
● Play Mode
Choose the preferred play mode using the
touchscreen.Movie file operation
Park the vehicle in a safe location for the
front seat occupants to operate the USB
memory while watching the images.
DISC-AUX button:
When the DISC-AUX button is pushed with the
system off and the USB memory inserted, the
system will turn on. If another audio source is
playing and the USB memory is inserted, press
the DISC-AUX button repeatedly until the center
display changes to the USB memory mode.
Page 276 of 453
SPEAKER ADAPTATION (SA) MODE
Speaker Adaptation allows up to two out-of-
dialect users to train the system to improve rec-
ognition accuracy. By repeating a number of
commands, the users can create a voice model of
their own voice that is stored in the system. The
system is capable of storing a different speaker
adaptation model for each connected phone.
Training procedure
The procedure for training a voice is as follows.1. Position the vehicle in a reasonably quiet outdoor location.
2. Sit in the driver’s seat with the engine run- ning, the parking brake on, and the transmis-
sion in P (Park) .
3. Press and hold the
Page 319 of 453

avoid driving when tired. Never drive when under
the influence of alcohol or drugs (including pre-
scription or over-the-counter drugs which may
cause drowsiness) . Always wear your seat belt
as outlined in the “Safety – Seats, seat belts and
supplemental restraint system” section of this
manual, and also instruct your passengers to do
so.
Seat belts help reduce the risk of injury in colli-
sions and rollovers.In a rollover crash, an
unbelted or improperly belted person is
significantly more likely to be injured or
killed than a person properly wearing a
seat belt.
OFF-ROAD RECOVERY
If the right side or left side wheels unintentionally
leave the road surface, maintain control of the
vehicle by following the procedure below. Please
note that this procedure is only a general guide.
The vehicle must be driven as appropriate based
on the conditions of the vehicle, road and traffic.
1. Remain calm and do not overreact.
2. Do not apply the brakes.
3. Maintain a firm grip on the steering wheel with both hands and try to hold a straight
course. 4. When appropriate , slowly release the accel-
erator pedal to gradually slow the vehicle.
5. If there is nothing in the way, steer the ve- hicle to follow the road while vehicle speed
is reduced. Do not attempt to drive the ve-
hicle back onto the road surface until vehicle
speed is reduced.
6. When it is safe to do so, gradually turn the steering wheel until both tires return to the
road surface. When all tires are on the road
surface, steer the vehicle to stay in the ap-
propriate driving lane.
● If you decide that it is not safe to return the
vehicle to the road surface based on vehicle,
road or traffic conditions, gradually slow the
vehicle to a stop in a safe place off the road.
RAPID AIR PRESSURE LOSS
Rapid air pressure loss or a “blow-out” can occur
if the tire is punctured or is damaged due to
hitting a curb or pothole. Rapid air pressure loss
can also be caused by driving on under-inflated
tires.
Rapid air pressure loss can affect the handling
and stability of the vehicle, especially at highway
speeds.
Help prevent rapid air pressure loss by maintain-
ing the correct air pressure and visually inspect the tires for wear and damage. See “Wheels and
tires” in the “Maintenance and do-it-yourself”
section of this manual. If a tire rapidly loses air
pressure or “blows-out” while driving, maintain
control of the vehicle by following the procedure
below. Please note that this procedure is only a
general guide. The vehicle must be driven as
appropriate based on the conditions of the ve-
hicle, road and traffic.
Page 320 of 453
3. When appropriate, slowly release the accel-erator pedal to gradually slow the vehicle.
4. Gradually steer the vehicle to a safe location off the road and away from traffic if possible.
5. Lightly apply the brake pedal to gradually stop the vehicle.
6. Turn on the hazard warning flashers and either contact a roadside emergency service
to change the tire or see “Changing a flat
tire” in the “In case of emergency” section of
this manual.
DRINKING ALCOHOL/DRUGS AND
DRIVING
Page 321 of 453

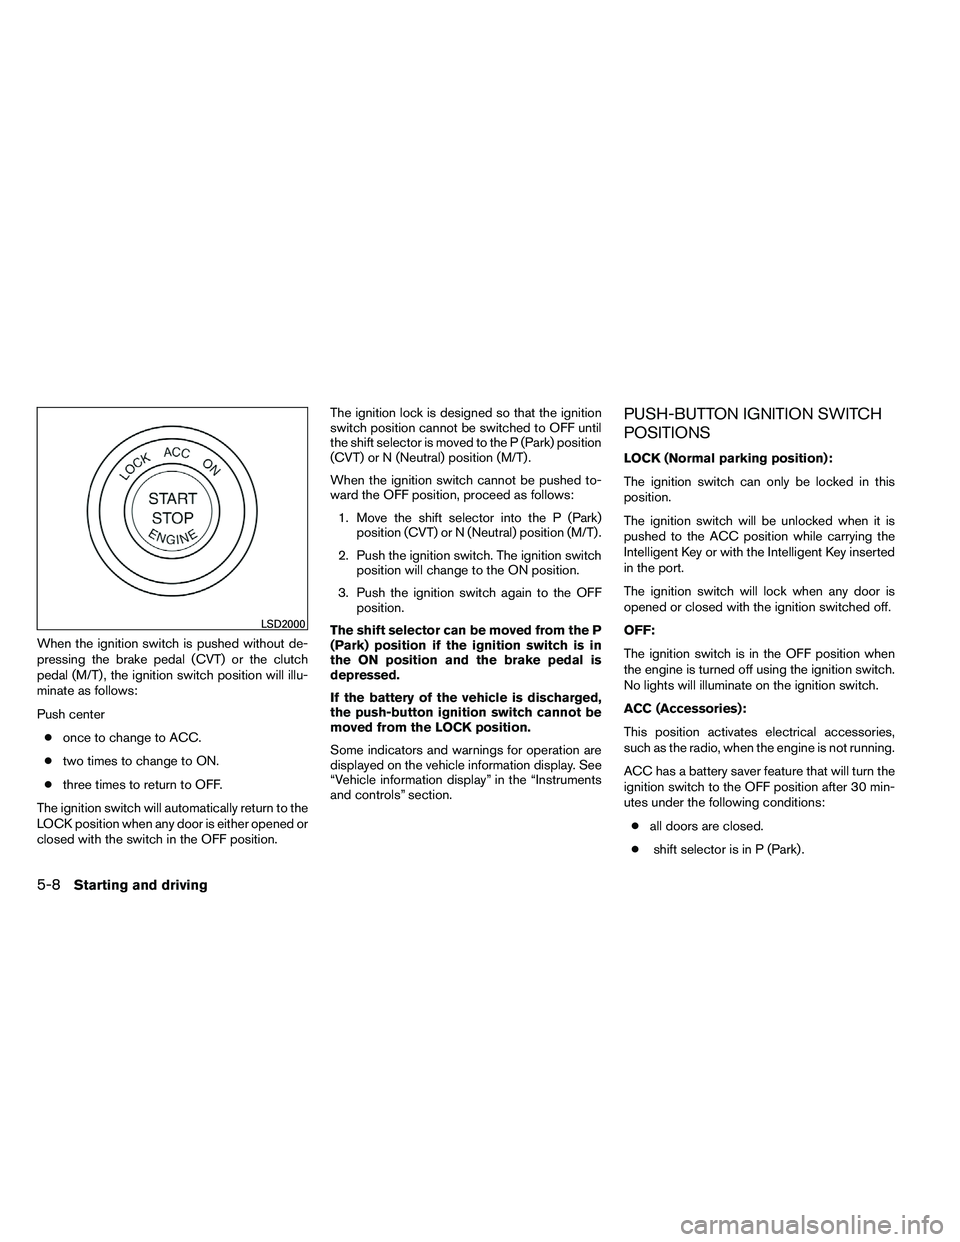
When the ignition switch is pushed without de-
pressing the brake pedal (CVT) or the clutch
pedal (M/T) , the ignition switch position will illu-
minate as follows:
Push center● once to change to ACC.
● two times to change to ON.
● three times to return to OFF.
The ignition switch will automatically return to the
LOCK position when any door is either opened or
closed with the switch in the OFF position. The ignition lock is designed so that the ignition
switch position cannot be switched to OFF until
the shift selector is moved to the P (Park) position
(CVT) or N (Neutral) position (M/T) .
When the ignition switch cannot be pushed to-
ward the OFF position, proceed as follows:
1. Move the shift selector into the P (Park) position (CVT) or N (Neutral) position (M/T) .
2. Push the ignition switch. The ignition switch position will change to the ON position.
3. Push the ignition switch again to the OFF position.
The shift selector can be moved from the P
(Park) position if the ignition switch is in
the ON position and the brake pedal is
depressed.
If the battery of the vehicle is discharged,
the push-button ignition switch cannot be
moved from the LOCK position.
Some indicators and warnings for operation are
displayed on the vehicle information display. See
“Vehicle information display” in the “Instruments
and controls” section.
PUSH-BUTTON IGNITION SWITCH
POSITIONS
LOCK (Normal parking position):
The ignition switch can only be locked in this
position.
The ignition switch will be unlocked when it is
pushed to the ACC position while carrying the
Intelligent Key or with the Intelligent Key inserted
in the port.
The ignition switch will lock when any door is
opened or closed with the ignition switched off.
OFF:
The ignition switch is in the OFF position when
the engine is turned off using the ignition switch.
No lights will illuminate on the ignition switch.
ACC (Accessories):
This position activates electrical accessories,
such as the radio, when the engine is not running.
ACC has a battery saver feature that will turn the
ignition switch to the OFF position after 30 min-
utes under the following conditions:
● all doors are closed.
● shift selector is in P (Park) .