Page 10 of 453
1. Top tether strap anchor (P. 1-26)
2. Rear seat belts (P. 1-13)
3. Roof-mounted curtain side-impactsupplemental air bag (P. 1-41)
4. Front seat-mounted side-impact
supplemental air bag (P. 1-41)
5. Head Restraints (P. 1-9)
6. Front seat belts (P. 1-13)
7. Side-impact pressure sensor (driver’s
side shown; passenger’s side similar)
(P. 1-57)
8. Supplemental front-impact air bags
(P. 1-41)
9. Seats (P. 1-2)
10. Occupant classification sensor
(pattern sensor) (P. 1-51)
11. Seat belt with pretensioner (P. 1-56)
12. LATCH (Lower Anchors and Tethers for
CHildren) system (P. 1-24)
See the page number indicated in paren-
theses for operating details.
Page 29 of 453
To fold down the driver’s side of the rear seat,
reach through the opening and pull on the strap
�1located behind the seat.
The rear seats can be locked using the mechani-
cal key to prevent unauthorized access. For more
information on keys, refer to “Keys” in the “Pre-
driving checks and adjustments” section of this
manual.
Center armrest (if so equipped)
Pull the armrest down until it is horizontal.
HEAD RESTRAINTS
Page 38 of 453

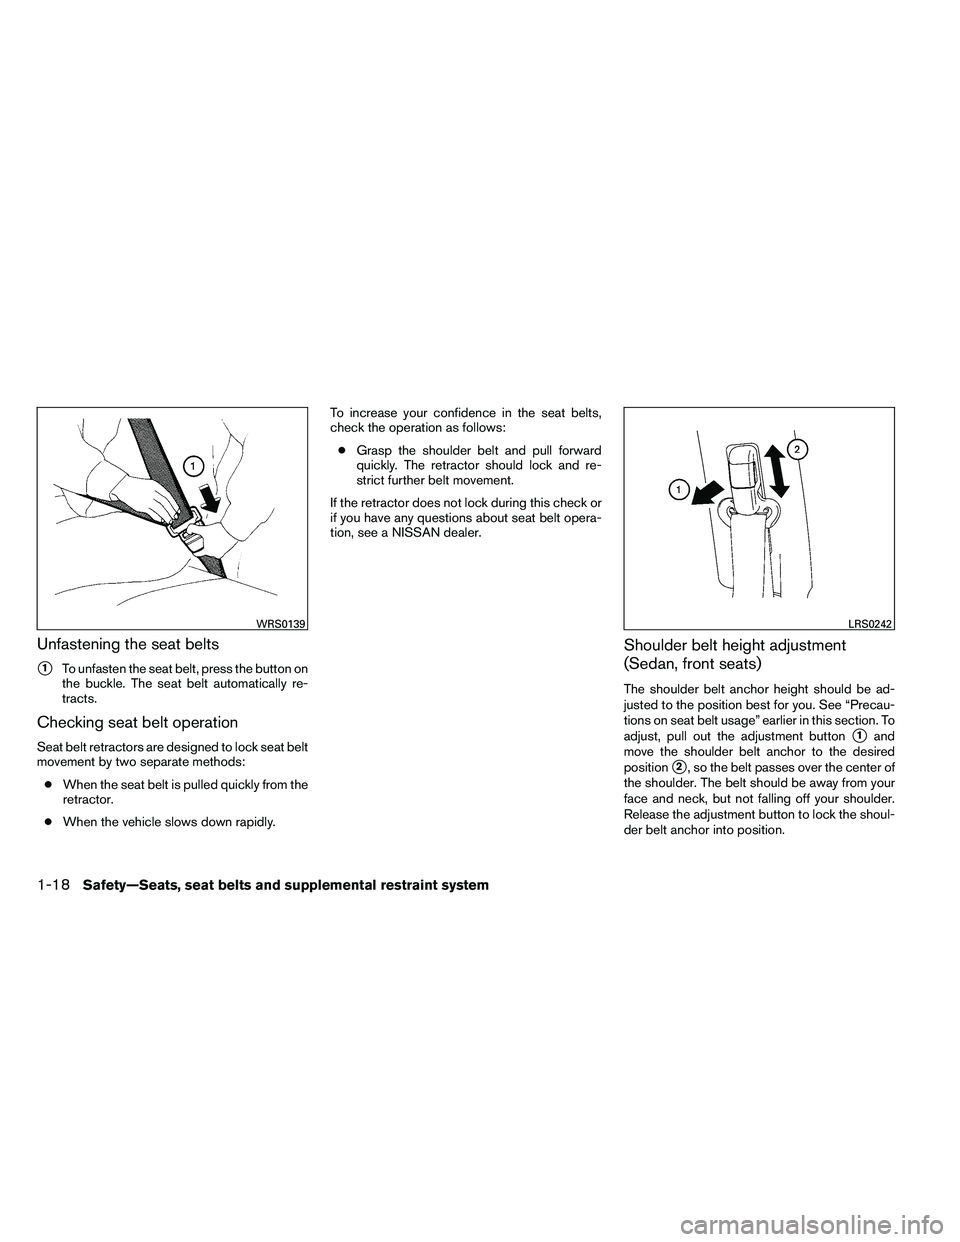
Unfastening the seat belts
�1To unfasten the seat belt, press the button on
the buckle. The seat belt automatically re-
tracts.
Checking seat belt operation
Seat belt retractors are designed to lock seat belt
movement by two separate methods:
● When the seat belt is pulled quickly from the
retractor.
● When the vehicle slows down rapidly. To increase your confidence in the seat belts,
check the operation as follows:
● Grasp the shoulder belt and pull forward
quickly. The retractor should lock and re-
strict further belt movement.
If the retractor does not lock during this check or
if you have any questions about seat belt opera-
tion, see a NISSAN dealer.
Shoulder belt height adjustment
(Sedan, front seats)
The shoulder belt anchor height should be ad-
justed to the position best for you. See “Precau-
tions on seat belt usage” earlier in this section. To
adjust, pull out the adjustment button
�1and
move the shoulder belt anchor to the desired
position
�2, so the belt passes over the center of
the shoulder. The belt should be away from your
face and neck, but not falling off your shoulder.
Release the adjustment button to lock the shoul-
der belt anchor into position.
Page 40 of 453

●If dirt builds up in the shoulder belt
guide of the seat belt anchors, the seat
belts may retract slowly. Wipe the shoulder
belt guide with a clean, dry cloth.
● Periodically check to see that the seat
belt and the metal components, such as
buckles, tongues, retractors, flexible wires
and anchors, work properly. If loose parts,
deterioration, cuts or other damage on the
webbing is found, the entire seat belt as-
sembly should be replaced. Children need adults to help protect them.
They need to be properly restrained.
In addition to the general information in this
manual, child safety information is available from
many other sources, including doctors, teachers,
government traffic safety offices, and community
organizations. Every child is different, so be sure
to learn the best way to transport your child.
There are three basic types of child restraint
systems:
● Rear-facing child restraint
● Forward-facing child restraint
● Booster seat
The proper restraint depends on the child’s size.
Generally, infants up to about 1 year and less
than 20 lbs (9 kg) should be placed in rear-facing
child restraints. Forward-facing child restraints
are available for children who outgrow rear-
facing child restraints and are at least 1 year old.
Booster seats are used to help position a vehicle
lap/shoulder belt on a child who can no longer
use a forward-facing child restraint.
Page 49 of 453
Refer to all Warnings and Cautions in the “Child
safety” and “Child restraints” sections before in-
stalling a child restraint.
Follow these steps to install a rear-facing child
restraint using the vehicle seat belts in the rear
seats:1. Child restraints for infants must be
used in the rear-facing direction and
therefore must not be used in the front
seat. Position the child restraint on the seat.
Always follow the restraint manufacturer’s
instructions. 2. Route the seat belt tongue through the child
restraint and insert it into the buckle until you
hear and feel the latch engage. Be sure to
follow the child restraint manufacturer’s in-
structions for belt routing. 3. Pull the shoulder belt until the belt is fully
extended. At this time, the seat belt retractor
is in the Automatic Locking Retractor (ALR)
mode (child restraint mode) . It reverts to the
Emergency Locking Retractor (ELR) mode
when the seat belt is fully retracted.
Page 54 of 453

Refer to all Warnings and Cautions in the “Child
Safety” and “Child Restraint” sections before in-
stalling a child restraint.
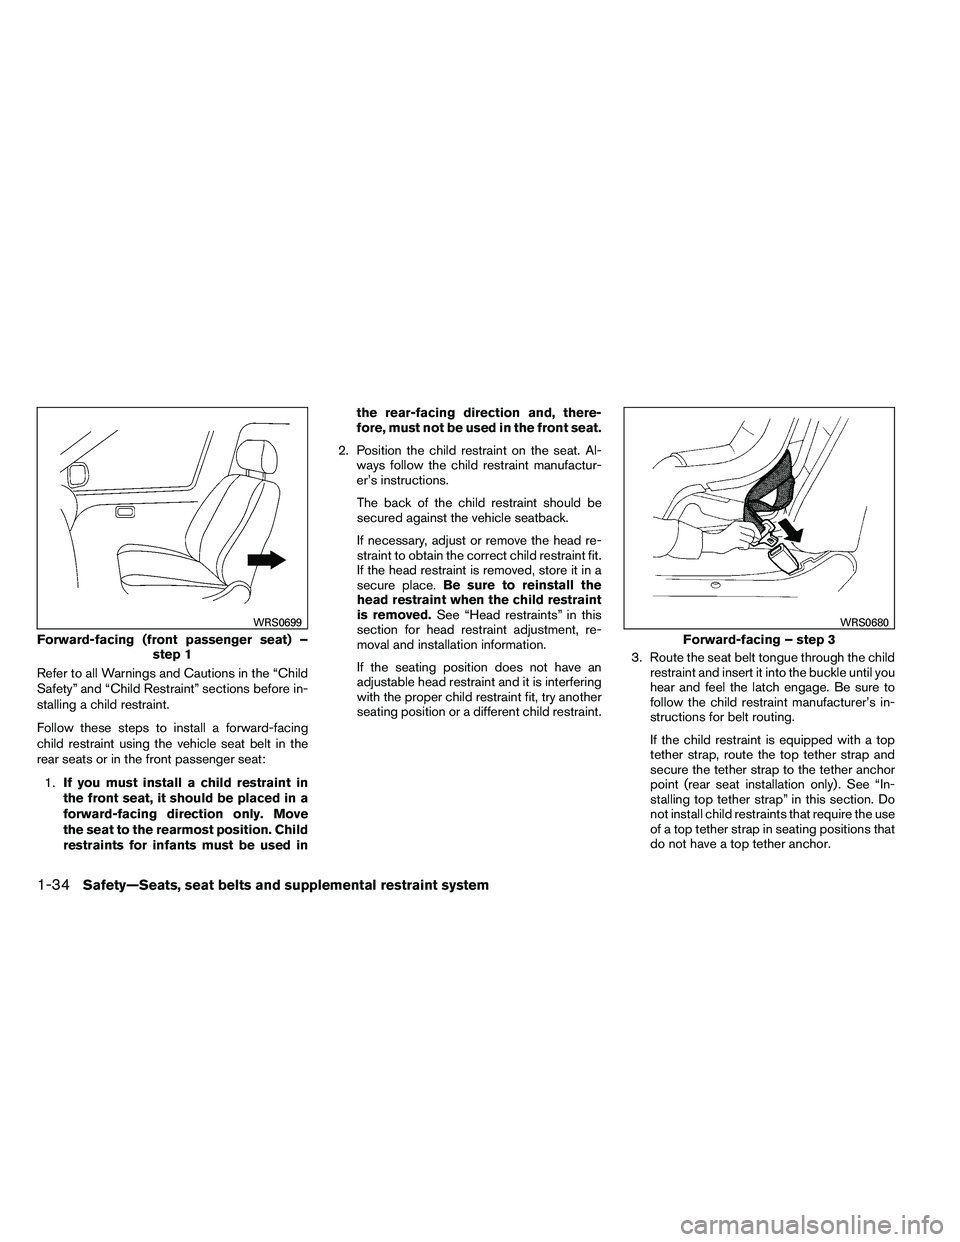
Follow these steps to install a forward-facing
child restraint using the vehicle seat belt in the
rear seats or in the front passenger seat:1. If you must install a child restraint in
the front seat, it should be placed in a
forward-facing direction only. Move
the seat to the rearmost position. Child
restraints for infants must be used in the rear-facing direction and, there-
fore, must not be used in the front seat.
2. Position the child restraint on the seat. Al- ways follow the child restraint manufactur-
er’s instructions.
The back of the child restraint should be
secured against the vehicle seatback.
If necessary, adjust or remove the head re-
straint to obtain the correct child restraint fit.
If the head restraint is removed, store it in a
secure place. Be sure to reinstall the
head restraint when the child restraint
is removed. See “Head restraints” in this
section for head restraint adjustment, re-
moval and installation information.
If the seating position does not have an
adjustable head restraint and it is interfering
with the proper child restraint fit, try another
seating position or a different child restraint. 3. Route the seat belt tongue through the child
restraint and insert it into the buckle until you
hear and feel the latch engage. Be sure to
follow the child restraint manufacturer’s in-
structions for belt routing.
If the child restraint is equipped with a top
tether strap, route the top tether strap and
secure the tether strap to the tether anchor
point (rear seat installation only) . See “In-
stalling top tether strap” in this section. Do
not install child restraints that require the use
of a top tether strap in seating positions that
do not have a top tether anchor.
Page 57 of 453
INSTALLING TOP TETHER STRAP
First, secure the child restraint with the LATCH
lower anchors (rear outboard seat positions only)
or the seat belt, as applicable.1. Flip up the anchor cover
�1from the anchor
point which is located directly behind the
child seat.
2. Position the top tether strap over the top of the seatback
�2.
3. Secure the tether strap to the tether anchor point on the rear parcel shelf
�3. 4. Refer to the appropriate child restraint in-
stallation procedure steps in this section
before tightening the tether strap.
To remove or reinstall the tether anchor covers,
see “Upper tether anchor/key cylinder covers” in
the “Maintenance and do-it-yourself” section of
this manual.
If you have any questions when installing a
top tether strap, consult your NISSAN
dealer for details.
BOOSTER SEATS
Precautions on booster seats
Page 58 of 453
Booster seats of various sizes are offered by
several manufacturers. When selecting any
booster seat, keep the following points in mind:● Choose only a booster seat with a label
certifying that it complies with Federal Motor
Vehicle Safety Standard 213 or Canadian
Motor Vehicle Safety Standard 213.
● Check the booster seat in your vehicle to be
sure it is compatible with the vehicle’s seat
and seat belt system.