2012 NISSAN 370Z COUPE battery
[x] Cancel search: batteryPage 137 of 427
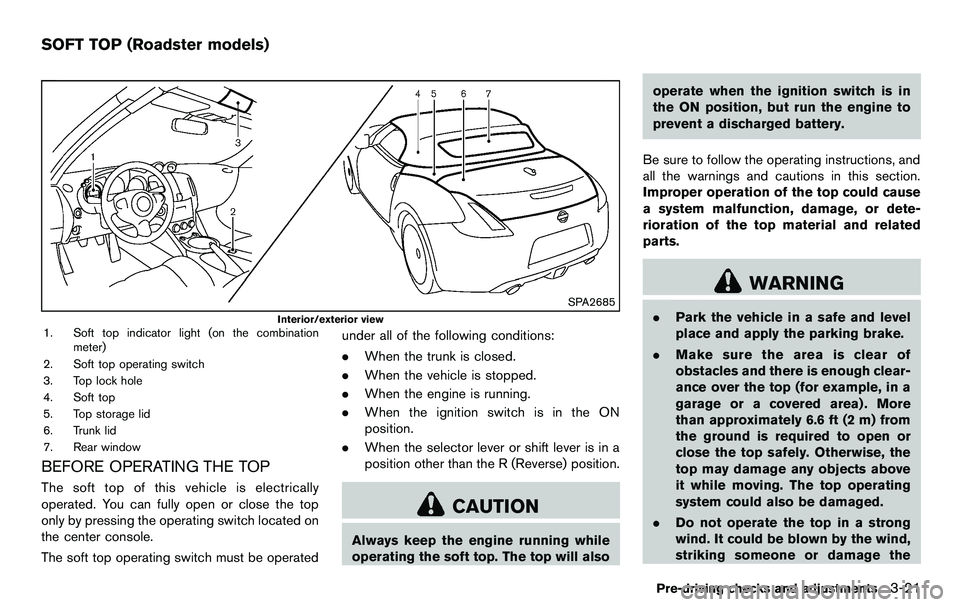
SPA2685
Interior/exterior view1. Soft top indicator light (on the combinationmeter)
2. Soft top operating switch
3. Top lock hole
4. Soft top
5. Top storage lid
6. Trunk lid
7. Rear window
BEFORE OPERATING THE TOP
The soft top of this vehicle is electrically
operated. You can fully open or close the top
only by pressing the operating switch located on
the center console.
The soft top operating switch must be operated under all of the following conditions:
.
When the trunk is closed.
. When the vehicle is stopped.
. When the engine is running.
. When the ignition switch is in the ON
position.
. When the selector lever or shift lever is in a
position other than the R (Reverse) position.
CAUTION
Always keep the engine running while
operating the soft top. The top will also operate when the ignition switch is in
the ON position, but run the engine to
prevent a discharged battery.
Be sure to follow the operating instructions, and
all the warnings and cautions in this section.
Improper operation of the top could cause
a system malfunction, damage, or dete-
rioration of the top material and related
parts.
WARNING
. Park the vehicle in a safe and level
place and apply the parking brake.
. Make sure the area is clear of
obstacles and there is enough clear-
ance over the top (for example, in a
garage or a covered area) . More
than approximately 6.6 ft (2 m) from
the ground is required to open or
close the top safely. Otherwise, the
top may damage any objects above
it while moving. The top operating
system could also be damaged.
. Do not operate the top in a strong
wind. It could be blown by the wind,
striking someone or damage the
Pre-driving checks and adjustments3-21
SOFT TOP (Roadster models)
Page 139 of 427

.Do not place anything in the top
storage area. The top will not fit
there properly, and this could da-
mage the top and/or the vehicle
body.
. Do not sit or place excessive weight
on the top and the storage lid,
especially when the top is being
operated. The top may be damaged.
. Do not drive the vehicle with the top
partially opened. Always make sure
the top is either fully opened or
closed before driving.
. Secure items so that they cannot be
blown from the vehicle while driving
with the top open.
. Do not operate the top manually
except for emergency cases. Manual
operation may damage the top.
. Be sure to fully open or fully close
the top. Do not release the switch
half way through the roof opening
or closing process. If the top is only
partially opened, significant da-
mage to the top could occur.
Make sure the trunk lid is securely closed before
operating the top.
SPA2706
WHEN OPERATING THE TOP
WARNING
Keep hands and other parts of the body
away from moving parts such as the
top, storage lid, side flap
*Aand power
windows.
CAUTION
Keep all parts of the top linkage clear of
obstructions, or the top latch may not be securely locked.
NOTE:
. In case of low battery or low tempera-
ture, the top may temporarily stop
moving during the operation. This func-
tions to protect the top control me-
chanism, and it is not a malfunction.
. If the top is opened and closed repeat-
edly in a short period of time or the top
operation is stopped while opening or
closing, the top operation may be
automatically stopped to protect the
system. Wait for approximately 5 min-
utes before operating the top again.
Pre-driving checks and adjustments3-23
Page 140 of 427
3-24Pre-driving checks and adjustments
SPA1691
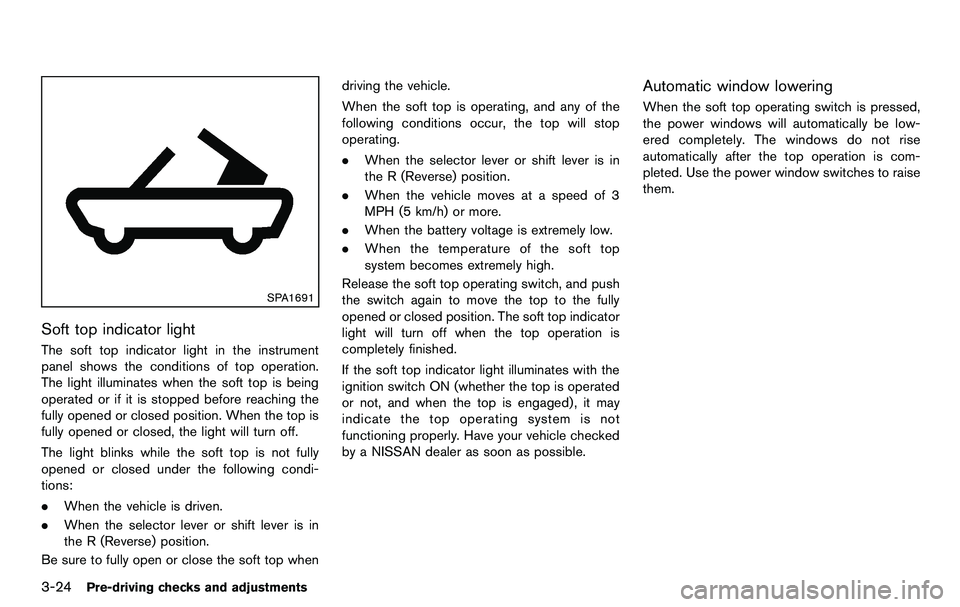
Soft top indicator light
The soft top indicator light in the instrument
panel shows the conditions of top operation.
The light illuminates when the soft top is being
operated or if it is stopped before reaching the
fully opened or closed position. When the top is
fully opened or closed, the light will turn off.
The light blinks while the soft top is not fully
opened or closed under the following condi-
tions:
.When the vehicle is driven.
. When the selector lever or shift lever is in
the R (Reverse) position.
Be sure to fully open or close the soft top when driving the vehicle.
When the soft top is operating, and any of the
following conditions occur, the top will stop
operating.
.
When the selector lever or shift lever is in
the R (Reverse) position.
. When the vehicle moves at a speed of 3
MPH (5 km/h) or more.
. When the battery voltage is extremely low.
. When the temperature of the soft top
system becomes extremely high.
Release the soft top operating switch, and push
the switch again to move the top to the fully
opened or closed position. The soft top indicator
light will turn off when the top operation is
completely finished.
If the soft top indicator light illuminates with the
ignition switch ON (whether the top is operated
or not, and when the top is engaged) , it may
indicate the top operating system is not
functioning properly. Have your vehicle checked
by a NISSAN dealer as soon as possible.
Automatic window lowering
When the soft top operating switch is pressed,
the power windows will automatically be low-
ered completely. The windows do not rise
automatically after the top operation is com-
pleted. Use the power window switches to raise
them.
Page 143 of 427

TROUBLESHOOTING GUIDE
If the soft top stops halfway during operation or does not operate normally, follow the procedures shown in the following table. If the procedures in the
following table do not solve the symptom, immediately contact a NISSAN dealer for the inspection.
SymptomBeepPossible cause Possible solution
The OPEN side of the soft top operating
switch is pushed, but the soft top does not
operate. Sounds twice
The OPEN side of the soft top operating switch is
pushed while the soft top is fully open, or the
CLOSE side of the soft top operating switch is
pushed while the soft top is fully closed. Push the CLOSE side of the soft top operating
switch when the soft top is fully open. Push the
OPEN side of the soft top operating switch when the
soft top is fully closed.
Sounds twice The selector lever (automatic transmission models
only) or the shift lever (manual transmission models
only) is in the R (Reverse) position. Shift the selector lever (automatic transmission
models only) to the P (Park) or N (Neutral) position, or
shift the shift lever (manual transmission models only)
to the N (Neutral) position, and then operate the soft
top.
Sounds twice The trunk lid is opened. Fully close the trunk lid.
Does not sound The battery voltage is low. Start the engine again and operate the soft top.
Does not sound The operation stops to protect the system. Wait for approximately 5 minutes.
The soft top stops halfway during opera-
tion. Sounds twice
Objects are trapped in the moving structure of the
soft top. Check that an object is not trapped inside the rear
parcel shelf, side flap and soft top. After the check,
turn the ignition switch to the OFF position, start the
engine again and then operate the soft top.
Sounds twice The battery voltage is low. Start the engine again and operate the soft top.
When the vehicle is being driven, the beep
sounds. Sounds continu-
ously The soft top is partially opened. Immediately park the vehicle in a safe location and
fully open or fully close the soft top.
Pre-driving checks and adjustments3-27
Page 144 of 427
3-28Pre-driving checks and adjustments
IF THE TOP DOES NOT OPEN OR
CLOSE ELECTRICALLY
If you cannot operate the soft top with the
operating switch, first check whether all the
following operating conditions are met.
.vehicle is stopped
. ignition switch is ON (Run the engine when
operating the top.)
. the trunk is closed
. the selector lever or shift lever is in a position
other than the R (Reverse) position
If the top still does not move under the above
conditions or has any system malfunction, see a
NISSAN dealer as soon as possible. When you
must close the top by yourself, in the event of
emergency or when an immediate dealer service
is not available, close the top manually accord-
ing to the procedures shown in this section.
When closing the soft top manually:
. Move the vehicle to a safe place, away from
traffic.
. Two people should perform this procedure,
as some of the top parts are extremely
heavy.
The top cannot be opened manually.
WARNING
. Do not drive with the top partially
opened.
. If the top cannot be operated prop-
erly, see a NISSAN dealer as soon
as possible to have your vehicle
checked.
CAUTION
The storage lid is extremely heavy. The
storage lid should be manually opened
or closed by two people.SPA2715
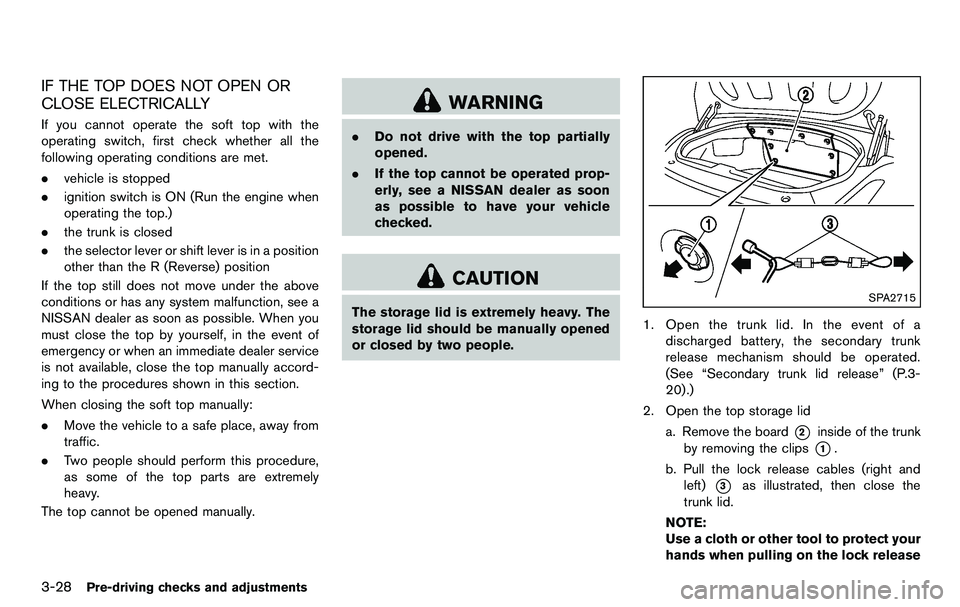
1. Open the trunk lid. In the event of a
discharged battery, the secondary trunk
release mechanism should be operated.
(See “Secondary trunk lid release” (P.3-
20).)
2. Open the top storage lid a. Remove the board
*2inside of the trunk
by removing the clips
*1.
b. Pull the lock release cables (right and left)
*3as illustrated, then close the
trunk lid.
NOTE:
Use a cloth or other tool to protect your
hands when pulling on the lock release
Page 188 of 427
4-32Center display, heater, air conditioner, audio, phone and voice recognition systems
Static and flutter: During signal interference from
buildings, large hills or due to antenna position,
usually in conjunction with increased distance
from the station transmitter, static or flutter can
be heard. This can be reduced by lowering the
treble setting to reduce the treble response.
Multipath reception: Because of the reflective
characteristics of FM signals, direct and re-
flected signals reach the receiver at the same
time. The signals may cancel each other,
resulting in momentary flutter or loss of sound.
AM radio reception:
AM signals, because of their low frequency, can
bend around objects and skip along the ground.
In addition, the signals can be bounced off the
ionosphere and bent back to earth. Because of
these characteristics. AM signals are also
subject to interference as they travel from
transmitter to receiver.
Fading: Occurs while the vehicle is passing
through freeway underpasses or in areas with
many tall buildings. It can also occur for several
seconds during ionospheric turbulence even in
areas where no obstacles exist.
Static: Caused by thunderstorms, electrical
power lines, electric signs and even traffic lights.Satellite radio reception (if so equipped):
When the satellite radio is used for the first time
or the battery has been replaced, the satellite
radio may not work properly. This is not a
malfunction. Wait more than 10 minutes with the
satellite radio ON and the vehicle outside of any
metal or large building for the satellite radio to
receive all of the necessary data.
The satellite radio mode requires an active XM
®
Satellite Radio subscription. The satellite radio is
not available in Alaska, Hawaii and Guam.
The satellite radio performance may be affected
if cargo carried on the roof blocks the satellite
radio signal.
If possible, do not put cargo near the satellite
antenna.
A build up of ice on the satellite radio antenna
can affect satellite radio performance. Remove
the ice to restore satellite radio reception.
SAA0480
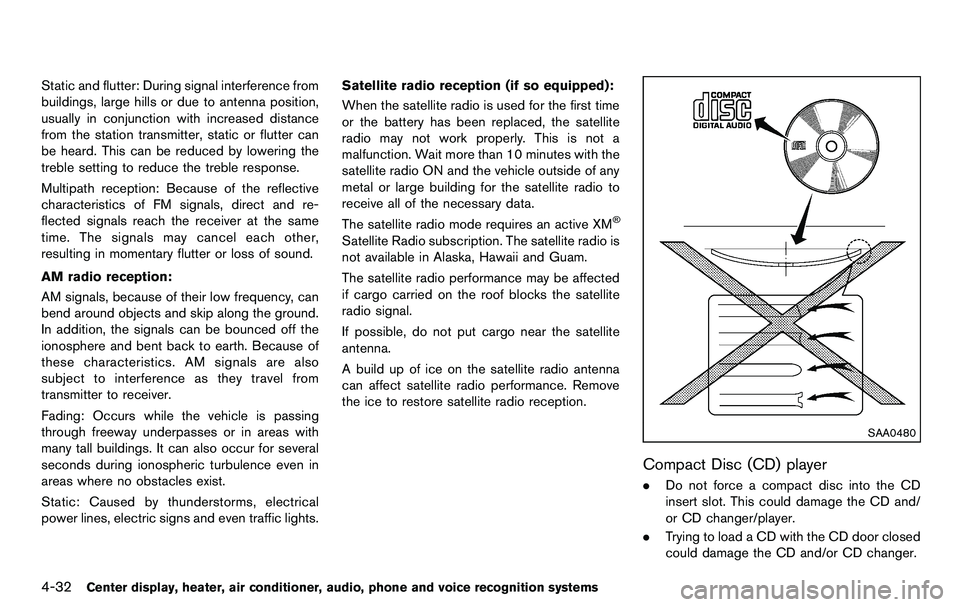
Compact Disc (CD) player
. Do not force a compact disc into the CD
insert slot. This could damage the CD and/
or CD changer/player.
. Trying to load a CD with the CD door closed
could damage the CD and/or CD changer.
Page 201 of 427
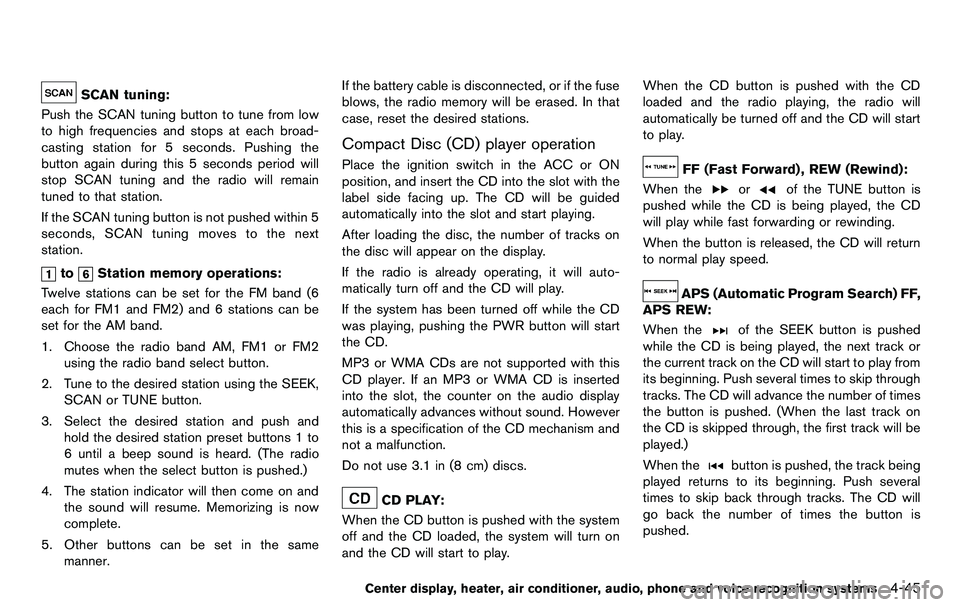
SCAN tuning:
Push the SCAN tuning button to tune from low
to high frequencies and stops at each broad-
casting station for 5 seconds. Pushing the
button again during this 5 seconds period will
stop SCAN tuning and the radio will remain
tuned to that station.
If the SCAN tuning button is not pushed within 5
seconds, SCAN tuning moves to the next
station.
toStation memory operations:
Twelve stations can be set for the FM band (6
each for FM1 and FM2) and 6 stations can be
set for the AM band.
1. Choose the radio band AM, FM1 or FM2 using the radio band select button.
2. Tune to the desired station using the SEEK, SCAN or TUNE button.
3. Select the desired station and push and hold the desired station preset buttons 1 to
6 until a beep sound is heard. (The radio
mutes when the select button is pushed.)
4. The station indicator will then come on and the sound will resume. Memorizing is now
complete.
5. Other buttons can be set in the same manner. If the battery cable is disconnected, or if the fuse
blows, the radio memory will be erased. In that
case, reset the desired stations.
Compact Disc (CD) player operation
Place the ignition switch in the ACC or ON
position, and insert the CD into the slot with the
label side facing up. The CD will be guided
automatically into the slot and start playing.
After loading the disc, the number of tracks on
the disc will appear on the display.
If the radio is already operating, it will auto-
matically turn off and the CD will play.
If the system has been turned off while the CD
was playing, pushing the PWR button will start
the CD.
MP3 or WMA CDs are not supported with this
CD player. If an MP3 or WMA CD is inserted
into the slot, the counter on the audio display
automatically advances without sound. However
this is a specification of the CD mechanism and
not a malfunction.
Do not use 3.1 in (8 cm) discs.
CD PLAY:
When the CD button is pushed with the system
off and the CD loaded, the system will turn on
and the CD will start to play. When the CD button is pushed with the CD
loaded and the radio playing, the radio will
automatically be turned off and the CD will start
to play.
FF (Fast Forward) , REW (Rewind):
When the
orof the TUNE button is
pushed while the CD is being played, the CD
will play while fast forwarding or rewinding.
When the button is released, the CD will return
to normal play speed.
APS (Automatic Program Search) FF,
APS REW:
When the
of the SEEK button is pushed
while the CD is being played, the next track or
the current track on the CD will start to play from
its beginning. Push several times to skip through
tracks. The CD will advance the number of times
the button is pushed. (When the last track on
the CD is skipped through, the first track will be
played.)
When the
button is pushed, the track being
played returns to its beginning. Push several
times to skip back through tracks. The CD will
go back the number of times the button is
pushed.
Center display, heater, air conditioner, audio, phone and voice recognition systems4-45
Page 205 of 427
notices will be displayed under certain condi-
tions.
.NO SIGNAL (No signal is received while the
SAT tuner is connected.)
. OFF AIR (Broadcasting signed off)
. CHECK ANTENNA (Antenna connection
error)
. LOADING (When the initial setting is
performed)
. UPDATING (When the satellite radio sub-
scription is not active)
SCAN tuning:
Push the SCAN tuning button to tune from low
to high frequencies and stop at each broad-
casting station/channel for 5 seconds. Pushing
the button again during this 5 seconds period
will stop SCAN tuning and the radio will remain
tuned to that station/channel.
If the SCAN tuning button is not pushed within 5
seconds, SCAN tuning moves to the next
station/channel.
*1to*6Station memory operations:
18 stations/channels can be set for the SAT
band (6 each for XM1, XM2 and XM3) , 12 can
be set for the FM band (6 each for FM1 and
FM2), and 6 can be set for the AM band. 1. Choose the radio band using the radio band
select button.
2. Tune to the desired station/channel using the SEEK, SCAN or TUNE button.
3. Push and hold the desired radio station preset button
*1to*6until a beep sound
is heard. (The radio mutes when the select
button is pushed.)
4. The station indicator will then come on and the sound will resume. Memorizing is now
complete.
5. Other buttons can be set in the same manner.
If the battery cable is disconnected, or if the fuse
opens, the radio memory will be erased. In that
case, reset the desired stations.
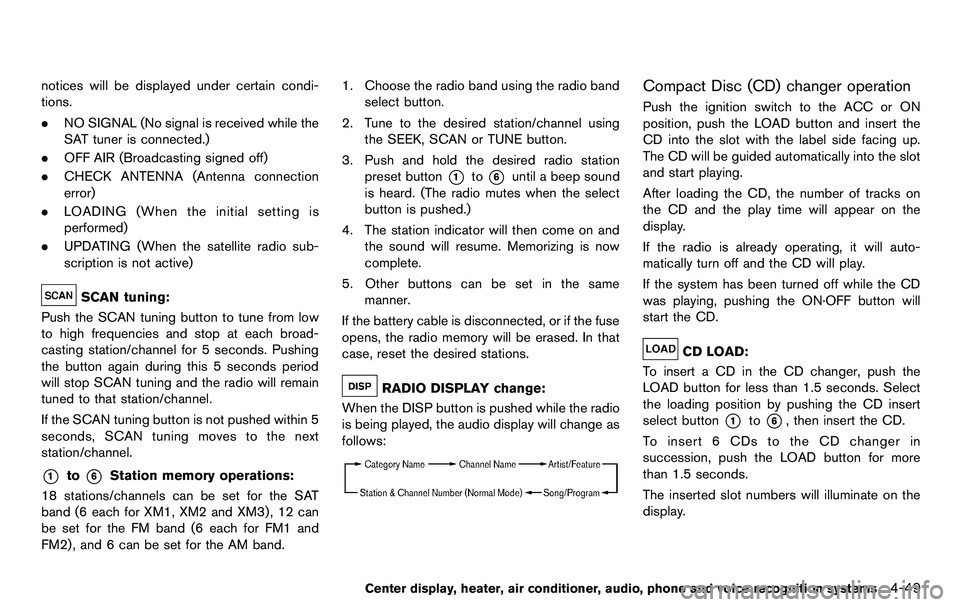
RADIO DISPLAY change:
When the DISP button is pushed while the radio
is being played, the audio display will change as
follows:
Compact Disc (CD) changer operation
Push the ignition switch to the ACC or ON
position, push the LOAD button and insert the
CD into the slot with the label side facing up.
The CD will be guided automatically into the slot
and start playing.
After loading the CD, the number of tracks on
the CD and the play time will appear on the
display.
If the radio is already operating, it will auto-
matically turn off and the CD will play.
If the system has been turned off while the CD
was playing, pushing the ON·OFF button will
start the CD.
CD LOAD:
To insert a CD in the CD changer, push the
LOAD button for less than 1.5 seconds. Select
the loading position by pushing the CD insert
select button
*1to*6, then insert the CD.
To insert 6 CDs to the CD changer in
succession, push the LOAD button for more
than 1.5 seconds.
The inserted slot numbers will illuminate on the
display.
Center display, heater, air conditioner, audio, phone and voice recognition systems4-49