2012 MINI COUPE ROADSTER CONVERTIBLE interior lights
[x] Cancel search: interior lightsPage 30 of 283

Opening and closingCONTROLS
29
This means that your settings will be activated
for you, even if in the meantime your car was
used by someone else with another remote
control and the corresponding settings.
At most three remote co ntrols can be set for
three different people. A prerequisite is that
each person uses a separate remote control.
Personal Profile settings
For more information on specific settings, refer
to the specified pages.
> Response of the central locking system
when the car is being unlocked 30
> Automatic locking of the vehicle 33
> Triple turn signal activation 65
> Settings for the displays on the onboard
computer, in the speedometer and in the
tachometer:
>12 h/24 h mode of the clock 76
> Date format 77
> Brightness of the Control Display 80
> Language on the Control Display 80
> Units of measure for fuel consumption,
distance covered/re maining distances
and temperature 74
> Light settings:
>Pathway lighting 97
> Daytime running lights 97
> Automatic climate control: activating/
deactivating the AUTO program, setting the
temperature, air volume and air
distribution 103
> Entertainment:
>Tone control 147
> Adjusting vo lume levels 147
Central locking system
The concept
The central locking system is ready for operation
whenever the driver's door is closed.
The system simultaneously engages and
releases the locks on the following:
>Doors
> Tailgate
> Fuel filler flap
Operating from outside
>Via the remote control
> Using the door lock
> In cars with Comfor t Access, via the door
handles on the driver's and passenger's
sides
The anti-theft system is also operated at the
same time. It prevents the doors from being
unlocked using the lock buttons or door han-
dles. The remote control can also be used to
switch on/off the welcome lamps and interior
lamps. The alarm system is also activated or
deactivated, page 34.
Operating from inside
Button for central locking system, page 32.
In the event of a sufficiently severe accident,
the central locking system unlocks automati-
cally. In addition, the hazard warning flashers
and interior lamps come on.
Opening and closing:
from outside
Persons or animals in a parked vehicle
could lock the doors from the inside. Take
the key with you when you leave the vehicle
so that the vehicle can be opened from the
outside. <
00320051004F004C00510048000300280047004C0057004C005200510003
Page 47 of 283

CONTROLSOpening and closing
46
6.Turn handle clockwise until there is an
audible click.
The convertible top is locked.
If the convertible top has been open
for a longer time, a greater force for
locking may be necessary. <
7. Fold the handle back in.
MINI Roadster: Semi-
automatic convertible
top
General information
The fully automatic convertible top provides
protection from the weather, combined with
simple and easy operation.
Here are some helpful tips for getting the most
enjoyment out of your MINI Roadster:
>It is recommended th at you close the con-
vertible top whenever the vehicle is parked.
The closed convertible top not only protects
the vehicle interior from damage due to
unforeseen bad weather, but also provides a
certain degree of protection against theft.
Always keep your valuables inside the
locked luggage compartment, even if the
convertible top is closed.
> If the temperature drops below +14 7/
–10 6, do not operate the convertible
top; otherwise, damage may occur.
> Do not mount any roof rack systems on the
convertible top.
For reasons of safety, operate the convert-
ible top only while the vehicle is not
moving, if possible.
During the opening and closing operation,
ensure that no one is injured by the convertible
top linkage or other moving parts. Keep children
away from the pivoting range of the convertible
top. Do not place any objects on the convertible top,
as they could otherwise fall off while the con-
vertible top is being op
erated and result in
property damage or personal injury.
Always completely finish the operation of the
convertible top. Driving off before an opening or
closing procedure is completely finished can
lead to property damage or personal injury.
Do not leave a wet convertible top open for
more than one day, since the humidity may
cause damages. <
While opening and clos ing, the convertible
top pivots upward. When opening or clos-
ing the convertible top in garages, under bridges
or similar locations, ensure that there is a mini-
mum clearance of 2 meters; otherwise damage
may occur to the vehicle. <
Operating while driving
The convertible top may be opened or closed
while driving not faster than 20 mph/30 km/h.
Only operate the convertible top when
traffic conditions permit and vehicle con-
trol is not affected; otherwise, an accident may
occur.
Do not operate the convertible top when the
vehicle is moving in reve rse, because rear visibil-
ity is severely restricted while the convertible top
is opening or closing. Do not operate the con-
vertible top when drivin g on winding and rough
roads or during windy conditions. <
For better control
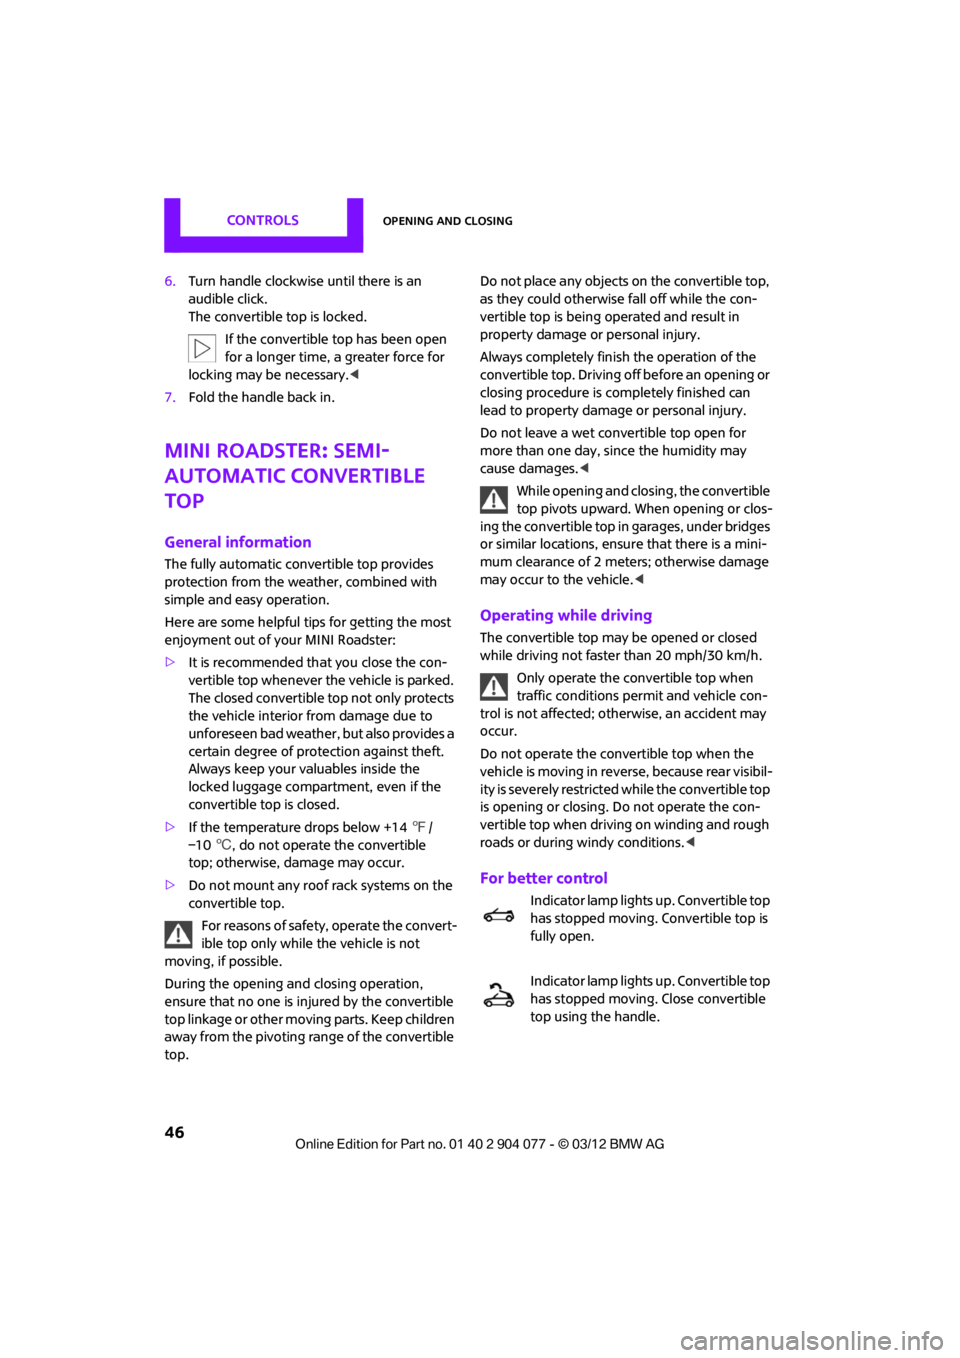
Indicator lamp lights up. Convertible top
has stopped moving. Convertible top is
fully open.
Indicator lamp lights up. Convertible top
has stopped moving. Close convertible
top using the handle.
00320051004F004C00510048000300280047004C0057004C005200510003
Page 98 of 283

LampsCONTROLS
97
Welcome lamps
If you leave the light switch in the low beam or
automatic headlamp control position when you
switch off the ignition, the parking lamps and
interior lamps come on for a certain time as soon
as the vehicle is unlocked.
Pathway lighting
If you activate the headlamp flasher after
switching off the ignition with the lamps
switched off, the lo w beams come on and
remain on for a certain time.
The setting is stored for the remote control in
use, refer to Personal Profile, page 28.
Setting the duration or deactivating the
function
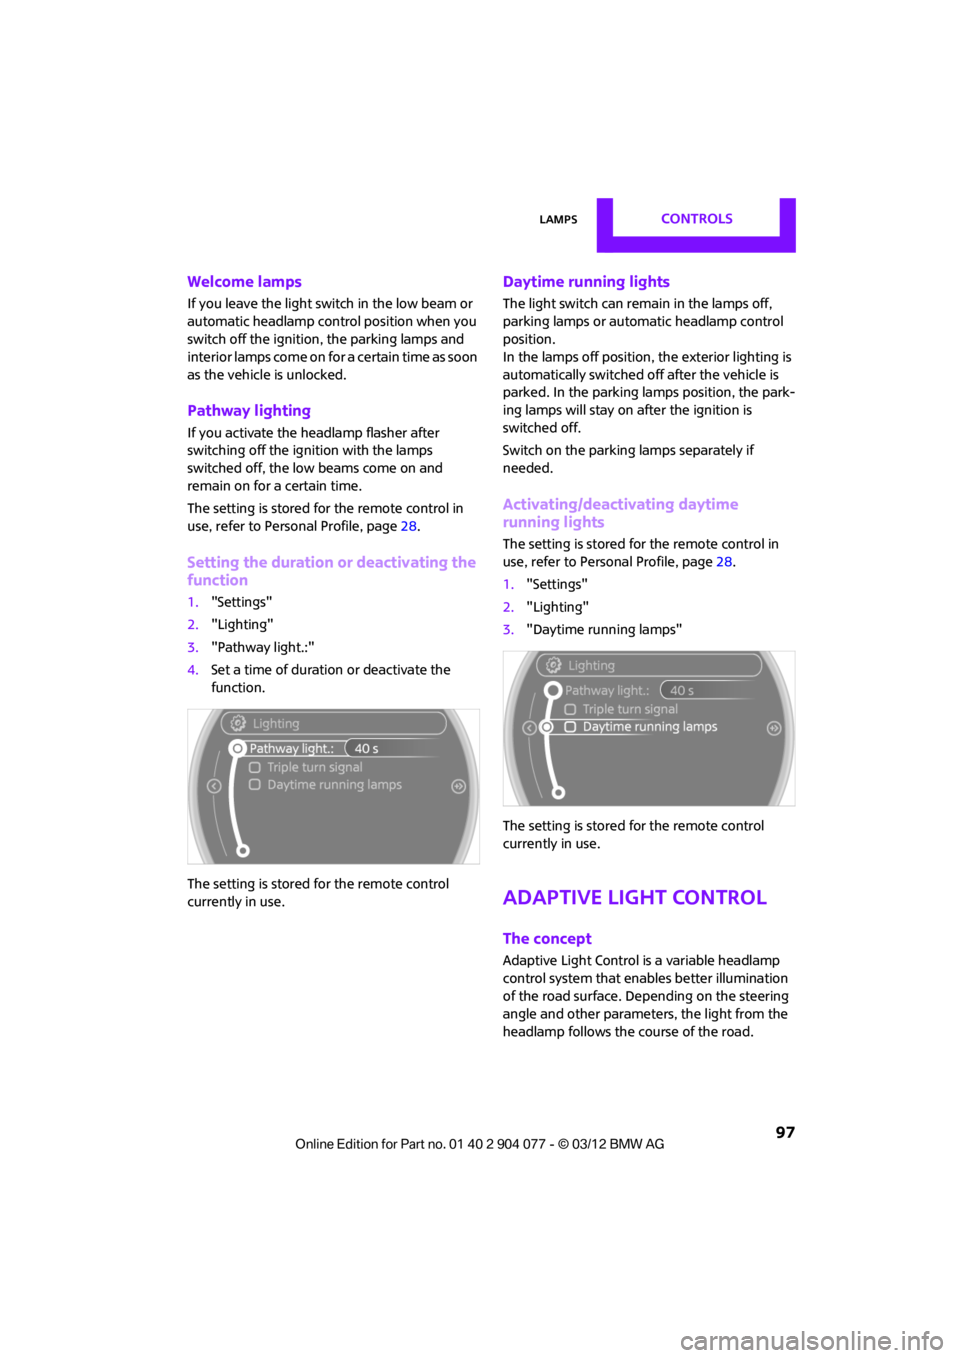
1. "Settings"
2. "Lighting"
3. "Pathway light.:"
4. Set a time of duration or deactivate the
function.
The setting is stored for the remote control
currently in use.
Daytime running lights
The light switch can remain in the lamps off,
parking lamps or automatic headlamp control
position.
In the lamps off position, the exterior lighting is
automatically switched of f after the vehicle is
parked. In the parking lamps position, the park-
ing lamps will stay on after the ignition is
switched off.
Switch on the parking lamps separately if
needed.
Activating/deactivating daytime
running lights
The setting is stored for the remote control in
use, refer to Personal Profile, page 28.
1. "Settings"
2. "Lighting"
3. "Daytime running lamps"
The setting is stored for the remote control
currently in use.
Adaptive Light Control
The concept
Adaptive Light Control is a variable headlamp
control system that enables better illumination
of the road surface. Depending on the steering
angle and other parameters, the light from the
headlamp follows the course of the road.
00320051004F004C00510048000300280047004C0057004C005200510003
Page 100 of 283

LampsCONTROLS
99
>Turn on rear fog lamps:
Press the switch downward
To switch them off, pre ss the switch upward or
downward again.
Front fog lamps
The parking lamps or low beams must be
switched on for the fog lamps to operate. The
green indicator lamp lights up when the fog
lamps are switched on.
Depending on your vehicle's equipment, the fog
lamps are switched off when you activate the
headlamp flasher or switch on the high beams.
If the automatic headlamp control is acti-
vated, the low beams will come on auto-
matically when you switch on the fog lamps. <
Rear fog lamp
The low beams or parking lamps with fog lamps
must be switched on. The yellow indicator lamp
comes on when the rear fog lamp is switched on.
Instrument lighting
You can adjust the brightness of the instrument
lighting only when the parking lamps or the low
beams are on.
The intensity of the brightness changes up to a
predetermined end point, and then decreases.
Adjusting brightness
>Briefly press button: brightness changes in
stages.
> Press and hold the button. Brightness
changes in a continuous manner.
Interior lamps
The interior lighting, the footwell lamps and the
luggage compartment lighting are automati-
cally controlled.
To reduce the drain on the battery, a short
while after the ignition is switched off,
refer to Start/Stop button on page 60, all lights in
the vehicle's passenger compartment are
switched off. <
Switching interior lamps on/off manually
To switch the interior lamps on/off.
Press the switch.
To switch off the interior lamps permanently,
press the switch for about 3 seconds.
Reading lamps
To switch the readin g lamps on and off.
Press the switch.
00320051004F004C00510048000300280047004C0057004C005200510003
Page 111 of 283

CONTROLSPractical interior accessories
110
Connecting electrical
appliances
In your MINI, when the engine is running or if the
ignition is switched on, you can use electrical
devices such as flashlights, car vacuum cleaners,
etc., up to approx. 140 watts at 12 volts, as long
as one of the following sockets is available.
Avoid damaging the sockets by attempting to
insert plugs of unsuitable shape or size.
Do not connect battery chargers to the
sockets installed in the vehicle at the
factory; otherwise you may cause damage to
the vehicle.<
Cigarette lighter socket
Remove the lighter or cover from the socket.
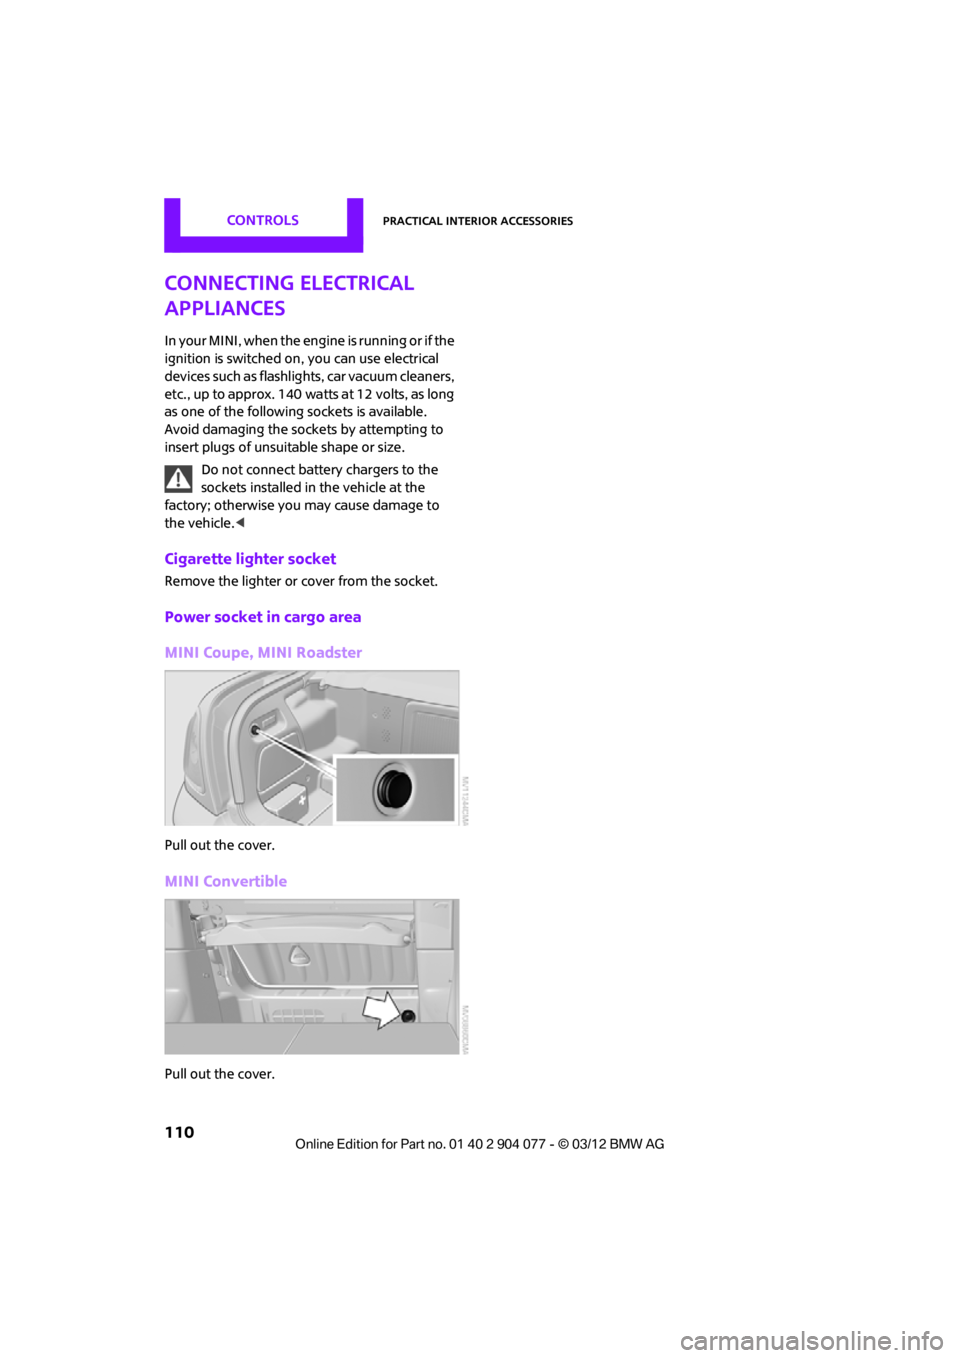
Power socket in cargo area
MINI Coupe, MINI Roadster
Pull out the cover.
MINI Convertible
Pull out the cover.
00320051004F004C00510048000300280047004C0057004C005200510003
Page 234 of 283

Replacing componentsMOBILITY
233
Light-emitting diodes LEDs
Light-emitting diodes installed behind translu-
cent lenses serve as the light sources for many of
the controls and displays in your vehicle. These
light-emitting diodes are related to conven-
tional laser diodes, and legislation defines them
as Class 1 light-emitting diodes.
Do not remove the covers or expose the
eyes directly to the unfiltered light source
for several hours; otherw ise, this could cause
irritation of the retina. <
Headlamp glass lens
In cool or humid weather, condensation may
occur on the interiors of the headlamps. The
condensation disappears a short time after the
light is switched on. The headlamps do not need
to be changed.
Do not remove the condensation from head-
lamps, despite driving with lights on, and if
condensation increases, e.g., because of water
droplets, have this checked by your MINI dealer.
Xenon lamps
The service life of these bulbs is very long and
the probability of failure very low, provided that
they are not switched on and off an excessive
number of times. If a xenon lamp fails neverthe-
less, switch on the fog lamps and continue the
journey with great care, provided that local leg-
islation does not prohibit this.
Work on the xenon lighting system,
including lamp replacem ent, is only to be
carried out only by your MINI dealer. Due to high
voltage, there is a risk of fatal injury if work on
the xenon lamps is carried out improperly. <
Halogen low beams and high beams
H13 bulb, 60/5 watts
The H13 bulb is pressurized. Therefore,
wear safety glasses an d protective gloves.
Otherwise, there is a risk of injury if the bulb is
damaged. < Be careful when inst
alling the cover;
otherwise, leaks could occur and cause
damage to the headlamp system. <
Accessing the lamp from the engine
compartment
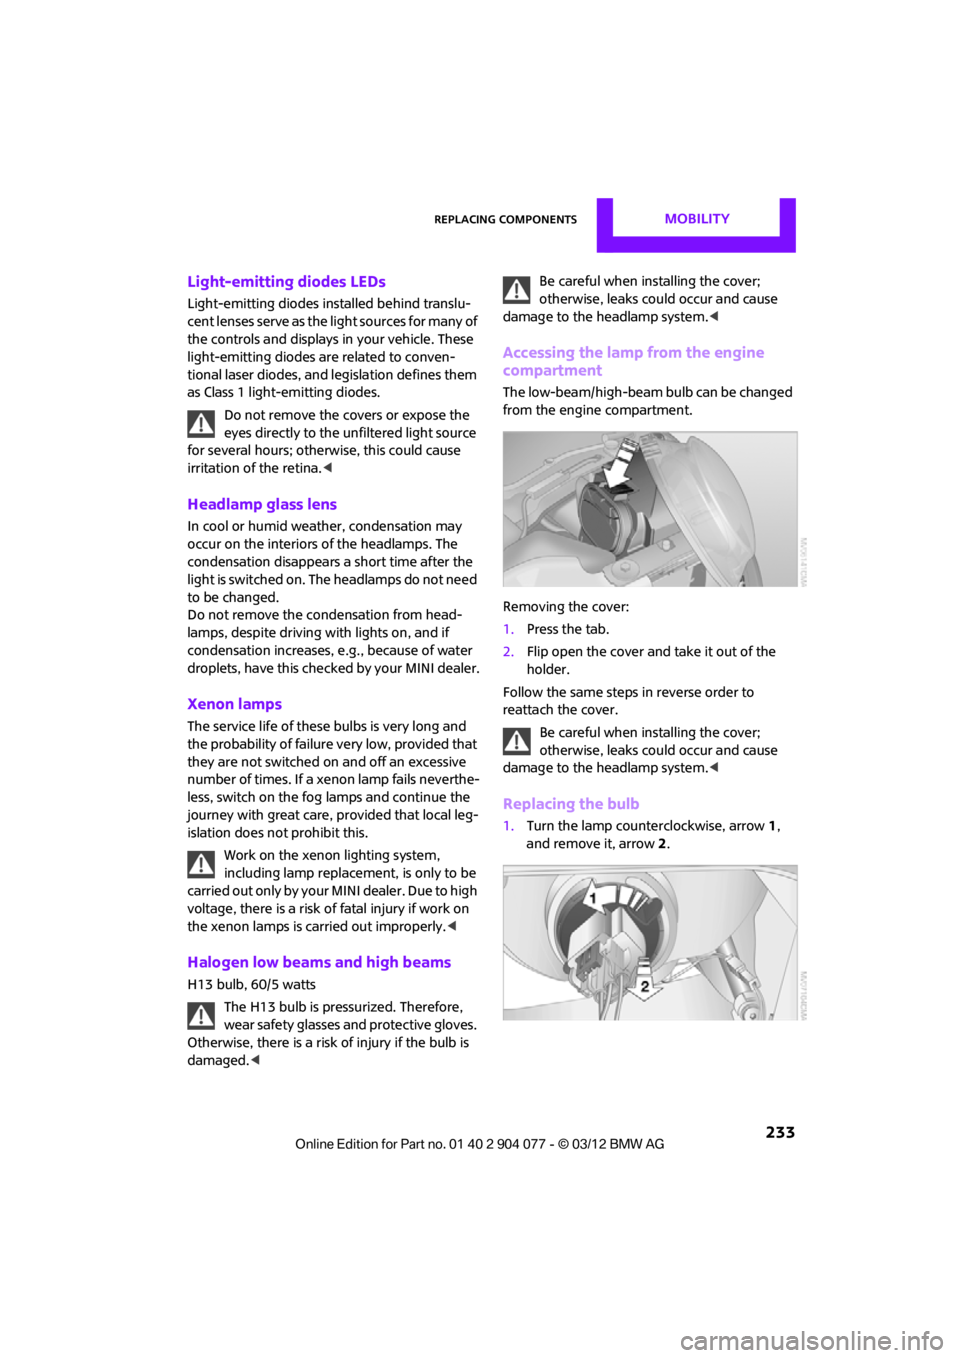
The low-beam/high-beam bulb can be changed
from the engine compartment.
Removing the cover:
1.Press the tab.
2. Flip open the cover and take it out of the
holder.
Follow the same steps in reverse order to
reattach the cover.
Be careful when inst alling the cover;
otherwise, leaks could occur and cause
damage to the headlamp system. <
Replacing the bulb
1.Turn the lamp counterclockwise, arrow 1,
and remove it, arrow 2.
00320051004F004C00510048000300280047004C0057004C005200510003
Page 243 of 283

MOBILITYReplacing components
242
Starting-aid terminals
Only charge the battery in the vehicle when the
engine is off. Connections, refer to Jump-start-
ing on page 243.
Charger
The use of a charger ensures that the battery has
a sufficient charge even when it is used for fre-
quent short-distance driv es, for example. Charg-
ers that have been developed especially for the
vehicle and adapted to the vehicle electrical
system are available at your MINI dealer.
Disposal
After replacing old batteries, return the
used batteries to your MINI dealer or to a
recycling center. Maintain the battery in an
upright position for transport and storage.
Always secure the battery against tipping over
during transport. <
Power failure
After a temporary power loss, some equipment
may not be fully functional and may require
initialization. Individual se ttings are also lost and
must be reprogrammed:
> Time and date
These values must be updated, page 76.
> Onboard monitor
Operability must be waited for, page124.
Indicator and warning lamps
Lights up in red:
Battery is no longer being charged.
Alternator malfunction.
Switch off all unnecessary electrical consumers.
Have the battery checked without delay. Lights up in yellow:
Battery charge level very low, battery
aged, or battery not securely con-
nected.
Charge it by taking a long er drive or by using an
external charger. If the display appears again,
have the battery checked as soon as possible.
Fuses
Do not attempt to repair a blown fuse or
replace it with a fuse of a different color or
Ampere rating. To do this could cause a fire in
the vehicle resulting from a circuit overload.
Have fuses replaced by your MINI dealer. <
A fuse assignment diag ram is located on the
inside of the fuse box cover panels.
In the engine compartment
Opening the cover
Press the latch.
In the vehicle interior
On the right side of the footwell.
Opening the cover
Press out at the recess.
00320051004F004C00510048000300280047004C0057004C005200510003