2012 MINI COUPE ROADSTER CONVERTIBLE remote control
[x] Cancel search: remote controlPage 78 of 283
Controls overviewCONTROLS
77
Setting time zone
1."Settings"
2. "Time/Date"
3. "Time zone:"
4. Turn MINI joystick until the desired time
zone is set and press the MINI joystick.
The time zone is stored.
Date
Setting date
1."Settings"
2. "Time/Date"
3. "Date:"
4. Turn MINI joystick until the desired day is
displayed and press the MINI joystick.
5. Create the necessary settings for the month
and year.
The date is stored.
Setting the date format
1. "Settings"
2. "Time/Date"
3. "Format:"
4. Select the desired format.
The settings are stored for the remote control
currently in use, refer also to Personal Profile on
page 28.
Check Control
The concept
The Check Control monitors vehicle functions
and alerts you to any malfunctions in the
systems monitored. Check Control messages
involve indicator and warning lamps in the
display and, in some circumstances, an acoustic
signal as well as text messages at the bottom of
the Control Display.
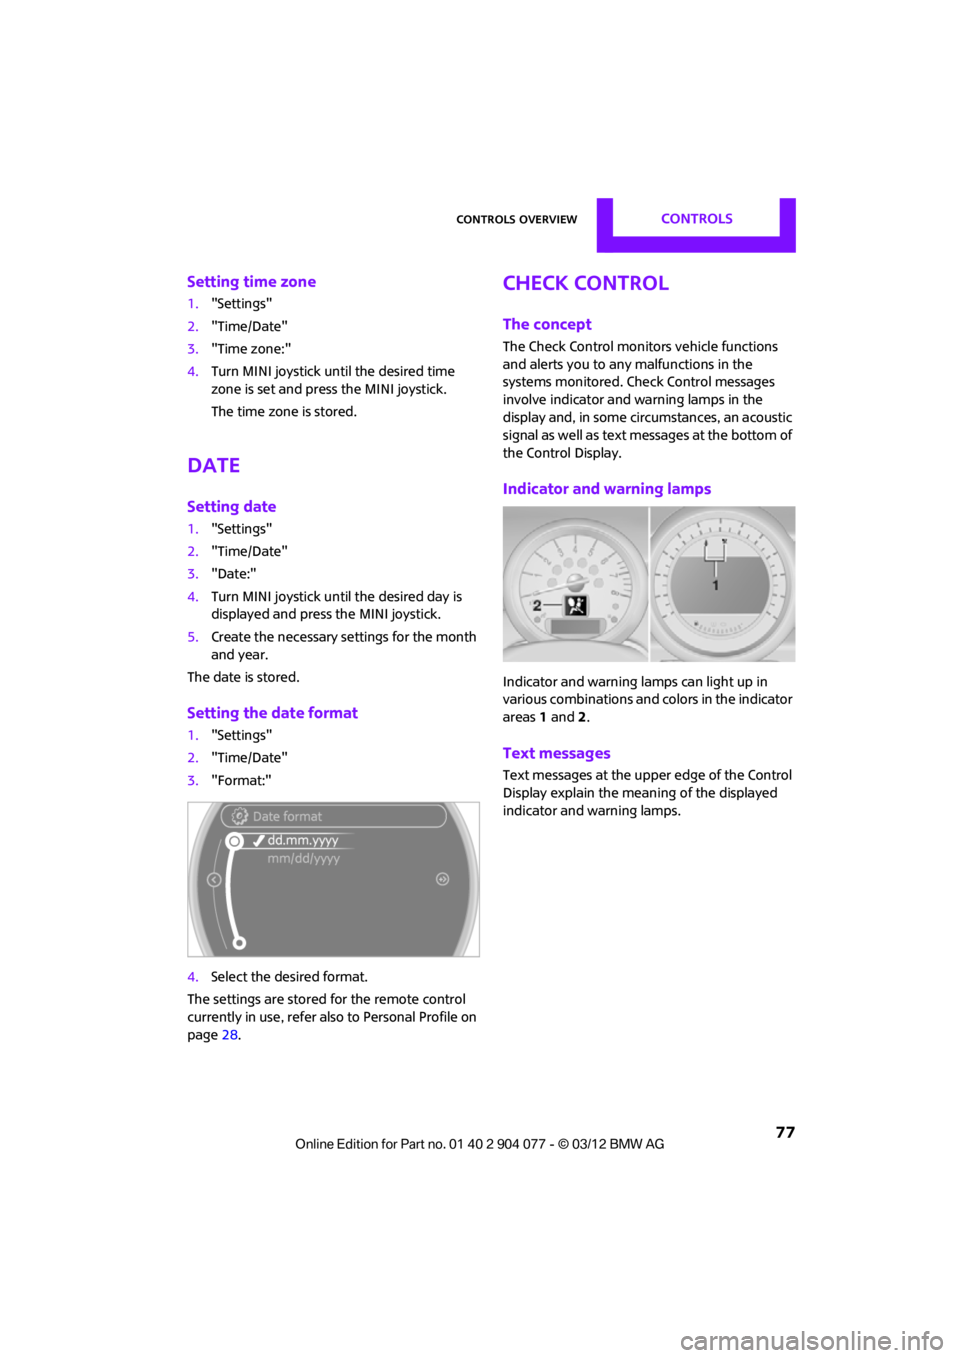
Indicator and warning lamps
Indicator and warning lamps can light up in
various combinations and colors in the indicator
areas 1 and 2.
Text messages
Text messages at the upper edge of the Control
Display explain the meaning of the displayed
indicator and warning lamps.
00320051004F004C00510048000300280047004C0057004C005200510003
Page 81 of 283
CONTROLSControls overview
80
Activating/deactivating the limit
1."Settings"
2. "Speed"
3. "Warning"
4. Press the MINI joystick.
Altering settings
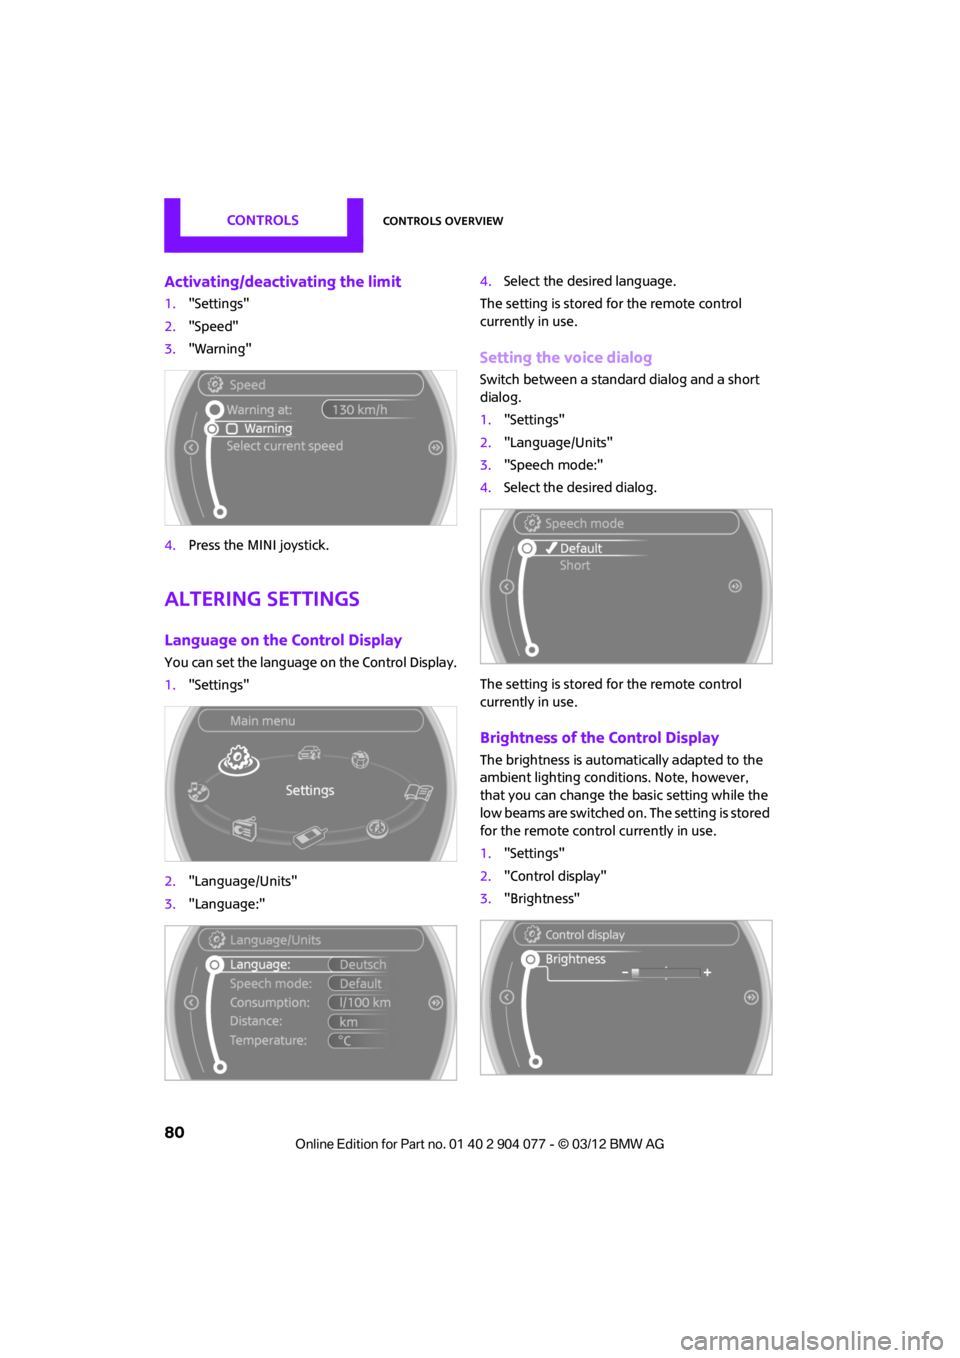
Language on the Control Display
You can set the language on the Control Display.
1."Settings"
2. "Language/Units"
3. "Language:" 4.
Select the desired language.
The setting is stored for the remote control
currently in use.
Setting the voice dialog
Switch between a standa rd dialog and a short
dialog.
1. "Settings"
2. "Language/Units"
3. "Speech mode:"
4. Select the desired dialog.
The setting is stored for the remote control
currently in use.
Brightness of the Control Display
The brightness is automa tically adapted to the
ambient lighting conditions. Note, however,
that you can change the basic setting while the
low beams are switched on. The setting is stored
for the remote control currently in use.
1. "Settings"
2. "Control display"
3. "Brightness"
00320051004F004C00510048000300280047004C0057004C005200510003
Page 82 of 283

Controls overviewCONTROLS
81
4.Turn the MINI joystick until the desired
setting is reached.
5. Press the MINI joystick.
The setting is stored for the remote control cur-
rently in use. In bright conditions, for example,
the brightness control may not be clearly visible.
00320051004F004C00510048000300280047004C0057004C005200510003
Page 98 of 283
LampsCONTROLS
97
Welcome lamps
If you leave the light switch in the low beam or
automatic headlamp control position when you
switch off the ignition, the parking lamps and
interior lamps come on for a certain time as soon
as the vehicle is unlocked.
Pathway lighting
If you activate the headlamp flasher after
switching off the ignition with the lamps
switched off, the lo w beams come on and
remain on for a certain time.
The setting is stored for the remote control in
use, refer to Personal Profile, page 28.
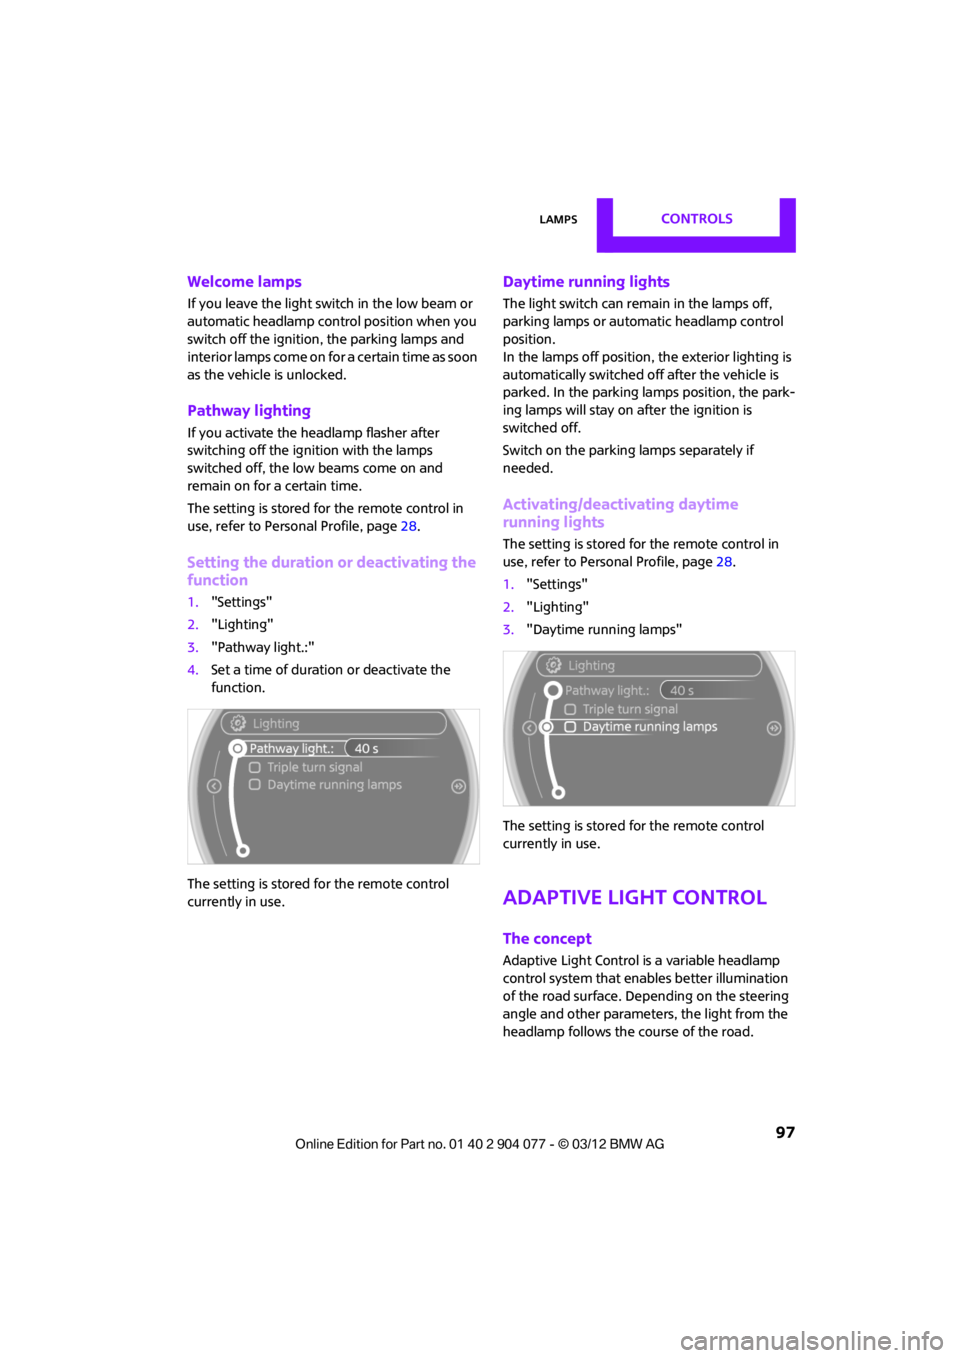
Setting the duration or deactivating the
function
1. "Settings"
2. "Lighting"
3. "Pathway light.:"
4. Set a time of duration or deactivate the
function.
The setting is stored for the remote control
currently in use.
Daytime running lights
The light switch can remain in the lamps off,
parking lamps or automatic headlamp control
position.
In the lamps off position, the exterior lighting is
automatically switched of f after the vehicle is
parked. In the parking lamps position, the park-
ing lamps will stay on after the ignition is
switched off.
Switch on the parking lamps separately if
needed.
Activating/deactivating daytime
running lights
The setting is stored for the remote control in
use, refer to Personal Profile, page 28.
1. "Settings"
2. "Lighting"
3. "Daytime running lamps"
The setting is stored for the remote control
currently in use.
Adaptive Light Control
The concept
Adaptive Light Control is a variable headlamp
control system that enables better illumination
of the road surface. Depending on the steering
angle and other parameters, the light from the
headlamp follows the course of the road.
00320051004F004C00510048000300280047004C0057004C005200510003
Page 105 of 283
CONTROLSClimate
104
Comfortable interior climate
AUTO program2 offers the ideal air distribution
and air flow rate for almo st all conditions, refer
to AUTO program below. All you need to do is
select an interior temperature which is comfort-
able for you.
The following sections inform you in detail about
how to adjust the settings.
Most settings are stored for the remote control
currently in use, refer also to Personal Profile set-
tings on page 29.
Air flow rate, manual
Press the – button to reduce air flow. Press
the + button to increase it.
You can reactivate the automatic mode
for the air flow rate with the AUTO button.
The air flow rate is lo wered or switched off
entirely to reduce the drain on the battery. The
display remains the same.
Switching the system on/off
Reduce the air flow by pressing the – button
repeatedly until the system is switched off. All
displays go out.
Press the AUTO button to switch the automatic
climate control back on.
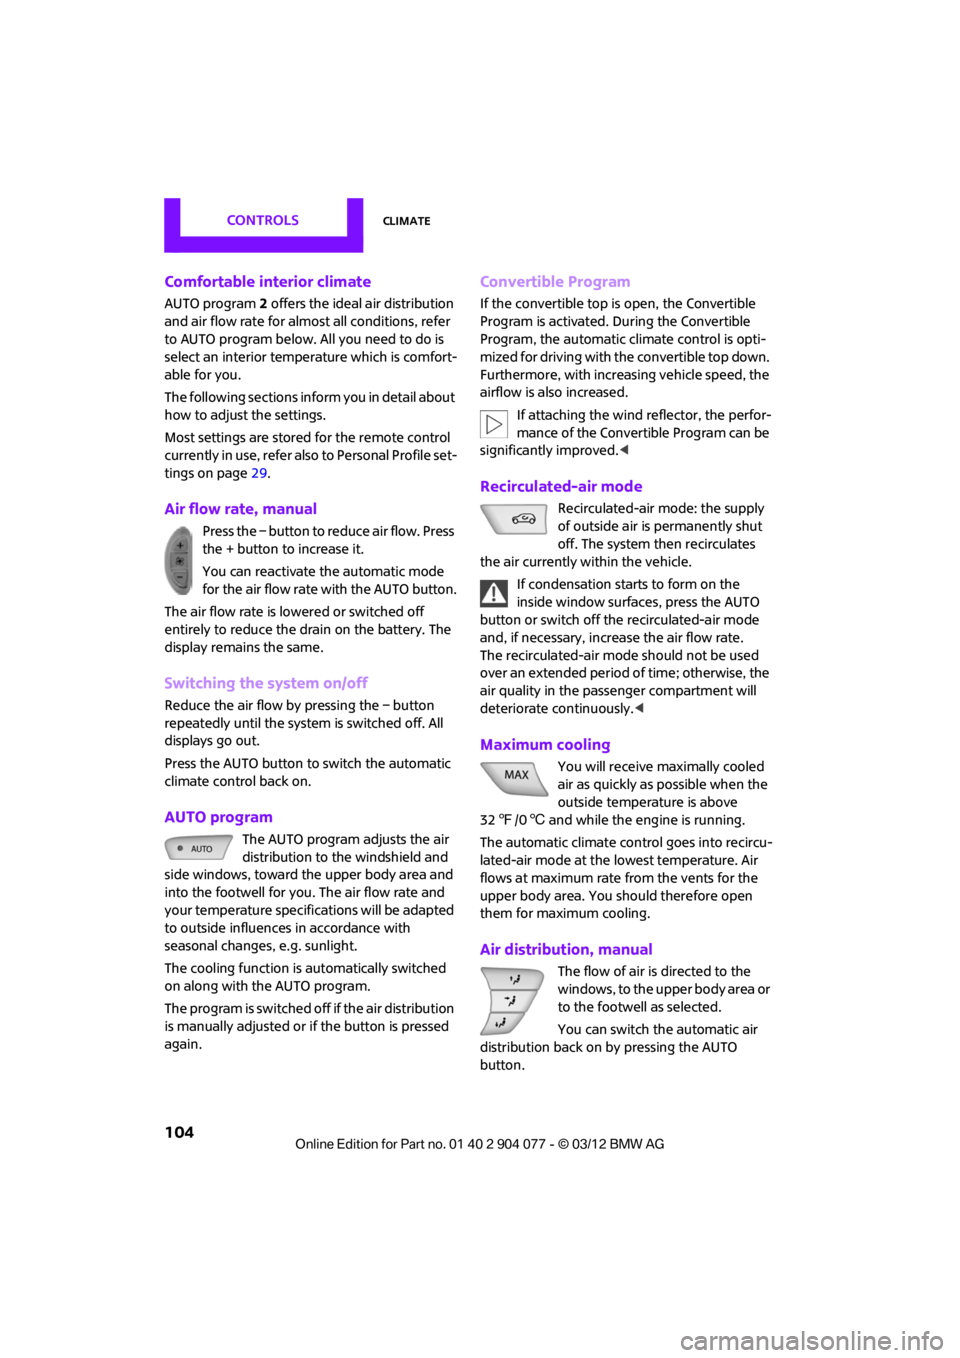
AUTO program
The AUTO program adjusts the air
distribution to the windshield and
side windows, toward the upper body area and
into the footwell for you. The air flow rate and
your temperature specifications will be adapted
to outside influences in accordance with
seasonal changes, e.g. sunlight.
The cooling function is automatically switched
on along with the AUTO program.
The program is switched off if the air distribution
is manually adjusted or if the button is pressed
again.
Convertible Program
If the convertible top is open, the Convertible
Program is activated. During the Convertible
Program, the automatic climate control is opti-
mized for driving with the convertible top down.
Furthermore, with increasing vehicle speed, the
airflow is also increased.
If attaching the wind reflector, the perfor-
mance of the Convertible Program can be
significantly improved. <
Recirculated-air mode
Recirculated-air mode: the supply
of outside air is permanently shut
off. The system then recirculates
the air currently within the vehicle.
If condensation starts to form on the
inside window surfac es, press the AUTO
button or switch off the recirculated-air mode
and, if necessary, increa se the air flow rate.
The recirculated-air mode should not be used
over an extended period of time; otherwise, the
air quality in the passenger compartment will
deteriorate continuously.<
Maximum cooling
You will receive maximally cooled
air as quickly as possible when the
outside temperature is above
32 7 /06 and while the engine is running.
The automatic clim ate control goes into recircu-
lated-air mode at the lowest temperature. Air
flows at maximum rate from the vents for the
upper body area. You should therefore open
them for maximum cooling.
Air distribution, manual
The flow of air is directed to the
windows, to the upper body area or
to the footwell as selected.
You can switch the automatic air
distribution back on by pressing the AUTO
button.
00320051004F004C00510048000300280047004C0057004C005200510003
Page 108 of 283
Practical interior accessoriesCONTROLS
107
Practical interior accessories
Vehicle equipment
In this chapter, all production, country, and
optional equipment that is offered in the model
range is described. Equipment is also described
that is not available because of, for example,
selected options or count ry version. This also
applies to safety related functions and systems.
Glove compartment
Opening
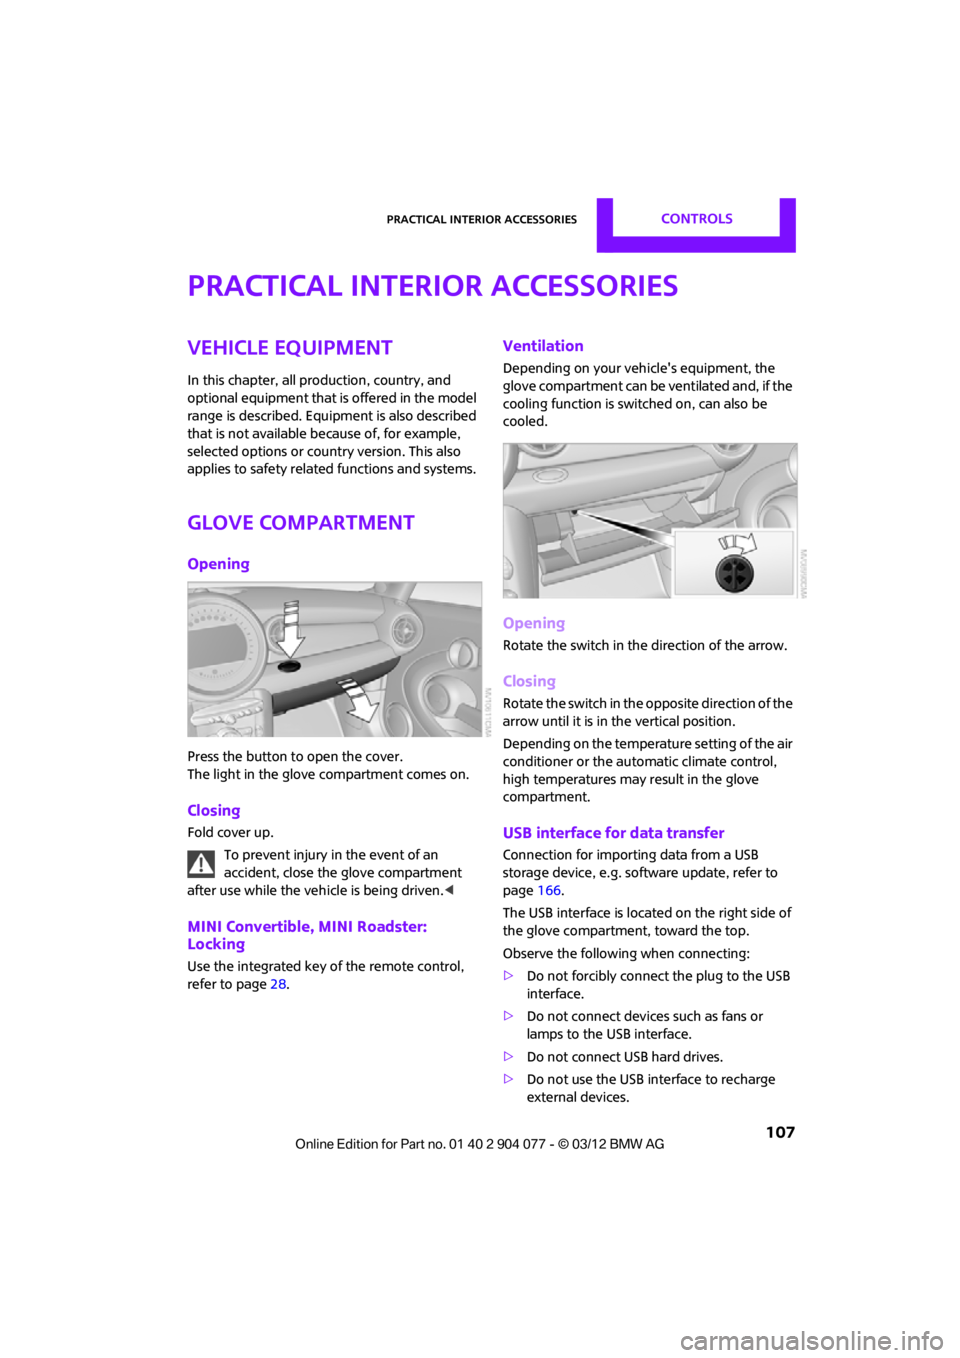
Press the button to open the cover.
The light in the glove compartment comes on.
Closing
Fold cover up.
To prevent injury in the event of an
accident, close the glove compartment
after use while the vehi cle is being driven.<
MINI Convertible, MINI Roadster:
Locking
Use the integrated key of the remote control,
refer to page28.
Ventilation
Depending on your vehicle's equipment, the
glove compartment can be ventilated and, if the
cooling function is swit ched on, can also be
cooled.
Opening
Rotate the switch in the direction of the arrow.
Closing
Rotate the switch in the opposite direction of the
arrow until it is in the vertical position.
Depending on the temperature setting of the air
conditioner or the automatic climate control,
high temperatures may result in the glove
compartment.
USB interface for data transfer
Connection for importing data from a USB
storage device, e.g. soft ware update, refer to
page 166.
The USB interface is locate d on the right side of
the glove compartment, toward the top.
Observe the following when connecting:
> Do not forcibly connect the plug to the USB
interface.
> Do not connect devices such as fans or
lamps to the USB interface.
> Do not connect USB hard drives.
> Do not use the USB interface to recharge
external devices.
00320051004F004C00510048000300280047004C0057004C005200510003
Page 136 of 283
Route guidanceNAVIGATION
135
Route guidance
Starting route guidance
1."Navigation"
2. "Enter address"
3. Select the destination.
4. "Accept destination"
5. "Start guidance"
> The route is displayed on the onboard
computer.
> The distance to the destination/intermedi-
ate destination and th e estimated time of
arrival are displayed in the map view.
> The arrow display is displayed on the
onboard computer, if so desired.
Terminating route
guidance
In the arrow or map view
1."Navigation"
2. "Map"
3. Select the symbol.
4. "Stop guidance"
Continuing route
guidance
If the destination was not reached during the
last trip, route guid ance can be resumed.
"Resume guidance"
Route criteria
General information
> You can influence the calculated route by
selecting certain criteria.
> Route criteria can be changed during desti-
nation input and during route guidance.
> Street types are part of the navigation data
and are taken into account in route plan-
ning, e.g. avoiding highways.
> The proposed route can differ from personal
experience.
> The settings are stored for the remote
control currently in use.
> Route guidance with traffic information,
refer to page 141.
Changing route criteria
1."Navigation"
2. "Map"
3. "Route preference"
4. Selecting a criterion:
> "Fast route": time-optimized route
through a combination of the least possi-
ble distance and stre tches of road that
allow rapid driving.
> "Efficient route": optimized combi-
nation of the fastest and shortest
possible route.
> "Short route": shor t distance without
taking time into account.
00320051004F004C00510048000300280047004C0057004C005200510003
Page 139 of 283
NAVIGATIONRoute guidance
138
Planned route
After route guidance is started, the planned
route is displayed on the map.
Status boxes
Show/hide: press the MINI joystick.
>Upper status box: time, phone details, and
entertainment details.
> Lower status box: symb ol for active route
guidance, traffic inform ation status, arrival
time, and distance from destination.
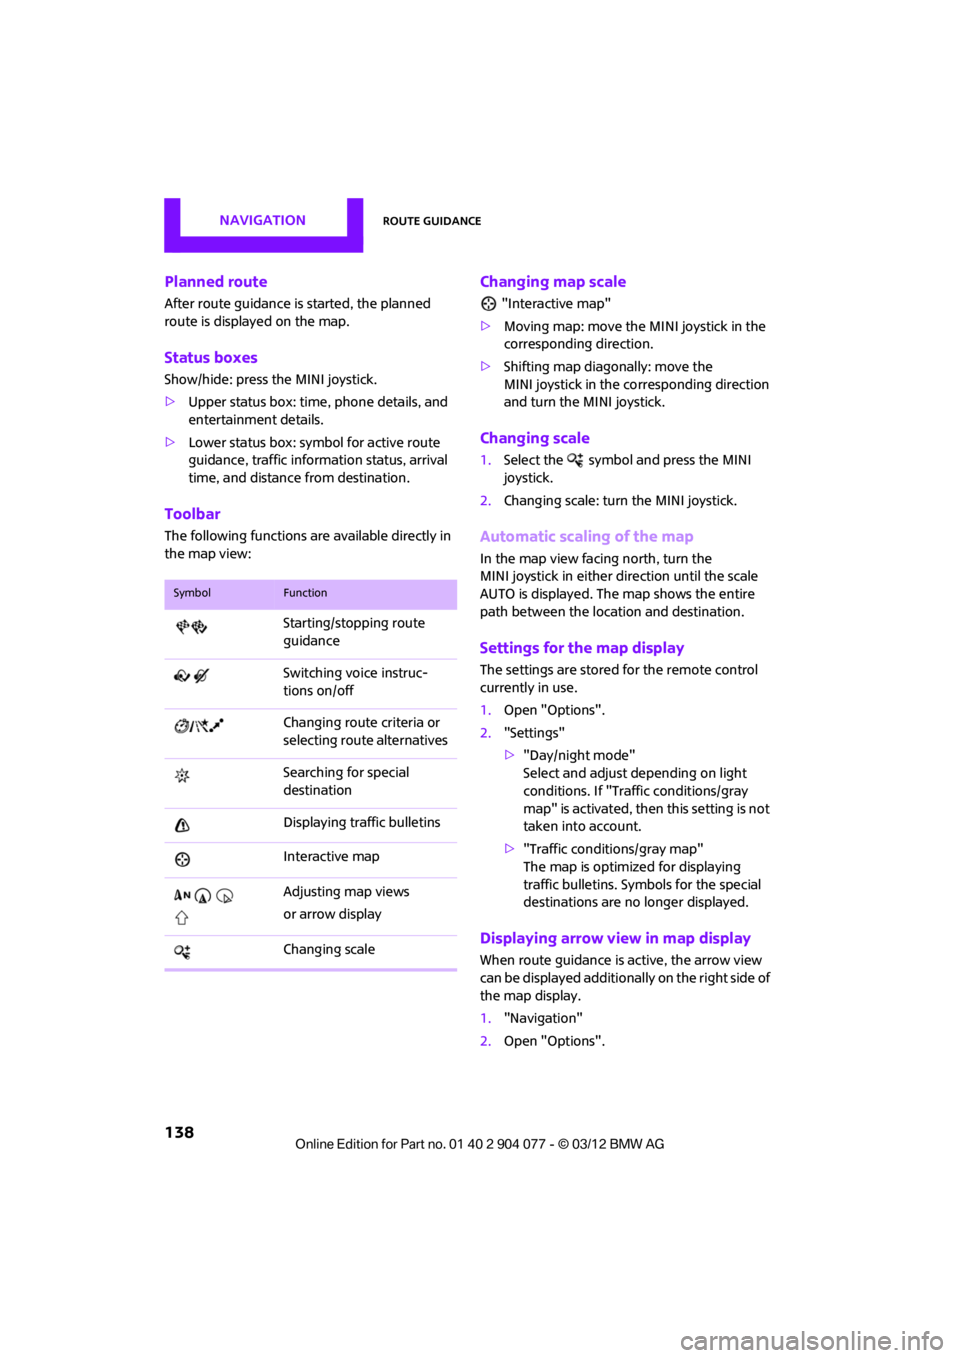
Toolbar
The following functions ar e available directly in
the map view:
Changing map scale
"Interactive map"
> Moving map: move the MINI joystick in the
corresponding direction.
> Shifting map diagonally: move the
MINI joystick in the co rresponding direction
and turn the MINI joystick.
Changing scale
1. Select the symbol and press the MINI
joystick.
2. Changing scale: turn the MINI joystick.
Automatic scaling of the map
In the map view facing north, turn the
MINI joystick in either direction until the scale
AUTO is displayed. The map shows the entire
path between the location and destination.
Settings for the map display
The settings are stored for the remote control
currently in use.
1.Open "Options".
2. "Settings"
>"Day/night mode"
Select and adjust depending on light
conditions. If "Traffic conditions/gray
map" is activated, then this setting is not
taken into account.
> "Traffic conditions/gray map"
The map is optimize d for displaying
traffic bulletins. Symbols for the special
destinations are no longer displayed.
Displaying arrow view in map display
When route guidance is active, the arrow view
can be displayed additionally on the right side of
the map display.
1. "Navigation"
2. Open "Options".
SymbolFunction
Starting/stopping route
guidance
Switching voice instruc-
tions on/off
Changing route criteria or
selecting route alternatives
Searching for special
destination
Displaying traffic bulletins
Interactive map
Adjusting map views
or arrow display
Changing scale
00320051004F004C00510048000300280047004C0057004C005200510003