2012 MERCEDES-BENZ SLK ROADSTER fog light
[x] Cancel search: fog lightPage 153 of 321

or brake discs, depends on the individual driv-
ing style and operating conditions.
For this reason, it is impossible to state a
mileage that will be valid under all circum-
stances. An aggressive driving style will lead
to high wear. You can obtain further informa-
tion about this from your Mercedes-Benz
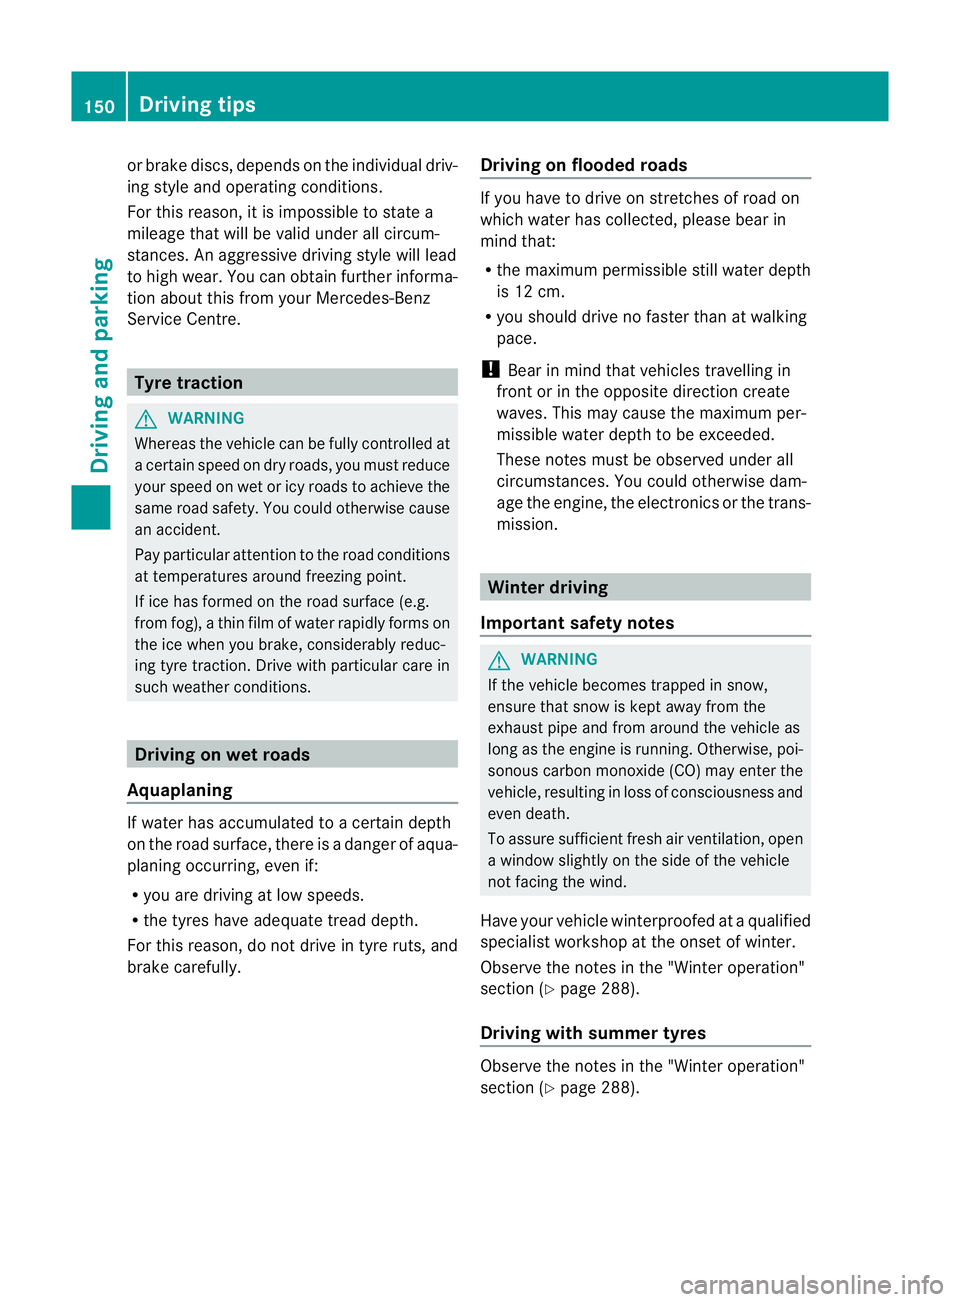
Service Centre. Tyre traction
G
WARNING
Whereas the vehicle can be fully controlled at
a certain speed on dry roads, you must reduce
your speed on wet or icy roads to achieve the
same road safety. You could otherwise cause
an accident.
Pay particular attention to the road conditions
at temperatures around freezing point.
If ice has formed on the road surface (e.g.
from fog), a thin film of water rapidly forms on
the ice when you brake, considerably reduc-
ing tyre traction. Drive with particular care in
such weather conditions. Driving on wet roads
Aquaplaning If water has accumulated to a certain depth
on the road surface, there is a danger of aqua-
planing occurring, even if:
R
you are driving at low speeds.
R the tyres have adequate tread depth.
For this reason, do not drive in tyre ruts, and
brake carefully. Driving on flooded roads If you have to drive on stretches of road on
which water has collected, please bear in
mind that:
R
the maximum permissible still water depth
is 12 cm.
R you should drive no faster than at walking
pace.
! Bear in mind that vehicles travelling in
front or in the opposite direction create
waves. This may cause the maximum per-
missible water depth to be exceeded.
These notes must be observed under all
circumstances. You could otherwise dam-
age the engine, the electronics or the trans-
mission. Winter driving
Important safety notes G
WARNING
If the vehicle becomes trapped in snow,
ensure that snow is kept away from the
exhaust pipe and from around the vehicle as
long as the engine is running. Otherwise, poi-
sonous carbon monoxide (CO) may enter the
vehicle, resulting in loss of consciousness and
even death.
To assure sufficient fresh air ventilation, open
a window slightly on the side of the vehicle
not facing the wind.
Have your vehicle winterproofed at a qualified
specialist workshop at the onset of winter.
Observe the notes in the "Winter operation"
section (Y page 288).
Driving with summer tyres Observe the notes in the "Winter operation"
section (Y
page 288). 150
Driving tipsDriving and parking
Page 194 of 321

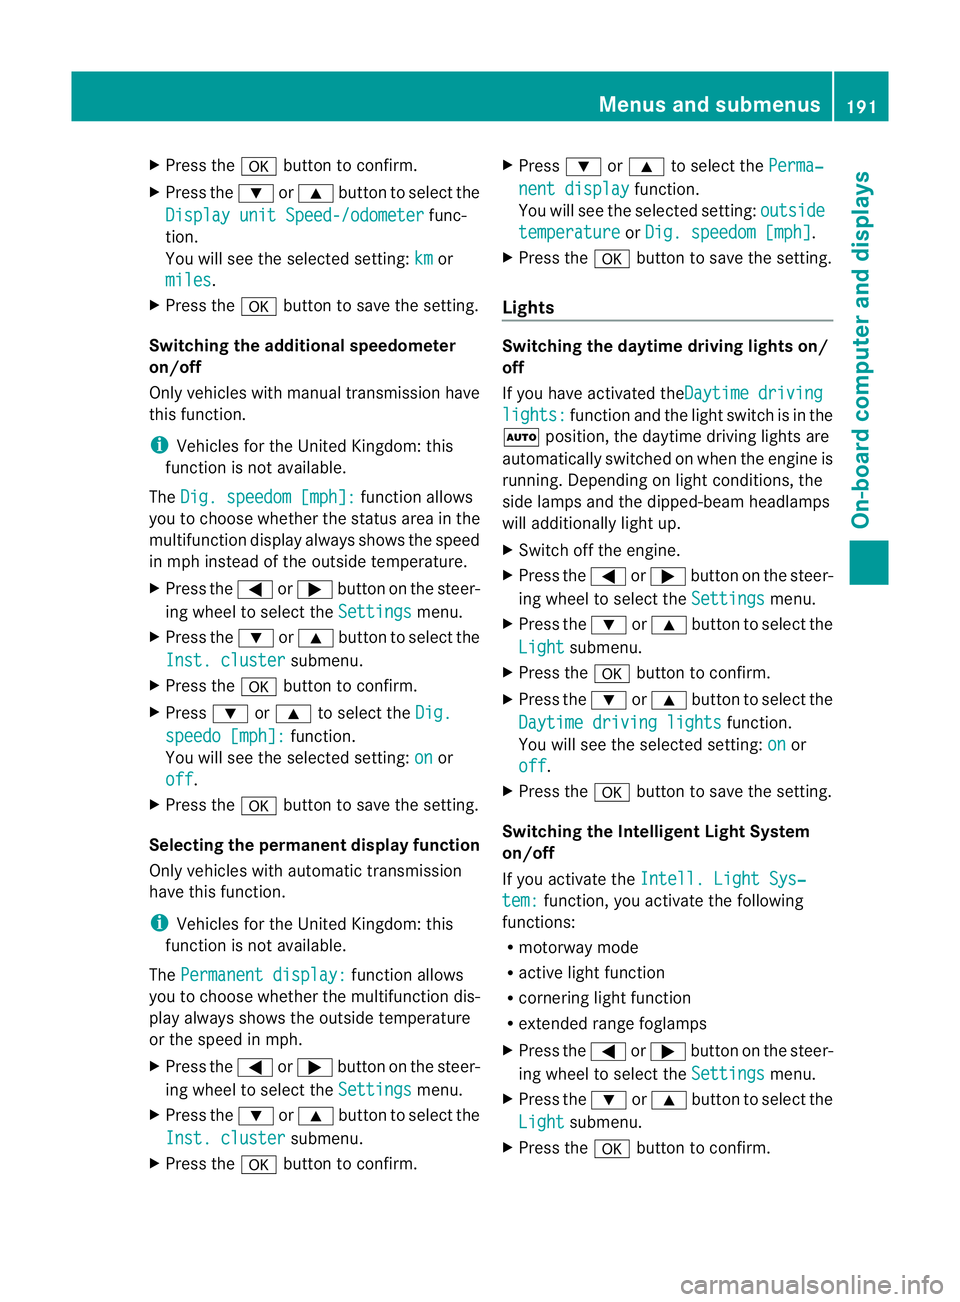
X
Press the abutton to confirm.
X Press the :or9 button to select the
Display unit Speed-/odometer func-
tion.
You will see the selected setting: km or
miles .
X Press the abutton to save the setting.
Switching the additional speedometer
on/off
Only vehicles with manual transmission have
this function.
i Vehicles for the United Kingdom: this
function is not available.
The Dig. speedom [mph]: function allows
you to choose whether the status area in the
multifunction display always shows the speed
in mph instead of the outside temperature.
X Press the =or; button on the steer-
ing wheel to select the Settings menu.
X Press the :or9 button to select the
Inst. cluster submenu.
X Press the abutton to confirm.
X Press :or9 to select the Dig. speedo [mph]: function.
You will see the selected setting: on or
off .
X Press the abutton to save the setting.
Selecting the permanent display function
Only vehicles with automatic transmission
have this function.
i Vehicles for the United Kingdom: this
function is not available.
The Permanent display: function allows
you to choose whether the multifunction dis-
play always shows the outside temperature
or the speed in mph.
X Press the =or; button on the steer-
ing wheel to select the Settings menu.
X Press the :or9 button to select the
Inst. cluster submenu.
X Press the abutton to confirm. X
Press :or9 to select the Perma‐ nent display function.
You will see the selected setting: outside temperature or
Dig. speedom [mph] .
X Press the abutton to save the setting.
Lights Switching the daytime driving lights on/
off
If you have activated the
Daytime driving lights: function and the light switch is in the
à position, the daytime driving lights are
automatically switched on when the engine is
running. Depending on light conditions, the
side lamps and the dipped-beam headlamps
will additionally light up.
X Switch off the engine.
X Press the =or; button on the steer-
ing wheel to select the Settings menu.
X Press the :or9 button to select the
Light submenu.
X Press the abutton to confirm.
X Press the :or9 button to select the
Daytime driving lights function.
You will see the selected setting: on or
off .
X Press the abutton to save the setting.
Switching the Intelligent Light System
on/off
If you activate the Intell. Light Sys‐ tem: function, you activat
ethe following
functions:
R motorway mode
R active light function
R cornering light function
R extended range foglamps
X Press the =or; button on the steer-
ing wheel to select the Settings menu.
X Press the :or9 button to select the
Light submenu.
X Press the abutton to confirm. Menus and submenus
191On-board computer and displays Z
Page 195 of 321

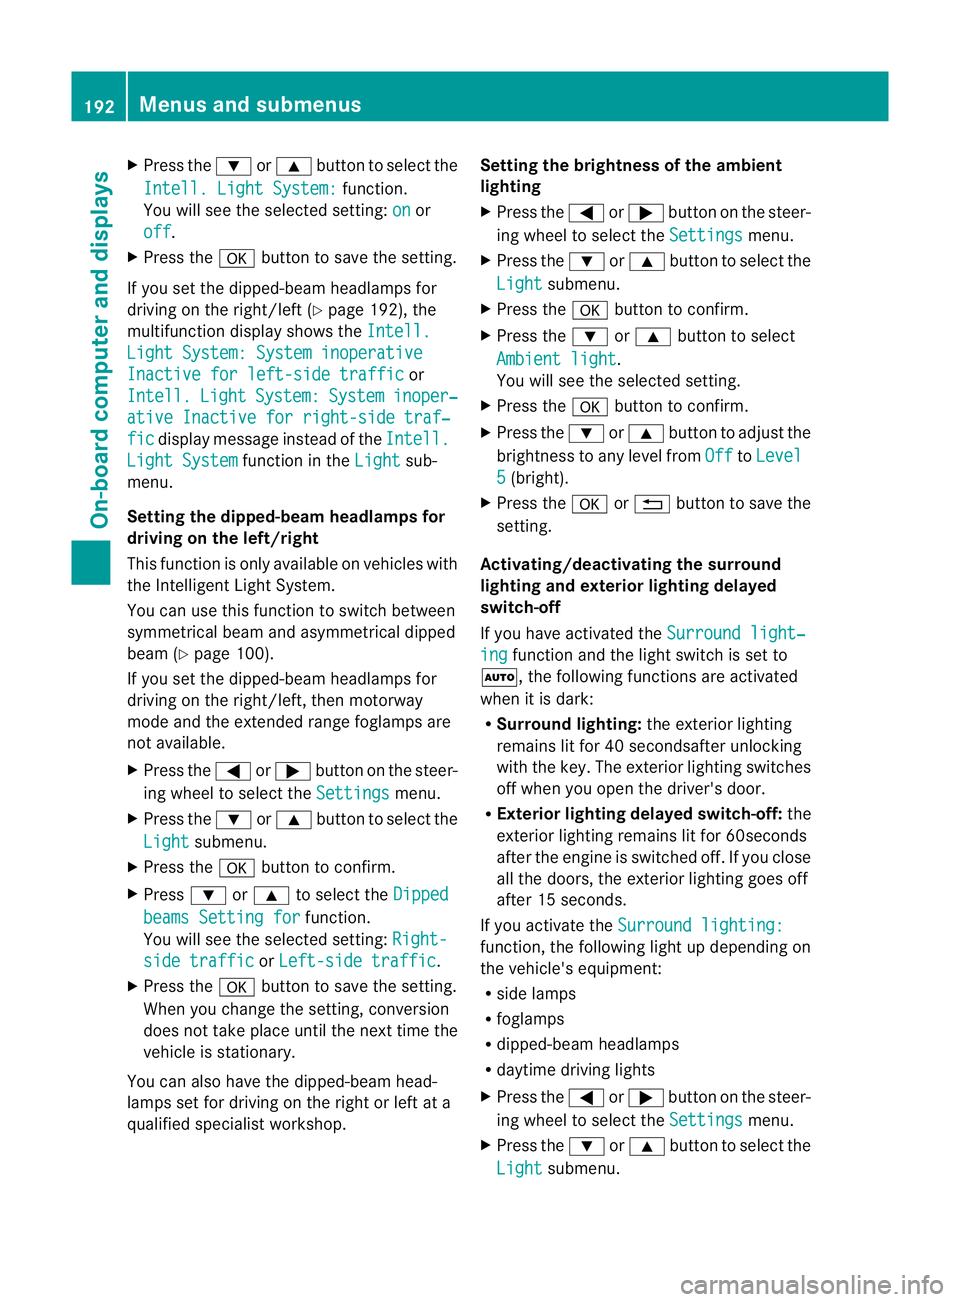
X
Press the :or9 button to select the
Intell. Light System: function.
You will see the selected setting: on or
off .
X Press the abutton to save the setting.
If you set the dipped-beam headlamps for
driving on the right/left (Y page 192), the
multifunction display shows the Intell.Light System: System inoperative
Inactive for left-side traffic or
Intell. Light System: System inoper‐
ative Inactive for right-side traf‐
fic display message instead of the
Intell.Light System function in the
Light sub-
menu.
Setting the dipped-beam headlamps for
driving on the left/right
This function is only available on vehicles with
the Intelligent Light System.
You can use this function to switch between
symmetrical beam and asymmetrical dipped
beam (Y page 100).
If you set the dipped-beam headlamps for
driving on the right/left, then motorway
mode and the extended range foglamps are
not available.
X Press the =or; button on the steer-
ing wheel to select the Settings menu.
X Press the :or9 button to select the
Light submenu.
X Press the abutton to confirm.
X Press :or9 to select the Dipped beams Setting for function.
You will see the selected setting: Right-side traffic or
Left-side traffic .
X Press the abutton to save the setting.
When you change the setting, conversion
does not take place until the next time the
vehicle is stationary.
You can also have the dipped-beam head-
lamps set for driving on the right or left at a
qualified specialist workshop. Setting the brightness of the ambient
lighting
X
Press the =or; button on the steer-
ing wheel to select the Settings menu.
X Press the :or9 button to select the
Light submenu.
X Press the abutton to confirm.
X Press the :or9 button to select
Ambient light .
You will see the selected setting.
X Press the abutton to confirm.
X Press the :or9 button to adjust the
brightness to any level from Off to
Level 5 (bright).
X Press the aor% button to save the
setting.
Activating/deactivating the surround
lighting and exterior lighting delayed
switch-off
If you have activated the Surround light‐ ing function and the light switch is set to
Ã, the following functions are activated
when it is dark:
R Surround lighting: the exterior lighting
remains lit for 40 secondsafter unlocking
with the key. The exterior lighting switches
off when you open the driver's door.
R Exterior lighting delayed switch-off: the
exterior lighting remains lit for 60seconds
after the engine is switched off. If you close
all the doors, the exterior lighting goes off
after 15 seconds.
If you activate the Surround lighting: function, the following light up depending on
the vehicle's equipment:
R
side lamps
R foglamps
R dipped-beam headlamps
R daytime driving lights
X Press the =or; button on the steer-
ing wheel to select the Settings menu.
X Press the :or9 button to select the
Light submenu.192
Menus and submenusOn-board computer and displays
Page 213 of 321

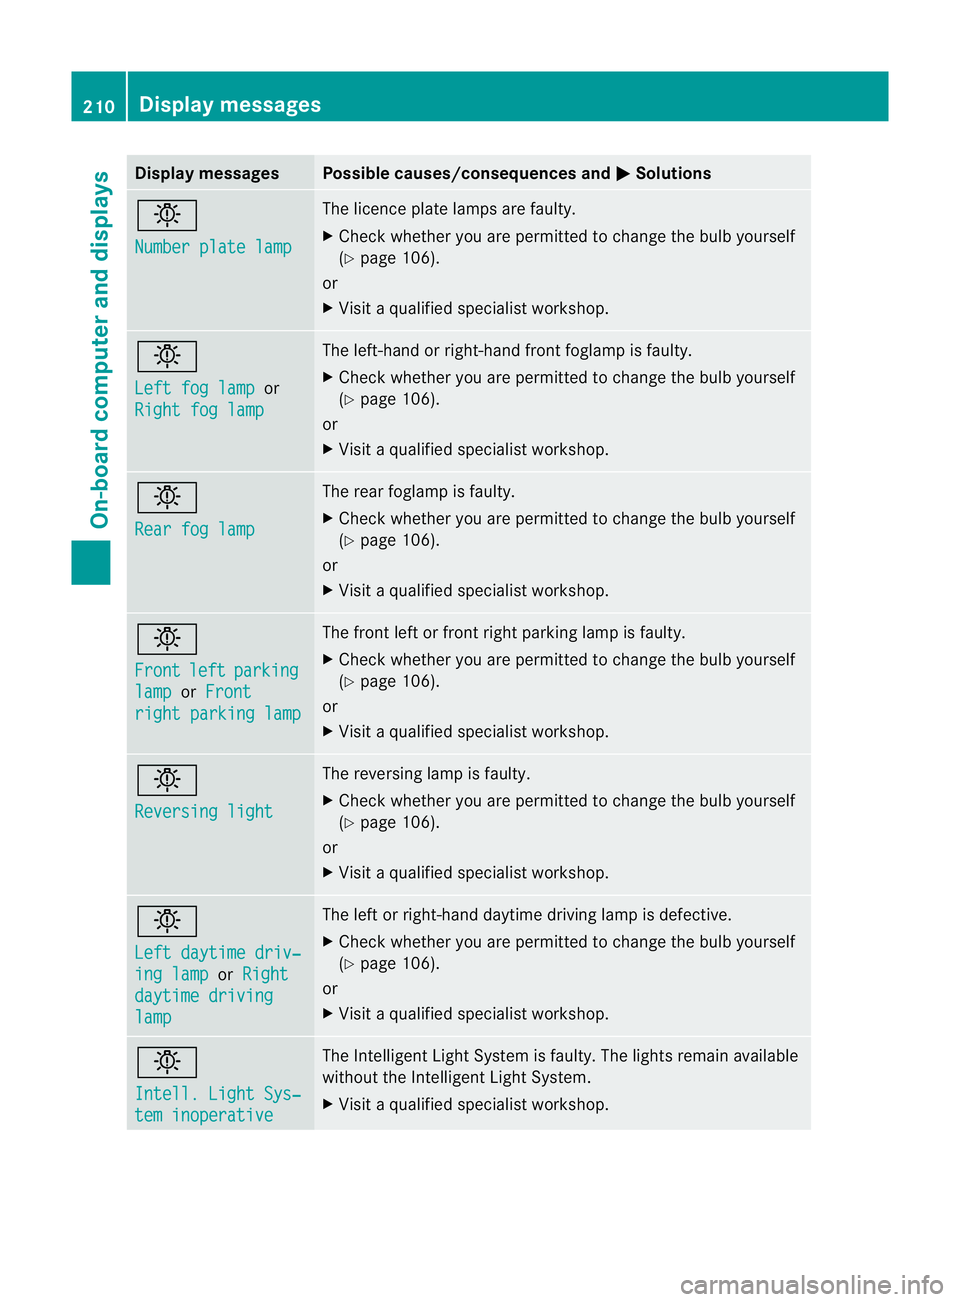
Display messages Possible causes/consequences and
M Solutions
b
Number plate lamp The licence plate lamps are faulty.
X
Chec kwhether you are permitted to change the bulb yourself
(Y page 106).
or
X Visit a qualified specialist workshop. b
Left fog lamp
or
Right fog lamp The left-hand or right-hand front foglamp is faulty.
X
Check whether you are permitted to change the bulb yourself
(Y page 106).
or
X Visit a qualified specialist workshop. b
Rear fog lamp The rear foglamp is faulty.
X
Check whether you are permitted to change the bulb yourself
(Y page 106).
or
X Visit a qualified specialist workshop. b
Front
left parking
lamp or
Front right parking lamp The front left or front right parking lamp is faulty.
X
Check whether you are permitted to change the bulb yourself
(Y page 106).
or
X Visit a qualified specialist workshop. b
Reversing light The reversing lamp is faulty.
X
Check whether you are permitted to change the bulb yourself
(Y page 106).
or
X Visit a qualified specialist workshop. b
Left daytime driv‐
ing lamp or
Right daytime driving
lamp The left or right-hand daytime driving lamp is defective.
X
Check whether you are permitted to change the bulb yourself
(Y page 106).
or
X Visit a qualified specialist workshop. b
Intell. Light Sys‐
tem inoperative The Intelligent Light System is faulty. The lights remain available
without the Intelligent Light System.
X
Visit a qualified specialist workshop. 210
Display messagesOn-board computer and displays