2012 MERCEDES-BENZ S-Class Aux audio
[x] Cancel search: Aux audioPage 140 of 536

dts™
MLP™
Selecting settings for the Bang & Olufsen
sound system
Calling up the selection menu
XSelect Sound.XHighlight Bang & Olufsen .XPress W.
A selection menu appears.
A # dot in front of an entry indicates the
current setting.
Selecting the setting for True Image™
XTurn cVd or slide ZVÆ and highlight
reference or 3D Sound .XPress W.
Selecting sound mode
XSelect Sound Mode in the selection menu.XTurn cVd or slide ZVÆ and highlight left,
all or right .XPress W.XTo exit the menu: press the % back
button beside the COMAND controller.
or
XSlide XVY.
i
Please bear the following in mind:
You will achieve the best sound results on
your Bang & Olufsen sound system by
playing high-quality audio DVDs and CDs.
MP3 tracks should have a bit rate of at least
224 kbit/s.
When playing using an iPod ®
, the bit rate
should also be at least 224 kbit/s.
For optimum playback quality:XDeactivate the EQ setting on the
iPod ®
.
Surround-sound playback does not
function for mono signal sources, such as
the medium wave range (MW) in radio
mode.
On some stereo recordings, the sound
characteristics may differ from
conventional stereo playback.
Rear Seat Entertainment System
Components
Overview
The Rear Seat Entertainment System
comprises:
R two screens for the rear behind the front-
seat head restraints
R two remote controls
R a CD/DVD drive
R AUX jacks on both screens (display AUX)
and on the CD/DVD drive (drive AUX)
R two sets of cordless headphones
138At a glanceCOMAND
Page 143 of 536

Selecting a menu/menu item and
confirming your selectionXPress the =;9: buttons to
select the menu/menu item and press the
9 button to confirm.
CD/DVD drive and AUX jacks
The CD/DVD drive is located in the center
behind the front seats.
:CD/DVD slot;AUX, right-hand (R) jack for audio signal=AUX, left-hand (L) jack for audio signal?AUX, jack for video signal (V)ACD/DVD eject button
The AUX jacks shown are for the AUX drive.
Identical jacks can be found on the right-hand
side of the rear-compartment screens (AUX
display), ( Y page 139).
At a glance141COMANDZ
Page 241 of 536

Notes on USB devices
R In order to keep the initialization time to a
minimum, store only music data on a USB
device.
R Approximately 10,000 tracks are
supported. Multiple partitions should be
used for larger numbers of tracks.
R Do not use USB extension leads or
adapters. They can impair functionality.
R A background search of the USB device is
performed and any playlists found are
shown in a separate category in addition to
the folders. Initialization of larger USB mass
storage devices containing a large number
of files may take several minutes.
i DRM (Digital Rights Management)
protected files are not supported by the
Media Interface.
Audio AUX mode
Notes on audio AUX mode
You can connect an external audio source
(AUX) to COMAND. The socket for this is
located in the glove box.
If COMAND is equipped with a Media
Interface, external audio sources are
connected using the corresponding cable set.
An AUX socket is not provided.
i You can find more information on the
Internet at http://www.mercedes-
benz.com/connect and in the "Media
Interface mode" section ( Y page 233).
Activating audio AUX mode
When you connect an external audio source,
audio AUX is not selected automatically.
XSelect Audio in the main function bar by
sliding ZV and turning cVd the COMAND
controller and press W to confirm.XSelect AUX using cVd and press W to
confirm.
The audio AUX menu appears. The medium
in the external audio source is played, if the
source is connected and playback
selected.
Please see the respective operating
instructions for how to operate the external
audio source.
You will find details on volume ( Y page 134)
and sound ( Y page 135) settings in the "At a
glance" section.
GWARNING
External audio sources may have different
volumes, which can mean that system
messages such as traffic announcements and
navigation system announcements are much
louder. If necessary, please deactivate the
system messages or adjust their volume
manually.
Increasing the volume
In some cases, the volume of the AUX device
may be quieter or louder, or the usual
maximum possible volume cannot be
reached. On some devices, it is possible to
adjust the volume separately. In this case,
start at a medium volume and increase it
gradually. This enables you to determine
whether the system is able to play tones at
high volume without distorting them.
Audio239COMANDZ
Page 247 of 536
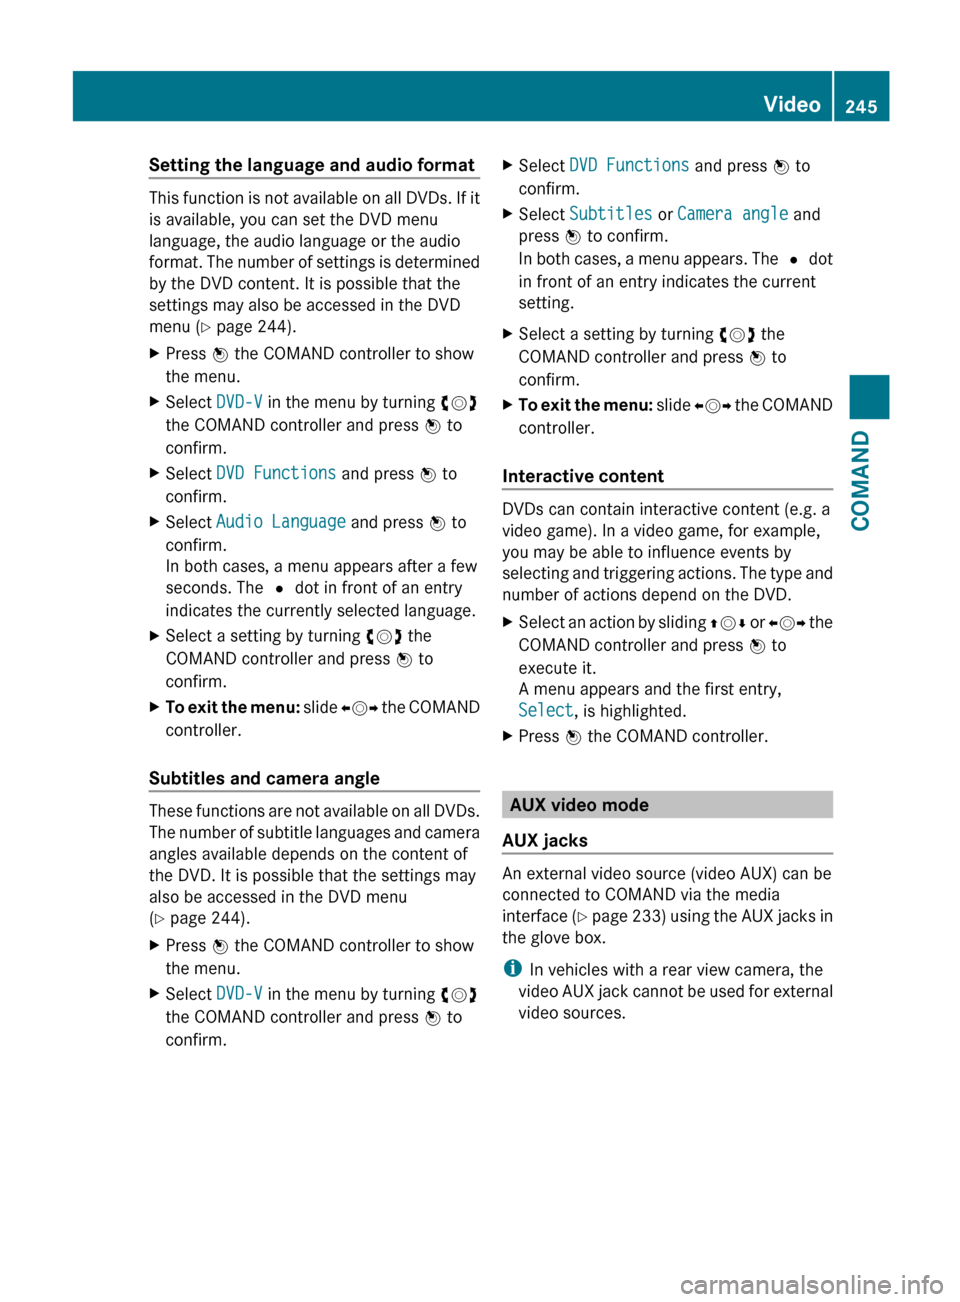
Setting the language and audio format
This function is not available on all DVDs. If it
is available, you can set the DVD menu
language, the audio language or the audio
format. The number of settings is determined
by the DVD content. It is possible that the
settings may also be accessed in the DVD
menu ( Y page 244).
XPress W the COMAND controller to show
the menu.XSelect DVD-V in the menu by turning cVd
the COMAND controller and press W to
confirm.XSelect DVD Functions and press W to
confirm.XSelect Audio Language and press W to
confirm.
In both cases, a menu appears after a few
seconds. The # dot in front of an entry
indicates the currently selected language.XSelect a setting by turning cVd the
COMAND controller and press W to
confirm.XTo exit the menu: slide XVY the COMAND
controller.
Subtitles and camera angle
These functions are not available on all DVDs.
The number of subtitle languages and camera
angles available depends on the content of
the DVD. It is possible that the settings may
also be accessed in the DVD menu
( Y page 244).
XPress W the COMAND controller to show
the menu.XSelect DVD-V in the menu by turning cVd
the COMAND controller and press W to
confirm.XSelect DVD Functions and press W to
confirm.XSelect Subtitles or Camera angle and
press W to confirm.
In both cases, a menu appears. The # dot
in front of an entry indicates the current
setting.XSelect a setting by turning cVd the
COMAND controller and press W to
confirm.XTo exit the menu: slide XVY the COMAND
controller.
Interactive content
DVDs can contain interactive content (e.g. a
video game). In a video game, for example,
you may be able to influence events by
selecting and triggering actions. The type and
number of actions depend on the DVD.
XSelect an action by sliding ZVÆ or XVY the
COMAND controller and press W to
execute it.
A menu appears and the first entry,
Select , is highlighted.XPress W the COMAND controller.
AUX video mode
AUX jacks
An external video source (video AUX) can be
connected to COMAND via the media
interface (Y page 233) using the AUX jacks in
the glove box.
i In vehicles with a rear view camera, the
video AUX jack cannot be used for external
video sources.
Video245COMANDZ
Page 250 of 536

headphones as shown to prevent the
batteries from falling out.XRemove the discharged batteries from the
tray.XInsert the new batteries. Observe the
polarity markings on the batteries and
battery tray when doing so.
Left-hand battery: The positive pole (+)
must face upwards.
Right-hand battery The positive pole (+)
must face downwards.XTo close the battery compartment:
press battery compartment cover
downwards until it engages into place.
If the batteries have been inserted
correctly, the indicator lamp will light up
green when the headphones are switched
on.
Basic functions
Using headphones
i Vehicles intended for sale in the USA are
equipped with cordless headphones.
Corded headphones are available for the
Canadian and other markets.
You can use the cordless headphones
supplied and/or up to two sets of corded
headphones connected to the corresponding
jack of the rear-compartment screens
( Y page 139).
You will find information on the following
topics in the "Cordless headphones" section
( Y page 142).
R Switching the cordless headphones on/off
R Adjusting the volume of the headphones
R Selecting a screen for the headphones
Using the main loudspeakers
This function is available in conjunction with
COMAND.
You can use the vehicle loudspeakers to
listen to a disc inserted in the rear-
compartment drive. To do so, at least one of
the rear-compartment screens must be set to
disc mode.XTo set operation via the main
loudspeakers: press the R function
button on the center console once or twice.XSelect Audio by sliding ZV the COMAND
controller and press W to confirm.
The Audio menu appears.XSelect Rear by turning cVd the COMAND
controller and press W to confirm.
i
The headphones' volume setting does not
affect the main loudspeakers.
Adjusting the sound settings
You can select the sound settings in the audio
CD/DVD/MP3, video DVD and AUX modes.
XSwitch on an audio operating mode (e.g.
audio CD mode).XSelect Treble or Bass using
the :=; buttons on the remote
control and press the 9 button to confirm.
An adjustment scale appears.XSelect a setting using the 9:
buttons and press the 9 button to confirm.
Multiple users
Simultaneous use of the rear-
compartment disc drive
The two rear-compartment screens can be
operated almost entirely independently from
one another. However, there can be a conflict
in some menus if the two screens are used
simultaneously.
If the rear-compartment disc drive is being
used for both screens simultaneously,
selecting certain menus or settings on one of
the screens also affects the other screen.
The following functions affect both screens:
R changing playback options
R selecting a track (from a track list or folder)
R using the play, pause and stop functions
R fast forwarding/rewinding or scrolling
248Rear Seat Entertainment SystemCOMAND
Page 251 of 536

Rcalling up the DVD menu and navigating
within it
R setting the language, subtitles and camera
angle
R calling up interactive DVD content
The following functions affect only one
screen:
R audio and video functions as well as picture
settings
R switching between full screen and the
menu
Switching between operating modes
When you exit an operating mode (e.g. audio
CD mode), the current setting is saved. If you
call up this operating mode again later, there
are two possibilities:
R the operating mode has been changed on
the other screen.
R the operating mode has not been changed.
In the first case, the operating mode appears
as it is on the other screen.
In the second case, the setting appears on the
screen as it was when you last exited the
operating mode.
Picture settings
Overview
You can select these settings in video DVD
and AUX mode. Instructions for AUX mode
are detailed later ( Y page 258).
Adjusting the brightness, contrast and
color
XSwitch on video DVD mode ( Y page 241).XTo show the menu: press the 9 button
on the remote control.
or
XSelect Menu while the navigation menu
( Y page 241) is shown and press the 9
button to confirm.XIn both cases, select Video DVD using
the :=; buttons and press the
9 button to confirm.XSelect Brightness , Contrast , Color or
Auto using the 9: buttons and
press 9 to confirm.
An adjustment scale appears.XSelect a setting using the 9:
buttons and press the 9 button to confirm.
Changing the picture format
XTo show the menu: press the 9 button
on the remote control.
or
XSelect Menu while the navigation menu
( Y page 241) is shown and press the 9
button to confirm.XSelect Video DVD using
the :=; buttons and press the
9 button to confirm.
The ä symbol in front of the Auto, 16:9
Optimized , 4:3 or Widescreen menu item
indicates the format currently set.XSelect a format using the 9:
buttons and press the 9 button to confirm.
System settings
Note
You can adjust almost all system settings
individually for each screen without affecting
the other screen. You make these settings
using the remote control.
Selecting the display language
XSelect System using the 9=;
buttons on the remote control and press
the 9 button to confirm.
You see the system menu on the selected
rear screen.Rear Seat Entertainment System249COMANDZ
Page 260 of 536
XOption 2: select any menu item in the DVD
menu.XSelect the Go up menu item in the menu
and press the 9 button to confirm.
Back to the film
XOption 1: press the % back button on
the remote control repeatedly until you see
the film or select the corresponding menu
item in the DVD menu.XOption 2: select any menu item in the DVD
menu and press the 9 button to confirm.XSelect the Back (to the movie) menu
item in the menu and press the 9 button
to confirm.
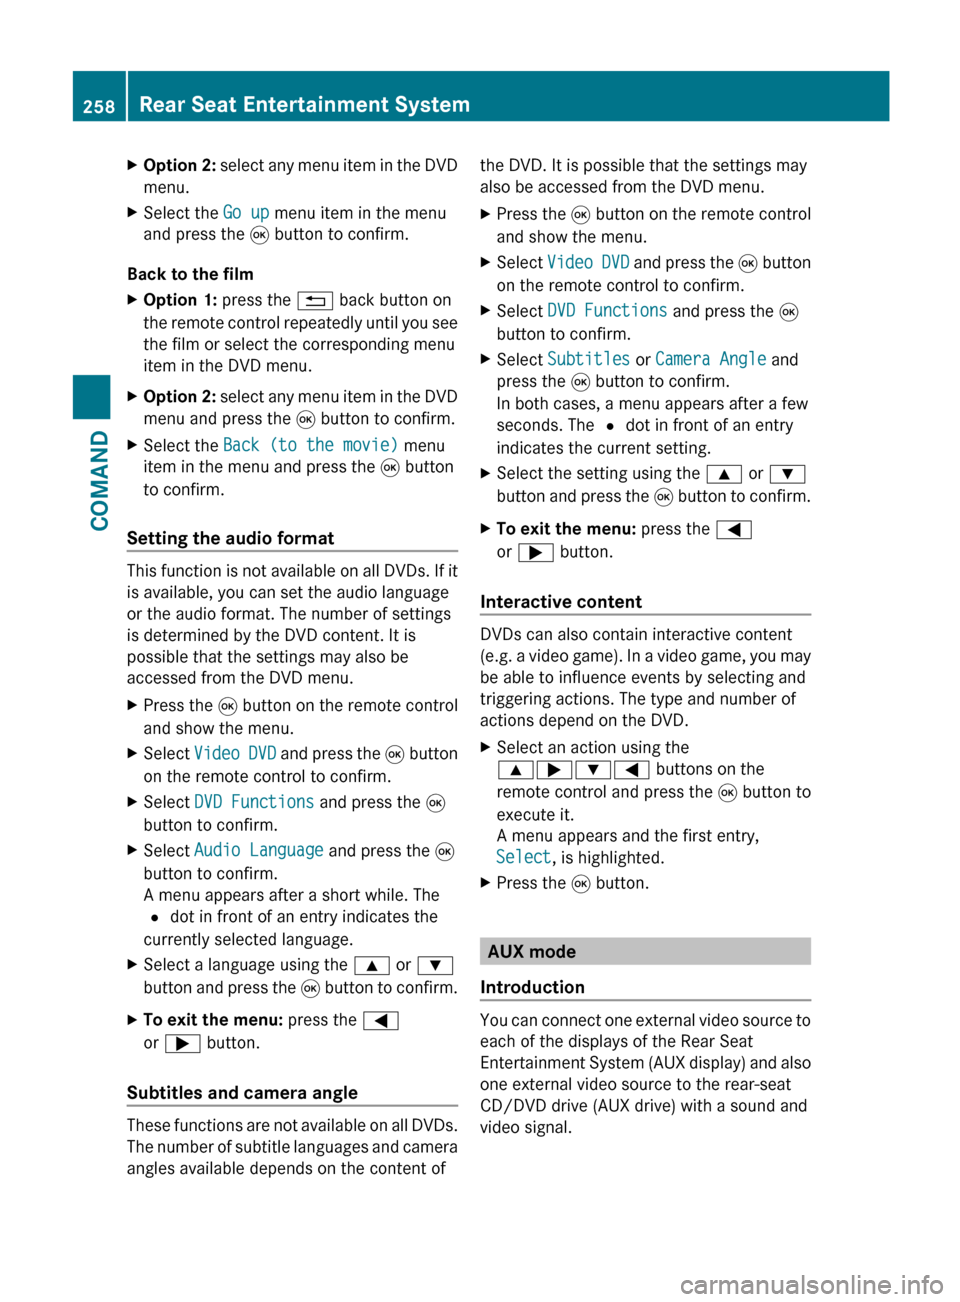
Setting the audio format
This function is not available on all DVDs. If it
is available, you can set the audio language
or the audio format. The number of settings
is determined by the DVD content. It is
possible that the settings may also be
accessed from the DVD menu.
XPress the 9 button on the remote control
and show the menu.XSelect Video DVD and press the 9 button
on the remote control to confirm.XSelect DVD Functions and press the 9
button to confirm.XSelect Audio Language and press the 9
button to confirm.
A menu appears after a short while. The
# dot in front of an entry indicates the
currently selected language.XSelect a language using the 9 or :
button and press the 9 button to confirm.XTo exit the menu: press the =
or ; button.
Subtitles and camera angle
These functions are not available on all DVDs.
The number of subtitle languages and camera
angles available depends on the content of
the DVD. It is possible that the settings may
also be accessed from the DVD menu.XPress the 9 button on the remote control
and show the menu.XSelect Video DVD and press the 9 button
on the remote control to confirm.XSelect DVD Functions and press the 9
button to confirm.XSelect Subtitles or Camera Angle and
press the 9 button to confirm.
In both cases, a menu appears after a few
seconds. The # dot in front of an entry
indicates the current setting.XSelect the setting using the 9 or :
button and press the 9 button to confirm.XTo exit the menu: press the =
or ; button.
Interactive content
DVDs can also contain interactive content
(e.g. a video game). In a video game, you may
be able to influence events by selecting and
triggering actions. The type and number of
actions depend on the DVD.
XSelect an action using the
9;:= buttons on the
remote control and press the 9 button to
execute it.
A menu appears and the first entry,
Select , is highlighted.XPress the 9 button.
AUX mode
Introduction
You can connect one external video source to
each of the displays of the Rear Seat
Entertainment System (AUX display) and also
one external video source to the rear-seat
CD/DVD drive (AUX drive) with a sound and
video signal.
258Rear Seat Entertainment SystemCOMAND
Page 261 of 536
Please see the corresponding operating
instructions for information on how to
operate the external video source.
For further details about external video
sources, please consult an authorized
Mercedes-Benz Center.
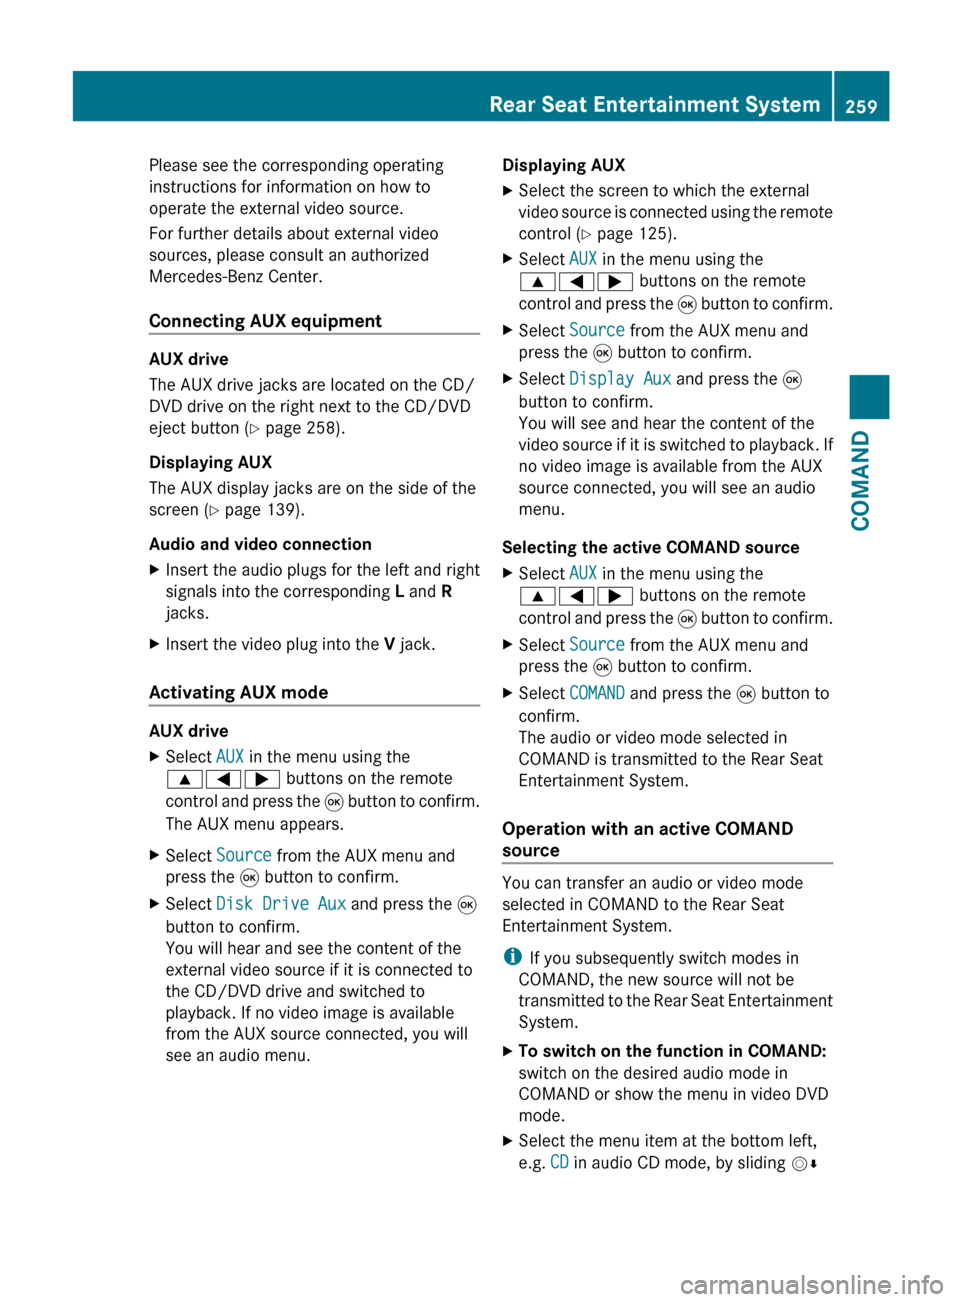
Connecting AUX equipment
AUX drive
The AUX drive jacks are located on the CD/
DVD drive on the right next to the CD/DVD
eject button ( Y page 258).
Displaying AUX
The AUX display jacks are on the side of the
screen ( Y page 139).
Audio and video connection
XInsert the audio plugs for the left and right
signals into the corresponding L and R
jacks.XInsert the video plug into the V jack.
Activating AUX mode
AUX drive
XSelect AUX in the menu using the
9=; buttons on the remote
control and press the 9 button to confirm.
The AUX menu appears.XSelect Source from the AUX menu and
press the 9 button to confirm.XSelect Disk Drive Aux and press the 9
button to confirm.
You will hear and see the content of the
external video source if it is connected to
the CD/DVD drive and switched to
playback. If no video image is available
from the AUX source connected, you will
see an audio menu.Displaying AUXXSelect the screen to which the external
video source is connected using the remote
control ( Y page 125).XSelect AUX in the menu using the
9=; buttons on the remote
control and press the 9 button to confirm.XSelect Source from the AUX menu and
press the 9 button to confirm.XSelect Display Aux and press the 9
button to confirm.
You will see and hear the content of the
video source if it is switched to playback. If
no video image is available from the AUX
source connected, you will see an audio
menu.
Selecting the active COMAND source
XSelect AUX in the menu using the
9=; buttons on the remote
control and press the 9 button to confirm.XSelect Source from the AUX menu and
press the 9 button to confirm.XSelect COMAND and press the 9 button to
confirm.
The audio or video mode selected in
COMAND is transmitted to the Rear Seat
Entertainment System.
Operation with an active COMAND
source
You can transfer an audio or video mode
selected in COMAND to the Rear Seat
Entertainment System.
i If you subsequently switch modes in
COMAND, the new source will not be
transmitted to the Rear Seat Entertainment
System.
XTo switch on the function in COMAND:
switch on the desired audio mode in
COMAND or show the menu in video DVD
mode.XSelect the menu item at the bottom left,
e.g. CD in audio CD mode, by sliding VÆRear Seat Entertainment System259COMANDZ