Page 61 of 436
61
2. SETUP
CT200h_Navi_OM76078E_(EE)
14.02.06 12:29
2
BASIC FUNCTION
On this screen, the following functions
can be performed:SCREENS FOR GENERAL
SETTINGS
No
.Function
Select to change the time zone and
select “On” or “Off” for daylight
saving time. (See “CLOCK SET-
TINGS” on page 63.)
Select to change the language.
(See “SELECTING A LAN-
GUAGE” on page 65.)
Select to change the voice recog-
nition language. (See “SELECT-
ING A VOICE RECOGNITION
LANGUAGE” on page 65.)
Select to change the home screen
settings. (See “HOME SCREEN
SETTINGS” on page 66.)
Select to customize the opening
image. (See “CHANGING THE
OPENING IMAGE” on page 66.)
Select to customize the screen off
image. (See “CHANGING THE
SCREEN OFF IMAGE” on page
68.)
Page 63 of 436
63
2. SETUP
CT200h_Navi_OM76078E_(EE)
14.02.06 12:29
2
BASIC FUNCTION1Press the “MENU” button on the
Remote Touch, then select “Setup”.
2Select “General” on the “Setup”
screen.
3Select “Clock”.
4Select the items to be set.
On this screen, the following functions
can be performed:
5Select “OK”.
TIME ZONE
1Press the “MENU” button on the
Remote Touch, then select “Setup”.
2Select “General” on the “Setup”
screen.
3Select “Clock” on the “General set-
tings” screen.
CLOCK SETTINGS
Used for changing time zones, the
on/off settings of daylight saving
time and automatic adjustment of the
clock.No
.Function
Select to change the time zone.
(See “TIME ZONE” on page 63.)
Select “On” or “Off” for daylight
saving time.
Select “On” or “Off” for automat-
ic adjustment of the clock.
When “Auto adjust clock” is
turned “Off”, the clock can be
manually adjusted. (See “MANU-
AL CLOCK SETTING” on page
64.)
A time zone can be selected and
GMT can be set.
Page 64 of 436
64
2. SETUP
CT200h_Navi_OM76078E_(EE)
14.02.06 12:29
4Select “Time zone”.
5Select the desired time zone.
If “Other” is selected, the zone can be
adjusted manually. Select “+” or “-” to
adjust the time zone and then select
“OK”.
6Select “OK”.
MANUAL CLOCK SETTING
1Press the “MENU” button on the
Remote Touch, then select “Setup”.
2Select “General” on the “Setup”
screen.
3Select “Clock” on the “General set-
tings” screen.
4Select the items to be set.
*: e.g.1:00 to 1:29 1:00
1:30 to 1:59 2:00
5Select “OK”.
When “Auto adjust clock” is turned
“Off”, the clock can be manually ad-
justed.
Screen but-
tonFunction
Hours
“+”, “-”Select “+” to set the time
forward one hour and “-
” to set the time back
one hour.
Minutes
“+”, “-”
Select “+” to set the time
forward one minute and
“-” to set the time back
one minute.
Minutes
“:00”Rounds to the nearest
hour*.
Page 401 of 436

401
CT200h_Navi_OM76078E_(EE)
14.02.06 12:30
M
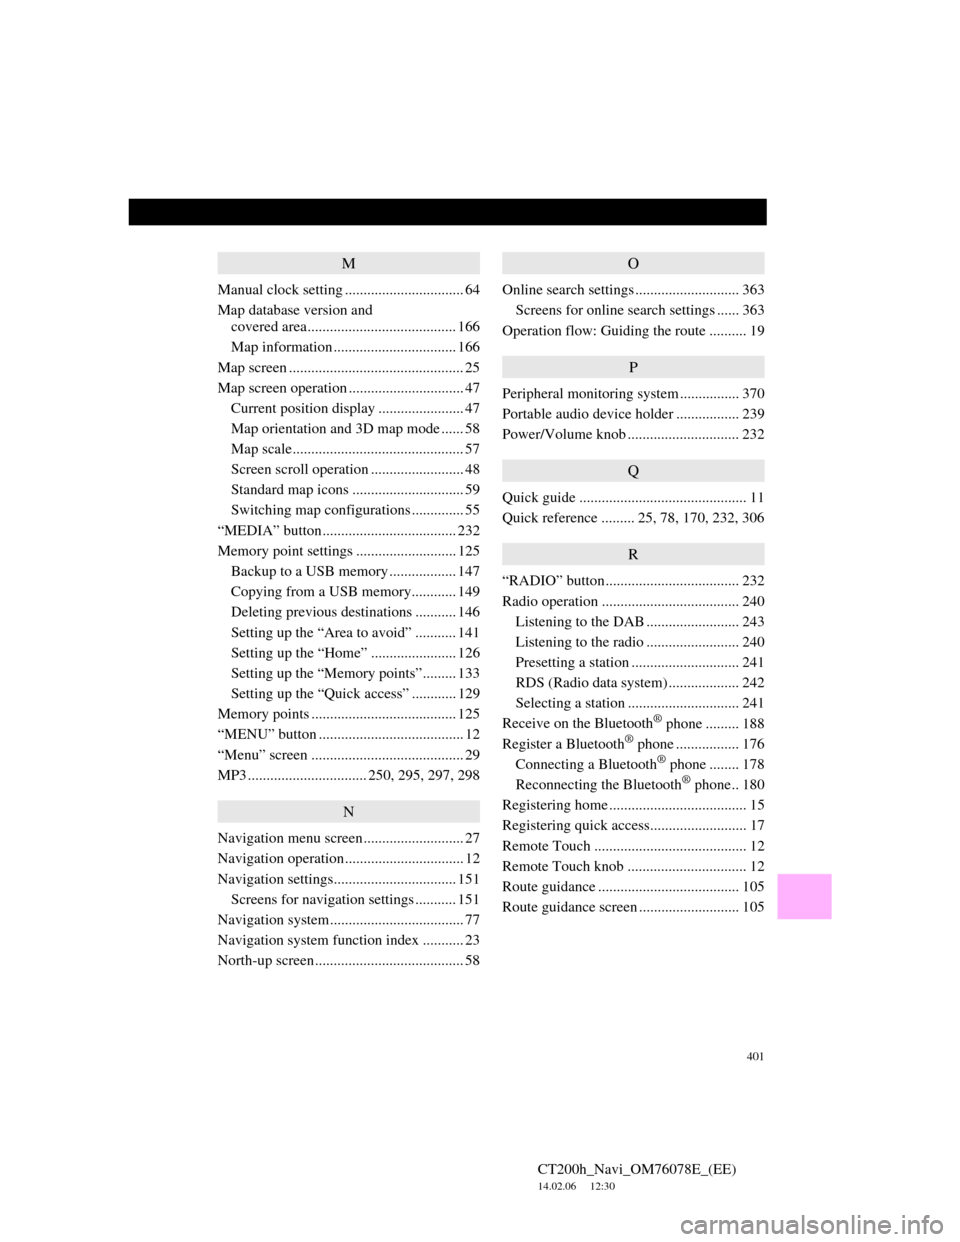
Manual clock setting ................................ 64
Map database version and
covered area........................................ 166
Map information ................................. 166
Map screen ............................................... 25
Map screen operation ............................... 47
Current position display ....................... 47
Map orientation and 3D map mode ...... 58
Map scale.............................................. 57
Screen scroll operation ......................... 48
Standard map icons .............................. 59
Switching map configurations .............. 55
“MEDIA” button.................................... 232
Memory point settings ........................... 125
Backup to a USB memory.................. 147
Copying from a USB memory............ 149
Deleting previous destinations ........... 146
Setting up the “Area to avoid” ........... 141
Setting up the “Home” ....................... 126
Setting up the “Memory points”......... 133
Setting up the “Quick access” ............ 129
Memory points ....................................... 125
“MENU” button ....................................... 12
“Menu” screen ......................................... 29
MP3 ................................ 250, 295, 297, 298
N
Navigation menu screen........................... 27
Navigation operation................................ 12
Navigation settings................................. 151
Screens for navigation settings ........... 151
Navigation system.................................... 77
Navigation system function index ........... 23
North-up screen........................................ 58
O
Online search settings ............................ 363
Screens for online search settings ...... 363
Operation flow: Guiding the route .......... 19
P
Peripheral monitoring system ................ 370
Portable audio device holder ................. 239
Power/Volume knob .............................. 232
Q
Quick guide ............................................. 11
Quick reference ......... 25, 78, 170, 232, 306
R
“RADIO” button.................................... 232
Radio operation ..................................... 240
Listening to the DAB ......................... 243
Listening to the radio ......................... 240
Presetting a station ............................. 241
RDS (Radio data system) ................... 242
Selecting a station .............................. 241
Receive on the Bluetooth
® phone ......... 188
Register a Bluetooth® phone ................. 176
Connecting a Bluetooth® phone ........ 178
Reconnecting the Bluetooth® phone.. 180
Registering home ..................................... 15
Registering quick access.......................... 17
Remote Touch ......................................... 12
Remote Touch knob ................................ 12
Route guidance ...................................... 105
Route guidance screen ........................... 105