Page 107 of 558
Uconnect™ Phone ButtonThe radio or steering wheel controls (if
equipped) will contain the two control buttons
(Uconnect™ Phone
button and Voice Com-
mand
button) that will enable you to
access the system. When you press the button you will
hear the word Uconnect™ followed by a BEEP. The beep
is your signal to give a command.
Voice Command Button Actual button location may vary with the ra-
dio. The individual buttons are described in the
“Operation” section.
The Uconnect™ Phone can be used with any Hands-Free
Profile certified Bluetooth� mobile phone. See the
Uconnect™ website for supported phones. Refer to your
mobile service provider or the phone manufacturer for
details. The Uconnect™ Phone is fully integrated with the vehi-
cle’s audio system. The volume of the Uconnect™ Phone
can be adjusted either from the radio volume control
knob or from the steering wheel radio control (right
switch), if so equipped.
The radio display will be used for visual prompts from
the Uconnect™ Phone such as “CELL” or caller ID on
certain radios.
Operation
Voice commands can be used to operate the Uconnect™
Phone and to navigate through the Uconnect™ Phone
menu structure. Voice commands are required after most
Uconnect™ Phone prompts. You will be prompted for a
specific command and then guided through the available
options.
•Prior to giving a voice command, one must wait for
the beep, which follows the “Ready” prompt or an-
other prompt.
3
UNDERSTANDING THE FEATURES OF YOUR VEHICLE 105
Page 153 of 558
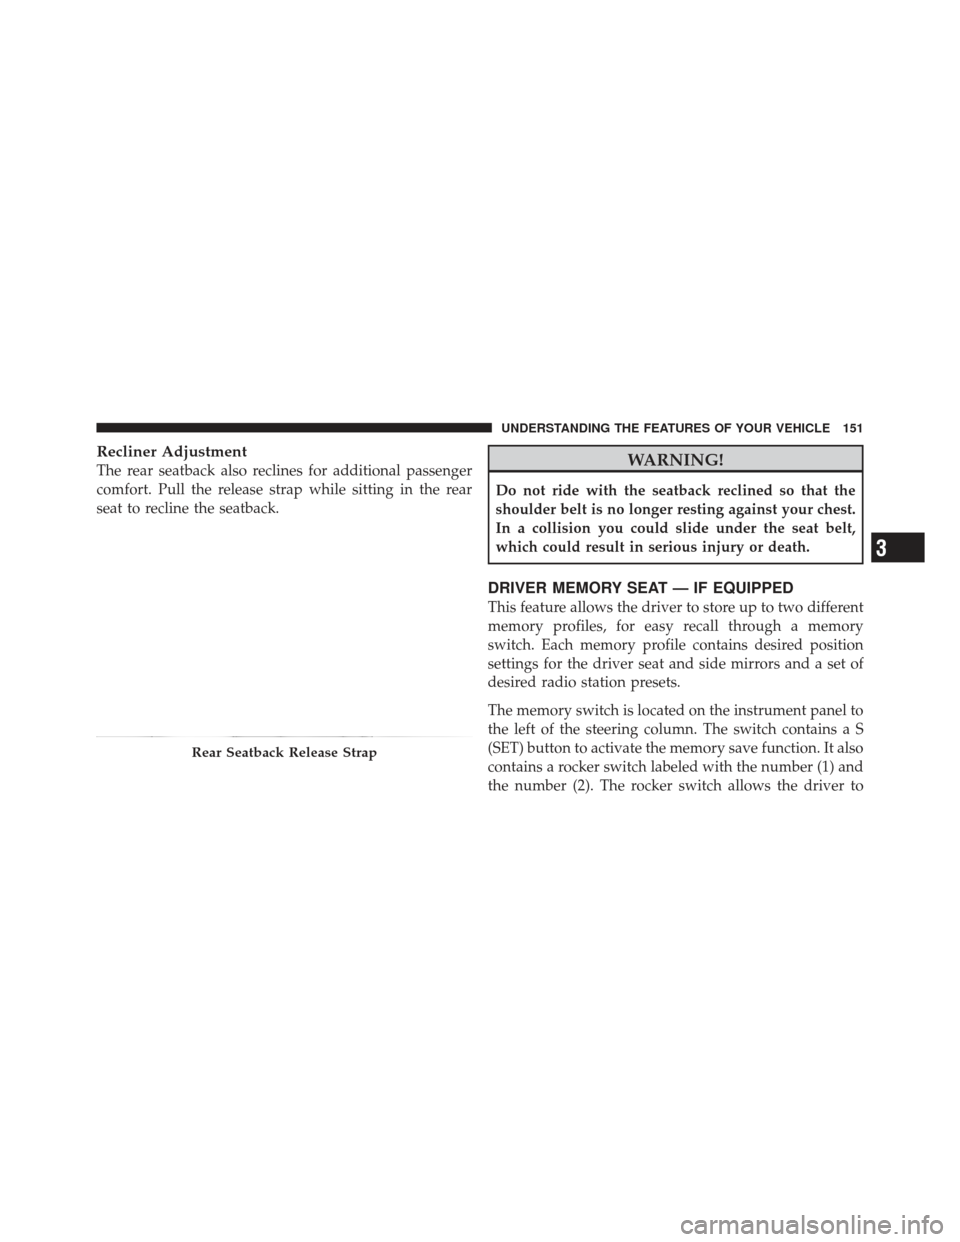
Recliner Adjustment
The rear seatback also reclines for additional passenger
comfort. Pull the release strap while sitting in the rear
seat to recline the seatback.WARNING!
Do not ride with the seatback reclined so that the
shoulder belt is no longer resting against your chest.
In a collision you could slide under the seat belt,
which could result in serious injury or death.
DRIVER MEMORY SEAT — IF EQUIPPED
This feature allows the driver to store up to two different
memory profiles, for easy recall through a memory
switch. Each memory profile contains desired position
settings for the driver seat and side mirrors and a set of
desired radio station presets.
The memory switch is located on the instrument panel to
the left of the steering column. The switch contains a S
(SET) button to activate the memory save function. It also
contains a rocker switch labeled with the number (1) and
the number (2). The rocker switch allows the driver to
Rear Seatback Release Strap
3
UNDERSTANDING THE FEATURES OF YOUR VEHICLE 151
Page 160 of 558
LIGHTS
Multifunction Lever
The multifunction lever on the left side of the steering
column controls the operation of the headlights, parking
lights, turn signal lights, instrument panel lights, instru-
ment panel light dimming, interior lights and fog lights
(if equipped).
Headlights And Parking Lights
Turn the end of the multifunction lever to the first detent
for parking light operation. Turn the end of the lever to
the second detent for headlight operation.
Multifunction Lever
Headlight Switch
158 UNDERSTANDING THE FEATURES OF YOUR VEHICLE
Page 166 of 558
UNLOCK button on the Remote Keyless Entry (RKE)
transmitter is pressed, or when the dimmer control is
turned completely upward to the second detent.
Cargo Light
The cargo light is mounted in the headliner above the
rear cargo area. This light will turn on when you open the
liftgate or any door, or if you press the UNLOCK button
on the RKE transmitter, or rotate the dimmer control on
the multifunction lever completely upward to the second
detent.
Battery Saver Feature
To protect the battery, the interior lights will turn off
automatically 10 minutes after the ignition switch is
moved to the LOCK position. This will occur if the
interior lights were switched on manually or are on
because a door is open.
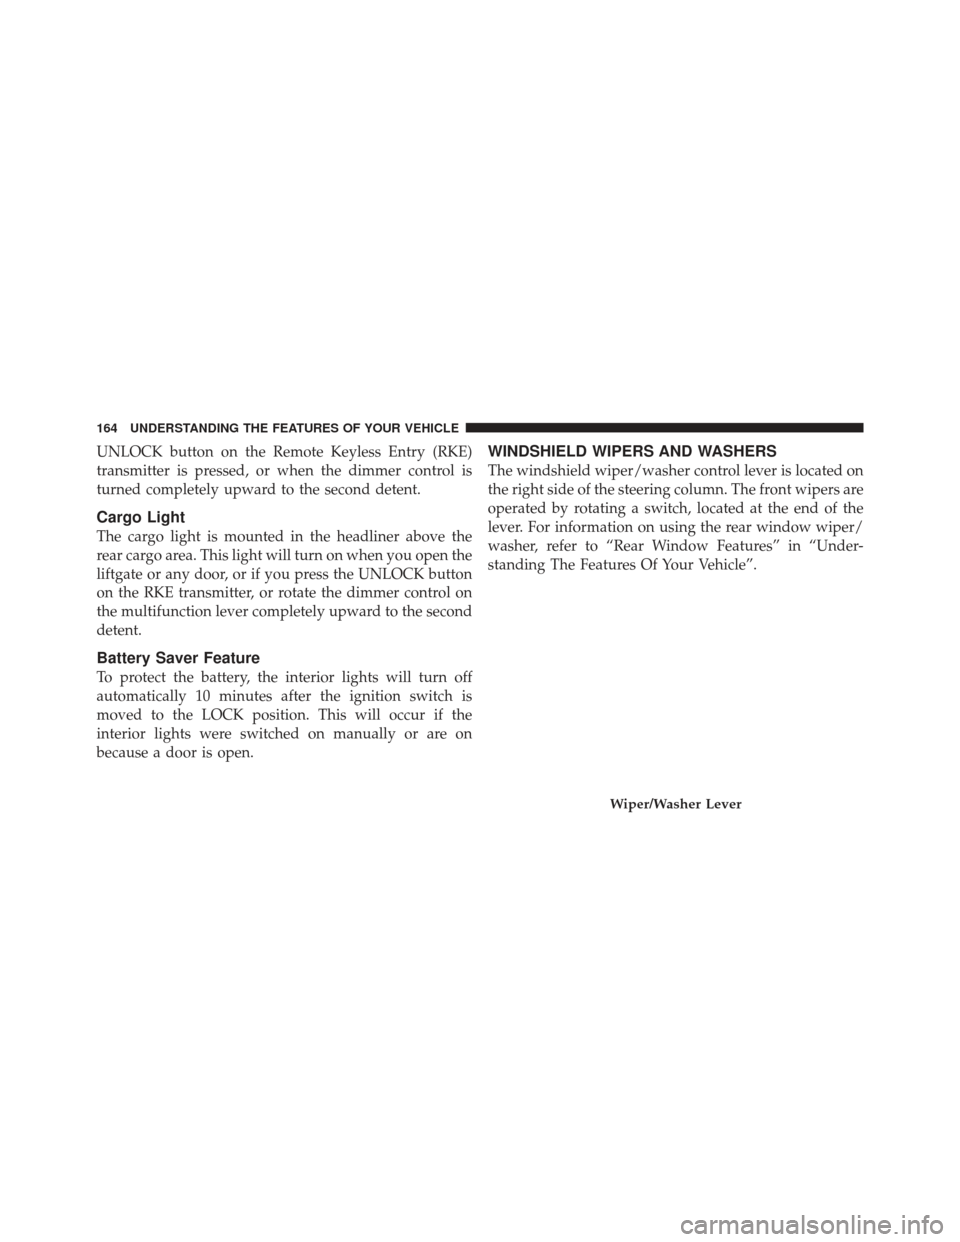
WINDSHIELD WIPERS AND WASHERS
The windshield wiper/washer control lever is located on
the right side of the steering column. The front wipers are
operated by rotating a switch, located at the end of the
lever. For information on using the rear window wiper/
washer, refer to “Rear Window Features” in “Under-
standing The Features Of Your Vehicle”.
Wiper/Washer Lever
164 UNDERSTANDING THE FEATURES OF YOUR VEHICLE
Page 172 of 558
•Neutral Wipe Inhibit— The rain-sensing feature will
not operate when the ignition is ON, and the shift
lever is in the NEUTRAL position, and the vehicle
speed is less than 5 mph (8 km/h), unless the wiper
control is moved or the shift lever is moved out of the
NEUTRAL position.
•Remote Start Wipe Inhibit (Vehicles Equipped with
Remote Start System) — The rain-sensing feature will
not operate when the vehicle is in remote start mode.
This feature will return to normal operation once
remote start mode is exited. Refer to “Remote Start
System” in “Things To Know Before Starting Your
Vehicle” for further information.
Headlights With Wipers
(Available With Automatic Headlights Only)
When this feature is active, the headlights will turn on
approximately 10 seconds after the wipers are turned on
if the multifunction lever (on the left side of the steering
column) is placed in the AUTO position. In addition, the
headlights will turn off when the wipers are turned off if
they were turned on by this feature.
The Headlights with Wipers feature can be turned on or
off through the Electronic Vehicle Information Center
(EVIC) — if equipped. Refer to “Electronic Vehicle Infor-
mation Center (EVIC)/Personal Settings (Customer-
Programmable Features)” in “Understanding Your In-
strument Panel” for further information.
170 UNDERSTANDING THE FEATURES OF YOUR VEHICLE
Page 173 of 558
TILT STEERING COLUMN
This feature allows you to tilt the steering column
upward or downward. The tilt control handle is located
below the steering wheel at the end of the steering
column.To unlock the steering column, push the control handle
downward. To tilt the steering column, move the steering
wheel upward or downward as desired. To lock the
steering column in position, pull the control handle
upward until it is fully engaged.
WARNING!
Do not adjust the steering column while driving.
Adjusting the steering column while driving or driv-
ing with the steering column unlocked, could cause
the driver to lose control of the vehicle. Be sure the
steering column is locked before driving your ve-
hicle. Failure to follow this warning may result in
serious injury or death.
Tilt Steering Control Handle
3
UNDERSTANDING THE FEATURES OF YOUR VEHICLE 171
Page 174 of 558
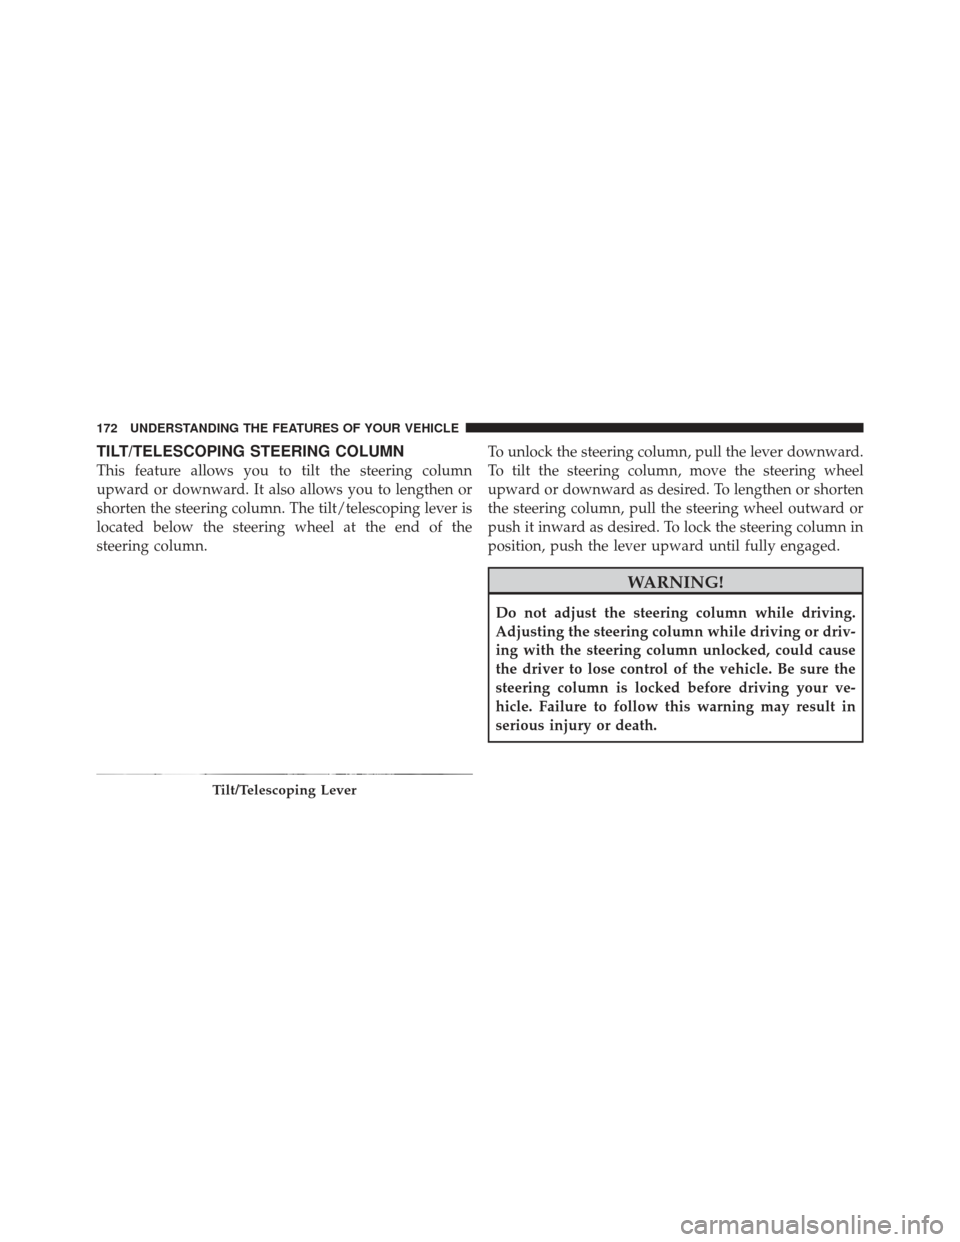
TILT/TELESCOPING STEERING COLUMN
This feature allows you to tilt the steering column
upward or downward. It also allows you to lengthen or
shorten the steering column. The tilt/telescoping lever is
located below the steering wheel at the end of the
steering column.To unlock the steering column, pull the lever downward.
To tilt the steering column, move the steering wheel
upward or downward as desired. To lengthen or shorten
the steering column, pull the steering wheel outward or
push it inward as desired. To lock the steering column in
position, push the lever upward until fully engaged.
WARNING!
Do not adjust the steering column while driving.
Adjusting the steering column while driving or driv-
ing with the steering column unlocked, could cause
the driver to lose control of the vehicle. Be sure the
steering column is locked before driving your ve-
hicle. Failure to follow this warning may result in
serious injury or death.
Tilt/Telescoping Lever
172 UNDERSTANDING THE FEATURES OF YOUR VEHICLE
Page 175 of 558
ELECTRONIC SPEED CONTROL — IF EQUIPPED
When engaged, the Electronic Speed Control takes over
accelerator operations at speeds greater than 25 mph
(40 km/h).
The Electronic Speed Control buttons are located on the
right side of the steering wheel.NOTE:
In order to ensure proper operation, the Elec-
tronic Speed Control System has been designed to shut
down if multiple Speed Control functions are operated at
the same time. If this occurs, the Electronic Speed Control
System can be reactivated by pushing the Electronic
Speed Control ON/OFF button and resetting the desired
vehicle set speed.
To Activate
Push the ON/OFF button. The Cruise Indicator Light in
the instrument cluster will illuminate. To turn the system
off, push the ON/OFF button a second time. The Cruise
Indicator Light will turn off. The system should be
turned off when not in use.
1 — ON/OFF 2 — RES +
4 — CANCEL 3 — SET -
3
UNDERSTANDING THE FEATURES OF YOUR VEHICLE 173