2012 Hyundai H-100 Truck ignition
[x] Cancel search: ignitionPage 44 of 217
1FEATURES OF YOUR HYUNDAI
32
NOTE: Any alteration of the odometer may void your warranty coverage. 2,3 Trip odometer Records the distance of 2 trips in kilo- meters or miles.TRIP A: First distance you have trav-
eled from your origination point to a firstdestination.TRIP B: Second distance from the first
destination to the final destination. To shift from TRIP A to TRIP B, press the reset switch. When it pressed for more than 1 second, the trip odometerwill reset to 0.COMBINATION TURN SIGNAL, HEADLIGHT AND HIGH-BEAMSWITCH
B340A01A-AAT Turn Signal Operation Pulling down on the lever causes the turn signals on the left side of the car toblink. Pushing upwards on the lever causes the turn signals on the right side of the car to blink. As the turn iscompleted, the lever will automatically return to the center position and turn off the turn signals at the same time. Ifeither turn signal indicator light blinks more rapidly than usual, goes on but does not blink, or does not go on at all,there is a malfunction in the system. Check for a burned-out fuse or bulb or see your Hyundai dealer.
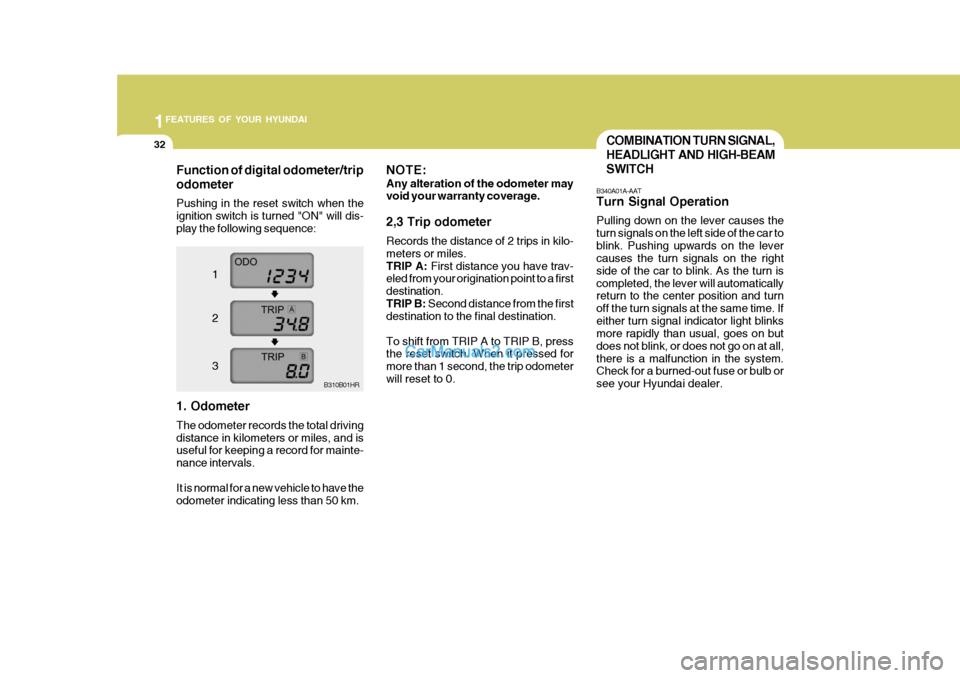
Function of digital odometer/trip odometer
Pushing in the reset switch when the ignition switch is turned "ON" will dis-play the following sequence:
1. Odometer The odometer records the total driving distance in kilometers or miles, and is useful for keeping a record for mainte- nance intervals. It is normal for a new vehicle to have the odometer indicating less than 50 km. B310B01HR
1 2 3
Page 45 of 217
1
FEATURES OF YOUR HYUNDAI
33
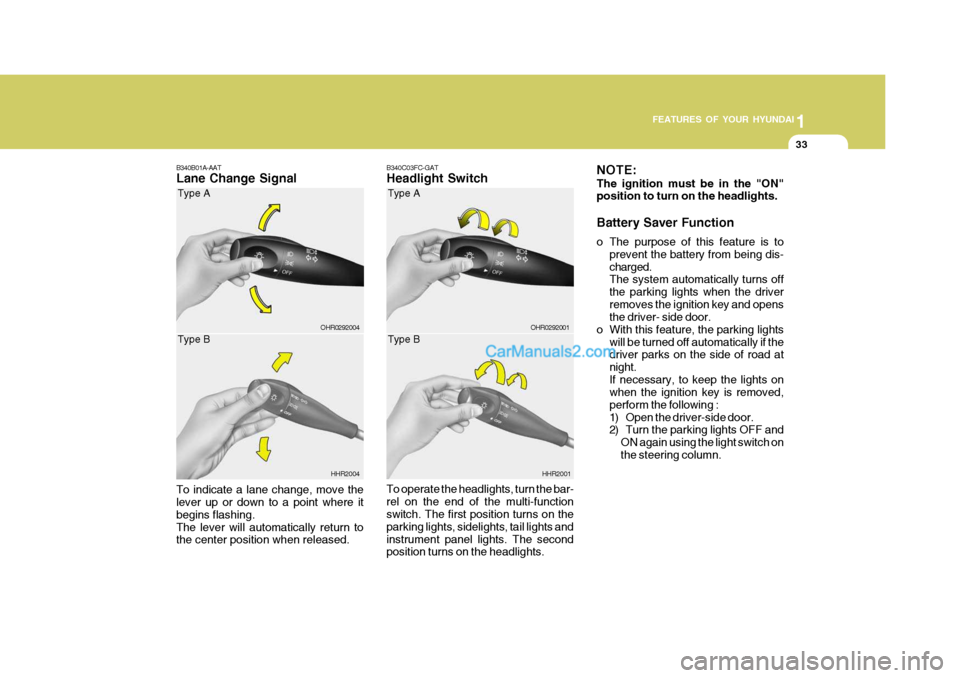
B340C03FC-GAT Headlight Switch To operate the headlights, turn the bar- rel on the end of the multi-function switch. The first position turns on the parking lights, sidelights, tail lights andinstrument panel lights. The second position turns on the headlights. HHR2001B340B01A-AAT Lane Change Signal To indicate a lane change, move the lever up or down to a point where it begins flashing.The lever will automatically return to the center position when released.OHR0292004
HHR2004
Type A Type B
NOTE: The ignition must be in the "ON" position to turn on the headlights.
OHR0292001
Type A Type B
Battery Saver Function
o The purpose of this feature is to
prevent the battery from being dis- charged. The system automatically turns off the parking lights when the driverremoves the ignition key and opens the driver- side door.
o With this feature, the parking lights will be turned off automatically if thedriver parks on the side of road at night.If necessary, to keep the lights on when the ignition key is removed, perform the following :
1) Open the driver-side door.
2) Turn the parking lights OFF and
ON again using the light switch on the steering column.
Page 48 of 217
1FEATURES OF YOUR HYUNDAI
36HEADLIGHT LEVELING DE- VICE SYSTEM
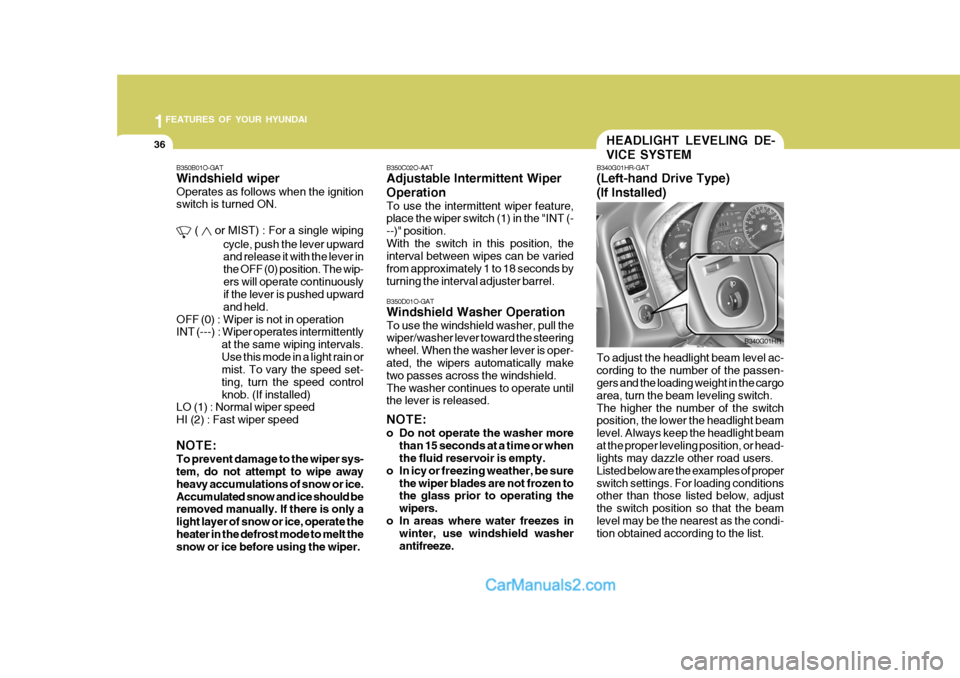
B340G01HR-GAT (Left-hand Drive Type) (If Installed) To adjust the headlight beam level ac- cording to the number of the passen- gers and the loading weight in the cargo area, turn the beam leveling switch.The higher the number of the switch position, the lower the headlight beam level. Always keep the headlight beamat the proper leveling position, or head- lights may dazzle other road users. Listed below are the examples of properswitch settings. For loading conditions other than those listed below, adjust the switch position so that the beamlevel may be the nearest as the condi- tion obtained according to the list. B340G01HR
B350D01O-GAT Windshield Washer Operation To use the windshield washer, pull the wiper/washer lever toward the steering wheel. When the washer lever is oper- ated, the wipers automatically make two passes across the windshield.The washer continues to operate until the lever is released. NOTE:
o Do not operate the washer more
than 15 seconds at a time or when the fluid reservoir is empty.
o In icy or freezing weather, be sure the wiper blades are not frozen tothe glass prior to operating the wipers.
o In areas where water freezes in winter, use windshield washerantifreeze.
B350C02O-AAT Adjustable Intermittent Wiper Operation To use the intermittent wiper feature, place the wiper switch (1) in the "INT (- --)" position.With the switch in this position, the interval between wipes can be varied from approximately 1 to 18 seconds byturning the interval adjuster barrel.
B350B01O-GAT Windshield wiper Operates as follows when the ignition switch is turned ON.
( or MIST) : For a single wiping
cycle, push the lever upward and release it with the lever in the OFF (0) position. The wip-ers will operate continuously if the lever is pushed upward and held.
OFF (0) : Wiper is not in operation
INT (---) : Wiper operates intermittently at the same wiping intervals. Use this mode in a light rain or mist. To vary the speed set- ting, turn the speed controlknob. (If installed)
LO (1) : Normal wiper speedHI (2) : Fast wiper speed NOTE: To prevent damage to the wiper sys-
tem, do not attempt to wipe away heavy accumulations of snow or ice.Accumulated snow and ice should be removed manually. If there is only a light layer of snow or ice, operate theheater in the defrost mode to melt the snow or ice before using the wiper.
Page 50 of 217

1FEATURES OF YOUR HYUNDAI
38REAR WINDOW DEFROSTER SWITCH
CAUTION:
Do not clean the inner side of the rear window glass with an abrasive type of glass cleaner or use a scraper to remove foreign deposits from theinner surface of the glass as this may cause damage to the defroster ele- ments. NOTE: The engine must be running for the rear window defroster to operate.
!
B380A02HR-GAT (If Installed)
The rear window defroster is turned on by pushing in the switch. To turn the defroster off, push the switch a second time. The rear window defroster auto-matically turns itself off after about 20 minutes. To restart the defroster cycle, push in the switch again after it hasturned itself off. OHR028103
HAZARD WARNING SYSTEM
B370A01A-AAT The hazard warning system should be used whenever you find it necessary to stop the car in a hazardous location. When you must make such an emer-gency stop, always pull off the road as far as possible. The hazard warning lights are turnedon by pushing in the hazard switch. This causes all turn signal lights to blink. The hazard warning lights willoperate even though the key is not in the ignition. To turn the hazard warning lights off,push the switch a second time. OHR028102
Page 54 of 217
1FEATURES OF YOUR HYUNDAI
42
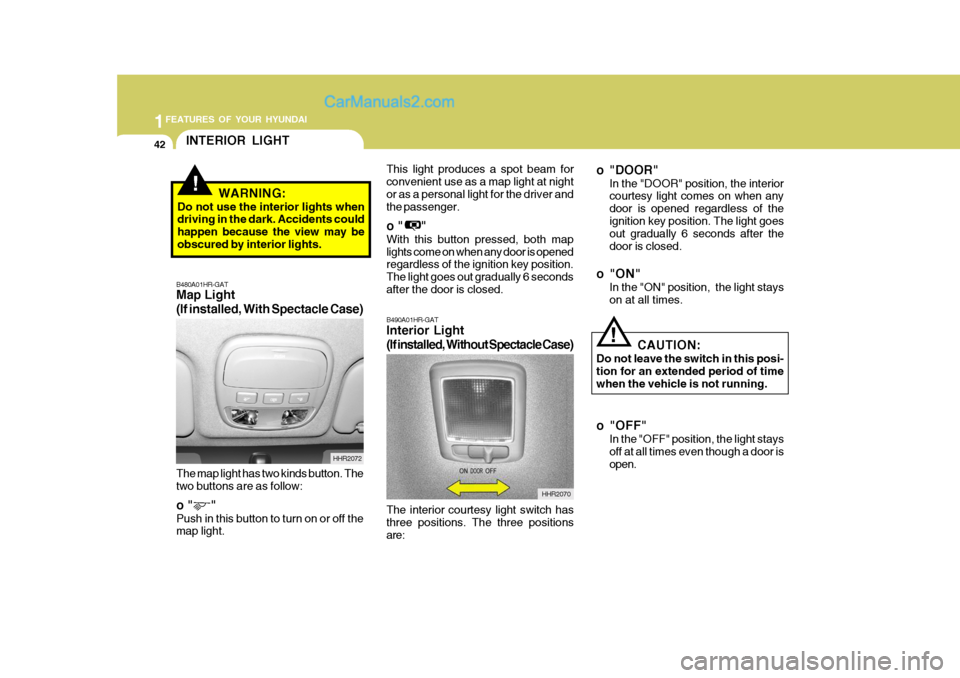
The interior courtesy light switch has three positions. The three positionsare:
B490A01HR-GAT Interior Light
(If installed, Without Spectacle Case)
HHR2070 o "DOOR"
In the "DOOR" position, the interior courtesy light comes on when any door is opened regardless of theignition key position. The light goes out gradually 6 seconds after the door is closed.
o"ON" In the "ON" position, the light stayson at all times.
CAUTION:
Do not leave the switch in this posi-tion for an extended period of timewhen the vehicle is not running.
o "OFF"
In the "OFF" position, the light stays off at all times even though a door isopen.
!
INTERIOR LIGHT
B480A01HR-GAT Map Light (If installed, With Spectacle Case) The map light has two kinds button. The two buttons are as follow: o " " Push in this button to turn on or off the map light. HHR2072
!WARNING:
Do not use the interior lights when driving in the dark. Accidents could happen because the view may beobscured by interior lights. This light produces a spot beam forconvenient use as a map light at nightor as a personal light for the driver and the passenger. o " " With this button pressed, both map lights come on when any door is opened regardless of the ignition key position. The light goes out gradually 6 secondsafter the door is closed.
Page 86 of 217

1FEATURES OF YOUR HYUNDAI
74
K220B01HR-GAT
1. POWER ON-OFF/VOLUMEControl Knob
The radio unit may be operated when the ignition key is in the "ACC" or "ON"position. Rotate the knob clockwise to switch the radio unit on and to increase the volume.The LCD shows the radio frequency in the radio mode. Turn the knob counter- clockwise to reduce the volume and toswitch the radio unit off. BAL (Balance) Control Knob Pull and turn the control knob clockwise to emphasize right speaker sound (left speaker sound will be attenuated). When the control knob is turned counterclock-wise, left speaker sound will be empha- sized (right speaker sound will be at- tenuated).After adjusting the balance, push the knob again to use the other function. SCAN Knob When the scan knob is pressed, the frequency will increase and the receiv-able stations will be tuned in one after another, receiving each station for 5 seconds. To stop scanning, press thescan knob again.
2. TUNE (manual) Select Button Press the ( ) side or ( ) side to increase or to decrease the frequency. With the button held down for 1 secondor more, the stop signal (broadcasting radio wave) is ignored and channel selection continues. SEEK Operation (Automatic Channel Selection) Press the TUNE select button for 1 second or more. When the ( ) side ispressed, the unit will automatically tune to the next higher frequency and when the ( ) side is pressed, it will automati-cally tune to the next lower frequency. 3. BAND Selector Pressing the button changes the AM, FM1 and FM2 bands. The modeselected is displayed on LCD. Each press of the button changes the display as follows;
FM1 � FM2 � AM � FM1
4. BASS Control Knob Press to pop the knob out and turn to the left or right for the desired bass tone. TREBLE Control Knob Pull the bass control knob further out. Turn to the left or right for the desiredtreble tone.
5. PRESET STATION Select But- tons
Six (6) stations for AM, FM1 and FM2 respectively can be preset in the elec- tronic memory circuit on this unit.
FM AM
Page 91 of 217
1
FEATURES OF YOUR HYUNDAI
79
FM/AM
K240B01HR-GAT
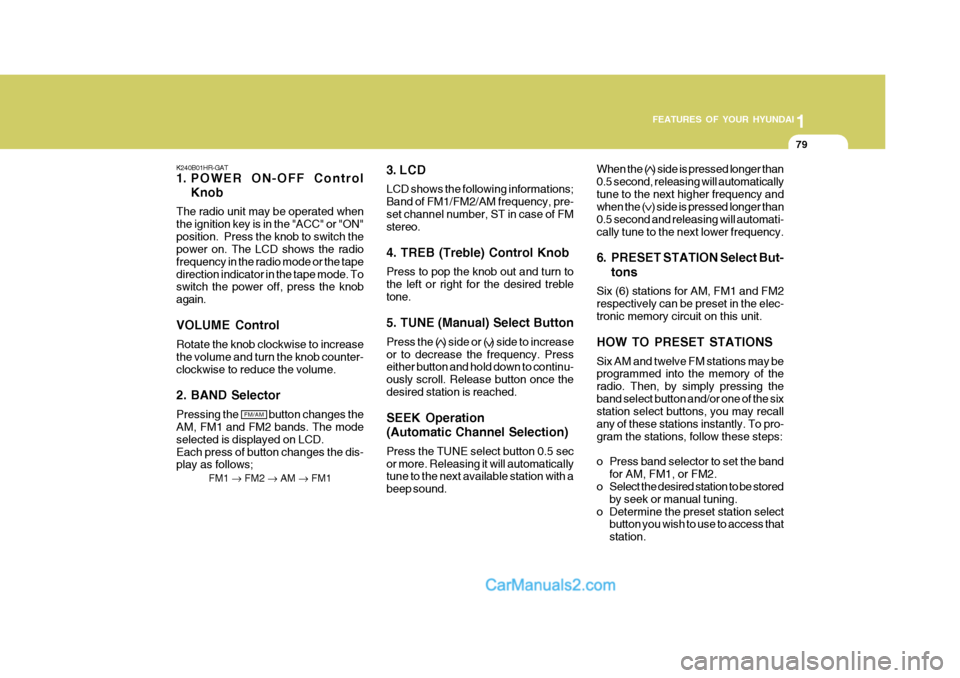
1. POWER ON-OFF Control
Knob
The radio unit may be operated when the ignition key is in the "ACC" or "ON"position. Press the knob to switch the power on. The LCD shows the radio frequency in the radio mode or the tapedirection indicator in the tape mode. To switch the power off, press the knob again. VOLUME Control Rotate the knob clockwise to increase the volume and turn the knob counter-clockwise to reduce the volume. 2. BAND Selector Pressing the button changes the AM, FM1 and FM2 bands. The mode selected is displayed on LCD.Each press of button changes the dis- play as follows; FM1 � FM2 � AM � FM1 3. LCD LCD shows the following informations; Band of FM1/FM2/AM frequency, pre-set channel number, ST in case of FM stereo. 4. TREB (Treble) Control Knob Press to pop the knob out and turn to the left or right for the desired trebletone. 5. TUNE (Manual) Select Button Press the ( ) side or ( ) side to increase or to decrease the frequency. Press either button and hold down to continu- ously scroll. Release button once thedesired station is reached. SEEK Operation (Automatic Channel Selection) Press the TUNE select button 0.5 sec or more. Releasing it will automatically tune to the next available station with a beep sound. When the ( ) side is pressed longer than0.5 second, releasing will automaticallytune to the next higher frequency and when the ( ) side is pressed longer than 0.5 second and releasing will automati-cally tune to the next lower frequency.
6. PRESET STATION Select But-
tons
Six (6) stations for AM, FM1 and FM2 respectively can be preset in the elec- tronic memory circuit on this unit. HOW TO PRESET STATIONS Six AM and twelve FM stations may be programmed into the memory of the radio. Then, by simply pressing theband select button and/or one of the six station select buttons, you may recall any of these stations instantly. To pro-gram the stations, follow these steps:
o Press band selector to set the band for AM, FM1, or FM2.
o Select the desired station to be stored
by seek or manual tuning.
o Determine the preset station select button you wish to use to access that station.
Page 99 of 217
2
DRIVING YOUR HYUNDAI
3
!
BEFORE STARTING THE EN- GINE
C020A02A-AAT Before you start the engine, you should always:
1. Look around the vehicle to be sure
there are no flat tires, puddles of oil, water or other indications of pos- sible trouble.
2. After entering the car, check to be sure the parking brake is engaged.
3. Check that all windows, and lights are clean.
4. Check that the interior and exterior
mirrors are clean and in position.
5. Check your seat, seatback and headrest to be sure they are in theirproper positions.
6. Lock all the doors.
7. Fasten your seat belt and be sure
that all other occupants have fas- tened theirs.
8. Turn off all lights and accessories
that are not needed.
9. When you turn the ignition switch to "ON", check that all appropriatewarning lights are operating andthat you have sufficient fuel.
10.Check the operation of warning
lights and all bulbs when key is inthe "ON" position.
!WARNING:
To ensure that sufficient vacuum exists within the brake system dur-ing cold weather start-up condi- tions, it is necessary to run the engine at idle for several secondsafter starting the engine.
WARNING:
Always wear appropriate shoes when operating your vehicle. Unsuitable shoes (high heels, ski boots,etc.)may interfere with your ability to use the brake and accelerator pedal, and the clutch (if installed).!WARNING:
Driving while distracted can result in a loss of vehicle control, that may lead to an accident, severe personal
injury, and death. The driver’s pri-mary responsibility is in the safe and legal operation of a vehicle, and use of any handheld devices, otherequipment, or vehicle systems which take the driver’s eyes, attention and focus away from the safe operationof a vehicle or which are not permis- sible by law should never be used during operation of the vehicle.