Page 117 of 204
116
Audio
Playing FM/AM Radio
Selecting FM/AM Mode
1.Press the FM/AM button.
Press the FM/AM button again,
if necessary, to select the
frequency band (FM1, FM2,
AM).
The band and frequency are
displayed.
2. Select AUDIO/STREET.
The preset keys are displayed at
the bottom of the screen.
3. Select the preset key.
You can also select a station
using the SEEK/SKIP button.
1Playing FM/AM Radio
d “Display audio screen”
You can control the radio using voice
commands.
2 Radio Commands P. 193
A visual guide helps you operate the audio
system.
2 System Controls P. 4
2 Basic Operation P. 6
The ST indicator comes on the display for stereo
FM broadcasts. Stereo reproduction in AM is not
available.
The radio can receive the complete AM and FM
bands:
AM band: 530 to 1710 kHz
FM band: 87.7 to 107.9 MHz
You can store six AM stations and 12 FM stations
in the preset buttons. FM1 and FM2 let you store
six stations each.
Preset keys
QRG
Index
Home
TOC
Page 118 of 204
117
Playing FM/AM RadioAudio Screen Control
Audio
Audio Screen Control
HAUDIO button (in FM/AM mode)
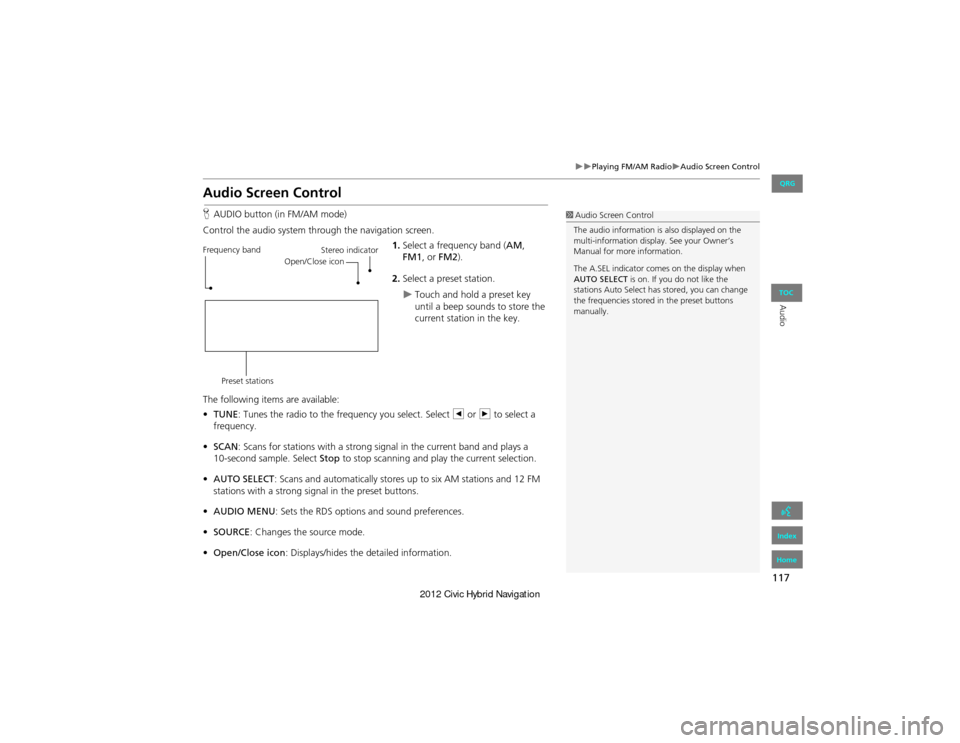
Control the audio system through the navigation screen. 1.Select a frequency band ( AM,
FM1 , or FM2 ).
2. Select a preset station.
Touch and hold a preset key
until a beep sounds to store the
current station in the key.
The following items are available:
• TUNE : Tunes the radio to the frequency you select. Select b or n to select a
frequency.
• SCAN: Scans for stations with a strong signal in the current band and plays a
Stop to stop scanning and play the current selection.
• AUTO SELECT : Scans and automatically stores up to six AM stations and 12 FM
stations with a strong signal in the preset buttons.
• AUDIO MENU : Sets the RDS options and sound preferences.
• SOURCE : Changes the source mode.
• Open/Close icon: Displays/hides the detailed information.
1Audio Screen Control
The audio information is also displayed on the
multi-information display. See your Owner’s
Manual for more information.
The A.SEL indicator comes on the display when
AUTO SELECT is on. If you do not like the
stations Auto Select has stored, you can change
the frequencies stored in the preset buttons
manually.
Stereo indicator
Frequency band
Preset stations Open/Close icon
10-second sample. Select
QRG
Index
Home
TOC
Page 122 of 204
121
Audio
Playing XM® Radio
Selecting XM Mode
1.Press the CD/XM button.
Press the CD/XM button again,
if necessary, to select the
channel band (XM1, XM2).
The band and channel are
displayed.
2. Select AUDIO/STREET .
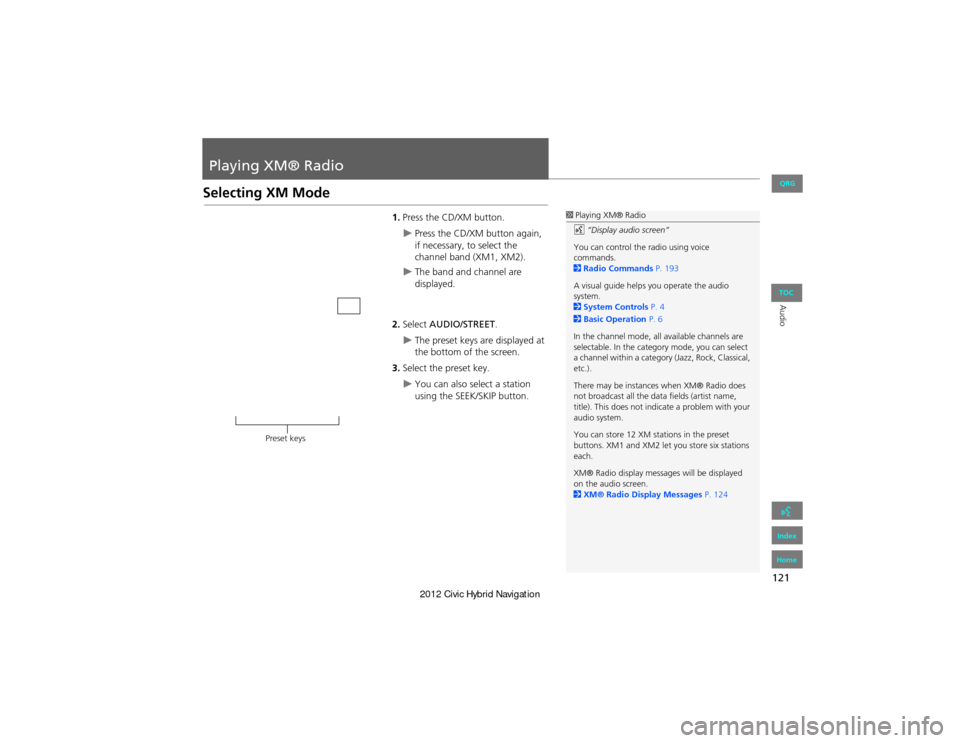
The preset keys are displayed at
the bottom of the screen.
3. Select the preset key.
You can also select a station
using the SEEK/SKIP button.
1Playing XM® Radio
d “Display audio screen”
You can control the radio using voice
commands.
2 Radio Commands P. 193
A visual guide helps you operate the audio
system.
2 System Controls P. 4
2 Basic Operation P. 6
In the channel mode, all available channels are
selectable. In the catego ry mode, you can select
a channel within a category (Jazz, Rock, Classical,
etc.).
There may be instances when XM® Radio does
not broadcast all the data fields (artist name,
title). This does not indica te a problem with your
audio system.
You can store 12 XM stations in the preset
buttons. XM1 and XM2 let you store six stations
each.
XM® Radio display messag es will be displayed
on the audio screen.
2 XM® Radio Display Messages P. 124
Preset keys
QRG
Index
Home
TOC
Page 123 of 204
122
Playing XM® RadioAudio Screen Control
Audio
Audio Screen Control
HAUDIO button (in XM mode)
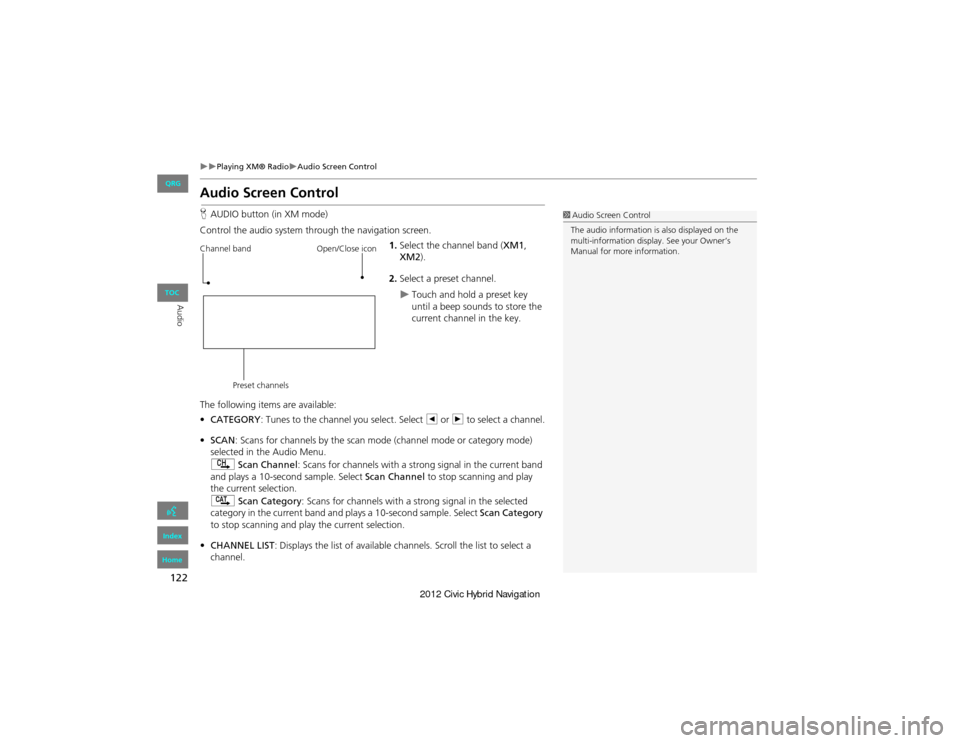
Control the audio system through the navigation screen. 1.Select the channel band ( XM1,
XM2).
2. Select a preset channel.
Touch and hold a preset key
until a beep sounds to store the
current channel in the key.
The following items are available:
• CATEGORY : Tunes to the channel you select. Select b or n to select a channel.
• SCAN: Scans for channels by the scan mode (channel mode or category mode)
selected in the Audio Menu.
) Scan Channel: Scans for channels with a stro ng signal in the current band
and plays a 10-second sample. Select Scan Channel to stop scanning and play
the current selection.
A Scan Category : Scans for channels with a s trong signal in the selected
category in the current band an d plays a 10-second sample. Select Scan Category
to stop scanning and play the current selection.
• CHANNEL LIST : Displays the list of available channels. Scroll the list to select a
channel.
1 Audio Screen Control
The audio information is also displayed on the
multi-information display. See your Owner’s
Manual for more information.
Channel band
Preset channels Open/Close icon
QRG
Index
Home
TOC
Page 143 of 204
142
Audio Remote ControlsSteering Wheel Controls
Audio
Adjusts the volume.
•Press the N (Volume) button to increase the volume.
• Press the B (Volume) button to decrease the volume.
FM/AM, XM
• Press the n (Channel) button to select th e next preset station (channel).
• Press the b (Channel) button to select the previous preset station (channel).
• Press and hold the n button to skip to the next station in the frequency.
DISC, iPod®, USB, or Bluetooth ® Audio
• Press the n button to skip to the next track.
• Press the b button to skip to the beginnin g of the current track. Press the b
button again to go to the beginning of the previous track.
• Press and hold the b or n button to skip up or down a folder (DISC/USB).
Press the ! (display/information) button to temporarily clear the turn-by-turn
directions screen.
■ NB (Volume) Button
■bn (Channel) Button
■! (Display/Information) Button
QRG
Index
Home
TOC
Page 165 of 204
164
Other Features
Trip Computer
HINFO button Trip Computer
View the distance traveled an d average fuel consumption.
Select an item.
The following items are available:
• Current Drive : Displays the current trip information.
• History of Trip A: Displays information for th ree previous histories. The
information is stored ever y time you reset Trip A.
• Delete History : Deletes the trip information. Select Yes.1Trip Computer
Displays the following trip information:
•Instant Fuel : The current estimated instant
fuel economy.
•Average Fuel : The average fuel economy
since the last key cycle.
•1st, 2nd, 3rd Prev. : The previous average fuel
consumption.
•RANGE : The estimated distance you can travel
on the fuel remaining in the tank.
These values are estimates only.
QRG
Index
Home
TOC
Page 170 of 204
169
TroubleshootingMap, Voice, Entering Destinations
Troubleshooting
The navigation system pronunciation of street names
in the guidance command or destination address
sounds strange.The basic guidance phrases use a studio-recorded voice, but street names are
pronounced using a machine-generated voice. Consequently, the name may be
mispronounced or sound strange at times.
The screen is bright when I drive at night.1.Check that the nighttime dashboard brightness control is not set to maximum.
2. Press the INFO button. Select Setup > Other > Color > Map. Set the Night color to
Black for the best contrast.
2 Switching Display Mode Manually P. 26
The screen is dark when I drive during the day.Press the INFO button. Select Setup > Other > Color > Map . Set the Day color to
White for the best contrast.
2 Switching Display Mode Manually P. 26
How do I change or remove my PIN?1. Press the INFO button. Select Setup > Personal Information > PIN Number > GO
Home 1 PIN or GO Home 2 PIN or Address Book PIN.
2. Enter your existing PIN. You then have th e choice to change or remove the PIN.
2PIN Numbers P. 36
I have forgotten my PIN. How do I reset the PIN for
Home or the PIN for personal addresses (User 1 or User
2)?Your dealer must reset the PIN for you.
Why is Call grayed out on the Calculate Route screen?Your phone is not paired to Bluetooth® HandsFreeLink® or, if paired, your phone is in
use.
ProblemSolution
QRG
Index
Home
TOC
Page 181 of 204
180
Reference Information
System Initialization
The navigation system must be initialized if
power to the navigation system is
interrupted for any reason (e.g., the
battery was disconnected).
Entering the Security Code
Find the navigation system’s security code
and serial number label in your Owner’s
Manual kit. Do not store the label in your
vehicle. If you lose the label, you must first
retrieve the serial number, and then obtain
the code. You can find out about your
serial number and security code from a
dealer.
1.Turn the ignition switch to ON (II), and
turn on the audio system.
If you turn the ignition switch to
ACCESSORY (I), and you will
requested to enter the security code.
See step 3.
2. Press and hold the VOL 9 (Volume/
Power) button for more than two
seconds.
The system is reactivated when the
system’s control un it recognizes that
the system is in your vehicle.
If the control unit fails to recognize,
“ENTER CODE” appears on the
navigation screen.
3. Enter the security code.
If you do not enter the security code
correctly after 10 tries, leave the
system for one hour before trying
again, or visit a dealer to have the
system reset.
NOTE:
In the U.S., you can register the security
code on Owner Link (owners.honda.com.) .
To find information on how to retrieve the
serial number and obtain the code, visit
radio-navicode.honda.com .
Acquiring GPS Information
Depending on the length of time the
power was interrupted, your system may
require GPS initialization.
If initialization is not necessary, the system
proceeds directly to the Startup
Confirmation screen.
If the system fails to locate a sufficient
number of satellites to locate your position
within 10 minutes, the following screen is
displayed.
QRG
Index
Home
TOC