Page 2 of 204
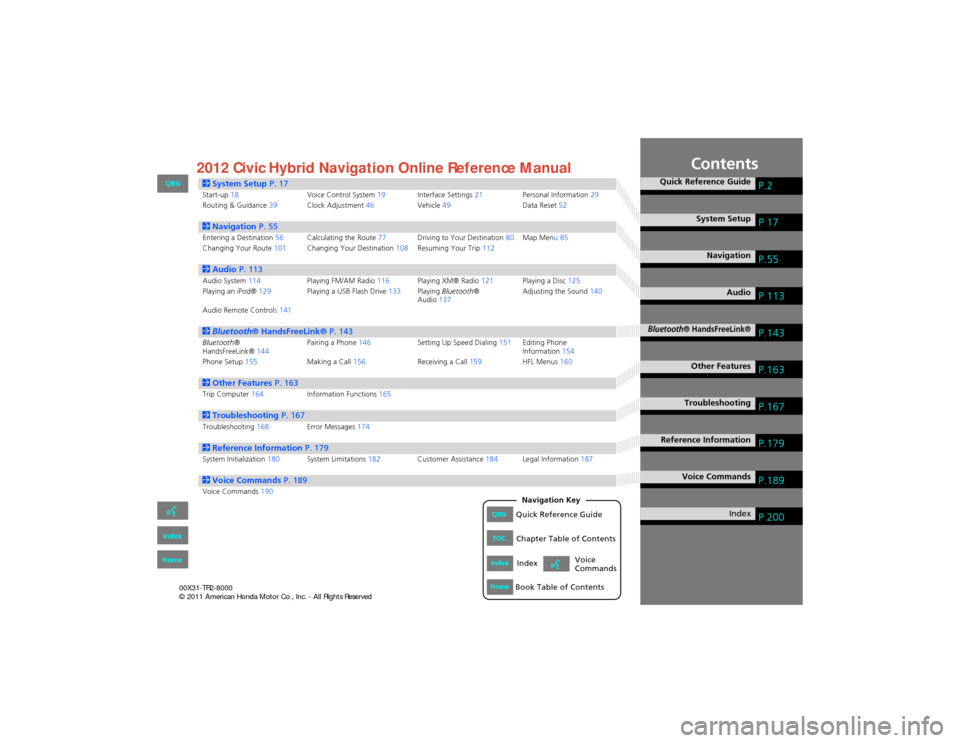
Contents
2System Setup P. 17Start-up18 Voice Control System19Interface Settings 21Personal Information 29
Routing & Guidance 39Clock Adjustment 46Vehicle49 Data Reset52
2Navigation P. 55Entering a Destination 56Calculating the Route 77Driving to Your Destination 80Map Menu 85
Changing Your Route 101Changing Your Destination 108Resuming Your Trip 112
2Audio P. 113Audio System 114 Playing FM/AM Radio 116Playing XM® Radio 121Playing a Disc 125
Playing an iPod® 129Playing a USB Flash Drive 133Playing Bluetooth ®
Audio 137 Adjusting the Sound
140
Audio Remote Controls 141
2 Bluetooth ® HandsFreeLink® P. 143Bluetooth®
HandsFreeLink® 144Pairing a Phone
146 Setting Up Speed Dialing 151Editing Phone
Information 154
Phone Setup 155 Making a Call156 Receiving a Call159 HFL Menus160
2Other Features P. 163Trip Computer164 Information Functions 165
2Troubleshooting P. 167Troubleshooting168Error Messages174
2Reference Information P. 179System Initialization180System Limitations 182Customer Assistance 184Legal Information 187
2Voice Commands P. 189Voice Commands190
Quick Reference GuideP.2
System SetupP.17
NavigationP.55
AudioP.113
Bluetooth® HandsFreeLink®P.143
Other FeaturesP.163
TroubleshootingP.167
Reference InformationP.179
Voice CommandsP.189
IndexP.200QRGQuick Reference Guide
IndexIndex
HomeBook Table of Contents
TOCChapter Table of Contents
Navigation Key
Voice
Commands
QRG
Index
Home 2012 Civic Hybrid Navigation Online Reference Manual
Page 18 of 204
17
System Setup
This section describes the start-up procedure and the navigation and
setup functions.
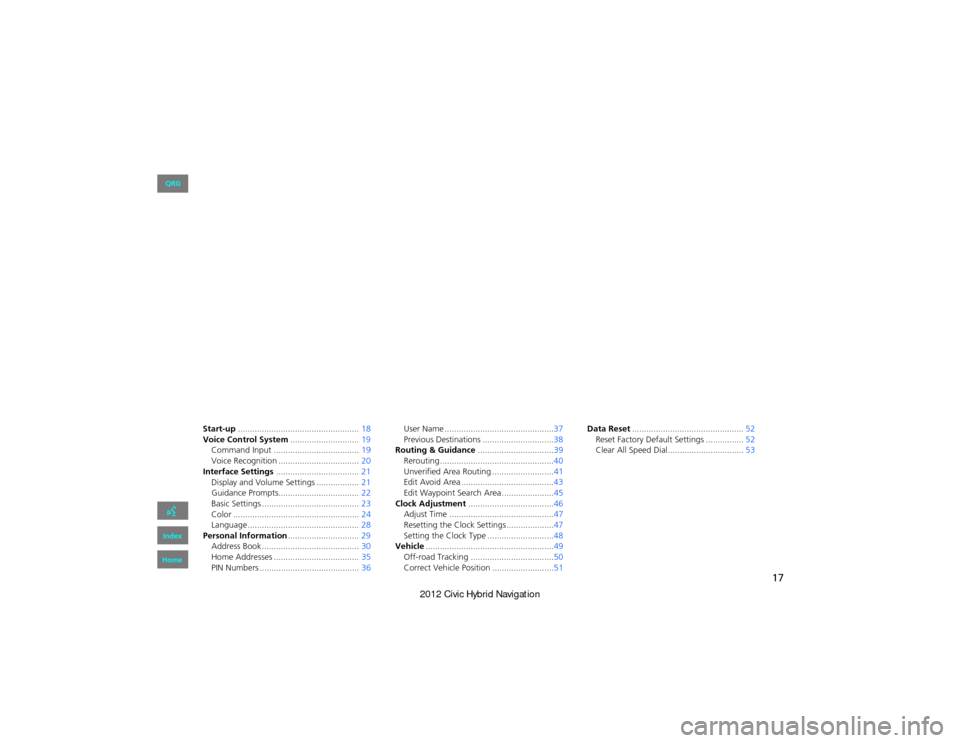
Start-up................................................... 18
Voice Control System .............................19
Command Input .................................... 19
Voice Recognition ... ...................... .........20
Interface Settings ................................... 21
Display and Volume Settings .................. 21
Guidance Prompts.................................. 22
Basic Settings ......................................... 23
Color ..................................................... 24
Language ............................................... 28
Personal Information ..............................29
Address Book ..... ......................... ...........30
Home Addresses .................................... 35
PIN Numbers .......................................... 36User Name ..............................................37
Previous Destinations ..............................38
Routing & Guidance ................................39
Rerouting................................................40
Unverified Area Routing . .........................41
Edit Avoid Area .......................................43
Edit Waypoint Search Area ......................45
Clock Adjustment ....................................46
Adjust Time ............................................47
Resetting the Clock Settings ....................47
Setting the Clock Type ............................48
Vehicle ......................................................49
Off-road Tracking .......... .........................50
Correct Vehicle Position ..........................51 Data Reset
............................................... 52
Reset Factory Default Se ttings ................52
Clear All Speed Dial................................ 53
QRG
Index
Home
Page 37 of 204
36
Personal InformationPIN Numbers
System Setup
PIN Numbers
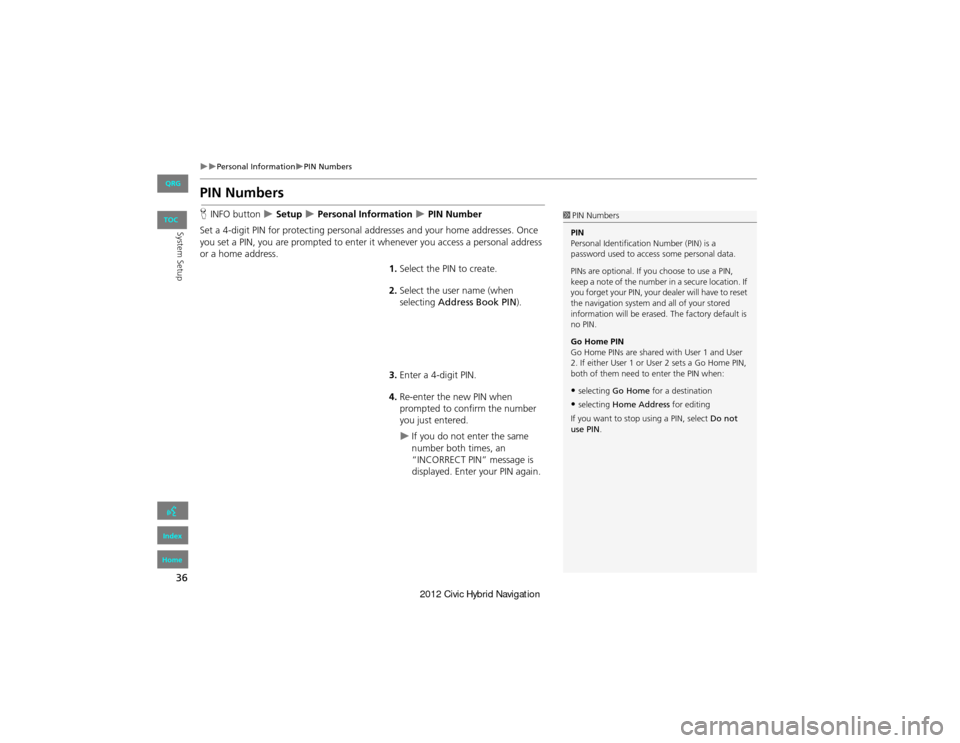
HINFO button Setup Personal Information PIN Number
Set a 4-digit PIN for protecting personal a ddresses and your home addresses. Once
you set a PIN, you are prompted to enter it whenever you access a personal address
or a home address.
1.Select the PIN to create.
2. Select the user name (when
selecting Address Book PIN ).
3. Enter a 4-digit PIN.
4. Re-enter the new PIN when
prompted to confirm the number
you just entered.
If you do not enter the same
number both times, an
“INCORRECT PIN” message is
displayed. Enter your PIN again.
1PIN Numbers
PIN
Personal Identification Number (PIN) is a
password used to access some personal data.
PINs are optional. If you choose to use a PIN,
keep a note of the number in a secure location. If
you forget your PIN, your dealer will have to reset
the navigation system an d all of your stored
information will be erased. The factory default is
no PIN.
Go Home PIN
Go Home PINs are shared with User 1 and User
2. If either User 1 or Us er 2 sets a Go Home PIN,
both of them need to enter the PIN when:
•selecting Go Home for a destination
•selecting Home Address for editing
If you want to stop using a PIN, select Do not
use PIN .
QRG
Index
Home
TOC
Page 47 of 204
46
System Setup
Clock Adjustment
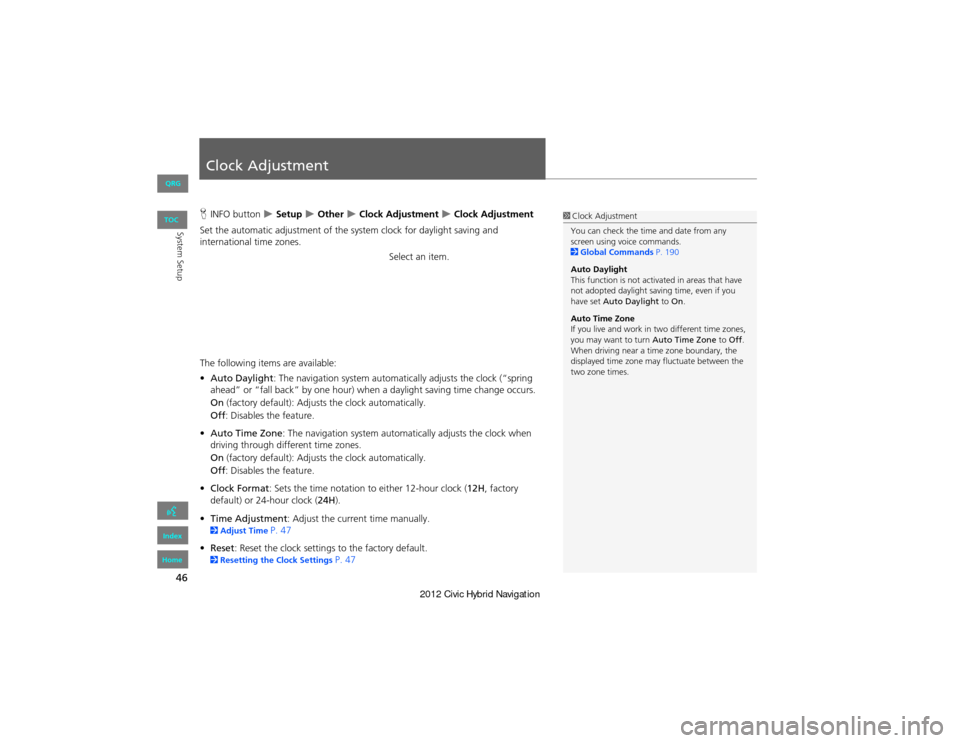
HINFO button Setup Other Clock Adjustment Clock Adjustment
Set the automatic adjustment of the system clock for daylight saving and
international time zones.
Select an item.
The following items are available:
• Auto Daylight: The navigation system automatica lly adjusts the clock (“spring
ahead” or “fall back” by one hour) when a daylight saving time change occurs.
On (factory default): Adjust s the clock automatically.
Off : Disables the feature.
• Auto Time Zone : The navigation system automa tically adjusts the clock when
driving through different time zones.
On (factory default): Adjust s the clock automatically.
Off : Disables the feature.
• Clock Format : Sets the time notation to either 12-hour clock (12H, factory
default) or 24-hour clock ( 24H).
• Time Adjustment : Adjust the current time manually.
2Adjust Time P. 47
• Reset : Reset the clock settings to the factory default.
2Resetting the Clock Settings P. 47
1Clock Adjustment
You can check the time and date from any
screen using voice commands.
2 Global Commands P. 190
Auto Daylight
This function is not activated in areas that have
not adopted daylight saving time, even if you
have set Auto Daylight to On.
Auto Time Zone
If you live and work in two different time zones,
you may want to turn Auto Time Zone to Off .
When driving near a time zone boundary, the
displayed time zone may fluctuate between the
two zone times.
QRG
Index
Home
TOC
Page 48 of 204
47
Clock AdjustmentAdjust Time
System Setup
Adjust Time
HINFO button Setup Other Clock Adjustment Clock Adjustment
Adjust the current time (hours and minutes).
1.Select B or N to adjust the value.
2. Select OK on the top right of the
screen.
Resetting the Clock Settings
H INFO button Setup Other Clock Adjustment Clock Adjustment
Reset all clock settings to the factory defaults.
Select OK under Reset.
QRG
Index
Home
TOC
Page 53 of 204
52
System Setup
Data Reset
Reset Factory Default Settings
HINFO button Setup Other Reset Factory Default
Reset all the settings on the Setup sc reens to their factory defaults.
Select Yes.1Reset Factory Default Settings
The following settings are reset:
•Brightness, Contrast, Black Level, Volume,
Guidance Prompts
•Basic Settings: Keyboard Layout, Units, Voice
Recognition Tutor, Verbal Reminder, Display
Voice Commands Tips
•Routing & Guidance: Rerouting, Unverified
Area Routing, Edit Waypoint Search Area,
Guidance Mode
•Clock Adjustment: Auto Daylight, Auto Time
Zone, Clock Format Time, Clock Type
•Vehicle: Off-road Tracking
•Color: Map Color, Menu Color
When you transfer the vehicle to a third party,
reset all settings to de fault and delete all
personal data.
2 Deleting an Address Book Entry P. 34
2 Home Addresses P. 35
2 PIN Numbers P. 36
2 User Name P. 37
2 Previous De stinations P. 38
2 Edit Avoid Area P. 43
2 Deleting a Paired Phone P. 149
QRG
Index
Home
TOC
Page 54 of 204
53
Data ResetClear All Speed Dial
System Setup
Clear All Speed Dial
HINFO button Setup Other Clear All Speed Dial
Delete all registered speed dials stored in Bluetooth® HandsFreeLink®.
Select Yes.1Clear All Speed Dial
You can also delete a speed dial individually.
2 Setting Up Speed Dialing P. 151
QRG
Index
Home
TOC
Page 116 of 204
115
Audio SystemSystem Theft Protection
Audio
System Theft Protection
The system is disabled when it is disconnected from the power source, such as when
the battery is disconnected or goes dead.
■ Reactivating the system
1. Turn the ignition switch to ON (II), and turn on the system.
If you turn the ignition switch to ACCESSO RY (I), you will be requested to enter
the security code. See step 3.
2. Press and hold the VOL 9 (Volume/Power) button again for more than two
seconds.
The system is reactivated when the sy stem’s control unit recognizes that the
system is in your vehicle.
If the control unit fails to recognize, “ENTER CODE” appears on the navigation
screen.
3. Enter the security code. If you do not ente r code correctly after 10 tries, leave the
system for one hour before trying again, or visit a dealer to have the system reset.
1System Theft Protection
Find the audio system’s security code and serial
number label in your Owner’s Manual kit.
Do not store the label in your vehicle. If you lose
the label, you must fi rst retrieve the serial
number, and then obtain the code from your
dealer.
U.S. Only
You can register the security code at Owner Link
( owners.honda.com. ). To find information on
how to retrieve the serial number and obtain the
code, visit radio-navicode.honda.com.
2 Entering the Security Code P. 180
QRG
Index
Home
TOC