Page 170 of 652
WARNING! (Continued)
•Do not place anything on the seat that insulates
against heat, such as a blanket or cushion. This
may cause the seat heater to overheat. Sitting in a
seat that has been overheated could cause serious
burns due to the increased surface temperature of
the seat.
Vehicles Equipped With Remote Start
On models that are equipped with remote start, the
driver ’s heated seat can be programmed to come on
during a remote start. Refer to “Remote Starting System
— If Equipped” in “Things To Know Before Starting Your
Vehicle” for further information.
Front Heated Seats
There are two heated seat switches that allow the driver
and passenger to operate the seats independently. The
controls for each heater are located on the switch bank
below the climate controls.
You can choose from HIGH, LOW or OFF heat settings.
Amber indicator lights in each switch indicate the level of
heat in use. Two indicator lights will illuminate for
HIGH, one for LOW and none for OFF.Press the switch once to select HIGH-level
heating. Press the switch a second time to select
LOW-level heating. Press the switch a third
time to shut the heating elements OFF.
NOTE: Once a heat setting is selected, heat will be felt
within two to five minutes.
168 UNDERSTANDING THE FEATURES OF YOUR VEHICLE
Page 171 of 652
When the HIGH-level setting is selected, the heater will
provide a boosted heat level during the initial stages of
operation. Then, the heat output will drop to the normal
HIGH-level. If the HIGH-level setting is selected, the
system will automatically switch to LOW-level after a
maximum of 60 minutes of continuous operation. At that
time, the display will change from HIGH to LOW,
indicating the change. The LOW-level setting will turn
OFF automatically after a maximum of 45 minutes.
Rear Heated Seats
On some models, the second row seats are equipped with
heaters. There are two heated seat switches that allow the
second row passengers to operate the seats indepen-
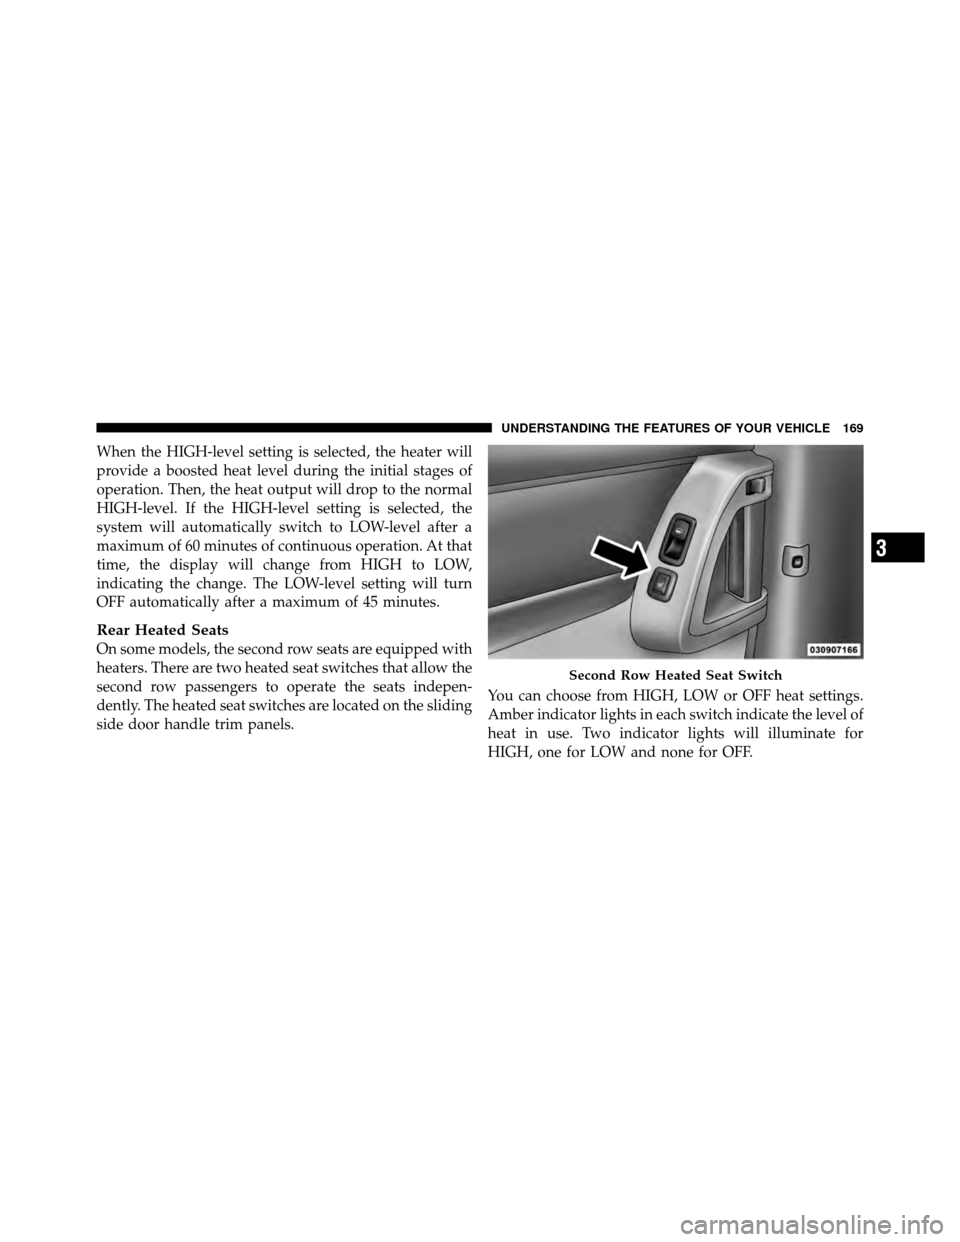
dently. The heated seat switches are located on the sliding
side door handle trim panels.You can choose from HIGH, LOW or OFF heat settings.
Amber indicator lights in each switch indicate the level of
heat in use. Two indicator lights will illuminate for
HIGH, one for LOW and none for OFF.
Second Row Heated Seat Switch
3
UNDERSTANDING THE FEATURES OF YOUR VEHICLE 169
Page 172 of 652
Press the switch once to select HIGH-level
heating. Press the switch a second time to select
LOW-level heating. Press the switch a third
time to shut the heating elements OFF.
NOTE: Once a heat setting is selected, heat will be felt
within two to five minutes.
When the HIGH-level setting is selected, the heater will
provide a boosted heat level during the initial stages of
operation. Then, the heat output will drop to the normal
HIGH-level. If the HIGH-level setting is selected, the
system will automatically switch to LOW-level after
approximately 30 minutes of continuous operation. At
that time, the display will change from HIGH to LOW,
indicating the change. The LOW-level setting will turn
OFF automatically after approximately 45 minutes.Manual Front/Second Row Seat Adjuster
Both front seats are adjustable forward or rearward. The
manual seat adjustment handle is located under the seat
cushion at the front edge of each seat.
Manual Seat Adjuster
170 UNDERSTANDING THE FEATURES OF YOUR VEHICLE
Page 173 of 652
While sitting in the seat, pull up on the handle and slide
the seat forward or rearward. Release the bar once you
have reached the desired position. Then, using body
pressure, move forward and rearward on the seat to be
sure that the seat adjusters have latched.
WARNING!
•Adjusting a seat while driving may be dangerous.
Moving a seat while driving could result in loss of
control which could cause a collision and serious
injury or death.
•Seats should be adjusted before fastening the seat
belts and while the vehicle is parked. Serious
injury or death could result from a poorly adjusted
seat belt.
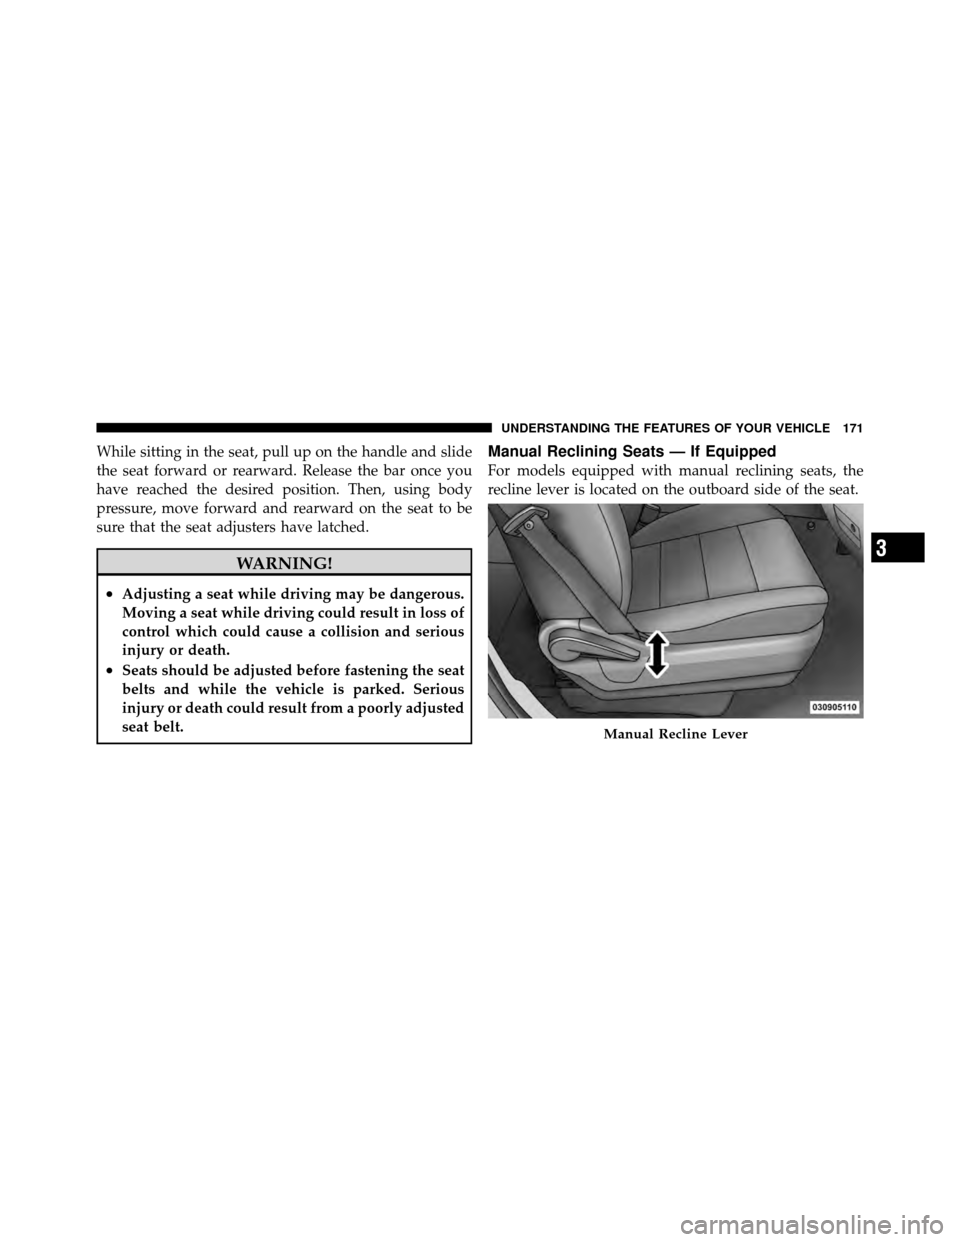
Manual Reclining Seats — If Equipped
For models equipped with manual reclining seats, the
recline lever is located on the outboard side of the seat.
Manual Recline Lever
3
UNDERSTANDING THE FEATURES OF YOUR VEHICLE 171
Page 174 of 652
To recline, lean forward slightly, lift the lever, then push
back to the desired position and release the lever. Lean
forward and lift the lever to return the seatback to its
normal position. Using body pressure, lean forward and
rearward on the seat to be sure the seatback has latched.
WARNING!
Do not ride with the seatback reclined so that the
shoulder belt is no longer resting against your chest.
In a collision you could slide under the seat belt,
which could result in serious injury or death.
Head Restraints
Head restraints are designed to reduce the risk of injury
by restricting head movement in the event of a rear
impact. Head restraints should be adjusted so that the top
of the head restraint is located above the top of your ear.
WARNING!
The head restraints for all occupants must be prop-
erly adjusted prior to operating the vehicle or occu-
pying a seat. Head restraints should never be ad-
justed while the vehicle is in motion. Driving a
vehicle with the head restraints improperly adjusted
or removed could cause serious injury or death in the
event of a collision.
Active Head Restraints — Front Seats
Active Head Restraints are passive, deployable compo-
nents, and vehicles with this equipment can not be
readily identified by any markings, only through visual
inspection of the head restraint. The head restraint will be
split in two halves, with the front half being soft foam
and trim, the back half being decorative plastic.
172 UNDERSTANDING THE FEATURES OF YOUR VEHICLE
Page 178 of 652
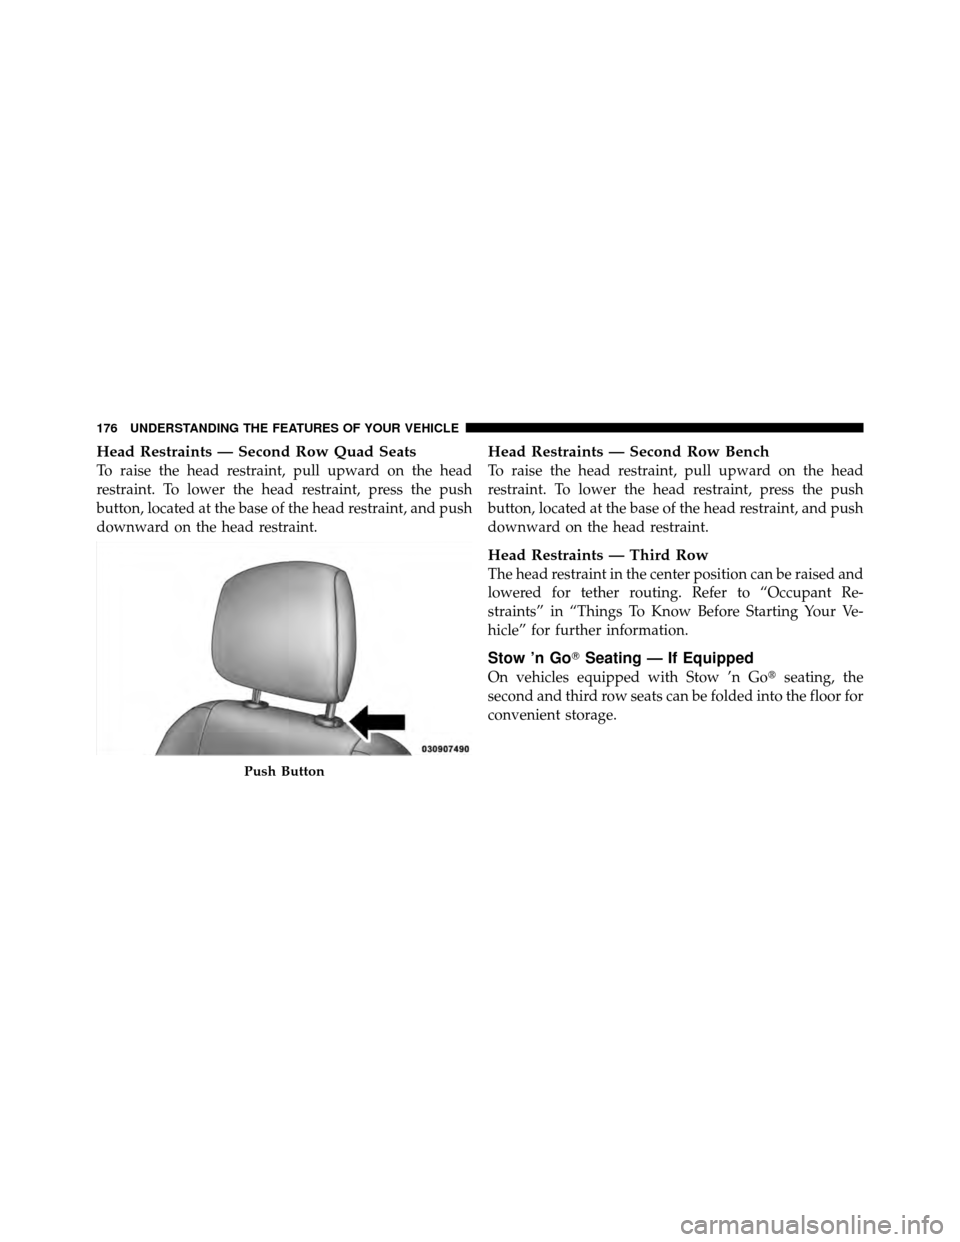
Head Restraints — Second Row Quad Seats
To raise the head restraint, pull upward on the head
restraint. To lower the head restraint, press the push
button, located at the base of the head restraint, and push
downward on the head restraint.
Head Restraints — Second Row Bench
To raise the head restraint, pull upward on the head
restraint. To lower the head restraint, press the push
button, located at the base of the head restraint, and push
downward on the head restraint.
Head Restraints — Third Row
The head restraint in the center position can be raised and
lowered for tether routing. Refer to “Occupant Re-
straints” in “Things To Know Before Starting Your Ve-
hicle” for further information.
Stow ’n Go�Seating — If Equipped
On vehicles equipped with Stow ’n Go� seating, the
second and third row seats can be folded into the floor for
convenient storage.
Push Button
176 UNDERSTANDING THE FEATURES OF YOUR VEHICLE
Page 179 of 652
Second Row Stow ’n Go�
On vehicles equipped with Stow ’n Go�seats, the seats
will fold and tumble in one motion.
1. Move the front seat fully forward.
2. Recline the front seatback fully forward.
3. Raise the armrests on the second row seat.
NOTE: Seat will not stow in the storage bin unless the
armrests are raised.
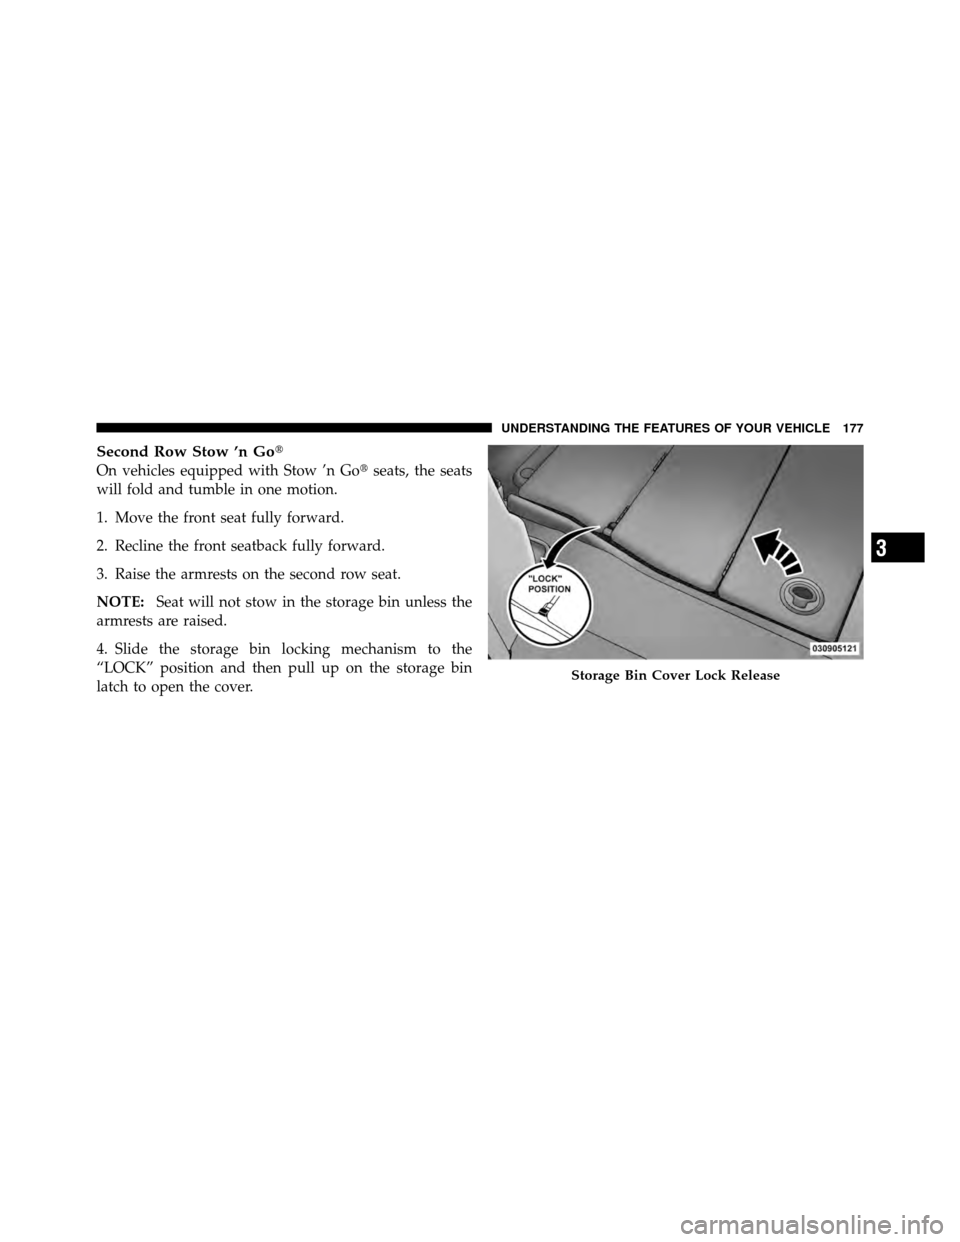
4. Slide the storage bin locking mechanism to the
“LOCK” position and then pull up on the storage bin
latch to open the cover.
Storage Bin Cover Lock Release
3
UNDERSTANDING THE FEATURES OF YOUR VEHICLE 177
Page 183 of 652
To Unstow Second Row Seats
1. Pull up on the storage bin latch to open the cover.
2. Pull up on the strap to lift the seat out of the storage
bin and push the seat rearward to latch the seat anchors.
3. Lift the seatback to the full upright position.
4. Return the head restraint to its upright position, close
the storage bin cover and slide the storage bin locking
mechanism to the “Unlocked” position.
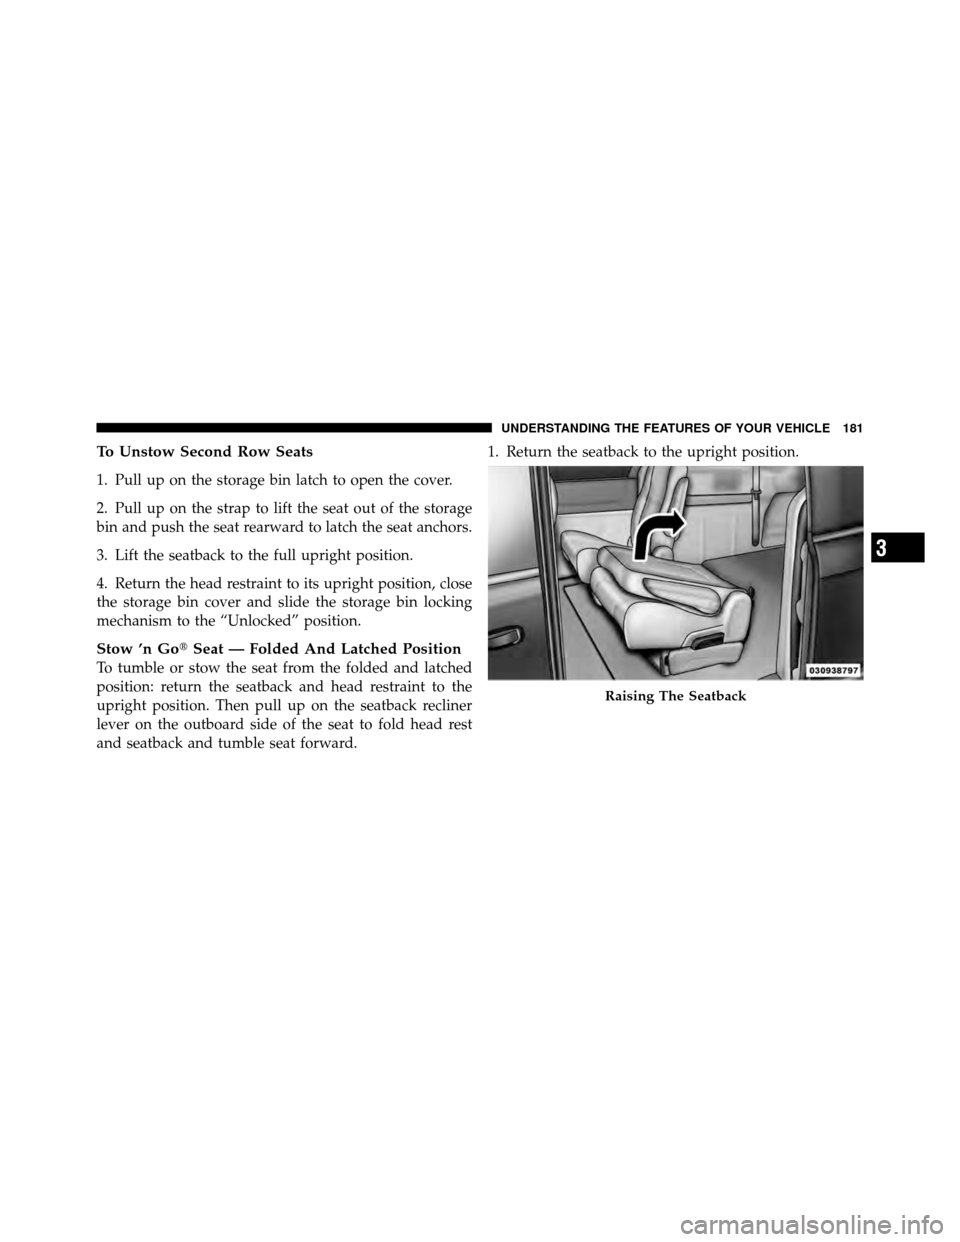
Stow ’n Go�Seat — Folded And Latched Position
To tumble or stow the seat from the folded and latched
position: return the seatback and head restraint to the
upright position. Then pull up on the seatback recliner
lever on the outboard side of the seat to fold head rest
and seatback and tumble seat forward. 1. Return the seatback to the upright position.
Raising The Seatback
3
UNDERSTANDING THE FEATURES OF YOUR VEHICLE 181