Page 114 of 652

�Tilt/Telescoping Steering Column .......... 214
� Heated Steering Wheel — If Equipped ...... 215
� Adjustable Pedals — If Equipped .......... 216
� Electronic Speed Control — If Equipped ..... 217
▫ To Activate ......................... 218
▫ To Set A Desired Speed ................ 219
▫ To Deactivate ....................... 219
▫ To Resume Speed .................... 219
▫ To Vary The Speed Setting .............. 219
▫ To Accelerate For Passing .............. 220
� Parksense� Rear Park Assist — If Equipped . . . 220
▫ Parksense� Sensors................... 221
▫ Parksense� Warning Display ............ 221 ▫
Parksense� Display................... 222
▫ Enabling/Disabling Parksense� .......... 225
▫ Service The Parksense� Rear Park Assist
System ............................ 226
▫ Cleaning The Parksense� System......... 226
▫ Parksense� System Usage Precautions ...... 226
� Parkview� Rear Back Up Camera — If
Equipped ............................ 229
▫ Turning Parkview� On Or Off — With
Navigation/Multimedia Radio ........... 231
▫ Turning Parkview� On Or Off — Without
Navigation/Multimedia Radio ........... 232
� Overhead Consoles .................... 232
▫ Front Overhead Console ............... 232
112 UNDERSTANDING THE FEATURES OF YOUR VEHICLE
Page 133 of 652
WARNING!
Any voice commanded system should be used only
in safe driving conditions following local laws and
phone use. All attention should be kept on the
roadway ahead. Failure to do so may result in a
collision causing serious injury or death.
Uconnect™ Phone Button The radio or steering wheel controls (if
equipped) will contain the two control buttons
(Uconnect™ Phone
button and Voice Com-
mand
button) that will enable you to
access the system. When you press the button you will
hear the word Uconnect™ followed by a BEEP. The beep
is your signal to give a command. Voice Command Button
Actual button location may vary with the ra-
dio. The individual buttons are described in the
“Operation” section.
The Uconnect™ Phone can be used with any Hands-Free
Profile certified Bluetooth� mobile phone. See the
Uconnect™ website for supported phones. Refer to your
mobile service provider or the phone manufacturer for
details.
The Uconnect™ Phone is fully integrated with the vehi-
cle’s audio system. The volume of the Uconnect™ Phone
can be adjusted either from the radio volume control
knob or from the steering wheel radio control (right
switch), if so equipped.
The radio display will be used for visual prompts from
the Uconnect™ Phone such as “CELL” or caller ID on
certain radios.
3
UNDERSTANDING THE FEATURES OF YOUR VEHICLE 131
Page 203 of 652
Customer-Programmable Features” in “Understanding
Your Instrument Panel” for further information.
TO OPEN AND CLOSE THE HOOD
To open the hood, two latches must be released.
1. Pull the hood release lever located on the instrument
panel, below the steering column.2. Move to the front of the vehicle and look inside the
center of the hood opening. Locate, then push the safety
catch lever downward while raising the hood at the same
time.
Hood Release
Safety Catch Location
3
UNDERSTANDING THE FEATURES OF YOUR VEHICLE 201
Page 204 of 652
Use the hood prop rod to secure the hood in the open
position.
CAUTION!
To prevent possible damage, do not slam the hood to
close it. Lower the hood until it is open approxi-
mately 12 in (30 cm) and then drop it. This should
secure both latches. Never drive your vehicle unless
the hood is fully closed, with both latches engaged.
WARNING!
Be sure the hood is fully latched before driving your
vehicle. If the hood is not fully latched, it could open
when the vehicle is in motion and block your vision.
Failure to follow this warning could result in serious
injury or death.
LIGHTS
All of the lights, except the Hazard Warning lights,
headlight high beams and flash-to-pass, are controlled by
switches to the left of the steering column on the instru-
ment panel.
Headlight Switch With Halo Control Assembly
202 UNDERSTANDING THE FEATURES OF YOUR VEHICLE
Page 209 of 652
the turn signal activation. Once the turn signal is no
longer active, the DRL lamp will illuminate.
Front Fog Lights — If Equipped
To activate the front fog lights, turn on the parking
lights or the low beam headlights and push in the
headlight switch control knob. Pressing the head-
light switch control knob in a second time will turn the
front fog lights off.
Battery Protection
This feature provides battery protection to avoid wearing
down the battery if the headlights, parking lights, or front
fog lights are left on for extended periods of time when
the ignition switch is in the LOCK position. After eight
minutes of the ignition switch being in the LOCK position
and the headlight switch in any position other than OFF
or AUTO, the lights will turn off automatically until the
next cycle of the ignition switch or headlight switch.
The battery protection feature will be disabled if the
ignition switch is turned to any other position other than
LOCK during the eight minute delay.
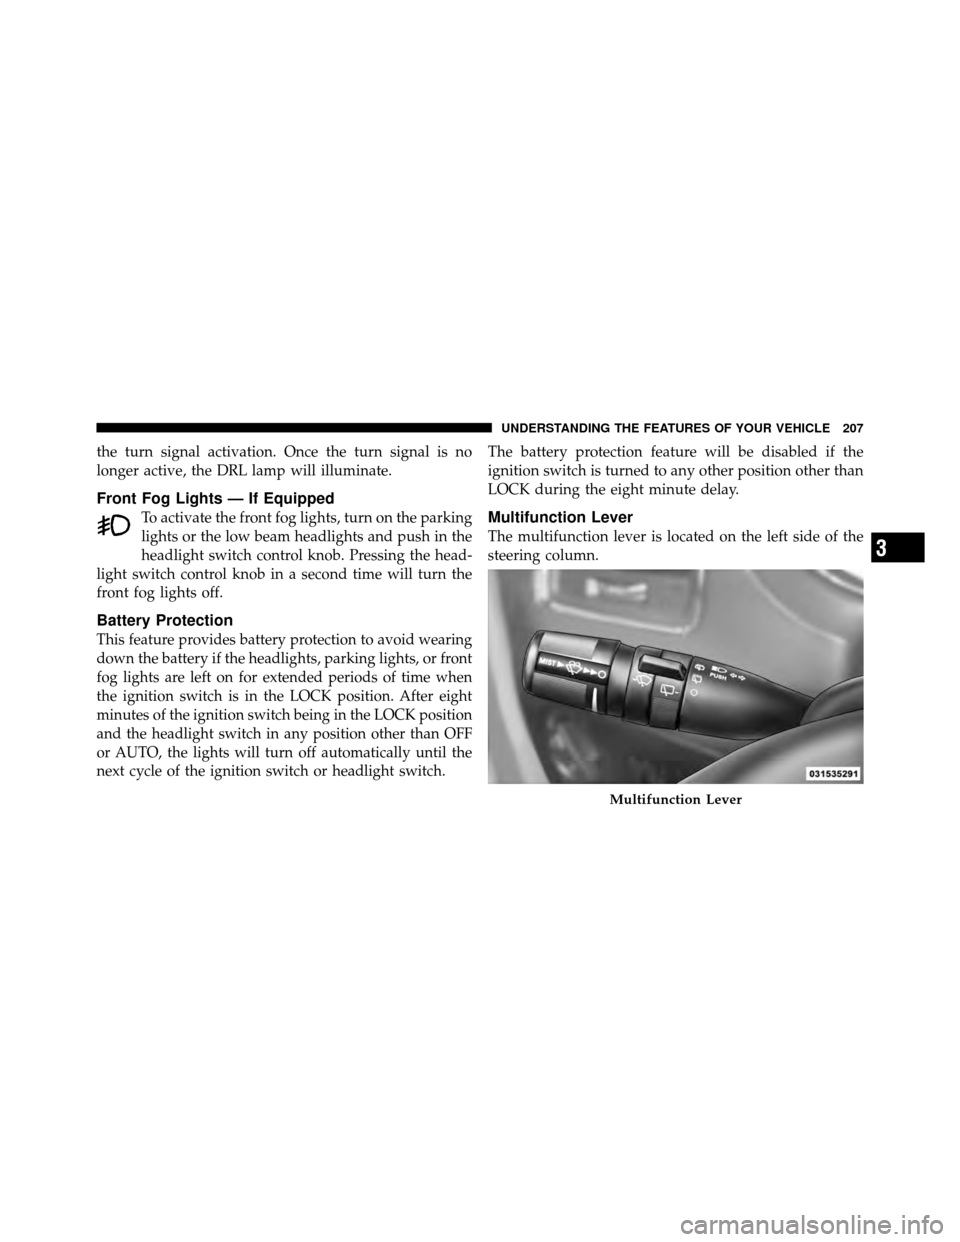
Multifunction Lever
The multifunction lever is located on the left side of the
steering column.
Multifunction Lever
3
UNDERSTANDING THE FEATURES OF YOUR VEHICLE 207
Page 213 of 652
Mist, Front Wiper And Washer
Use the Mist feature when weather conditions make
occasional usage of the wipers necessary.
Press the end of the multifunction lever inward (toward
the steering column) to the first detent and release for a
single wiping cycle. To use the Washer, push on the end
of the lever to the second detent and hold while spray is
desired. If the lever is pushed while on the intermittent
setting, the wipers will turn on and operate for several
wipe cycles after the lever is released, and then resume
the intermittent interval previously selected. If the lever
is pushed while the wipers are in the off position, the
wipers will operate several wipe cycles, then turn off.
Intermittent, Low And High Speed Wipers
Rotate the end of the lever to one of the first five detent
positions for intermittent wiper operation, the sixth de-
tent for low wiper operation and the seventh detent for
high wiper operation.Use one of the five intermittent wiper settings when
weather conditions make a single wiping cycle, with a
variable delay between cycles, desirable. At driving
speeds above 10 mph (16 km/h), the delay can be
regulated from a maximum of approximately 18 second
between cycles (first detent), to a cycle every one second
(fifth detent).
NOTE:
If the vehicle is moving less than 10 mph
(16 km/h), delay times will be doubled.
Rear Wiper And Washer
Rotating the rotary ring to the first detent activates the
rear intermittent wipers. To activate the washers, rotate
the rotary ring fully forward and the washers will spray
until the ring is released, and then resume the intermit-
tent interval.
NOTE: Rear window wipers function in the intermittent
wiper speed only.
3
UNDERSTANDING THE FEATURES OF YOUR VEHICLE 211
Page 216 of 652
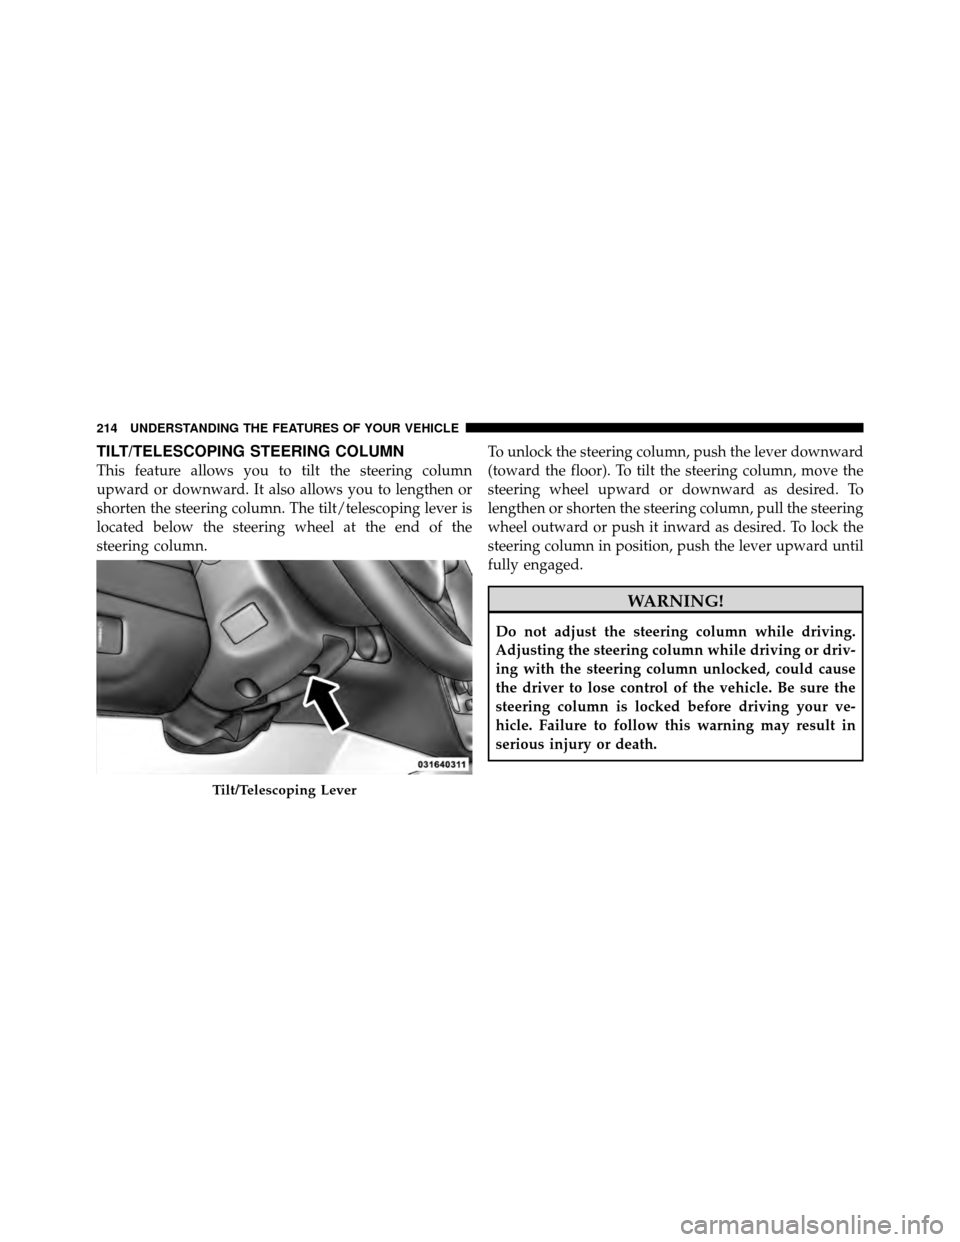
TILT/TELESCOPING STEERING COLUMN
This feature allows you to tilt the steering column
upward or downward. It also allows you to lengthen or
shorten the steering column. The tilt/telescoping lever is
located below the steering wheel at the end of the
steering column.To unlock the steering column, push the lever downward
(toward the floor). To tilt the steering column, move the
steering wheel upward or downward as desired. To
lengthen or shorten the steering column, pull the steering
wheel outward or push it inward as desired. To lock the
steering column in position, push the lever upward until
fully engaged.
WARNING!
Do not adjust the steering column while driving.
Adjusting the steering column while driving or driv-
ing with the steering column unlocked, could cause
the driver to lose control of the vehicle. Be sure the
steering column is locked before driving your ve-
hicle. Failure to follow this warning may result in
serious injury or death.
Tilt/Telescoping Lever
214 UNDERSTANDING THE FEATURES OF YOUR VEHICLE
Page 217 of 652
HEATED STEERING WHEEL — IF EQUIPPED
The steering wheel contains a heating element that helps
warm your hands in cold weather. The heated steering
wheel has only one temperature setting. Once the heated
steering wheel has been turned on it will operate for
approximately 58 to 70 minutes before automatically
shutting off. The heated steering wheel can shut off early
or may not turn on when the steering wheel is already
warm.
The heated steering wheel switch is located on the switch
bank below the climate controls.Press the switch to turn on the heated
steering wheel. The light on the switch
will illuminate to indicate the steering
wheel heater is on. Pressing the switch
a second time will turn off the heated
steering wheel and light indicator. NOTE:
The engine must be running for the heated
steering wheel to operate.
Vehicles Equipped With Remote Start
On models that are equipped with remote start, the
heated steering wheel can be programmed to come on
during a remote start. Refer to “Remote Starting System
— If Equipped” in “Things to Know Before Starting Your
Vehicle” for further information.
WARNING!
•Persons who are unable to feel pain to the skin
because of advanced age, chronic illness, diabetes,
spinal cord injury, medication, alcohol use, ex-
haustion, or other physical conditions must exer-
cise care when using the steering wheel heater. It
may cause burns even at low temperatures, espe-
cially if used for long periods.
(Continued)
3
UNDERSTANDING THE FEATURES OF YOUR VEHICLE 215