Page 324 of 557

NOTE:Keep magnetic materials away from the top of
the instrument panel, such as iPod’s, Mobile Phones,
Laptops and Radar Detectors. This is where the compass
module is located, and it can cause interference with the
compass sensor, and it may give false readings.•Perform Compass Calibration
Touch the Calibration soft-key to change this setting. This
compass is self-calibrating, which eliminates the need to
manually reset the compass. When the vehicle is new, the
compass may appear erratic and the EVIC will display
CAL until the compass is calibrated. You may also
calibrate the compass by pressing the ON soft-key and
completing one or more 360-degree turns (in an area free
from large metal or metallic objects) until the CAL
indicator displayed in the EVIC turns off. The compass
will now function normally.
Audio
After pressing the Audio soft-key the following settings
will be available.
•Balance/Fade
When in this display you may adjust the Balance and
Fade settings.
Compass Variance Map
322 UNDERSTANDING YOUR INSTRUMENT PANEL
Page 330 of 557
SETTING THE ANALOG CLOCK
To set the analog clock at the top center of the instrument
panel, press and hold the button until the setting is
correct.
iPod�/USB/MP3 CONTROL — IF EQUIPPED
This feature allows an iPod�or external USB device to be
plugged into the USB port.
iPod� control supports Mini, 4G, Photo, Nano, 5G iPod�
and iPhone� devices. Some iPod� software versions may
not fully support the iPod� control features. Please visit
Apple’s website for software updates.
For further information, refer to the Uconnect Touch™
User ’s Manual.
HARMAN KARDON� Logic7�HIGH
PERFORMANCE MULTICHANNEL SURROUND
SOUND SYSTEM WITH DRIVER-SELECTABLE
SURROUND (DSS) — IF EQUIPPED
Your vehicle is equipped with a Harman Kardon� audio
system with GreenEdge™ technology that offers superior
sound quality, higher Sound Pressure Levels (SPL) and
reduced energy consumption. The new system utilizes
Setting The Analog Clock
328 UNDERSTANDING YOUR INSTRUMENT PANEL
Page 331 of 557

proprietary amplifier and speaker technologies deliver-
ing substantial increases in component and system effi-
ciency levels.
The 12 Channel Class D GreenEdge high efficiency
amplifier is governed by a high voltage tracking power
supply and drives a 7.5-channel playback architecture.
The Harman Kardon�audio system offers the ability to
choose Logic 7 surround sound for any audio source. The
GreenEdge high-efficiency speaker designs ensure the
system has higher SPL and a dramatic increase in dy-
namic sound quality. The speakers are tuned for maxi-
mum efficiency and perfectly matched to the amplifier
output stage ensuring state of the art multi-seat surround
sound processing.
Logic7� multichannel surround-sound technology deliv-
ers an immersive, accurate sound-stage to every seating
position. This surround effect is available for audio from
any source - AM/FM/CD/ Satellite Radio or dashboard AUX input; and is activated through the Uconnect
Touch™ System. Refer to “Surround Sound” under
“Uconnect Touch™ Settings” in “Understanding Your
Instrument Panel”.
Selecting “Audio Surround” through the DSS modes
activates the Harman Kardon�
Logic7�multichannel
surround-sound technology in your vehicle. The “Video
Surround” mode is described under Driver-Selectable
Surround (DSS). The Video Surround Mode will only be
available for video media sources (DVDs, Video CDs, or
other video media supported by the radio). Some audio
will sound better in DSS modes, others in Stereo mode.
When in “Audio Surround” mode, balance is set auto-
matically. Fader control is available in surround mode
but should be set to the center position for optimal
surround performance.
4
UNDERSTANDING YOUR INSTRUMENT PANEL 329
Page 332 of 557

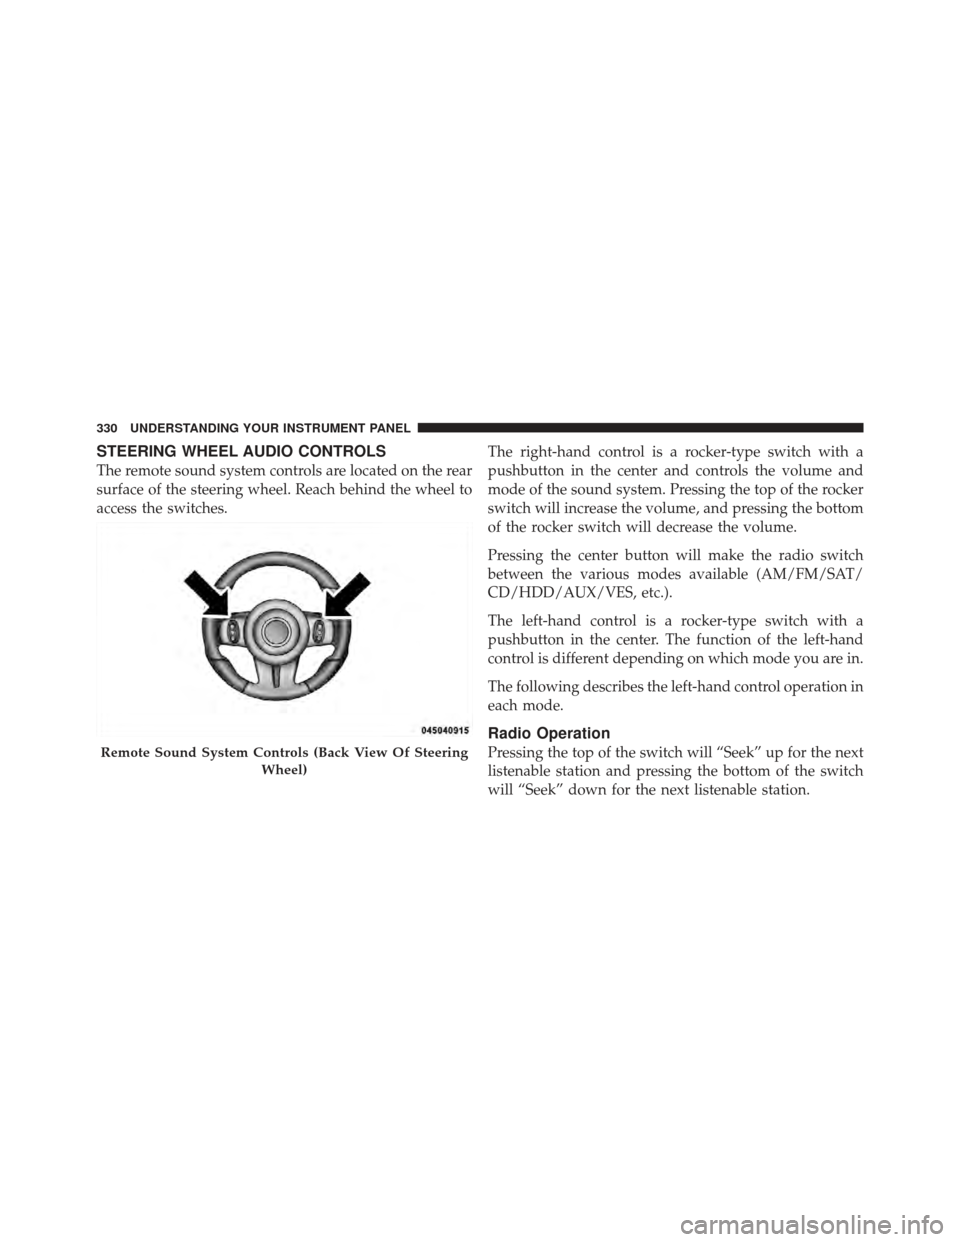
STEERING WHEEL AUDIO CONTROLS
The remote sound system controls are located on the rear
surface of the steering wheel. Reach behind the wheel to
access the switches.The right-hand control is a rocker-type switch with a
pushbutton in the center and controls the volume and
mode of the sound system. Pressing the top of the rocker
switch will increase the volume, and pressing the bottom
of the rocker switch will decrease the volume.
Pressing the center button will make the radio switch
between the various modes available (AM/FM/SAT/
CD/HDD/AUX/VES, etc.).
The left-hand control is a rocker-type switch with a
pushbutton in the center. The function of the left-hand
control is different depending on which mode you are in.
The following describes the left-hand control operation in
each mode.
Radio Operation
Pressing the top of the switch will “Seek” up for the next
listenable station and pressing the bottom of the switch
will “Seek” down for the next listenable station.Remote Sound System Controls (Back View Of Steering
Wheel)
330 UNDERSTANDING YOUR INSTRUMENT PANEL
Page 552 of 557

Starting and Operating.................... 349
Starting Procedures ...................... 349
Steering Column Controls ..................... 185
Column Lock ....................... 195
Power .......................... 369,370
Tilt Column ...................... 195,196
Wheel, Heated ...................... 198
Wheel, Tilt ...................... 195,196
Steering Wheel Audio Controls .............. 330
Steering Wheel Mounted Sound System
Controls .............................. 330
Storage ............................ 270,495
Storage, Vehicle ...................... 343,495
Storing Your Vehicle ...................... 495
Stuck, Freeing .......................... 444
Sun Roof ........................... 255,258
Sunglasses Storage ....................... 245 Supplemental Restraint System - Airbag
........ 56
Synthetic Engine Oil ...................... 459
System, Remote Starting .................... 25
Tachometer ............................ 281
Telescoping Steering Column .............195,196
Temperature Control, Automatic (ATC) ........ 341
Temperature Gauge, Engine Coolant .......290,429
Tether Anchor, Child Restraint ............... 75
Theft Alarm (Security Alarm) ................ 18
Theft System (Security Alarm) ............... 18
Tilt Steering Column ................... 195,196
Time Delay, Headlight .................... 182
Tire and Loading Information Placard ......... 391
Tire Identification Number (TIN) ............. 389
Tire Markings .......................... 385
Tire Safety Information .................... 385
TIREFIT .............................. 429
550 INDEX
Page:
< prev 1-8 9-16 17-24