2012 CHEVROLET SILVERADO fuel
[x] Cancel search: fuelPage 94 of 584

Black plate (30,1)Chevrolet Silverado Owner Manual - 2012
3-30 Seats and Restraints
You can lock the doors, turn off the
interior lamps and hazard warning
flashers by using the controls for
those features.
{WARNING
A crash severe enough to inflate
the airbags may have also
damaged important functions in
the vehicle, such as the fuel
system, brake and steering
systems, etc. Even if the vehicle
appears to be drivable after a
moderate crash, there may be
concealed damage that could
make it difficult to safely operate
the vehicle.
Use caution if you should attempt
to restart the engine after a crash
has occurred.
In many crashes severe enough to
inflate the airbag, windshields are
broken by vehicle deformation. Additional windshield breakage may
also occur from the right front
passenger airbag.
.Airbags are designed to inflate
only once. After an airbag
inflates, you will need some new
parts for the airbag system.
If you do not get them, the
airbag system will not be there
to help protect you in another
crash. A new system will include
airbag modules and possibly
other parts. The service manual
for your vehicle covers the need
to replace other parts.
.The vehicle has a crash sensing
and diagnostic module which
records information after a
crash. See
Vehicle Data
Recording and Privacy on
page 13‑19 andEvent Data
Recorders on page 13‑20.
.Let only qualified technicians
work on the airbag systems.
Improper service can mean that
an airbag system will not work
properly. See your dealer for
service.
Airbag On-Off Switch
If one of the switches pictured in the
following illustrations is located in
the glove box, the vehicle has an
airbag on-off switch that you can
use to manually turn on or off the
right front passenger airbag.
United States
Page 139 of 584

Black plate (1,1)Chevrolet Silverado Owner Manual - 2012
Instruments and Controls 5-1
Instruments and
Controls
Controls
Steering Wheel Adjustment . . . 5-2
Steering Wheel Controls . . . . . . 5-3
Horn . . . . . . . . . . . . . . . . . . . . . . . . . . 5-5
Windshield Wiper/Washer . . . . . 5-5
Compass . . . . . . . . . . . . . . . . . . . . . 5-6
Clock . . . . . . . . . . . . . . . . . . . . . . . . . 5-8
Power Outlets . . . . . . . . . . . . . . . 5-10
Cigarette Lighter . . . . . . . . . . . . . 5-11
Ashtrays . . . . . . . . . . . . . . . . . . . . . 5-12
Warning Lights, Gauges, and
Indicators
Warning Lights, Gauges, andIndicators . . . . . . . . . . . . . . . . . . 5-12
Instrument Cluster . . . . . . . . . . . 5-13
Speedometer . . . . . . . . . . . . . . . . 5-14
Odometer . . . . . . . . . . . . . . . . . . . . 5-14
Trip Odometer . . . . . . . . . . . . . . . 5-14
Tachometer . . . . . . . . . . . . . . . . . . 5-14
Fuel Gauge . . . . . . . . . . . . . . . . . . 5-14
Engine Oil Pressure Gauge . . . . . . . . . . . . . . . . . . . . . . 5-16 Engine Coolant
Temperature Gauge . . . . . . . . 5-17
Voltmeter Gauge . . . . . . . . . . . . . 5-18
Safety Belt Reminders . . . . . . . 5-19
Airbag Readiness Light . . . . . . 5-20
Airbag On-Off Light . . . . . . . . . . 5-20
Passenger Airbag Status Indicator . . . . . . . . . . . . . . . . . . . . 5-22
Charging System Light . . . . . . 5-23
Malfunction Indicator Lamp . . . . . . . . . . . . . 5-24
Brake System Warning Light . . . . . . . . . . . . . . . . . . . . . . . 5-26
Antilock Brake System (ABS) Warning Light . . . . . . . . . . . . . . 5-27
Four-Wheel-Drive Light . . . . . . 5-28
Tow/Haul Mode Light . . . . . . . . 5-28
StabiliTrak
®OFF Light . . . . . . . 5-28
Traction Control System (TCS)/StabiliTrak
®Light . . . . 5-29
Tire Pressure Light . . . . . . . . . . 5-29
Engine Oil Pressure Light . . . . 5-30
Low Fuel Warning Light . . . . . . 5-30
Security Light . . . . . . . . . . . . . . . . 5-30
High-Beam On Light . . . . . . . . . 5-31
Front Fog Lamp Light . . . . . . . . 5-31
Cruise Control Light . . . . . . . . . 5-31
Information Displays
Driver Information Center (DIC) . . . . . . . . . . . . . . . 5-32
Vehicle Messages
Vehicle Messages . . . . . . . . . . . 5-42
Battery Voltage andCharging Messages . . . . . . . . 5-42
Brake System Messages . . . . 5-42
Door Ajar Messages . . . . . . . . . 5-43
Engine Cooling System Messages . . . . . . . . . . . . . . . . . . 5-44
Engine Oil Messages . . . . . . . . 5-45
Engine Power Messages . . . . 5-46
Fuel System Messages . . . . . . 5-46
Key and Lock Messages . . . . . 5-46
Lamp Messages . . . . . . . . . . . . . 5-46
Object Detection System Messages . . . . . . . . . . . . . . . . . . 5-47
Ride Control System Messages . . . . . . . . . . . . . . . . . . 5-47
Airbag System Messages . . . . 5-48
Anti-theft Alarm System Messages . . . . . . . . . . . . . . . . . . 5-48
Page 145 of 584
Black plate (7,1)Chevrolet Silverado Owner Manual - 2012
Instruments and Controls 5-7
4. Press the trip/fuel button untilthe vehicle heading, for
example, N for North, is
displayed in the DIC. Or, if the
vehicle does not have DIC
buttons, press and hold the trip
odometer reset stem for
two seconds to select the next
available variance zone. Repeat
this step until the appropriate
variance zone is displayed.
5. If calibration is necessary, calibrate the compass.
See “Compass Calibration
Procedure” following.
Compass Calibration
The compass can be manually
calibrated. Only calibrate the
compass in a magnetically clean
and safe location, such as an open
parking lot, where driving the
vehicle in circles is not a danger. It is suggested to calibrate away
from tall buildings, utility wires,
manhole covers, or other industrial
structures, if possible.
If CAL should ever appear in the
DIC display, the compass should be
calibrated.
If the DIC display does not show a
heading, for example, N for North,
or the heading does not change
after making turns, there may be a
strong magnetic field interfering with
the compass. Such interference
may be caused by a magnetic CB
or cell phone antenna mount, a
magnetic emergency light, magnetic
note pad holder, or any other
magnetic item. Turn off the vehicle,
move the magnetic item, then turn
on the vehicle and calibrate the
compass.
To calibrate the compass, use the
following procedure:
Compass Calibration Procedure
1. Before calibrating the compass,
make sure the compass zone
is set to the variance zone in
which the vehicle is located.
See “Compass Variance (Zone)
Procedure” earlier in this
section.
Do not operate any switches
such as window, sunroof,
climate controls, or seats during
the calibration procedure.
2. Press the vehicle information button until PRESS
VTO
CALIBRATE COMPASS
displays. Or, if the vehicle
does not have DIC buttons,
press the trip odometer reset
stem until CALIBRATE
COMPASS displays.
Page 152 of 584
Black plate (14,1)Chevrolet Silverado Owner Manual - 2012
5-14 Instruments and Controls
For vehicles with a DURAMAX®
Diesel engine, see the DURAMAX®
Diesel Supplement for more
information.
For vehicles with a Hybrid, see the
Hybrid Supplement for more
information.
Speedometer
The speedometer shows the
vehicle's speed in either
kilometers per hour (km/h) or
miles per hour (mph).
Odometer
The odometer shows how far the
vehicle has been driven, in either
kilometers or miles.
Engine Hour Meter Display
The Driver Information Center (DIC)
can also display the number of
hours the engine has run. To display
the engine hours, turn the ignition
off, then press and hold the reset
button for at least four seconds.The hour meter displays for up to
30 seconds, or until the ignition is
turned on. See
Driver Information
Center (DIC) on page 5‑32 for more
information.
Trip Odometer
The trip odometer shows how far
the vehicle has been driven since
the trip odometer was last set
to zero.
Press the reset button, located on
the instrument panel cluster next to
the voltmeter, to toggle between the
trip odometer and the regular
odometer. Holding the reset button
for approximately one second while
the trip odometer is displayed will
reset it.
To display the odometer reading
with the ignition off, press the reset
button.
See Driver Information Center (DIC)
on page 5‑32 for more information.
Tachometer
The tachometer displays the engine
speed in revolutions per minute
(rpm). For a description of how
Grade Braking affects vehicle speed
while the Tow/Haul Mode is
activated, see Tow/Haul Mode on
page 9‑43 for more information.
If the vehicle is a hybrid, see the
hybrid supplement for more
information.
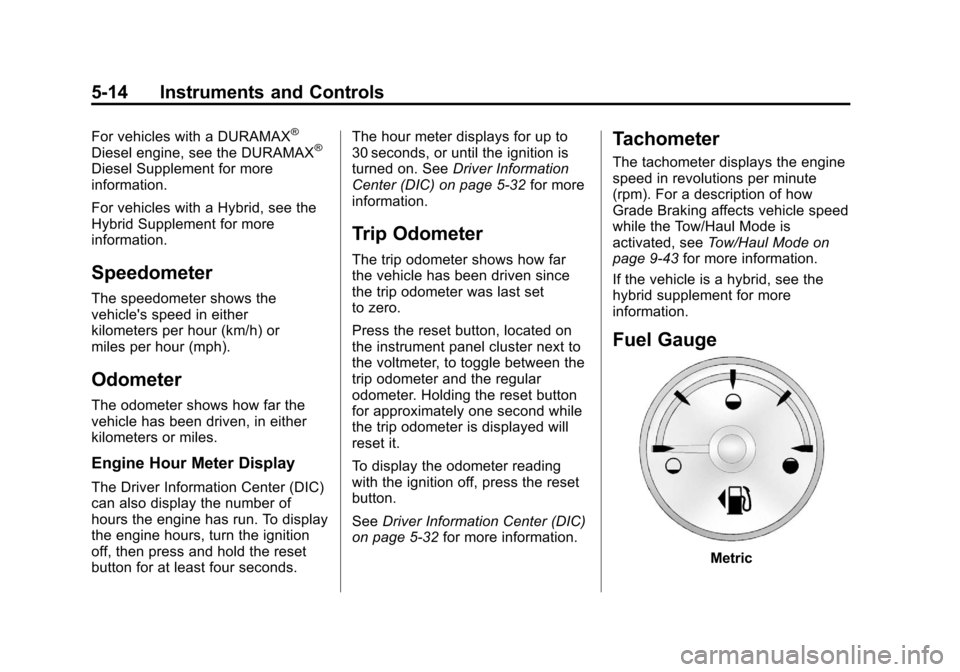
Fuel Gauge
Metric
Page 153 of 584
Black plate (15,1)Chevrolet Silverado Owner Manual - 2012
Instruments and Controls 5-15
English
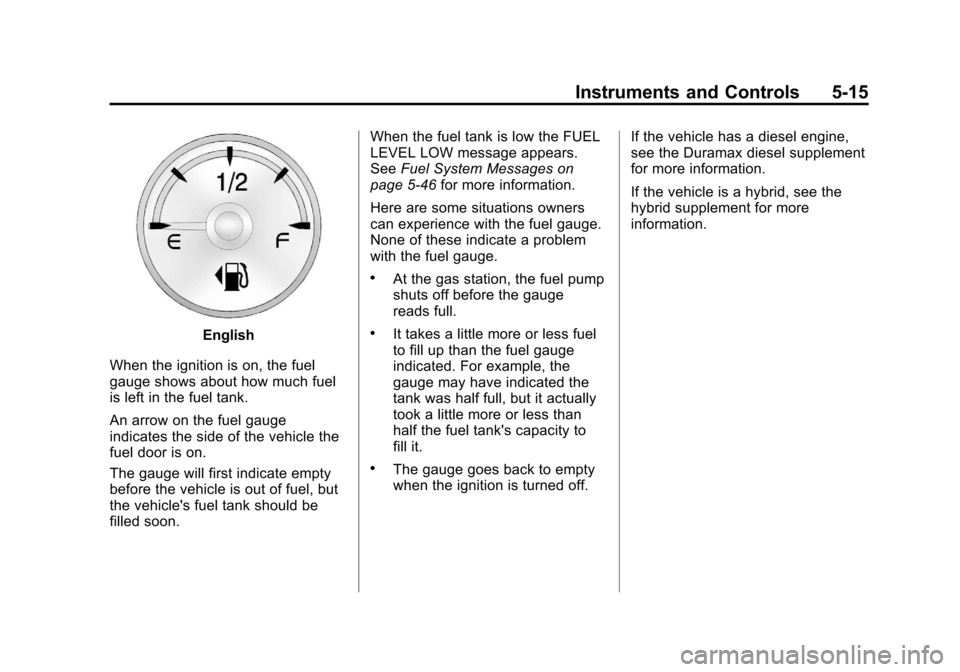
When the ignition is on, the fuel
gauge shows about how much fuel
is left in the fuel tank.
An arrow on the fuel gauge
indicates the side of the vehicle the
fuel door is on.
The gauge will first indicate empty
before the vehicle is out of fuel, but
the vehicle's fuel tank should be
filled soon. When the fuel tank is low the FUEL
LEVEL LOW message appears.
See
Fuel System Messages on
page 5‑46 for more information.
Here are some situations owners
can experience with the fuel gauge.
None of these indicate a problem
with the fuel gauge.
.At the gas station, the fuel pump
shuts off before the gauge
reads full.
.It takes a little more or less fuel
to fill up than the fuel gauge
indicated. For example, the
gauge may have indicated the
tank was half full, but it actually
took a little more or less than
half the fuel tank's capacity to
fill it.
.The gauge goes back to empty
when the ignition is turned off. If the vehicle has a diesel engine,
see the Duramax diesel supplement
for more information.
If the vehicle is a hybrid, see the
hybrid supplement for more
information.
Page 156 of 584
Black plate (18,1)Chevrolet Silverado Owner Manual - 2012
5-18 Instruments and Controls
Voltmeter Gauge
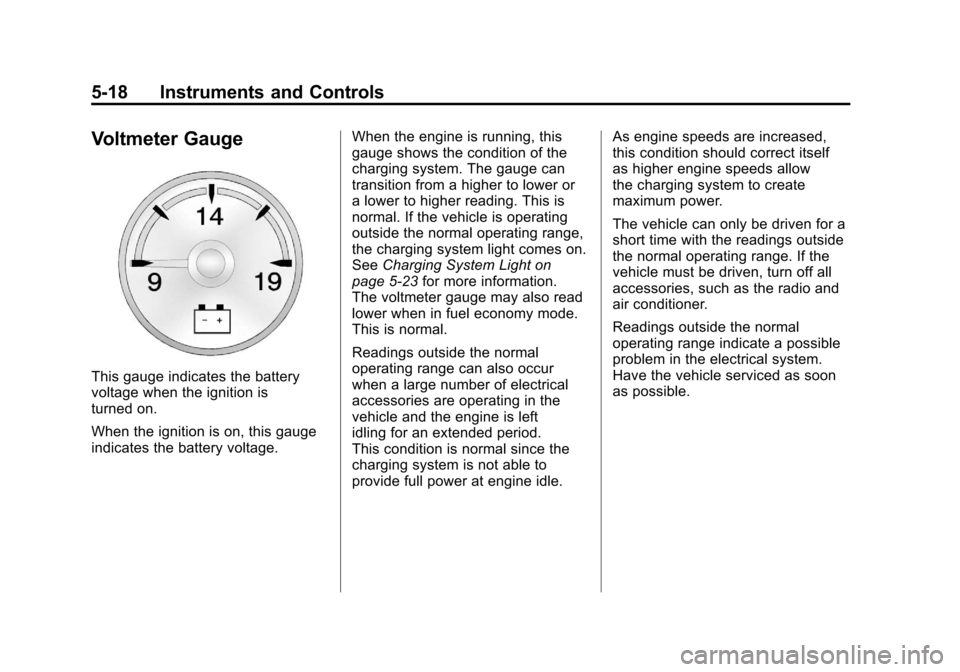
This gauge indicates the battery
voltage when the ignition is
turned on.
When the ignition is on, this gauge
indicates the battery voltage.When the engine is running, this
gauge shows the condition of the
charging system. The gauge can
transition from a higher to lower or
a lower to higher reading. This is
normal. If the vehicle is operating
outside the normal operating range,
the charging system light comes on.
See
Charging System Light on
page 5‑23 for more information.
The voltmeter gauge may also read
lower when in fuel economy mode.
This is normal.
Readings outside the normal
operating range can also occur
when a large number of electrical
accessories are operating in the
vehicle and the engine is left
idling for an extended period.
This condition is normal since the
charging system is not able to
provide full power at engine idle. As engine speeds are increased,
this condition should correct itself
as higher engine speeds allow
the charging system to create
maximum power.
The vehicle can only be driven for a
short time with the readings outside
the normal operating range. If the
vehicle must be driven, turn off all
accessories, such as the radio and
air conditioner.
Readings outside the normal
operating range indicate a possible
problem in the electrical system.
Have the vehicle serviced as soon
as possible.
Page 162 of 584
Black plate (24,1)Chevrolet Silverado Owner Manual - 2012
5-24 Instruments and Controls
Malfunction
Indicator Lamp
A computer system called OBD II
(On-Board Diagnostics-Second
Generation) monitors the operation
of the vehicle to ensure emissions
are at acceptable levels, to produce
a cleaner environment. This light
comes on when the vehicle is
placed in ON/RUN, as a check to
show it is working. If it does not,
have the vehicle serviced by your
dealer. SeeIgnition Positions on
page 9‑27 for more information.
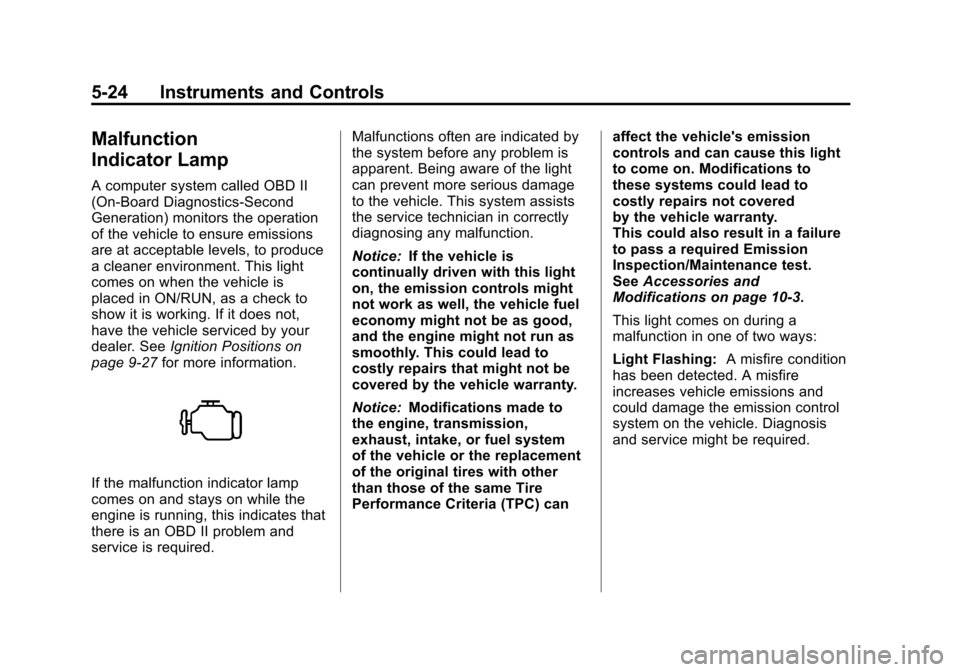
If the malfunction indicator lamp
comes on and stays on while the
engine is running, this indicates that
there is an OBD II problem and
service is required. Malfunctions often are indicated by
the system before any problem is
apparent. Being aware of the light
can prevent more serious damage
to the vehicle. This system assists
the service technician in correctly
diagnosing any malfunction.
Notice:
If the vehicle is
continually driven with this light
on, the emission controls might
not work as well, the vehicle fuel
economy might not be as good,
and the engine might not run as
smoothly. This could lead to
costly repairs that might not be
covered by the vehicle warranty.
Notice: Modifications made to
the engine, transmission,
exhaust, intake, or fuel system
of the vehicle or the replacement
of the original tires with other
than those of the same Tire
Performance Criteria (TPC) can affect the vehicle's emission
controls and can cause this light
to come on. Modifications to
these systems could lead to
costly repairs not covered
by the vehicle warranty.
This could also result in a failure
to pass a required Emission
Inspection/Maintenance test.
See
Accessories and
Modifications on page 10‑3.
This light comes on during a
malfunction in one of two ways:
Light Flashing: A misfire condition
has been detected. A misfire
increases vehicle emissions and
could damage the emission control
system on the vehicle. Diagnosis
and service might be required.
Page 163 of 584
Black plate (25,1)Chevrolet Silverado Owner Manual - 2012
Instruments and Controls 5-25
To prevent more serious damage to
the vehicle:
.Reduce vehicle speed.
.Avoid hard accelerations.
.Avoid steep uphill grades.
.If towing a trailer, reduce the
amount of cargo being hauled
as soon as it is possible.
If the light continues to flash, stop
and park the vehicle. Turn the
vehicle off, wait at least 10 seconds,
and restart the engine. If the light is
still flashing, follow the previous
steps and see your dealer for
service as soon as possible.
Light On Steady: An emission
control system malfunction has
been detected on the vehicle.
Diagnosis and service might be
required. The following may correct an
emission system malfunction:
.Check that the fuel cap is fully
installed. See
Filling the Tank on
page 9‑80. The diagnostic
system can determine if the
fuel cap has been left off or
improperly installed. A loose or
missing fuel cap allows fuel to
evaporate into the atmosphere.
A few driving trips with the cap
properly installed should turn
the light off.
.Check that good quality fuel is
used. Poor fuel quality causes
the engine not to run as
efficiently as designed and may
cause stalling after start-up,
stalling when the vehicle is
changed into gear, misfiring,
hesitation on acceleration,
or stumbling on acceleration.
These conditions might go away
once the engine is warmed up. If one or more of these conditions
occurs, change the fuel brand used.
It will require at least one full tank of
the proper fuel to turn the light off.
See
Recommended Fuel on
page 9‑76.
If none of the above have made
the light turn off, your dealer can
check the vehicle. The dealer has
the proper test equipment and
diagnostic tools to fix any
mechanical or electrical problems
that might have developed.