2012 CHEVROLET ORLANDO start stop button
[x] Cancel search: start stop buttonPage 26 of 378
Black plate (20,1)Chevrolet Orlando Owner Manual - 2012
1-20 In Brief
StabiliTrak®System
The StabiliTrak system assists with
directional control of the vehicle in
difficult driving conditions. The
system is on when the vehicle is
started.
.To turn off both Traction Control
and StabiliTrak, press and hold
the TCS/StabiliTrak button, until
iandgilluminate and the
appropriate DIC message
displays. See Ride Control
System Messages on page 5‑30.
The TCS/StabiliTrak button has
the
gsymbol and is located on
the instrument panel,
.Press the TCS/StabiliTrak button
again to turn on both systems.
For more information, see
StabiliTrak
®System on page 9‑31.
Tire Pressure Monitor
This vehicle may have a Tire
Pressure Monitor System (TPMS).
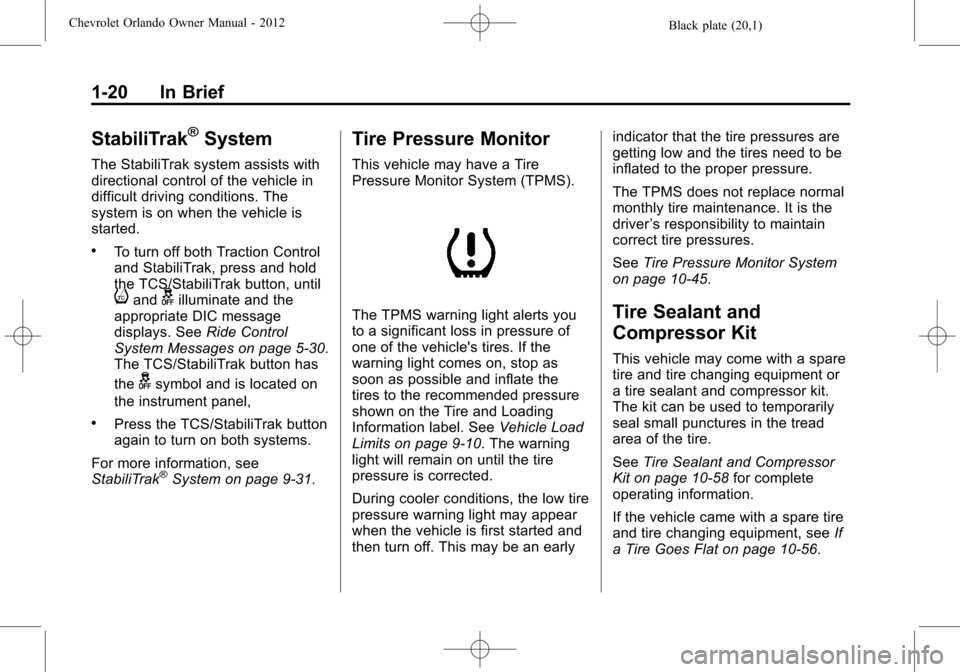
The TPMS warning light alerts you
to a significant loss in pressure of
one of the vehicle's tires. If the
warning light comes on, stop as
soon as possible and inflate the
tires to the recommended pressure
shown on the Tire and Loading
Information label. See Vehicle Load
Limits on page 9‑10. The warning
light will remain on until the tire
pressure is corrected.
During cooler conditions, the low tire
pressure warning light may appear
when the vehicle is first started and
then turn off. This may be an early indicator that the tire pressures are
getting low and the tires need to be
inflated to the proper pressure.
The TPMS does not replace normal
monthly tire maintenance. It is the
driver
’s responsibility to maintain
correct tire pressures.
See Tire Pressure Monitor System
on page 10‑45.Tire Sealant and
Compressor Kit
This vehicle may come with a spare
tire and tire changing equipment or
a tire sealant and compressor kit.
The kit can be used to temporarily
seal small punctures in the tread
area of the tire.
See Tire Sealant and Compressor
Kit on page 10‑58 for complete
operating information.
If the vehicle came with a spare tire
and tire changing equipment, see If
a Tire Goes Flat on page 10‑56.
Page 27 of 378

Black plate (21,1)Chevrolet Orlando Owner Manual - 2012
In Brief 1-21
Engine Oil Life System
The engine oil life system calculates
engine oil life based on vehicle use
and displays the CHANGE ENGINE
OIL SOON DIC message or
Code 82 DIC message when it is
time to change the engine oil and
filter. The oil life system should be
reset to 100% only following an oil
change.
Resetting the Oil Life System
1. Turn the ignition to ON/RUN withthe engine off.
2. Press the DIC MENU button on the turn signal lever to enter the
Vehicle Information Menu. Use
the thumbwheel to scroll through
the menu items until you reach
REMAINING OIL LIFE.
3. Press the SET/CLR button to reset the oil life at 100%.
4. Turn the ignition to LOCK/OFF.
See Engine Oil Life System on
page 10‑9.
Driving for Better Fuel
Economy
Driving habits can affect fuel
mileage. Here are some driving
tips to get the best fuel economy
possible.
.Avoid fast starts and accelerate
smoothly.
.Brake gradually and avoid
abrupt stops.
.Avoid idling the engine for long
periods of time.
.When road and weather
conditions are appropriate,
use cruise control.
.Always follow posted speed
limits or drive more slowly when
conditions require.
.Keep vehicle tires properly
inflated.
.Combine several trips into a
single trip.
.Replace the vehicle's tires with
the same TPC Spec number
molded into the tire's sidewall
near the size.
.Follow recommended scheduled
maintenance.
Roadside Assistance
Program
U.S.: 1-800-243-8872
TTY Users: 1-888-889-2438
Canada: 1-800-268-6800
As the owner of a new Chevrolet,
you are automatically enrolled in the
Roadside Assistance program.
See Roadside Assistance Program
on page 13‑5 for more information.
Roadside Assistance and OnStar
If you have an active OnStar
subscription, press the
Qbutton
and the current GPS location will be
sent to an OnStar advisor who will
assess your problem, contact
Page 54 of 378
Black plate (8,1)Chevrolet Orlando Owner Manual - 2012
3-8 Seats and Restraints
The passenger seat may take
longer to heat up.
Remote Start Heated Seats
When it is cold outside, the heated
seats can be programmed to turn
on automatically during a remote
vehicle start. The heated seats will
be canceled when the ignition is
turned on. Press the heated seat
button to use the heated seats after
the vehicle is started.
The heated seat button lights will
not turn on during a remote start.
The temperature of an unoccupied
seat may be reduced.
To program the heated seat feature
to enabled, seeVehicle
Personalization on page 5‑32 for
more information.
Rear Seats
Second Row Seats
Adjusting the Seatbacks
{WARNING
If either seatback is not locked, it
could move forward in a sudden
stop or crash. That could cause
injury to the person sitting there.
Always push and pull on the
seatbacks to be sure they are
locked.
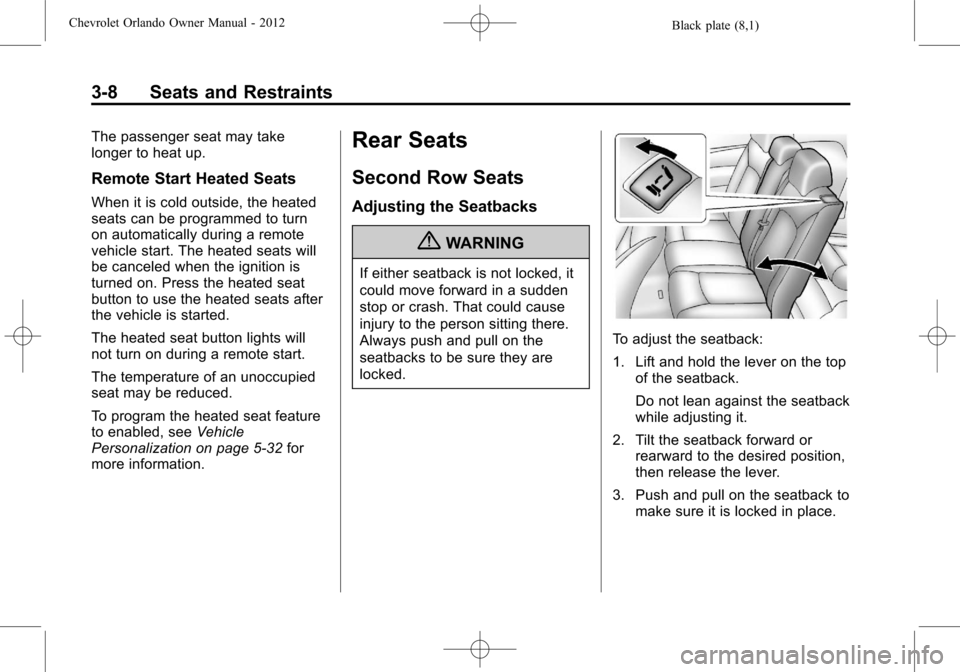
To adjust the seatback:
1. Lift and hold the lever on the top of the seatback.
Do not lean against the seatback
while adjusting it.
2. Tilt the seatback forward or rearward to the desired position,
then release the lever.
3. Push and pull on the seatback to make sure it is locked in place.
Page 206 of 378
Black plate (18,1)Chevrolet Orlando Owner Manual - 2012
9-18 Driving and Operating
engine and transmission gently
to allow the oil to warm up and
lubricate all moving parts.
The vehicle has a
Computer-Controlled Cranking
System. This feature assists in
starting the engine and protects
components. If the ignition key is
turned to the START position,
and then released when the
engine begins cranking, the
engine will continue cranking for
a few seconds or until the
vehicle starts. If the engine does
not start and the key is held in
START for many seconds,
cranking will be stopped after
15 seconds to prevent cranking
motor damage. To prevent gear
damage, this system also
prevents cranking if the engine
is already running. Engine
cranking can be stopped by
turning the ignition switch to
ACC/ACCESSORY or
LOCK/OFF.Notice:
Cranking the engine for
long periods of time, by returning
the key to the START position
immediately after cranking has
ended, can overheat and damage
the cranking motor, and drain the
battery. Wait at least 15 seconds
between each try, to let the
cranking motor cool down.
2. If the engine does not start after
five to 10 seconds, especially in
very cold weather (below −18°C
or 0°F), it could be flooded with
too much gasoline. Try pushing
the accelerator pedal all the way
to the floor and holding it there
as you hold the key in START
for up to a maximum of
15 seconds. Wait at least
15 seconds between each try, to
allow the cranking motor to cool
down. When the engine starts,
let go of the key or button, and
the accelerator. If the vehicle
starts briefly but then stops
again, do the same thing. This
clears the extra gasoline from
the engine. Do not race the engine immediately after starting
it. Operate the engine and
transmission gently until the oil
warms up and lubricates all
moving parts.
Engine Heater
The engine heater can help in cold
weather conditions at or below
−18°C (0°F) for easier starting and
better fuel economy during engine
warm-up. Plug in the heater at least
four hours before starting the
vehicle. An internal thermostat in
the plug-end of the cord will prevent
engine heater operation at
temperatures above
−18°C (0°F).
To Use The Engine Heater
1. Turn off the engine.
2. Open the hood and unwrap the
electrical cord stored near the air
cleaner.
3. Plug it into a normal, grounded 110-volt AC outlet.
Page 211 of 378
Black plate (23,1)Chevrolet Orlando Owner Manual - 2012
Driving and Operating 9-23
Automatic
Transmission
The automatic transmission has a
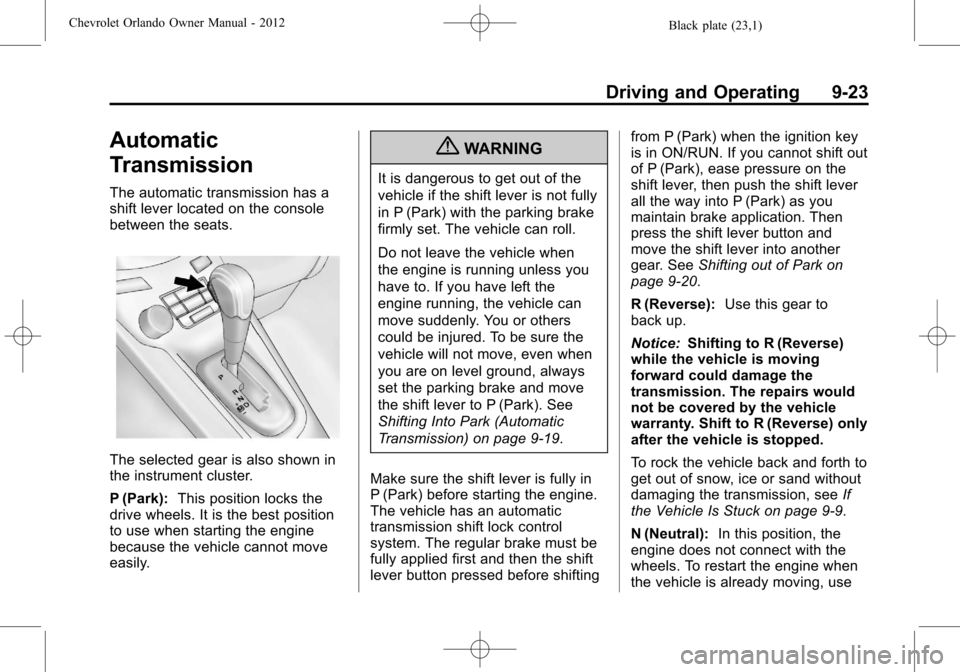
shift lever located on the console
between the seats.
The selected gear is also shown in
the instrument cluster.
P (Park):This position locks the
drive wheels. It is the best position
to use when starting the engine
because the vehicle cannot move
easily.
{WARNING
It is dangerous to get out of the
vehicle if the shift lever is not fully
in P (Park) with the parking brake
firmly set. The vehicle can roll.
Do not leave the vehicle when
the engine is running unless you
have to. If you have left the
engine running, the vehicle can
move suddenly. You or others
could be injured. To be sure the
vehicle will not move, even when
you are on level ground, always
set the parking brake and move
the shift lever to P (Park). See
Shifting Into Park (Automatic
Transmission) on page 9‑19.
Make sure the shift lever is fully in
P (Park) before starting the engine.
The vehicle has an automatic
transmission shift lock control
system. The regular brake must be
fully applied first and then the shift
lever button pressed before shifting from P (Park) when the ignition key
is in ON/RUN. If you cannot shift out
of P (Park), ease pressure on the
shift lever, then push the shift lever
all the way into P (Park) as you
maintain brake application. Then
press the shift lever button and
move the shift lever into another
gear. See
Shifting out of Park on
page 9‑20.
R (Reverse): Use this gear to
back up.
Notice: Shifting to R (Reverse)
while the vehicle is moving
forward could damage the
transmission. The repairs would
not be covered by the vehicle
warranty. Shift to R (Reverse) only
after the vehicle is stopped.
To rock the vehicle back and forth to
get out of snow, ice or sand without
damaging the transmission, see If
the Vehicle Is Stuck on page 9‑9.
N (Neutral): In this position, the
engine does not connect with the
wheels. To restart the engine when
the vehicle is already moving, use
Page 218 of 378
Black plate (30,1)Chevrolet Orlando Owner Manual - 2012
9-30 Driving and Operating
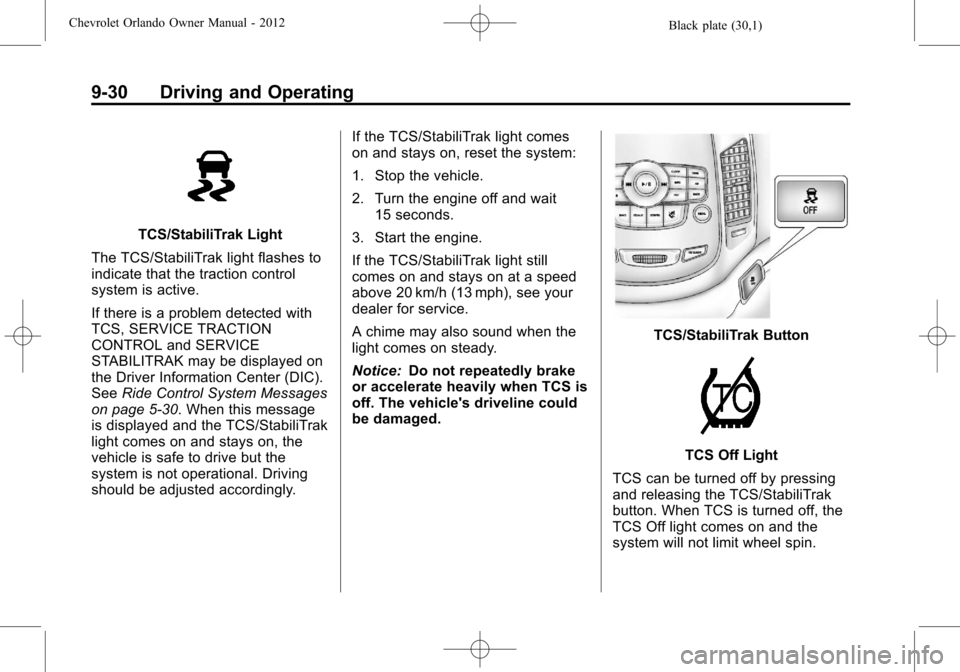
TCS/StabiliTrak Light
The TCS/StabiliTrak light flashes to
indicate that the traction control
system is active.
If there is a problem detected with
TCS, SERVICE TRACTION
CONTROL and SERVICE
STABILITRAK may be displayed on
the Driver Information Center (DIC).
See Ride Control System Messages
on page 5‑30. When this message
is displayed and the TCS/StabiliTrak
light comes on and stays on, the
vehicle is safe to drive but the
system is not operational. Driving
should be adjusted accordingly. If the TCS/StabiliTrak light comes
on and stays on, reset the system:
1. Stop the vehicle.
2. Turn the engine off and wait
15 seconds.
3. Start the engine.
If the TCS/StabiliTrak light still
comes on and stays on at a speed
above 20 km/h (13 mph), see your
dealer for service.
A chime may also sound when the
light comes on steady.
Notice: Do not repeatedly brake
or accelerate heavily when TCS is
off. The vehicle's driveline could
be damaged.
TCS/StabiliTrak Button
TCS Off Light
TCS can be turned off by pressing
and releasing the TCS/StabiliTrak
button. When TCS is turned off, the
TCS Off light comes on and the
system will not limit wheel spin.
Page 220 of 378
Black plate (32,1)Chevrolet Orlando Owner Manual - 2012
9-32 Driving and Operating
If the TCS/StabiliTrak light comes
on and stays on, reset the system:
1. Stop the vehicle.
2. Turn the engine off and wait15 seconds.
3. Start the engine.
If the TCS/StabiliTrak light still
comes on and stays on at a speed
above 20 km/h (13 mph), see your
dealer for service.
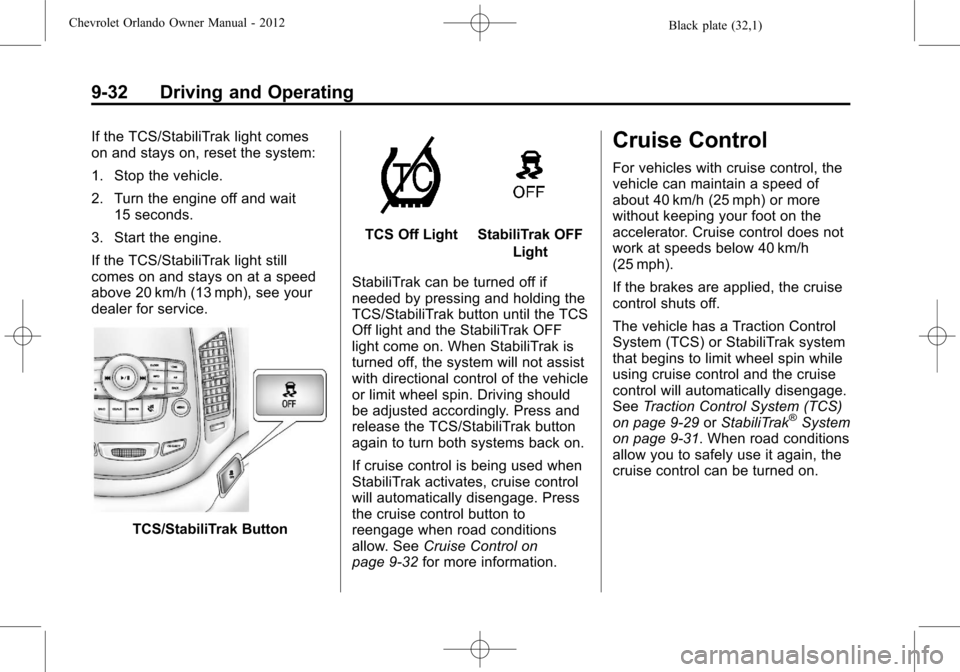
TCS/StabiliTrak Button
TCS Off LightStabiliTrak OFF Light
StabiliTrak can be turned off if
needed by pressing and holding the
TCS/StabiliTrak button until the TCS
Off light and the StabiliTrak OFF
light come on. When StabiliTrak is
turned off, the system will not assist
with directional control of the vehicle
or limit wheel spin. Driving should
be adjusted accordingly. Press and
release the TCS/StabiliTrak button
again to turn both systems back on.
If cruise control is being used when
StabiliTrak activates, cruise control
will automatically disengage. Press
the cruise control button to
reengage when road conditions
allow. See Cruise Control on
page 9‑32 for more information.
Cruise Control
For vehicles with cruise control, the
vehicle can maintain a speed of
about 40 km/h (25 mph) or more
without keeping your foot on the
accelerator. Cruise control does not
work at speeds below 40 km/h
(25 mph).
If the brakes are applied, the cruise
control shuts off.
The vehicle has a Traction Control
System (TCS) or StabiliTrak system
that begins to limit wheel spin while
using cruise control and the cruise
control will automatically disengage.
SeeTraction Control System (TCS)
on page 9‑29 orStabiliTrak
®System
on page 9‑31. When road conditions
allow you to safely use it again, the
cruise control can be turned on.
Page 282 of 378
Black plate (48,1)Chevrolet Orlando Owner Manual - 2012
10-48 Vehicle Care
.Replacement tires or wheels do
not match the original equipment
tires or wheels. Tires and wheels
other than those recommended
could prevent the TPMS from
functioning properly. SeeBuying
New Tires on page 10‑51.
.Operating electronic devices or
being near facilities using radio
wave frequencies similar to the
TPMS could cause the TPMS
sensors to malfunction.
If the TPMS is not functioning
properly, it cannot detect or signal a
low tire condition. See your dealer
for service if the TPMS malfunction
light and DIC message come on
and stay on.
TPMS Sensor Matching
Process
Each TPMS sensor has a unique
identification code. The identification
code needs to be matched to a new
tire/wheel position after rotating the
tires or replacing one or more of the TPMS sensors. The TPMS sensor
matching process should also be
performed after replacing a spare
tire with a road tire containing the
TPMS sensor. The malfunction light
and the DIC message should go off
at the next ignition cycle. The
sensors are matched to the tire/
wheel positions, using a TPMS
relearn tool, in the following order:
driver side front tire, passenger side
front tire, passenger side rear tire,
and driver side rear. See your
dealer for service or to purchase a
relearn tool.
There are two minutes to match
the first tire/wheel position, and
five minutes overall to match all
four tire/wheel positions. If it takes
longer, the matching process stops
and must be restarted.
The TPMS sensor matching
process is:
1. Set the parking brake.
2. Turn the ignition to ON/RUN with
the engine off. 3. Use the MENU button to select
the Vehicle Information menu in
the Driver Information
Center (DIC).
4. Use the thumbwheel to scroll to the Tire Pressure Menu item
screen.
5. Press the SET/CLR button to begin the sensor matching
process.
A message requesting
acceptance of the process
should display.
6. Press the SET/CLR button again to confirm the selection.
The horn sounds twice to signal
the receiver is in relearn mode
and the TIRE LEARNING
ACTIVE message displays on
the DIC screen.
7. Start with the driver side front tire.
8. Place the relearn tool against the tire sidewall, near the valve
stem. Then press the button to
activate the TPMS sensor.