Page 291 of 378

Black plate (57,1)Chevrolet Orlando Owner Manual - 2012
Vehicle Care 10-57
WARNING (Continued)
changing a flat tire. If it is used for
anything else, you or others could
be badly injured or killed if the
vehicle slips off the jack. If a jack
is provided with the vehicle, only
use it for changing a flat tire.
If a tire goes flat, avoid further tire
and wheel damage by driving slowly
to a level place, well off the road,
if possible. Turn on the hazard
warning flashers. See Hazard
Warning Flashers on page 6‑3.
{WARNING
Changing a tire can be
dangerous. The vehicle can slip
off the jack and roll over or fall
causing injury or death. Find a
level place to change the tire. To
help prevent the vehicle from
moving:
1. Set the parking brake firmly.
2. Put an automatic transmission in P (Park) or a
manual transmission in
1 (First) or R (Reverse).
3. Turn off the engine and do not restart while the vehicle
is raised.
4. Do not allow passengers to remain in the vehicle.
5. Place wheel blocks on both sides of the tire at the
opposite corner of the tire
being changed. This vehicle may come with a jack
and spare tire or a tire sealant and
compressor kit. To use the jacking
equipment to change a spare tire
safely, follow the instructions below.
Then see
Tire Changing on
page 10‑66. To use the tire sealant
and compressor kit, see Tire
Sealant and Compressor Kit on
page 10‑58.
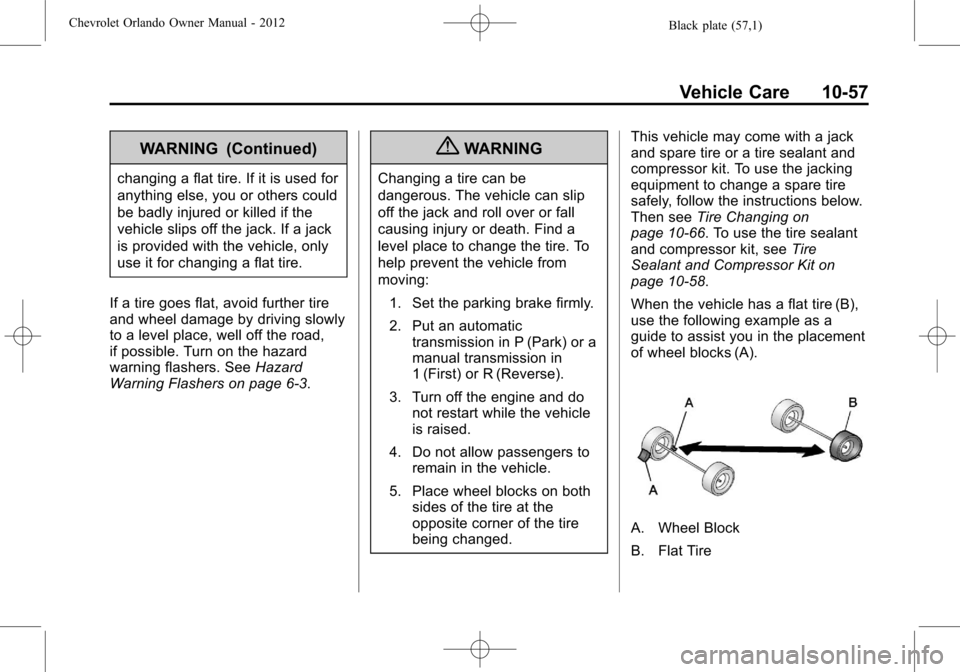
When the vehicle has a flat tire (B),
use the following example as a
guide to assist you in the placement
of wheel blocks (A).
A. Wheel Block
B. Flat Tire
Page 308 of 378

Black plate (74,1)Chevrolet Orlando Owner Manual - 2012
10-74 Vehicle Care
The positive jump start connection
is under a trim cover. Open the
cover door to expose the terminal.
1. Check the other vehicle. It musthave a 12-volt battery with a
negative ground system.
Notice: Only use a vehicle that
has a 12-volt system with a
negative ground for jump
starting. If the other vehicle does
not have a 12-volt system with a
negative ground, both vehicles
can be damaged.
2. Position the two vehicles so that they are not touching.
3. Set the parking brake firmly and put the shift lever in P (Park)
with an automatic transmission,
or neutral with a manual
transmission. See Shifting Into
Park (Automatic Transmission)
on page 9‑19 with an automatic
transmission, or Parking on
page 9‑21 with a manual
transmission. Notice:
If any accessories are left
on or plugged in during the jump
starting procedure, they could be
damaged. The repairs would not
be covered by the vehicle
warranty. Whenever possible,
turn off or unplug all accessories
on either vehicle when jump
starting the vehicle.
4. Turn the ignition to LOCK/OFF.
Turn off all lights and
accessories in both vehicles,
except the hazard warning
flashers if needed.
{WARNING
An electric fan can start up even
when the engine is not running
and can injure you. Keep hands,
clothing and tools away from any
underhood electric fan.
{WARNING
Using a match near a battery can
cause battery gas to explode.
People have been hurt doing this,
and some have been blinded.
Use a flashlight if you need more
light.
Be sure the battery has enough
water. You do not need to add
water to the battery installed in
your new vehicle. But if a battery
has filler caps, be sure the right
amount of fluid is there. If it is low,
add water to take care of that
first. If you do not, explosive gas
could be present.
Battery fluid contains acid that
can burn you. Do not get it on
you. If you accidentally get it in
your eyes or on your skin, flush
the place with water and get
medical help immediately.
Page 311 of 378

Black plate (77,1)Chevrolet Orlando Owner Manual - 2012
Vehicle Care 10-77
Here are some important things to
consider before recreational vehicle
towing:
.The towing capacity of the
towing vehicle. Be sure to read
the tow vehicle manufacturer's
recommendations.
.How far will the vehicle be
towed. Some vehicles have
restrictions on how far and how
long they can tow.
.Does the vehicle have the
proper towing equipment. See
your dealer or trailering
professional for additional advice
and equipment
recommendations.
.Is the vehicle ready to be towed.
Just as preparing the vehicle for
a long trip, make sure the
vehicle is prepared to be towed.
Dinghy Towing (With
Automatic Transmission)
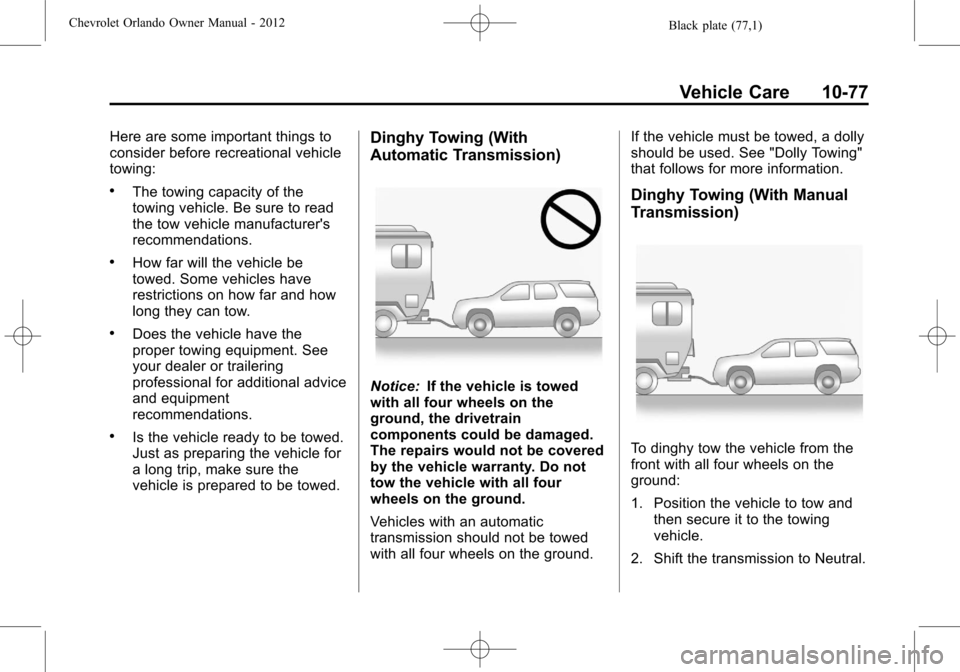
Notice:If the vehicle is towed
with all four wheels on the
ground, the drivetrain
components could be damaged.
The repairs would not be covered
by the vehicle warranty. Do not
tow the vehicle with all four
wheels on the ground.
Vehicles with an automatic
transmission should not be towed
with all four wheels on the ground. If the vehicle must be towed, a dolly
should be used. See "Dolly Towing"
that follows for more information.
Dinghy Towing (With Manual
Transmission)
To dinghy tow the vehicle from the
front with all four wheels on the
ground:
1. Position the vehicle to tow and
then secure it to the towing
vehicle.
2. Shift the transmission to Neutral.
Page 312 of 378

Black plate (78,1)Chevrolet Orlando Owner Manual - 2012
10-78 Vehicle Care
3. Turn the ignition to ACC/ACCESSORY.
4. To prevent the battery from draining while the vehicle is
being towed, remove fuses 21,
22, 23, and 24 from the
instrument panel fuse block. See
Instrument Panel Fuse Block on
page 10‑35.
Remember to reinstall the fuses
once the destination has been
reached.
Notice: If 105 km/h (65 mph) is
exceeded while towing the
vehicle, it could be damaged.
Never exceed 105 km/h (65 mph)
while towing the vehicle.
Notice: Towing the vehicle from
the rear could damage it. Also,
repairs would not be covered by
the vehicle warranty. Never have
the vehicle towed from the rear.
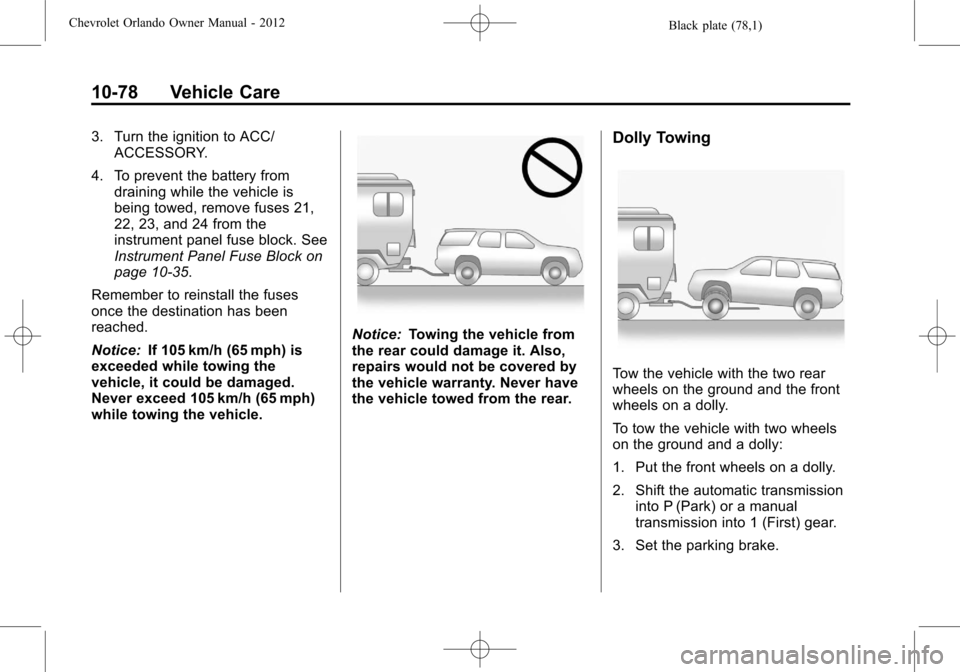
Dolly Towing
Tow the vehicle with the two rear
wheels on the ground and the front
wheels on a dolly.
To tow the vehicle with two wheels
on the ground and a dolly:
1. Put the front wheels on a dolly.
2. Shift the automatic transmission into P (Park) or a manual
transmission into 1 (First) gear.
3. Set the parking brake.
Page 325 of 378

Black plate (5,1)Chevrolet Orlando Owner Manual - 2012
Service and Maintenance 11-5
.Visually inspect steering,
suspension, and chassis
components for damaged, loose,
or missing parts or signs of
wear. SeeExterior Care on
page 10‑79.
.Check restraint system
components. See Safety System
Check on page 3‑24.
.Visually inspect fuel system for
damage or leaks.
.Visually inspect exhaust system
and nearby heat shields for
loose or damaged parts.
.Lubricate body components. See
Exterior Care on page 10‑79.
.Check starter switch. See Starter
Switch Check on page 10‑22.
.Check automatic transmission
shift lock control function. See
Automatic Transmission Shift
Lock Control Function Check on
page 10‑23.
.Check ignition transmission lock.
See Ignition Transmission Lock
Check on page 10‑23.
.Check parking brake and
automatic transmission park
mechanism. See Park Brake and
P (Park) Mechanism Check on
page 10‑23.
.Check accelerator pedal for
damage, high effort, or binding.
Replace if needed.
.Visually inspect gas strut for
signs of wear, cracks, or other
damage. Check the hold open
ability of the strut. See your
dealer if service is required.
.Check tire sealant expiration
date, if equipped. See Tire
Sealant and Compressor Kit on
page 10‑58.
.Inspect sunroof track and seal,
if equipped. See Sunroof on
page 2‑17.
Page 333 of 378
Black plate (13,1)Chevrolet Orlando Owner Manual - 2012
Service and Maintenance 11-13
Recommended Fluids, Lubricants, and Parts
Recommended Fluids and Lubricants
UsageFluid/Lubricant
Engine Oil Use only engine oil licensed to the dexos1 specfication, or equivalent, of
the proper SAE viscosity grade. ACDelco dexos1 Synthetic Blend is
recommended. See
Engine Oil on page 10‑7.
Engine Coolant 50/50 mixture of clean, drinkable water and use only DEX-COOL Coolant.
See
Engine Coolant on page 10‑14.
Hydraulic Brake/Clutch System DOT 4 Hydraulic Brake Fluid (GM Part No. 88862828, in
Canada 88862829).
Windshield Washer Optikleen
®Washer Solvent.
Automatic Transmission DEXRON
®-VI Automatic Transmission Fluid.
Manual Transmission Manual Transmission Fluid (GM Part No. 19259104, in Canada 19259105).
Page 340 of 378
Black plate (2,1)Chevrolet Orlando Owner Manual - 2012
12-2 Technical Data
Vehicle Data
Capacities and Specifications
The following approximate capacities are given in metric and English conversions. SeeRecommended Fluids and
Lubricants on page 11‑13 for more information.
Application Capacities
Metric English
Air Conditioning Refrigerant R134a For the air conditioning system refrigerant charge
amount, see the refrigerant label located under the hood. See your dealer for more information.
Cooling System 7.1 L 7.5 qt
Engine Oil with Filter 4.7 L 5.0 qt
Fuel Tank 66.5 L 17.6 gal
Automatic Transmission Fluid 5.0 L 5.3 qt
Wheel Nut Torque 140 Y100 lb ft
All capacities are approximate. When adding, be sure to fill to the approximate level, as recommended in this
manual. Recheck fluid level after filling.
Page 341 of 378
Black plate (3,1)Chevrolet Orlando Owner Manual - 2012
Technical Data 12-3
Engine Specifications
EngineVIN CodeTransmission Spark Plug Gap
2.4L L4 MAutomatic and Manual .9 mm (0.035 in)
Engine Drive Belt Routing