2012 CHEVROLET MALIBU remote start
[x] Cancel search: remote startPage 41 of 398
Black plate (11,1)Chevrolet Malibu Owner Manual - 2012
Keys, Doors, and Windows 2-11
Vehicle Security
This vehicle has theft-deterrent
features; however, they do not make
it impossible to steal.
Anti-theft Alarm System
Your vehicle may have an anti-theft
alarm system.
Arming the System
With the ignition off, press the
Remote Keyless Entry (RKE)
transmitter lock button to arm the
system.
The system will arm 30 seconds
after all the doors are closed,
or 60 seconds with any door open.
If you press the lock button on the
transmitter a second time while all
the doors are closed, the system will
arm immediately. The system will
still arm in 60 seconds if a door is
open. When the open door is
closed, the system will arm.
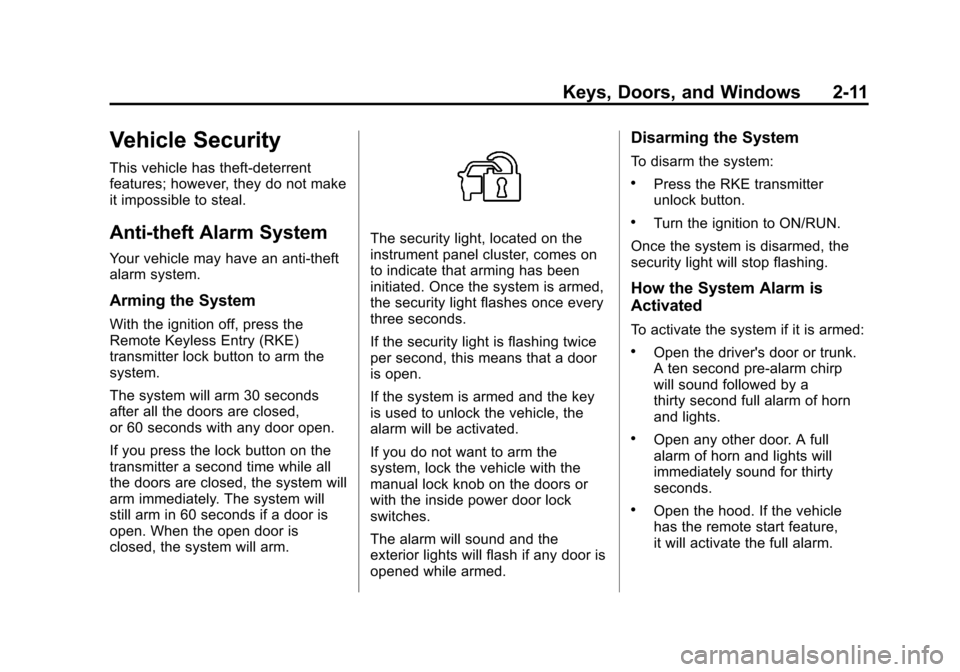
The security light, located on the
instrument panel cluster, comes on
to indicate that arming has been
initiated. Once the system is armed,
the security light flashes once every
three seconds.
If the security light is flashing twice
per second, this means that a door
is open.
If the system is armed and the key
is used to unlock the vehicle, the
alarm will be activated.
If you do not want to arm the
system, lock the vehicle with the
manual lock knob on the doors or
with the inside power door lock
switches.
The alarm will sound and the
exterior lights will flash if any door is
opened while armed.
Disarming the System
To disarm the system:
.Press the RKE transmitter
unlock button.
.Turn the ignition to ON/RUN.
Once the system is disarmed, the
security light will stop flashing.
How the System Alarm is
Activated
To activate the system if it is armed:
.Open the driver's door or trunk.
A ten second pre-alarm chirp
will sound followed by a
thirty second full alarm of horn
and lights.
.Open any other door. A full
alarm of horn and lights will
immediately sound for thirty
seconds.
.Open the hood. If the vehicle
has the remote start feature,
it will activate the full alarm.
Page 74 of 398
Black plate (26,1)Chevrolet Malibu Owner Manual - 2012
3-26 Seats and Restraints
Passenger Sensing
System
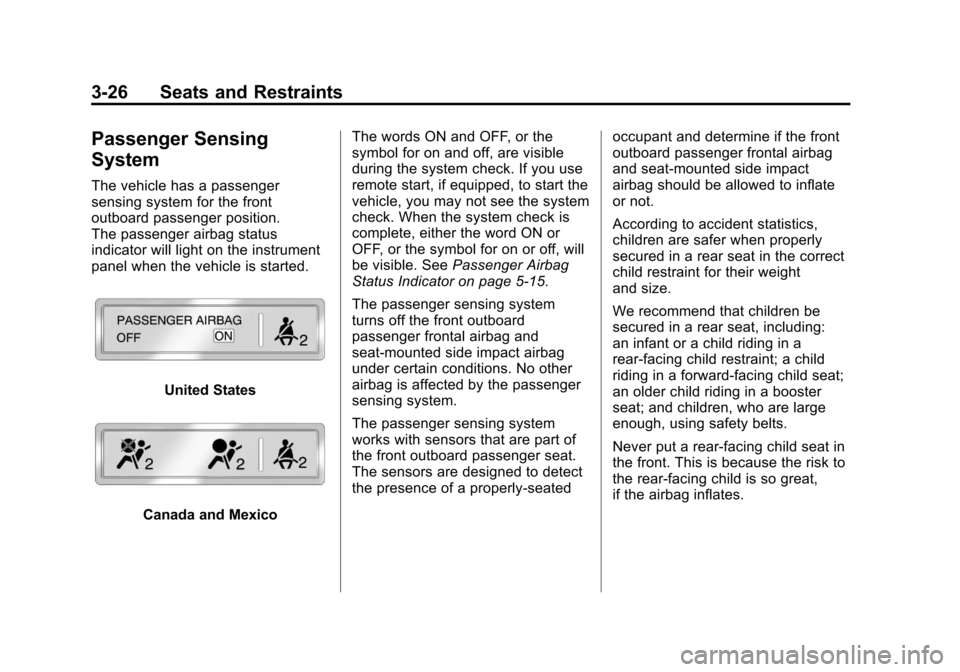
The vehicle has a passenger
sensing system for the front
outboard passenger position.
The passenger airbag status
indicator will light on the instrument
panel when the vehicle is started.
United States
Canada and MexicoThe words ON and OFF, or the
symbol for on and off, are visible
during the system check. If you use
remote start, if equipped, to start the
vehicle, you may not see the system
check. When the system check is
complete, either the word ON or
OFF, or the symbol for on or off, will
be visible. See
Passenger Airbag
Status Indicator on page 5‑15.
The passenger sensing system
turns off the front outboard
passenger frontal airbag and
seat-mounted side impact airbag
under certain conditions. No other
airbag is affected by the passenger
sensing system.
The passenger sensing system
works with sensors that are part of
the front outboard passenger seat.
The sensors are designed to detect
the presence of a properly-seated occupant and determine if the front
outboard passenger frontal airbag
and seat‐mounted side impact
airbag should be allowed to inflate
or not.
According to accident statistics,
children are safer when properly
secured in a rear seat in the correct
child restraint for their weight
and size.
We recommend that children be
secured in a rear seat, including:
an infant or a child riding in a
rear-facing child restraint; a child
riding in a forward-facing child seat;
an older child riding in a booster
seat; and children, who are large
enough, using safety belts.
Never put a rear-facing child seat in
the front. This is because the risk to
the rear-facing child is so great,
if the airbag inflates.
Page 114 of 398

Black plate (8,1)Chevrolet Malibu Owner Manual - 2012
5-8 Instruments and Controls
Power Outlet 110 Volt
Alternating Current
The vehicle may have a power
outlet that can be used to plug in
electrical equipment that uses a
maximum limit of 150 watts.
The power outlet is located on the
rear of the center console.An indicator light on the outlet
comes on when in use. The ignition
must be in ON/RUN and equipment
requiring less than 150 watts is
plugged into the outlet, and no
system fault is detected.
If you try to connect equipment
using more than 150 watts or a
system fault is detected, a
protection circuit shuts off the power
supply and the indicator light turns
off. To reset the circuit, unplug the
item and plug it back in or turn the
Remote Accessory Power (RAP) off
and then back on. See
Retained
Accessory Power (RAP) on
page 9‑21. The power restarts when
equipment that operates within the
limit is plugged into the outlet and a
system fault is not detected. The power outlet is not designed for
and may not work properly if the
following are plugged in:
.Equipment with high initial
peak wattage such as:
compressor-driven refrigerators
and electric power tools.
.Other equipment requiring
an extremely stable
power supply such as:
microcomputer-controlled
electric blankets, touch sensor
lamps, etc.
Page 121 of 398
Black plate (15,1)Chevrolet Malibu Owner Manual - 2012
Instruments and Controls 5-15
If there is a problem with the airbag
system, a Driver Information Center
(DIC) message can also come on.
SeeAirbag System Messages on
page 5‑30 for more information.
Passenger Airbag Status
Indicator
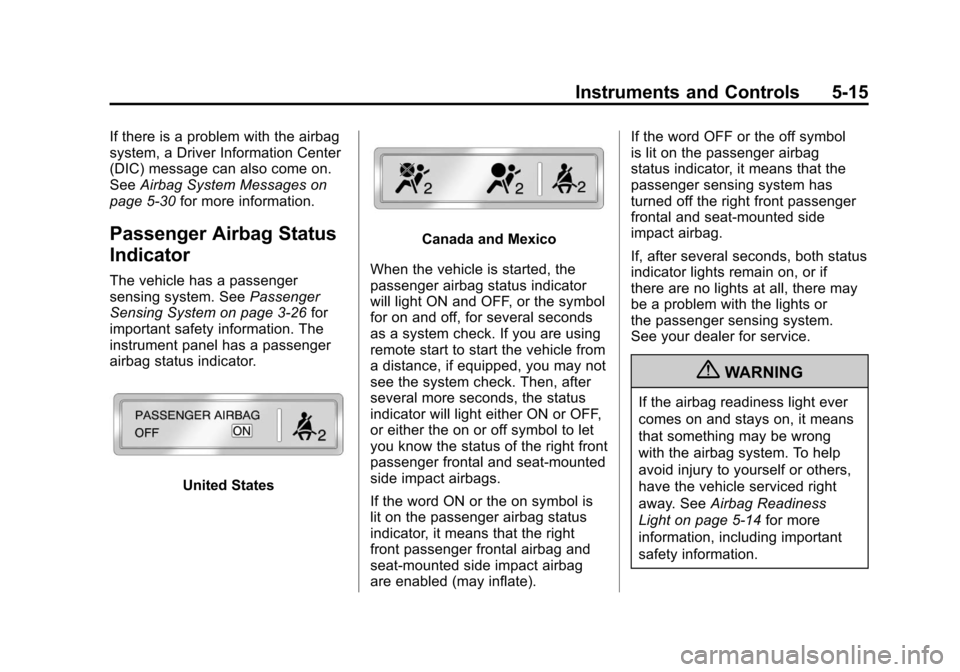
The vehicle has a passenger
sensing system. See Passenger
Sensing System on page 3‑26 for
important safety information. The
instrument panel has a passenger
airbag status indicator.
United States
Canada and Mexico
When the vehicle is started, the
passenger airbag status indicator
will light ON and OFF, or the symbol
for on and off, for several seconds
as a system check. If you are using
remote start to start the vehicle from
a distance, if equipped, you may not
see the system check. Then, after
several more seconds, the status
indicator will light either ON or OFF,
or either the on or off symbol to let
you know the status of the right front
passenger frontal and seat-mounted
side impact airbags.
If the word ON or the on symbol is
lit on the passenger airbag status
indicator, it means that the right
front passenger frontal airbag and
seat-mounted side impact airbag
are enabled (may inflate). If the word OFF or the off symbol
is lit on the passenger airbag
status indicator, it means that the
passenger sensing system has
turned off the right front passenger
frontal and seat-mounted side
impact airbag.
If, after several seconds, both status
indicator lights remain on, or if
there are no lights at all, there may
be a problem with the lights or
the passenger sensing system.
See your dealer for service.
{WARNING
If the airbag readiness light ever
comes on and stays on, it means
that something may be wrong
with the airbag system. To help
avoid injury to yourself or others,
have the vehicle serviced right
away. See
Airbag Readiness
Light on page 5‑14 for more
information, including important
safety information.
Page 138 of 398
Black plate (32,1)Chevrolet Malibu Owner Manual - 2012
5-32 Instruments and Controls
Personalization Menu Modes
OIL LIFE RESET
When this feature is displayed, you
can reset the engine oil life system.
To reset the system, seeEngine
Oil Life System on page 10‑12.
See “OIL LIFE” underDriver
Information Center (DIC) on
page 5‑24 for more information.
UNITS
This feature allows you to select
the units of measurement in which
the DIC will display the vehicle
information. When UNITS appears
on the display, press and hold the
reset button for at least one second
to scroll through the available
settings:
ENGLISH (default in United
States): All information will be
displayed in English units.
METRIC (default in Canada):
All information will be displayed in
metric units. To select a setting and move on
to the next feature, press the
information button while the desired
setting is displayed on the DIC.
REMOTE START
If your vehicle has remote start, this
feature allows remote start to be
turned off or on. Remote start allows
you to start the engine from outside
of the vehicle using your Remote
Keyless Entry (RKE) transmitter.
When REMOTE START appears on
the display, press and hold the reset
button for at least one second to
scroll through the available settings:
OFF:
The remote start feature will
be disabled.
ON (default): The remote start
feature will be enabled.
See Remote Vehicle Start on
page 2‑5 for more information.
To select a setting and move on to
the next feature, press the
information button while the desired
setting is displayed on the DIC. LOCK HORN
This feature, which allows the
vehicle's horn to chirp every time
the lock button on the Remote
Keyless Entry (RKE) transmitter
is pressed, can be enabled or
disabled. When LOCK HORN
appears on the display, press and
hold the reset button for at least
one second to scroll through the
available settings:
OFF (default):
The horn will not
chirp on the first press of the lock
button on the RKE transmitter.
The horn will still chirp on the
second press.
ON: The horn will chirp on the first
press of the lock button on the RKE
transmitter.
See Remote Keyless Entry (RKE)
System Operation on page 2‑3 for
more information.
To select a setting and move on
to the next feature, press the
information button while the desired
setting is displayed on the DIC.
Page 186 of 398
Black plate (4,1)Chevrolet Malibu Owner Manual - 2012
8-4 Climate Controls
When the vehicle or fan is turned off
and back on, the system defaults to
outside air automatically. Only use
recirculation mode when it is
needed for comfort, since window
fogging can occur.
To improve fuel efficiency and to
cool the vehicle faster, recirculation
may be automatically selected in
warm weather. The recirculation
light will not come on. To override
this feature, select outside air.
Rear Window Defogger
The rear window defogger uses a
warming grid to remove fog or frost
from the rear window.
1REAR:Press to turn the
rear window defogger on or off.
An indicator light comes on to show
that the rear window defogger is on.
Be sure to clear as much snow from
the rear window as possible. If driving below 80 km/h (50 mph),
the rear window defogger turns off
about 15 minutes after the button is
pressed. If turned on again, the
defogger only runs for about
seven minutes before turning off.
The defogger can also be turned
off by turning off the engine.
If the vehicle's speed is maintained
above 80 km/h (50 mph), the rear
window defogger remains on once
the button is pressed.
If the vehicle has heated outside
mirrors, the surface of the outside
mirrors heat when the rear window
defogger is activated. See
Heated
Mirrors on page 2‑14.
Notice: Do not use anything
sharp on the inside of the rear
window. If you do, you could cut
or damage the warming grid, and
the repairs would not be covered
by the vehicle warranty. Do not
attach a temporary vehicle
license, tape, a decal, or anything
similar to the defogger grid. Remote Start Climate Control
Operation
For vehicles with the remote start
feature, when it is activated the
climate control system heats or
cools the inside of the vehicle using
the modes that were set before the
vehicle was turned off. The climate
control knobs will remain active
during a remote start. However,
the climate control buttons will be
inactive until the ignition is turned
on by the key. If the fan is off, the
climate control system will not
operate during remote start.
See
Remote Keyless Entry (RKE)
System Operation on page 2‑3.
Page 191 of 398
Black plate (9,1)Chevrolet Malibu Owner Manual - 2012
Climate Controls 8-9
Remote Start Climate Control
Operation
For vehicles with remote start, when
it is activated the climate control
system heats and cools the inside of
the vehicle using the previous
system settings before the vehicle
was turned off. The climate control
knobs will remain active during a
remote start. However, the climate
control buttons will be inactive until
the ignition is turned on by the key.
If the fan is off, the climate control
system will not operate during
remote start.
With the automatic climate control
system, the climate control displays
“RS”in place of the temperature
to indicate that remote start is
activated. For best performance,
turn both the fan and mode knobs to
AUTO. If the temperature is cold
enough and the mode knob is set to
AUTO, the system begins in defrost
to clear the windows. See Remote
Keyless Entry (RKE) System
Operation on page 2‑3.Air Vents
Use the lever located in the center
of each outlet by moving it either up
and down or side-to-side, to change
the direction and amount of airflow
in the vehicle.
Operation Tips
.Clear away any ice, snow,
or leaves from the air inlets at
the base of the windshield that
may block the flow of air into the
vehicle.
.Do not use non-GM approved
hood deflectors as they could
adversely affect the performance
of the system.
.Keep the path under the front
seats clear of objects to help
circulate the air inside of the
vehicle more effectively.
.When an objectionable odor
outside the vehicle is
encountered, use the
recirculation mode, with the
temperature knob at a
comfortable setting to prevent
the odor from entering the
vehicle through the ventilation
system. This can be helpful
when driving through a long
tunnel with poor ventilation.
However, extended usage of this
mode in cold or cool weather
can cause window fogging.
Page 296 of 398
Black plate (56,1)Chevrolet Malibu Owner Manual - 2012
10-56 Vehicle Care
There are two minutes to match
the first tire/wheel position, and
five minutes overall to match all
four tire/wheel positions. If it takes
longer, the matching process stops
and must be restarted.
The TPMS matching process is:
1. Set the parking brake.
2. Turn the ignition to ON/RUN withthe engine off.
3. Press and hold the Remote Keyless Entry (RKE)
transmitter's LOCK and
UNLOCK buttons, at the same
time, for about five seconds to
start the TPMS learn mode.
The horn sounds twice indicating
the TPMS receiver is ready and
in learn mode.
4. Start with the driver side front tire. The driver side front turn
signal also comes on to indicate
that corner's sensor is ready to
be learned. 5. Place the relearn tool against
the tire sidewall, near the valve
stem. Then press the button to
activate the TPMS sensor.
A horn chirp confirms that the
sensor identification code has
been matched to this tire and
wheel position.
6. The passenger side front turn signal comes on to indicate that
corner sensor is ready to be
learned. Proceed to the
passenger side front tire and
repeat the procedure in Step 5.
7. The passenger side rear turn signal comes on to indicate that
corner sensor is ready to be
learned. Proceed to the
passenger side rear tire and
repeat the procedure in Step 5.
8. The driver side rear turn signal comes on to indicate that corner
sensor is ready to be learned.
Proceed to the driver side rear
tire, and repeat the procedure
in Step 5. 9. After hearing the single horn
chirp for the driver side rear tire,
two additional horn chirps sound
to indicate the tire learning
process is done. Turn the
ignition switch to LOCK/OFF.
If no tires are learned after
entering the TPMS learn mode,
or if communication with the
receiver stops, or if the time limit
has expired, turn the ignition
switch to LOCK/OFF and start
over beginning with Step 2.
10. Set all four tires to the recommended air pressure
level as indicated on the Tire
and Loading Information label.