2012 BMW 335I tow
[x] Cancel search: towPage 116 of 325
▷Off: the LED goes out.
The state is stored for the remote control cur‐
rently in use.
Configuring the warning time
After the warning function is switched on, the
warning time can be set via the iDrive. For a late
warning time, prewarning is deactivated.
These settings have no effect on the time of the
warning from the Active Cruise Control that
prompts the driver to intervene or brake.
Display in the instrument cluster
The collision warning can be issued in the in‐
strument cluster, in the Head-up Display, and
acoustically.
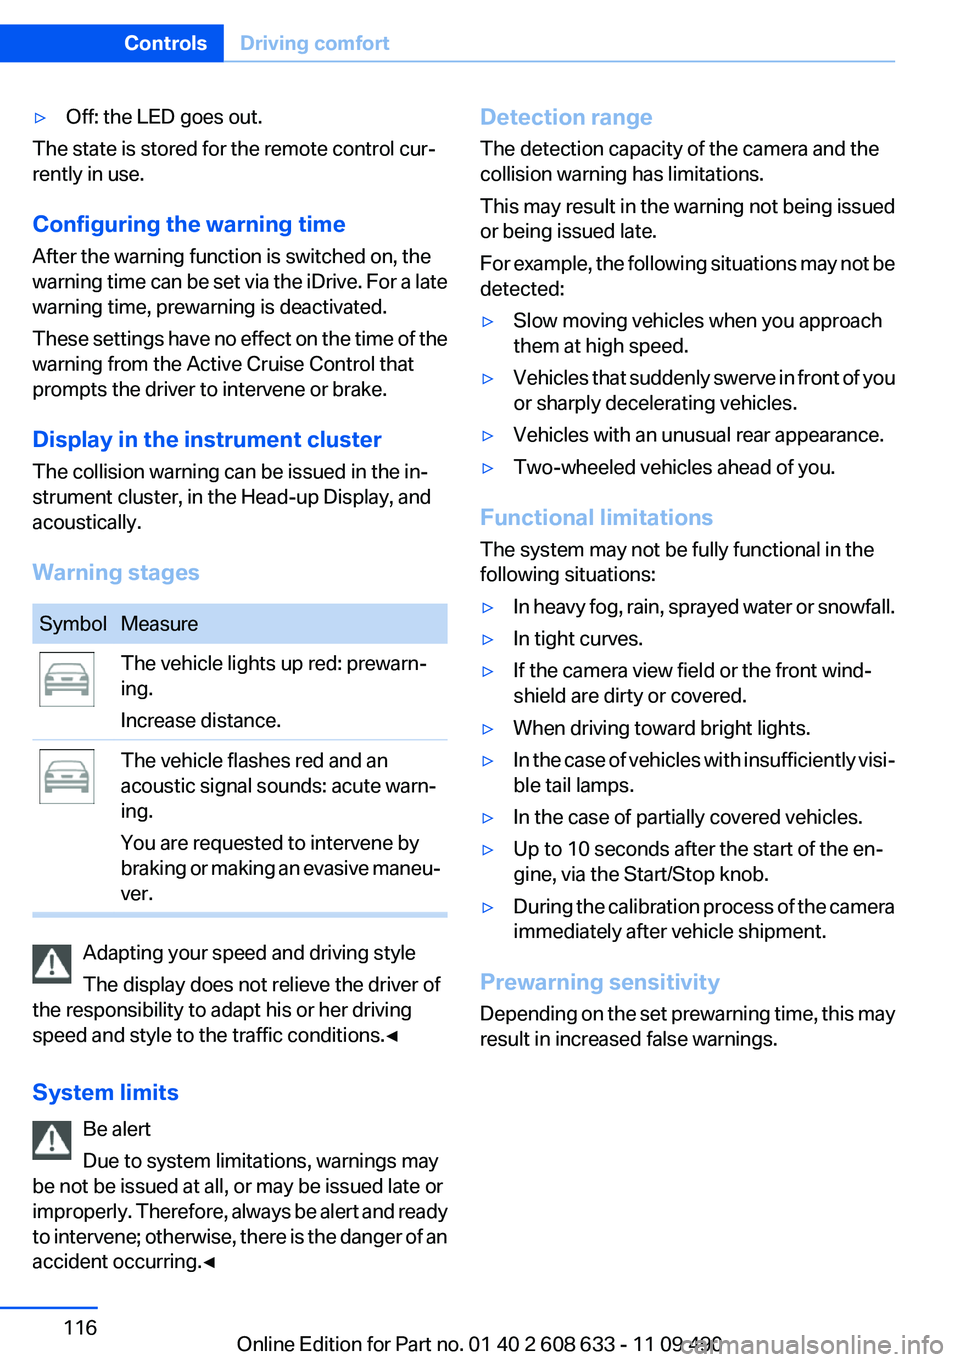
Warning stages
SymbolMeasureThe vehicle lights up red: prewarn‐
ing.
Increase distance.The vehicle flashes red and an
acoustic signal sounds: acute warn‐
ing.
You are requested to intervene by
braking or making an evasive maneu‐
ver.
Adapting your speed and driving style
The display does not relieve the driver of
the responsibility to adapt his or her driving
speed and style to the traffic conditions.◀
System limits Be alert
Due to system limitations, warnings may
be not be issued at all, or may be issued late or
improperly. Therefore, always be alert and ready
to intervene; otherwise, there is the danger of an
accident occurring.◀
Detection range
The detection capacity of the camera and the
collision warning has limitations.
This may result in the warning not being issued
or being issued late.
For example, the following situations may not be
detected:▷Slow moving vehicles when you approach
them at high speed.▷Vehicles that suddenly swerve in front of you
or sharply decelerating vehicles.▷Vehicles with an unusual rear appearance.▷Two-wheeled vehicles ahead of you.
Functional limitations
The system may not be fully functional in the
following situations:
▷In heavy fog, rain, sprayed water or snowfall.▷In tight curves.▷If the camera view field or the front wind‐
shield are dirty or covered.▷When driving toward bright lights.▷In the case of vehicles with insufficiently visi‐
ble tail lamps.▷In the case of partially covered vehicles.▷Up to 10 seconds after the start of the en‐
gine, via the Start/Stop knob.▷During the calibration process of the camera
immediately after vehicle shipment.
Prewarning sensitivity
Depending on the set prewarning time, this may
result in increased false warnings.
Seite 116ControlsDriving comfort116
Online Edition for Part no. 01 40 2 608 633 - 11 09 490
Page 117 of 325

Camera
The camera is located near the base of the mir‐
ror.
Keep windshield clean and clear in the area in
front of the interior rear view mirror.
Collision warning with
braking function
The concept
If the vehicle is equipped with Active Cruise
Control with Stop & Go, the collision warning is
controlled via the cruise control radar sensor.
The system issues a two-phase warning of a
danger of collision at speeds above approx.
10 mph/15 km/h. The time of these warnings
may vary depending on the current driving sit‐
uation.
The collision warning is available even if cruise
control has been deactivated.
It responds to stationary or moving objects that
are within the detection range of the radar sys‐
tem.
When the vehicle is intentionally brought into
contact with a vehicle, the collision warning is
delayed to avoid false warnings.
Warning stages
Prewarning
This warning is issued, for example, when there
is the impending danger of a collision or the dis‐
tance to the vehicle ahead is too small.
Acute warning with braking function
Warning of the imminent danger of a collision
when the vehicle approaches another object at
a relatively high differential speed.
The acute warning prompts the driver to inter‐
vene and, if there is the danger of a collision, is
accompanied by a braking intervention.
The braking intervention is executed with lim‐
ited braking force and for a brief period only. The
intervention cannot bring the vehicle to a com‐
plete standstill.
The braking intervention is executed only if DSC
Dynamic Stability Control is switched on.
Adapting your speed and driving style
The acute warning does not relieve the
driver of the responsibility to adapt his or her
driving speed and style to the traffic condi‐
tions.◀
The braking intervention can be interrupted by
pressing on the accelerator or by actively mov‐
ing the steering wheel.
When towing or tow-starting the vehicle, switch
off the collision warning with braking function to
prevent undesired interventions.
The braking function is deactivated if the DSC
Dynamic Stability Control or DTC Dynamic
Traction Control is deactivated.Seite 117Driving comfortControls117
Online Edition for Part no. 01 40 2 608 633 - 11 09 490
Page 121 of 325

If --- appears briefly on the display for Check
Control messages, it is possible that the system
requirements for operation are currently not
met.
PDC Park Distance Control
The concept
In addition to the PDC Park Distance Control, the
backup camera, refer to page 123, can be
switched on.
PDC supports you when parking. Objects that
you are approaching slowly in front of or behind
your vehicle are indicated with:▷Signal tones.▷Visual display.
Measurement
Measurements are made by ultrasound sensors
in the bumpers.
The range is approx. 6 ft/2 m.
An acoustic warning is first given:
▷By the front sensors and two rear corner
sensors at approx. 24 in/60 cm.▷By the rear middle sensors at approx. 5 ft/
1.50 m.
System limits
Check the traffic situation as well
PDC cannot serve as a substitute for the
driver's personal judgment of the traffic situa‐
tion. Check the traffic situation around the vehi‐
cle with your own eyes. Otherwise, an accident
could result from road users or objects located
outside of the PDC detection range.
Loud noises from outside and inside the vehicle
may prevent you from hearing the PDC's signal
tone.◀
Avoid driving quickly with PDC
Avoid approaching an object quickly.
Avoid driving away quickly while PDC is not yet
active.
For technical reasons, the system may other‐
wise be too late in issuing a warning.◀
Limits of ultrasonic measurement
The detection of objects can reach the physical
limits of ultrasonic measurement, e.g.:▷With tow bars and trailer hitches.▷With thin or wedge-shaped objects.▷With low objects.▷With objects with corners and sharp edges.
Low objects already displayed, e.g., curbs, can
move into the blind area of the sensors before or
after a continuous tone sounds.
High, protruding objects such as ledges may not
be detected.
False warnings
PDC may issue a warning under the following
conditions even though there is no obstacle
within the detection range:
▷In heavy rain.▷When sensors are very dirty or covered in
ice.▷When sensors are covered in snow.▷On rough road surfaces.▷In large buildings with right angles and
smooth walls, e.g., in underground garages.▷In heavy exhaust.▷Due to other ultrasound sources, e.g.,
sweeping machines, high pressure steam
cleaners or neon lights.
The malfunction is signaled by a continuous
tone alternating between the front and rear
speakers. As soon as the malfunction due to
other ultrasound sources is no longer
present, the system is again fully functional.Seite 121Driving comfortControls121
Online Edition for Part no. 01 40 2 608 633 - 11 09 490
Page 133 of 325

▷With tow bars and trailer hitches.▷With thin or wedge-shaped objects.▷With elevated, protruding objects such as
ledges or cargo.▷With objects with corners and sharp edges.▷With objects with a fine surface structure,
such as fences.
The parking assistant may identify parking
spaces that are not suitable for parking.
Ultrasound sensors
The ultrasound sensors for measuring parking
spaces are located on the wheel arches.
To ensure full operability:
▷Keep the sensors clean and free of ice.▷When using high-pressure washers, do not
spray the sensors for long periods and main‐
tain a distance of at least 12 in/30 cm.Seite 133Driving comfortControls133
Online Edition for Part no. 01 40 2 608 633 - 11 09 490
Page 135 of 325
Climate control functions in detail
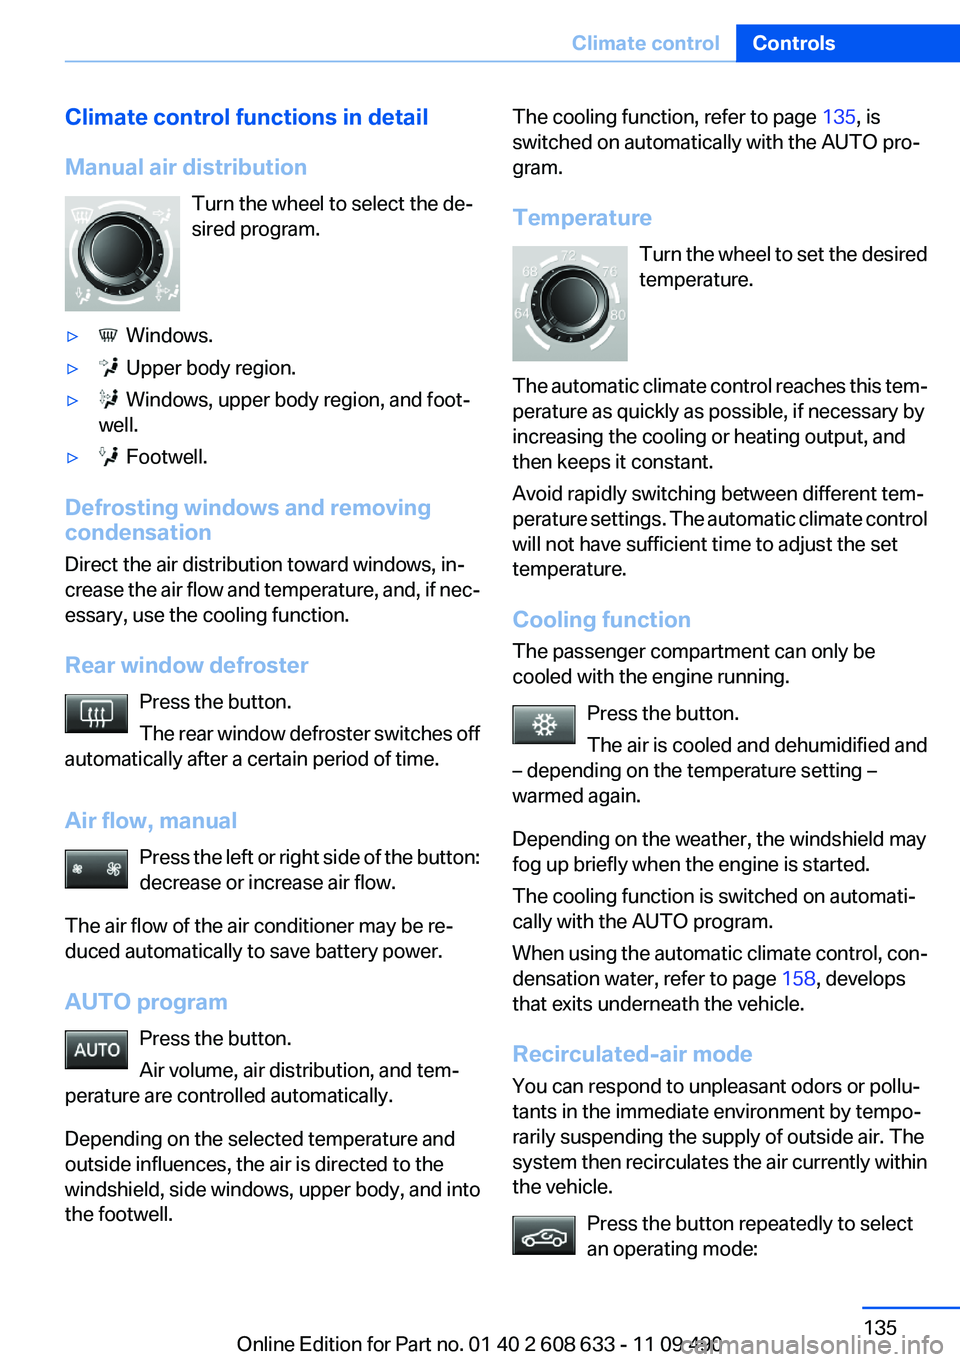
Manual air distribution Turn the wheel to select the de‐
sired program.▷ Windows.▷ Upper body region.▷ Windows, upper body region, and foot‐
well.▷ Footwell.
Defrosting windows and removing
condensation
Direct the air distribution toward windows, in‐
crease the air flow and temperature, and, if nec‐
essary, use the cooling function.
Rear window defroster Press the button.
The rear window defroster switches off
automatically after a certain period of time.
Air flow, manual Press the left or right side of the button:
decrease or increase air flow.
The air flow of the air conditioner may be re‐
duced automatically to save battery power.
AUTO program Press the button.
Air volume, air distribution, and tem‐
perature are controlled automatically.
Depending on the selected temperature and
outside influences, the air is directed to the
windshield, side windows, upper body, and into
the footwell.
The cooling function, refer to page 135, is
switched on automatically with the AUTO pro‐
gram.
Temperature Turn the wheel to set the desired
temperature.
The automatic climate control reaches this tem‐
perature as quickly as possible, if necessary by
increasing the cooling or heating output, and
then keeps it constant.
Avoid rapidly switching between different tem‐
perature settings. The automatic climate control
will not have sufficient time to adjust the set
temperature.
Cooling function
The passenger compartment can only be
cooled with the engine running.
Press the button.
The air is cooled and dehumidified and
– depending on the temperature setting –
warmed again.
Depending on the weather, the windshield may
fog up briefly when the engine is started.
The cooling function is switched on automati‐
cally with the AUTO program.
When using the automatic climate control, con‐
densation water, refer to page 158, develops
that exits underneath the vehicle.
Recirculated-air mode
You can respond to unpleasant odors or pollu‐
tants in the immediate environment by tempo‐
rarily suspending the supply of outside air. The
system then recirculates the air currently within
the vehicle.
Press the button repeatedly to select
an operating mode:Seite 135Climate controlControls135
Online Edition for Part no. 01 40 2 608 633 - 11 09 490
Page 139 of 325
Microfilter/activated-charcoal filter,
recirculated-air filter
The microfilter removes dust and pollen from
the incoming air.
The activated-charcoal filter removes gaseous
pollutants from the outside air that enters the
vehicle.
The recirculated-air filter removes dust from the
interior air in recirculated-air mode.
These filters should be replaced during sched‐
uled maintenance, refer to page 277, of your
vehicle.
Ventilation
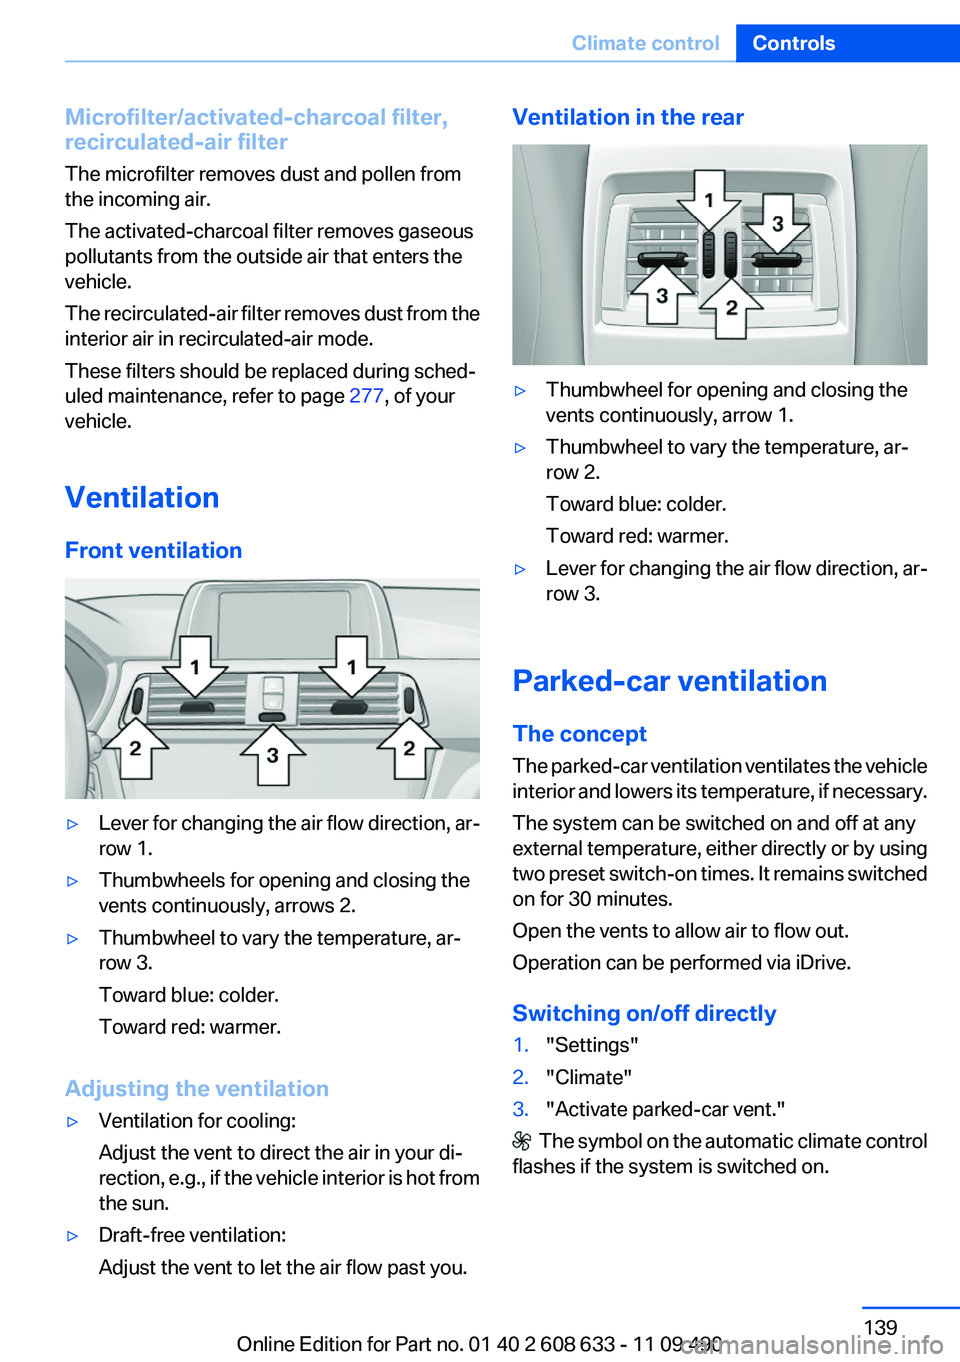
Front ventilation▷Lever for changing the air flow direction, ar‐
row 1.▷Thumbwheels for opening and closing the
vents continuously, arrows 2.▷Thumbwheel to vary the temperature, ar‐
row 3.
Toward blue: colder.
Toward red: warmer.
Adjusting the ventilation
▷Ventilation for cooling:
Adjust the vent to direct the air in your di‐
rection, e.g., if the vehicle interior is hot from
the sun.▷Draft-free ventilation:
Adjust the vent to let the air flow past you.Ventilation in the rear▷Thumbwheel for opening and closing the
vents continuously, arrow 1.▷Thumbwheel to vary the temperature, ar‐
row 2.
Toward blue: colder.
Toward red: warmer.▷Lever for changing the air flow direction, ar‐
row 3.
Parked-car ventilation
The concept
The parked-car ventilation ventilates the vehicle
interior and lowers its temperature, if necessary.
The system can be switched on and off at any
external temperature, either directly or by using
two preset switch-on times. It remains switched
on for 30 minutes.
Open the vents to allow air to flow out.
Operation can be performed via iDrive.
Switching on/off directly
1."Settings"2."Climate"3."Activate parked-car vent."
The symbol on the automatic climate control
flashes if the system is switched on.
Seite 139Climate controlControls139
Online Edition for Part no. 01 40 2 608 633 - 11 09 490
Page 148 of 325
Storage compartmentsVehicle equipment
All standard, country-specific and optional
equipment that is offered in the model series is
described in this chapter. Therefore, equipment
is also described that is not available in a vehicle,
e. g., because of the selected optional equip‐
ment or country variant. This also applies for
safety-related functions and systems.
Notes No loose objects in the passenger com‐
partment
Do not stow any objects in the passenger com‐
partment without securing them; otherwise,
they may present a danger to occupants for in‐
stance during braking and avoidance maneu‐
vers.◀
Do not place anti-slip mats on the dash‐
board
Do not place anti-slip mats on the dashboard.
The mat materials could damage the dash‐
board.◀
Storage compartments
The following storage compartments are avail‐
able in the vehicle interior:▷Glove compartment on the front passenger
side, refer to page 148.▷Without Smoker's package: Front storage
compartment, in front of the cupholders, re‐
fer to page 149.▷Storage compartment in the front center
armrest, refer to page 149.▷Compartments in the doors, refer to
page 149.▷Nets on the backrests of the front seats.▷Storage compartment in the rear center
console, refer to page 150.
Glove compartment
Front passenger side
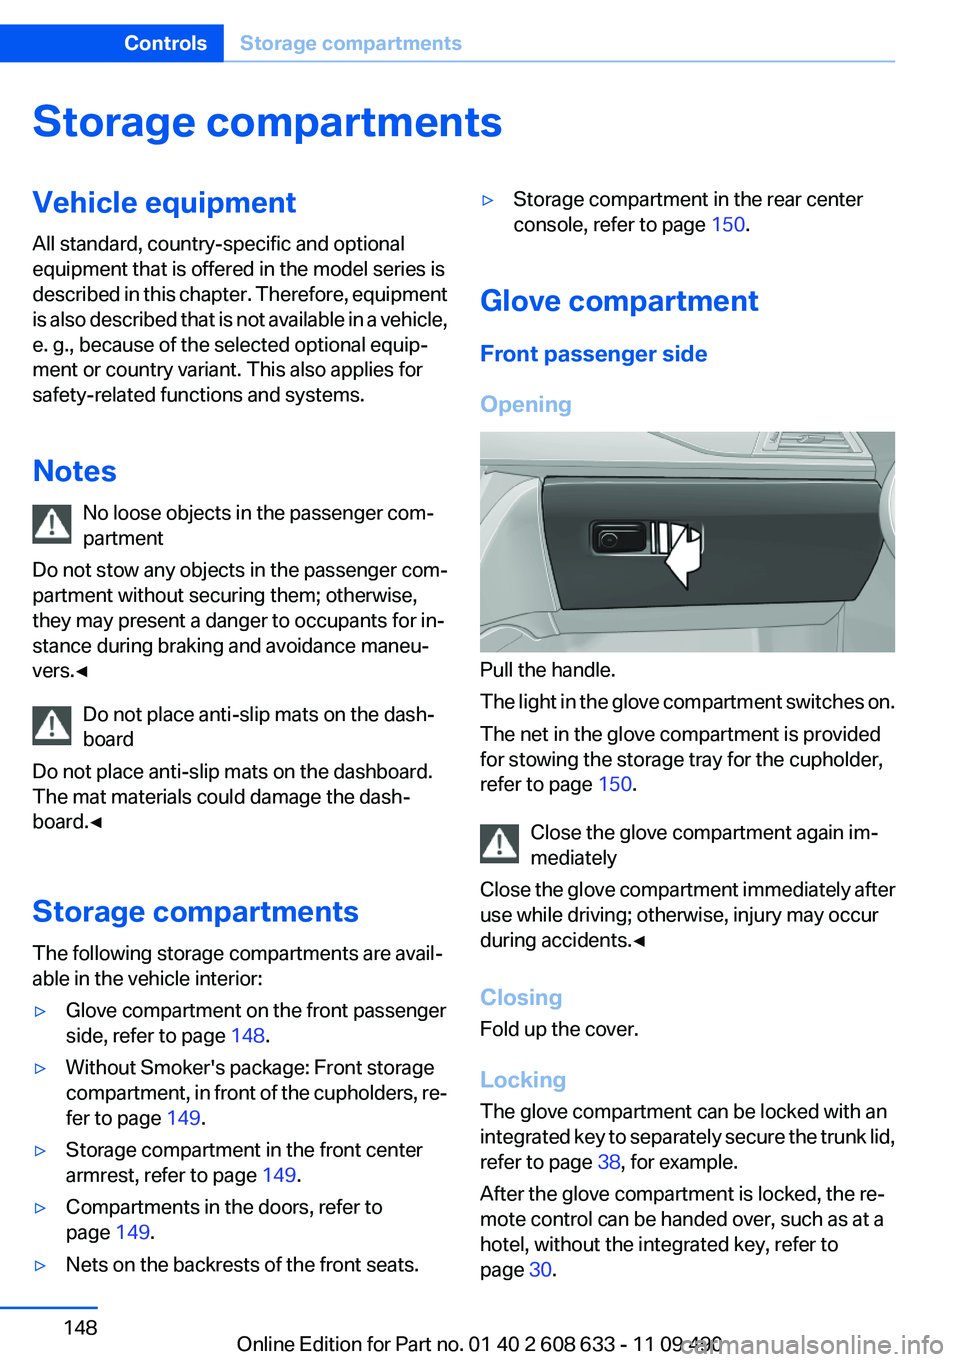
Opening
Pull the handle.
The light in the glove compartment switches on.
The net in the glove compartment is provided
for stowing the storage tray for the cupholder,
refer to page 150.
Close the glove compartment again im‐
mediately
Close the glove compartment immediately after
use while driving; otherwise, injury may occur
during accidents.◀
Closing
Fold up the cover.
Locking
The glove compartment can be locked with an
integrated key to separately secure the trunk lid,
refer to page 38, for example.
After the glove compartment is locked, the re‐
mote control can be handed over, such as at a
hotel, without the integrated key, refer to
page 30.
Seite 148ControlsStorage compartments148
Online Edition for Part no. 01 40 2 608 633 - 11 09 490
Page 149 of 325
This prevents access to the glove compartment
and to the cargo area.
USB interface for data transfer
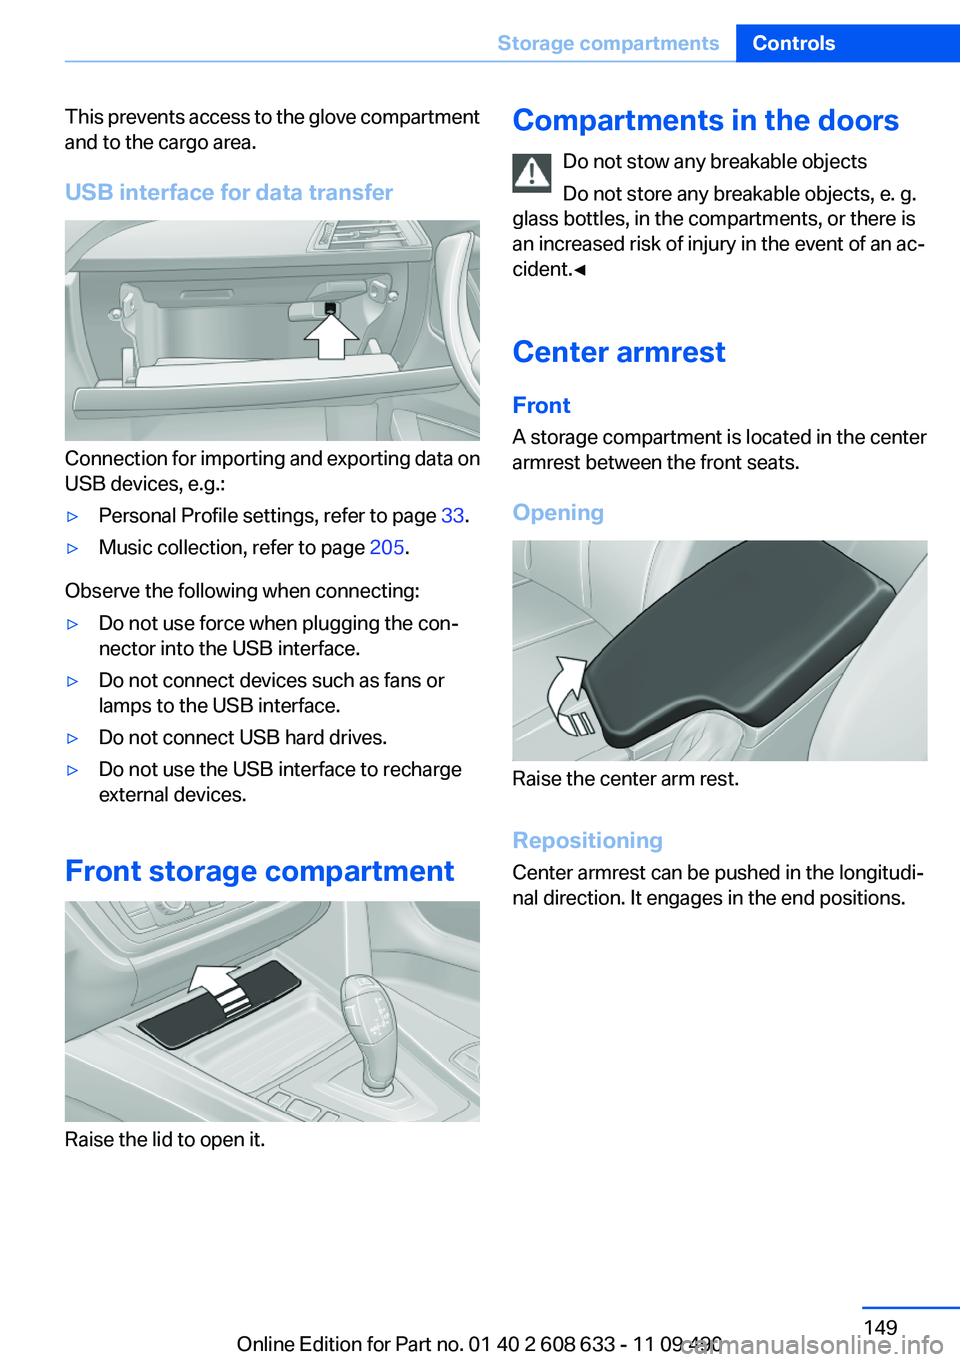
Connection for importing and exporting data on
USB devices, e.g.:
▷Personal Profile settings, refer to page 33.▷Music collection, refer to page 205.
Observe the following when connecting:
▷Do not use force when plugging the con‐
nector into the USB interface.▷Do not connect devices such as fans or
lamps to the USB interface.▷Do not connect USB hard drives.▷Do not use the USB interface to recharge
external devices.
Front storage compartment
Raise the lid to open it.
Compartments in the doors
Do not stow any breakable objects
Do not store any breakable objects, e. g.
glass bottles, in the compartments, or there is
an increased risk of injury in the event of an ac‐
cident.◀
Center armrest
Front
A storage compartment is located in the center
armrest between the front seats.
Opening
Raise the center arm rest.
Repositioning
Center armrest can be pushed in the longitudi‐
nal direction. It engages in the end positions.
Seite 149Storage compartmentsControls149
Online Edition for Part no. 01 40 2 608 633 - 11 09 490