2012 BMW 128I COUPE navigation
[x] Cancel search: navigationPage 130 of 272

Destination entry
128
Using the home address as a
destination
The home address must be created. Specifying
a home address, refer to page198.
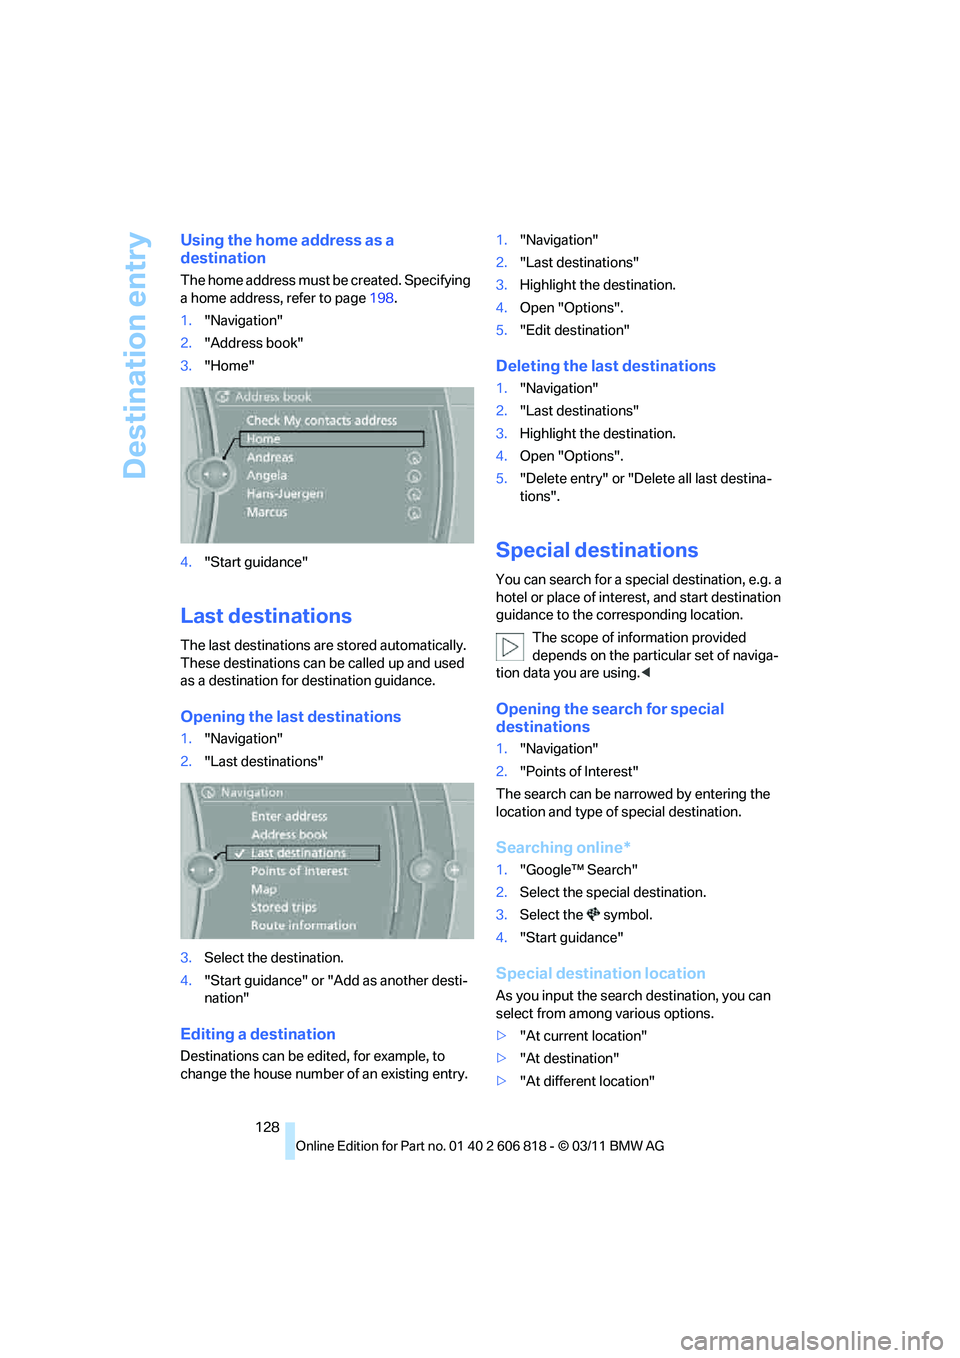
1."Navigation"
2."Address book"
3."Home"
4."Start guidance"
Last destinations
The last destinations are stored automatically.
These destinations can be called up and used
as a destination for destination guidance.
Opening the last destinations
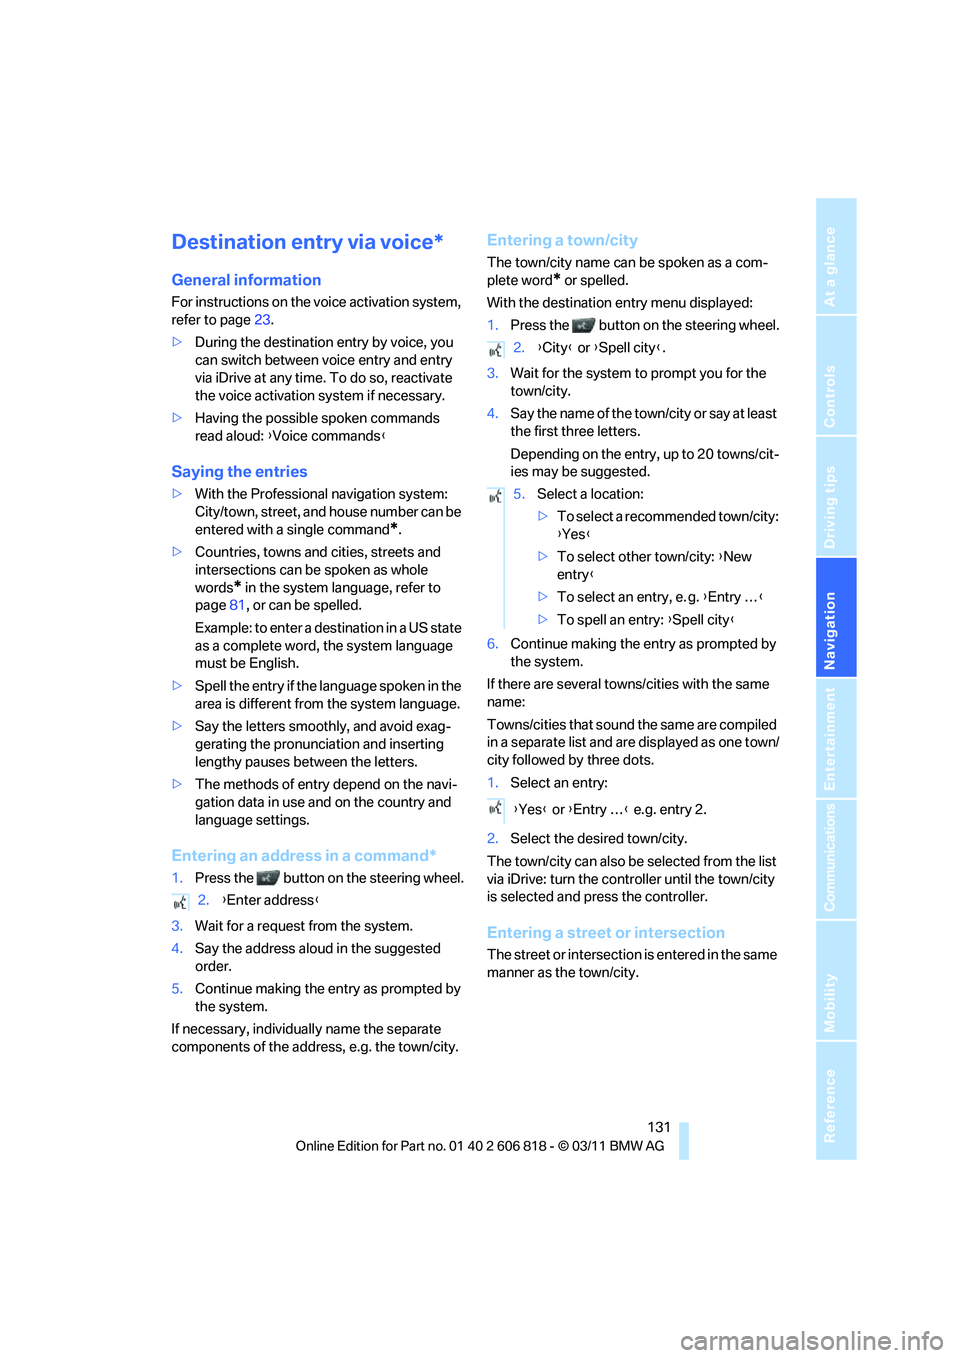
1."Navigation"
2."Last destinations"
3.Select the destination.
4."Start guidance" or "Add as another desti-
nation"
Editing a destination
Destinations can be edited, for example, to
change the house number of an existing entry.1."Navigation"
2."Last destinations"
3.Highlight the destination.
4.Open "Options".
5."Edit destination"
Deleting the last destinations
1."Navigation"
2."Last destinations"
3.Highlight the destination.
4.Open "Options".
5."Delete entry" or "Delete all last destina-
tions".
Special destinations
You can search for a special destination, e.g. a
hotel or place of interest, and start destination
guidance to the corresponding location.
The scope of information provided
depends on the particular set of naviga-
tion data you are using.<
Opening the search for special
destinations
1."Navigation"
2."Points of Interest"
The search can be narrowed by entering the
location and type of special destination.
Searching online*
1."Google™ Search"
2.Select the special destination.
3.Select the symbol.
4."Start guidance"
Special destination location
As you input the search destination, you can
select from among various options.
>"At current location"
>"At destination"
>"At different location"
Page 131 of 272

Navigation
Driving tips
129Reference
At a glance
Controls
Communications
Entertainment
Mobility
>"Along route"
A-Z search
1."A-Z search"
2."Town/City"
3.Select or enter town/city.
4."Category"
5.Select category.
6."Category details"
For some special destinations, it is possible
to select several category details.
Move the controller toward the left to exit
category details.
7."Keyword"
8.Enter keyword.
A list of the special destinations is dis-
played.
9.Select the special destination.
Details are displayed.
If several details are stored, then you can
scroll through the pages.
If a phone number is available, a connection
can be established, if desired.
10.Select the symbol.
11."Start guidance" or "Add as another desti-
nation". Adding destination as another des-
tination, refer to page132.
"Start search": without entering a search term,
the search is repeated with the last stored
search term.
Category search
1."Category search"
2."Town/City"
3.Select or enter town/city.
4."Category"
5.Select category.
6."Category details"
For some special destinations, it is possible
to select several category details.
Move the controller toward the left to exit
category details.7."Start search"
A list of the special destinations is dis-
played.
8.Select the special destination.
Details are displayed.
If several details are stored, then you can
scroll through the pages.
If a phone number is available, a connection
can be established, if desired.
9.Select the symbol.
10."Start guidance" or "Add as another desti-
nation". Adding destination as another des-
tination, refer to page132.
Displaying special destinations
List of special destinations: the special destina-
tions are displayed in order of their distance and
are displayed with a direction arrow pointing
toward the destination.
With the Professional navigation system:
In the split screen, special destinations from the
selected category are displayed as symbols in
the map view. The display depends on the map
scale and the category.
Destination entry via BMW Assist*
A connection to the BMW Concierge service is
established, refer to page199.
1."Navigation"
2."Enter address"
3.Open "Options".
4."BMW Assist dest. entry"
Displaying special destinations in the
map
To display symbols of the special destinations
in the map:
1."Navigation"
2."Map"
3.Open "Options".
Page 132 of 272

Destination entry
130 4."Display Points of Interest"
5.Select the settings.
Destination entry via map
If you only know the location of a destination or
street, then you can enter the destination with
the aid of the map.
Selecting the destination
1."Navigation"
2."Map"
The current position of the vehicle is displayed
on the map.
3."Interactive map"
4.Select the destination with the cross-hairs.
>To change the scale: turn the controller.
>To shift the map: move the controller in
the required direction.
>To shift the map diagonally: move the
controller in the required direction and
turn it.5.Press the controller to display additional
menu items.
>Select the symbol: "Start guidance"
or "Add as another destination".
>"Find points of interest": the search for
special destinations is started.
Specifying the street
If the system cannot recognize a street, it dis-
plays one of the following pieces of information:
>A street name in the vicinity.
>The district.
>The coordinates of the destination.
Interactive map
In the interactive map, the scale can be adjusted
and the visible map section can be shifted. In
addition, pressing the controller makes further
functions available:
>Select the symbol.
"Start guidance" or "Add as another
destination".
>"Exit interactive map":
Go back to the map view.
>"View in northern direction" or "View in
driving direction".
>"Display destination": the section of the
map around the destination is displayed.
>"Display current location":
The section of the map around the cur-
rent position is displayed.
>"Find points of interest", refer to
page128.
Page 133 of 272

Navigation
Driving tips
131Reference
At a glance
Controls
Communications
Entertainment
Mobility
Destination entry via voice*
General information
For instructions on the voice activation system,
refer to page23.
>During the destination entry by voice, you
can switch between voice entry and entry
via iDrive at any time. To do so, reactivate
the voice activation system if necessary.
>Having the possible spoken commands
read aloud: {Voice commands}
Saying the entries
>With the Professional navigation system:
City/town, street, and house number can be
entered with a single command
*.
>Countries, towns and cities, streets and
intersections can be spoken as whole
words
* in the system language, refer to
page81, or can be spelled.
Example: to enter a destination in a US state
as a complete word, the system language
must be English.
>Spell the entry if the language spoken in the
area is different from the system language.
>Say the letters smoothly, and avoid exag-
gerating the pronunciation and inserting
lengthy pauses between the letters.
>The methods of entry depend on the navi-
gation data in use and on the country and
language settings.
Entering an address in a command*
1.Press the button on the steering wheel.
3.Wait for a request from the system.
4.Say the address aloud in the suggested
order.
5.Continue making the entry as prompted by
the system.
If necessary, individually name the separate
components of the address, e.g. the town/city.
Entering a town/city
The town/city name can be spoken as a com-
plete word
* or spelled.
With the destination entry menu displayed:
1.Press the button on the steering wheel.
3.Wait for the system to prompt you for the
town/city.
4.Say the name of the town/city or say at least
the first three letters.
Depending on the entry, up to 20 towns/cit-
ies may be suggested.
6.Continue making the entry as prompted by
the system.
If there are several towns/cities with the same
name:
Towns/cities that sound the same are compiled
in a separate list and are displayed as one town/
city followed by three dots.
1.Select an entry:
2.Select the desired town/city.
The town/city can also be selected from the list
via iDrive: turn the controller until the town/city
is selected and press the controller.
Entering a street or intersection
The street or intersection is entered in the same
manner as the town/city. 2.{Enter address}
2.{City} or {Spell city}.
5.Select a location:
>To select a recommended town/city:
{Yes}
>To select other town/city: {New
entry}
>To select an entry, e. g. {Entry …}
>To spell an entry: {Spell city}
{Yes} or {Entry …} e.g. entry 2.
Page 134 of 272

Destination entry
132
Entering a house number
Depending on the data in the navigation sys-
tem, house numbers up to the number 2,000
can be entered:
Starting destination guidance
Destination guidance starts immediately.
Planning a trip with
intermediate destinations
New trip
A trip can be planned using intermediate desti-
nations.
1."Navigation"
2."Map"
3.Move the controller to the left, if necessary.
4."Guidance"
5."Enter new destination"
6.Select the type of destination entry.
7.Enter the intermediate destination.
8."Start guidance"
Entering intermediate destinations
A maximum of 30 intermediate destinations can
be entered for one trip.
1."Enter new destination"
2.Select the type of destination entry.
3.Enter the intermediate destination.
4."Add as another destination"
The intermediate destination is inserted
into the destination list and highlighted.
5.Turn the controller until the intermediate
destination is at the desired place in the list.
6.Press the controller.
Starting the trip
After entering all intermediate destinations,
highlight the first destination and say "Start
guidance"
For example if the second destination is high-
lighted at the start of route guidance, then the
first destination is skipped over.
The symbol indicates the active intermedi-
ate destination.
Storing a trip
Up to 30 trips can be stored in the trip list.
Delete existing trips as necessary to permit you
to store new trips.
1.Open "Options".
2."Store trip"
3.Enter a name.
4."OK"
The trip is stored in the trip list under the
entered name.
Selecting a stored trip
1."Navigation"
2."Stored trips"
3.Select the desired trip.
4."Start guidance" 1.{House number}
2.Say the house number.
Say each digit separately.
3.Continue making the entry as prompted
by the system.
{Start guidance}
Page 135 of 272

Navigation
Driving tips
133Reference
At a glance
Controls
Communications
Entertainment
Mobility
Changin a trip
Changing the trip direction
Intermediate destinations are displayed in
reverse order in the list.
1."Map"
2."Guidance"
3.Open "Options".
4."Reverse order of trip dest."
Options for intermediate destinations
1."Map"
2."Guidance"
3."Display all trip destinations"
4.Select an intermediate destination.
>"Edit destination"
>"Reposition dest. in the trip": move the
intermediate destination within the list.
>"Delete dest. in the trip"
>"Go to next dest. in the trip"
Some options are not possible for some trips.
Deleting a stored trip
1."Navigation"
2."Stored trips"
3.Select the desired trip.
4.Open "Options".
5."Delete all trips" or "Delete trip".
Selecting last trip
1."Navigation"
2."Stored trips"
3."Last trip"
4."Start guidance"
Page 136 of 272

Destination guidance
134
Destination guidance
Starting destination
guidance
1."Navigation"
2.Entering a destination, refer to page125.
3."Accept destination"
4."Start guidance"
The route is displayed on the Control Display
after it is calculated.
In the map view, the distance to the destination/
intermediate destination and the estimated
time of arrival are displayed.
The arrow display appears on the Control Dis-
play, if so desired.
Terminating destination
guidance
1."Navigation"
2."Map"
3."Guidance"
4."Stop guidance"
Continuing destination
guidance
If the destination was not reached during the
last trip, destination guidance can be resumed.
"Resume guidance"
Route criteria
General information
>You can influence the calculated route by
selecting certain trip criteria.
>Route criteria can be changed during desti-
nation entry and during route guidance.>Street types are part of the navigation data
and are taken into account in route plan-
ning, e.g. avoiding highways.
>The proposed route can differ from per-
sonal experience.
>The settings are stored for the remote con-
trol currently in use.
>Route guidance with traffic bulletins, refer
to page140.
Changing route criteria
1."Navigation"
2."Map"
3."Route preference"
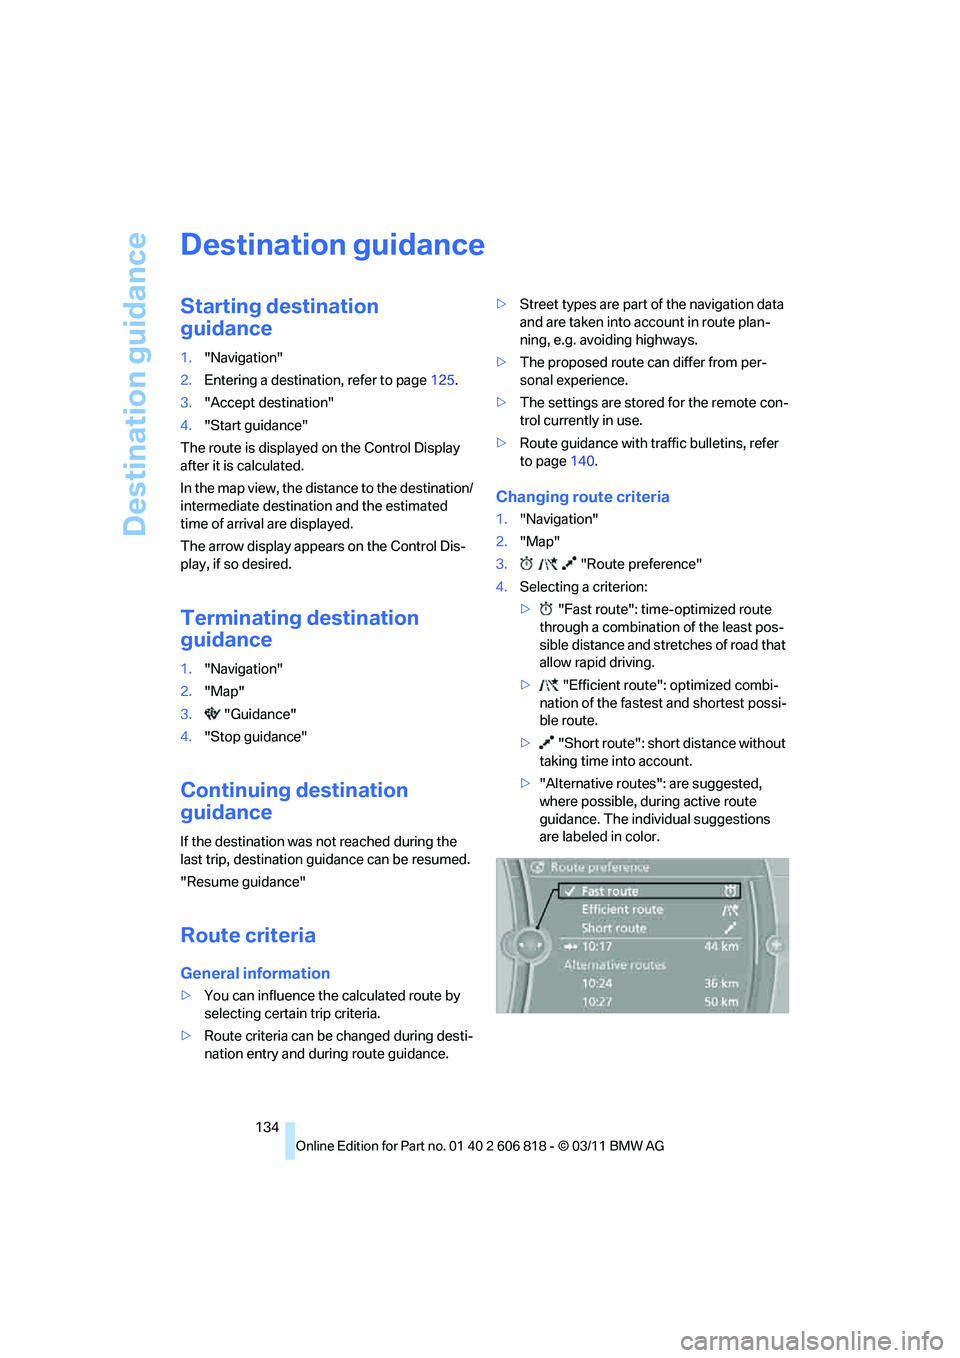
4.Selecting a criterion:
>"Fast route": time-optimized route
through a combination of the least pos-
sible distance and stretches of road that
allow rapid driving.
>"Efficient route": optimized combi-
nation of the fastest and shortest possi-
ble route.
>"Short route": short distance without
taking time into account.
>"Alternative routes": are suggested,
where possible, during active route
guidance. The individual suggestions
are labeled in color.
Page 137 of 272

Navigation
Driving tips
135Reference
At a glance
Controls
Communications
Entertainment
Mobility
5.Select additional route criteria, if desired.
Where possible, the selected criteria will be
avoided on the route.
>"Avoid highways": highways are avoided
where possible.
>"Avoid toll roads": toll roads are avoided
where possible.
>"Avoid ferries": ferries are avoided
where possible.
The setting applies to the current route and to
the planning of future routes.
Route
General information
Depending on your vehicle's equipment, vari-
ous views of the route are available during route
guidance:
>Arrow display on the Control Display.
>List of route segments.
>Map view, refer to page136.
Arrow display
The following information is displayed during
route guidance:
>Large arrow: current direction of travel.
>Small arrow: indicates the next change of
direction.
>Intersection view.
>Lane information.
>Traffic bulletins.
>Distance to the next change of direction.
>Street name of the next change of direction.
Lane information
In the arrow display, the recommended lanes of
multi-lane roads are each marked with a trian-
gle.
>Filled triangle: optimum lane.
>Empty triangle: likewise possible lane. It
can, however, also be possible to briefly
make additional lane changes.
Displaying the list of route segments
If the route guidance has been started, then you
can display a list of route segments. The dis-
tance to be traveled and traffic bulletins are dis-
played for each segment of the route.
1."Navigation"
2."Route information"
3.Highlight the route segment.
The route segment is displayed in the preview
map.
Bypassing a section of the route
During route guidance, prompt the navigation
system to bypass certain route segments. In
doing so, you will specify how many kilometers
to travel before returning to the original route.
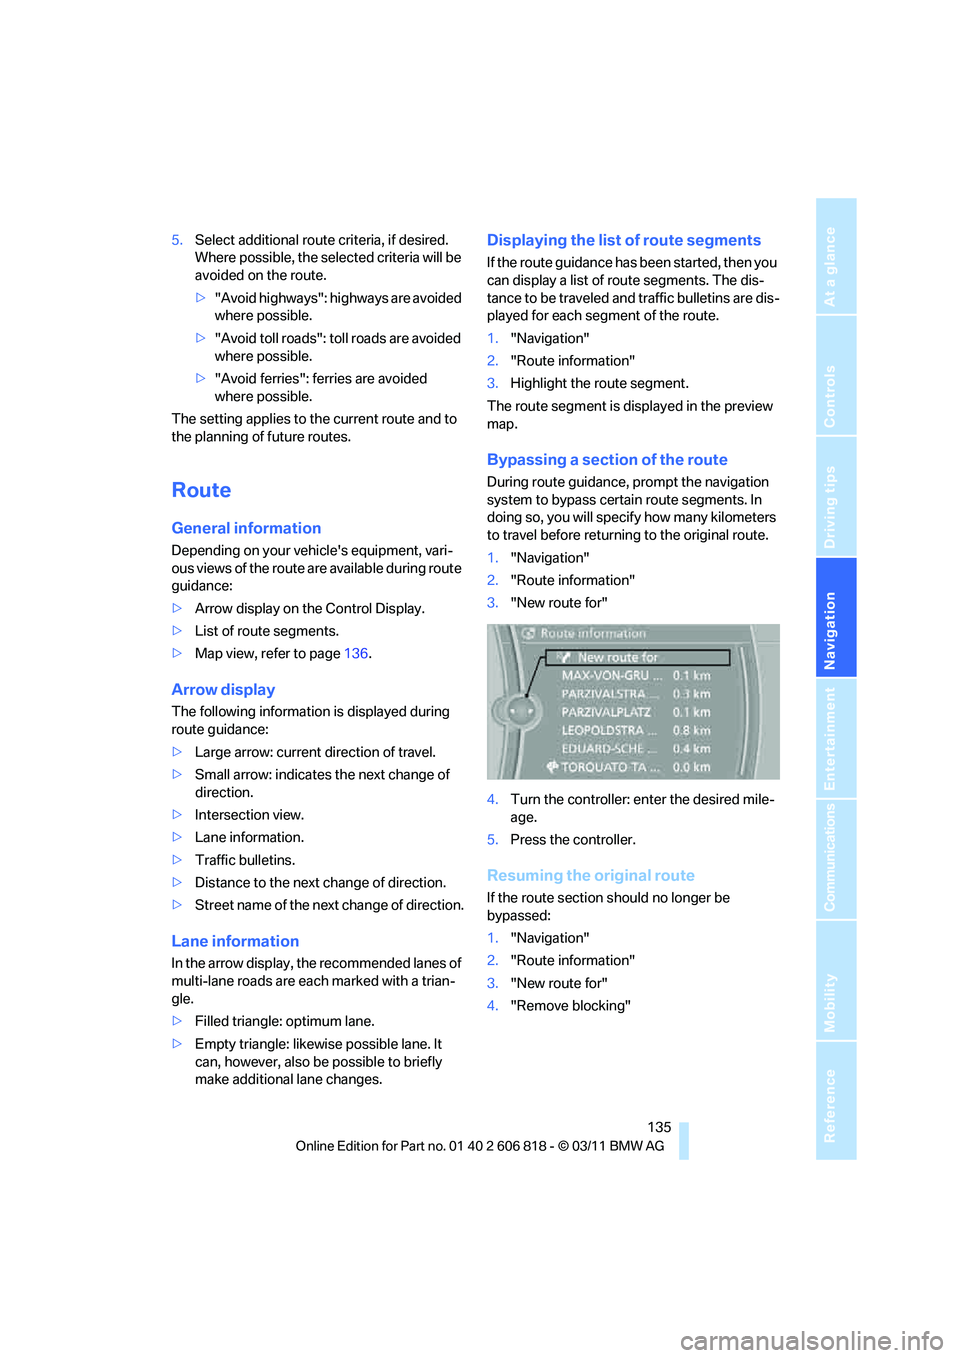
1."Navigation"
2."Route information"
3."New route for"
4.Turn the controller: enter the desired mile-
age.
5.Press the controller.
Resuming the original route
If the route section should no longer be
bypassed:
1."Navigation"
2."Route information"
3."New route for"
4."Remove blocking"