2011 VOLKSWAGEN TRANSPORTER fuel pressure
[x] Cancel search: fuel pressurePage 17 of 486
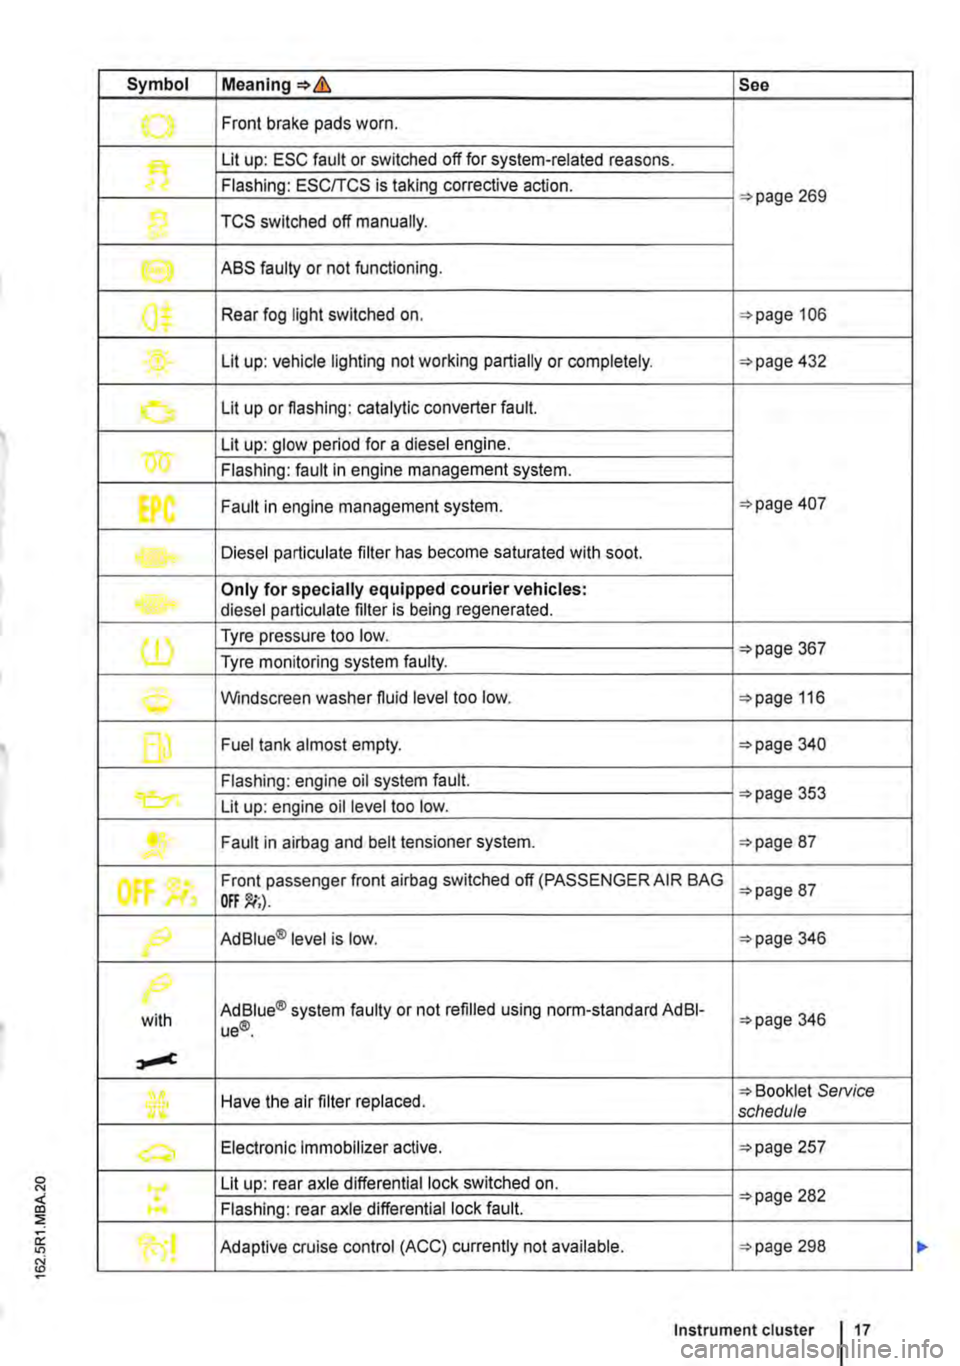
Symbol Meaning=>& See
.......,. Front brake pads worn .
Lit up: ESC fault or switched off for system-related reasons.
Flashing: ESC/TCS is taking corrective action. =>page 269
1} TCS switched off manually.
e ABS faulty or not functioning.
0$ Rear fog light switched on. =>page 106
Lit up: vehicle lighting not working partially or completely. =>page 432
0 Lit up or flashing: catalytic converter fault.
w Lit up: glow period for a diesel engine.
Flashing: fault in engine management system.
EPC Fault in engine management system. =>page 407
Diesel particulate filter has become saturated with soot.
Only for specially equipped courier vehicles: diesel particulate filter is being regenerated.
(1) Tyre pressure too low. =>page 367 Tyre monitoring system faulty.
0 Windscreen washer fluid level too low. =>page 116
f] Fuel tank almost empty. =>page 340
Flashing: engine oil system fault.
Lit up: engine oil level too low. =>page 353
....... Fault in airbag and belt tensioner system. =>page 87
tf'
Front passenger front airbag switched off (PASSENGER AIR BAG =>page 87
f9 Ad Blue® level is low. =>page 346
/>.
with Ad Blue® system faulty or not refilled using norm-standard AdBI-ue®. =>page 346
Have the air filter replaced. => Booklet SeNice schedule
a, Electronic Immobilizer active. =>page 257
Lit up: rear axle differential lock switched on. =>page 282 .... Flashing: rear axle differential lock fault.
Adaptive cruise control (ACC) currently not available. =>page 298
Instrument cluster 17
Page 33 of 486

Before the journey
Before setting off
Driving tips
CO Introduction
This chapter contains information on the following subjects:
Preparing for a journey and driving safely
Driving abroad ...................... .
Driving through water on roads ........ .
33 34
35
An engine and transmission guard may prove use-ful, depending on the conditions in which the vehi-cle is to be driven. An engine and transmission guard can reduce the risk of damage to the vehi-cle's underbody and engine oil sump, for example when driving over kerbs, driveways or unsurfaced roads. Volkswagen Commercial Vehicles recom-mends using a Volkswagen Commercial Vehicles dealership for this purpose.
Additional Information and warnings:
• Sitting correctly and safely 61
• Transporting 125
• Starting the engine, changing gear and parking the vehicle 257
• Driving with respect for the environment =>page 278
• Consumer information 404
A WARNING
Driving under the Influence of alcohol, drugs, medication or narcotics can cause serious accidents and fatal Injuries.
• Alcohol, drugs, medication and narcotics can severely impair perception, reaction times and driving safety. This could cause you to lose control of the vehicle.
l""""('n First read and observe the Introductory L-Wl Information and safety warnings th on page 33.
Checklist
Observe the following Information both before and during the journey to ensure your own safety and the safety of passengers and other road users
..( Check that all lights and turn signals are working properly.
Check the tyre pressure 367 and fuel level 340.
..( Ensure that you have a good, clear view through all of the windows.
..( Air intake to the engine must not be obstruc-ted, and the engine must not be covered with any kind of insulating materials th in ell Introduction on page 351.
0::
g!
..(
..(
..(
..(
..(
..(
..(
Secure any objects and luggage in the stowage compartments, the luggage corn-partment or on the roof 125 .
Ensure that you are able to operate the ped-als freely at all times .
Secure any children travelling in the vehicle in a restraint system suitable for their weight and size =>page 96.
Adjust the front seats, head restraints and mirrors properly in accordance with the size of the occupants 61.
Wear shoes that provide good grip for your feet when using the pedals.
The floor mat in the footwell on the driver side must leave the pedal area free and must be securely fastened .
Assume a correct sitting position before set-ling off and maintain this position while driv-ing. This also applies to all passengers =>page 61. ..
Before setting off 33
Page 70 of 486
• The seat cushion is damp or wet.
• The interior or exterior temperature is above 2s•c (7rF).
Function
Switching on
Adjusting the heating output
Switching off
Action 49
Press the 0 or (9 button. The seat heating is switched on at the highest setting. All indicator lamps light up.
Press the 0 or (9 button repeat-edly until the required heat level is set.
Press the button 0 or (9 until the indicator lamps in the button go out 49.
A WARNING
Anyone experiencing reduced sensitivity to pain or temperature due to medication, para-lysis or chronic illness (e.g. diabetes) could sustain burns on the back, buttocks and legs when using the seat heating. These burns may take a long time to heal or may never heal fully. Please consult a doctor to deter-mine your own level of health.
Memory seats
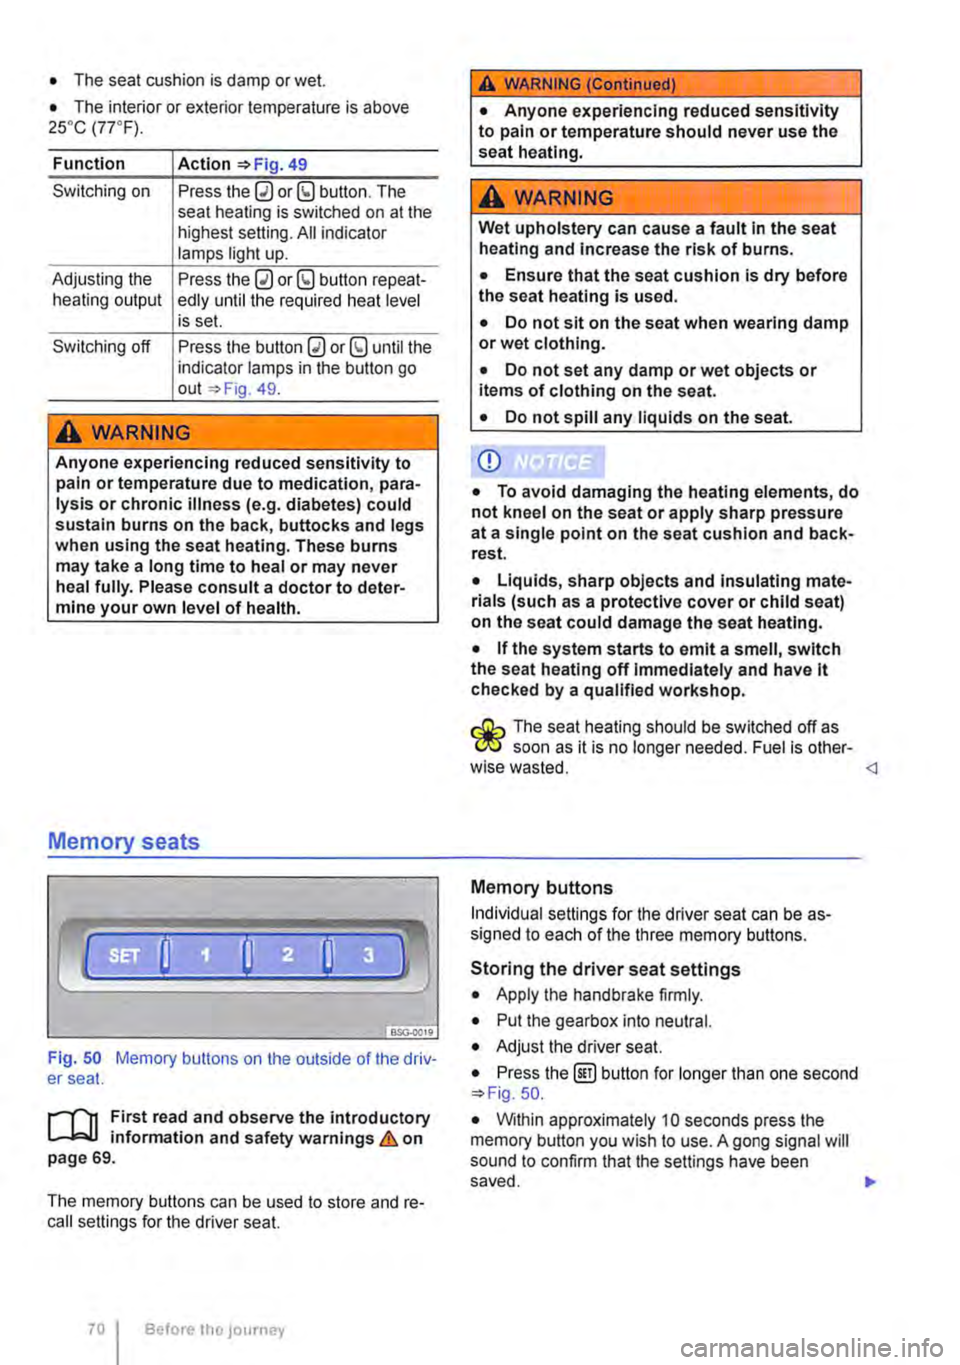
Fig. 50 Memory buttons on the outside of the driv-er seat.
r"''l1 First read and observe the introductory L-JcJ.I information and safety warnings & on page 69.
The memory buttons can be used to store and re-call settings for the driver seat.
Before the JOurney
A WARNING (Continued)
• Anyone experiencing reduced sensitivity to pain or temperature should never use the seat heating.
A wARNING
Wet upholstery can cause a fault In the seat heating and Increase the risk of burns.
• Ensure that the seat cushion is dry before the seat heating is used.
• Do not sit on the seat when wearing damp or wet clothing.
• Do not set any damp or wet objects or items of clothing on the seat.
• Do not spill any liquids on the seat.
Q)
• To avoid damaging the heating elements, do not kneel on the seat or apply sharp pressure at a single point on the seat cushion and back-rest.
• Liquids, sharp objects and Insulating mate-rials (such as a protective cover or child seat) on the seat could damage the seat heating.
• If the system starts to emit a smell, switch the seat heating off Immediately and have lt checked by a qualified workshop.
r:O:-, The seat heating should be switched off as C!JtJ soon as it is no longer needed. Fuel is other-wise wasted.
Individual settings for the driver seat can be as-signed to each of the three memory buttons.
Storing the driver seat settings
• Apply the handbrake firmly.
• Put the gearbox into neutral.
• Adjust the driver seat.
• Press the @] button for longer than one second 50.
• Within approximately 10 seconds press the memory button you wish to use. A gong signal will sound to confirm that the settings have been saved. .,..
Page 184 of 486
Switching the seat heater in the 2-seat arrangement on and off J
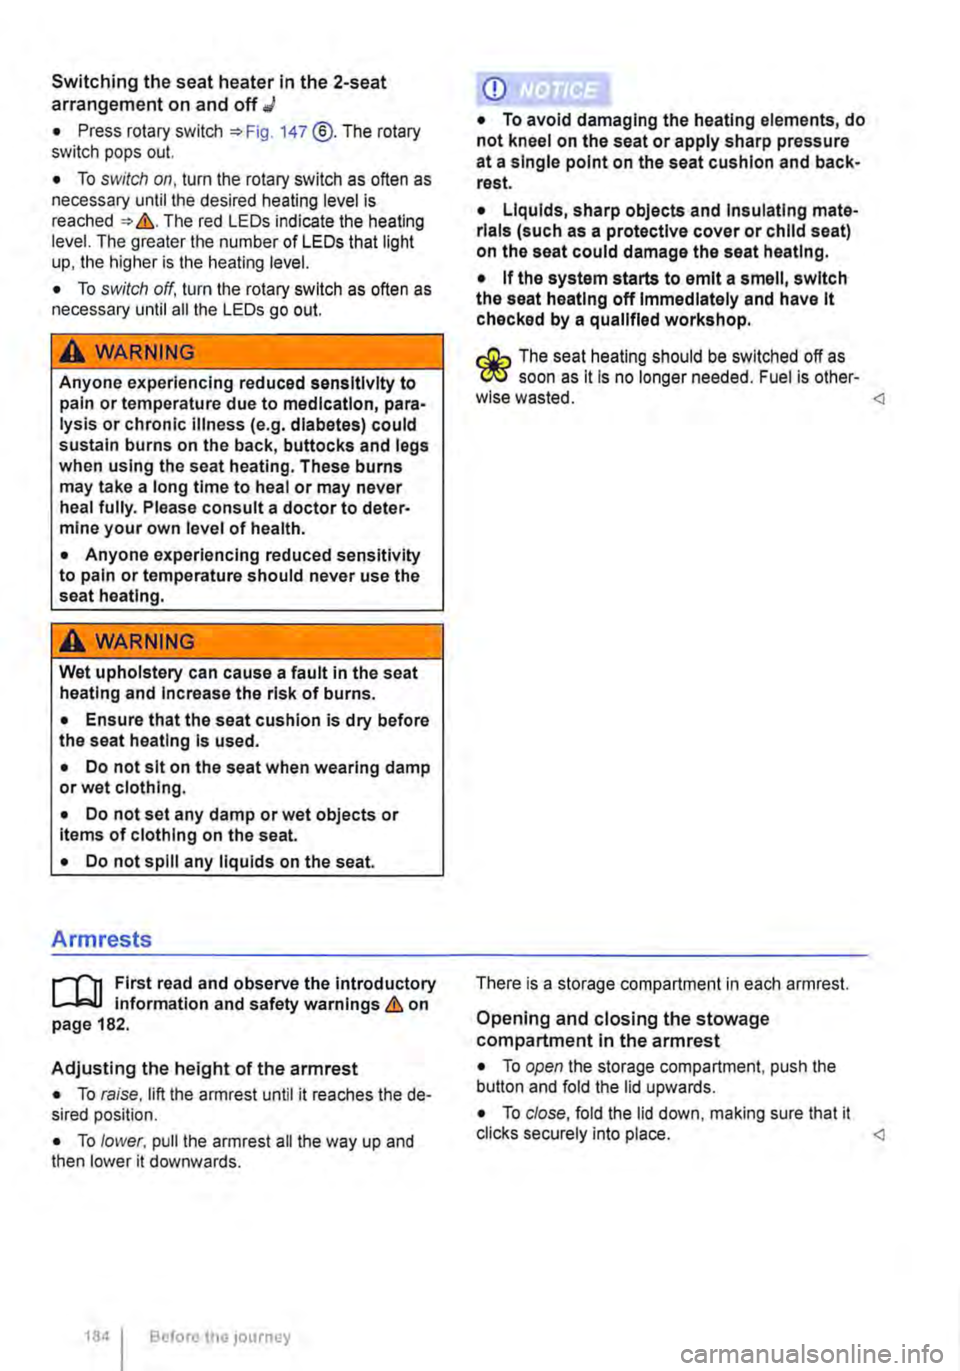
• Press rotary switch 147 @.The rotary switch pops out.
• To switch on, turn the rotary switch as often as necessary until the desired heating level is reached &. The red LEDs indicate the heating level. The greater the number of LEDs that light up, the higher is the heating level.
• To switch off, turn the rotary switch as often as necessary until all the LEDs go out.
A wARNING
Anyone experiencing reduced sensitivity to pain or temperature due to medication, para-lysis or chronic Illness (e.g. diabetes) could sustain burns on the back, buttocks and legs when using the seat heating. These burns may take a long time to heal or may never heal fully. Please consult a doctor to deter-mine your own level of health.
• Anyone experiencing reduced sensitivity to pain or temperature should never use the seat heating.
A WARNING
Wet upholstery can cause a fault in the seat heating and Increase the risk of burns.
• Ensure that the seat cushion is dry before the seat heating Is used.
• Do not sit on the seat when wearing damp or wet clothing.
• Do not set any damp or wet objects or Items of clothing on the seat.
• Do not spill any liquids on the seat.
Armrests
r--f"'n First read and observe the introductory L-J.:.l.l information and safety warnings & on page 182.
Adjusting the height of the armrest
• To raise, lift the armrest until it reaches the de-sired position.
• To lower. pull the armrest all the way up and then lower it downwards.
184 I Before tho journey
CD
• To avoid damaging the heating elements, do not kneel on the seat or apply sharp pressure at a single point on the seat cushion and back-rest.
• Liquids, sharp objects and Insulating mate-rials (such as a protective cover or child seat) on the seat could damage the seat heating.
• If the system starts to emit a smell, switch the seat heating off Immediately and have it checked by a qualified workshop.
r:Q:.. The seat heating should be switched off as 'r!1S soon as lt is no longer needed. Fuel is other-wise wasted. <1
There is a storage compartment in each armrest.
Opening and closing the stowage compartment in the armrest
• To open the storage compartment, push the button and fold the lid upwards.
• To close, fold the lid down, making sure that it clicks securely into place. <1
Page 272 of 486
Parking
r--f"n First read and observe the Introductory L-J.:.lJ information and safety warnings & on page 269.
Please adhere to relevant legislation when stop-ping and parking your vehicle.
Stopping the vehicle
The steps should only be carried out in the speci-fied order.
• Stop the vehicle on a suitable surface &.
• Depress and hold the brake pedal until the en-gine has stopped.
• Apply the handbrake.
• With a DSG® dual clutch gearbox, move the se-lector lever to position P.
• Switch off the engine and take your foot off the brake pedal.
• Remove the vehicle key from the ignition lock.
• Turn the steering wheel slightly if necessary to engage the steering lock mechanism.
• With a manual gearbox, select the first gear for flat ground and uphill inclines, or the reverse gear for downhill inclines, and then release the clutch pedal 263.
• Please ensure that all occupants, in particular children, leave the vehicle.
• Take all vehicle keys with you when you leave the vehicle.
• Lock the vehicle.
Additional points for ascending and descending inclines
Before switching off the engine, turn the steering wheel so that the front wheels will roll against the kerb if the parked vehicle starts to move.
• When facing downhill, turn the wheels so that they face the kerb.
• When facing uphill, turn the wheels so that they face the centre of the road.
Information on the brakes
r--f"n First read and observe the Introductory L-J.:.lJ information and safety warnings & on page 269.
New brake pads cannot generate the full braking effect during the first 200 to 300 km and must first be "run in" &. However, you can compensate for
2721 While driv1ng
A WARNING
The components of the exhaust system be-come very hot. This can cause fires and seri-ous Injuries.
• Never park the vehicle where parts of the exhaust system can come Into contact with any Inflammable material underneath the ve-hicle, e.g. undergrowth, leaves, dry grass, split fuel.
CD
• To avoid unintentional movement when parking the vehicle, first apply the handbrake firmly and then remove your foot from the brake pedal.
• Always take care when driving in car parks with protruding kerbstones or bollards. Objects that protrude from the ground can damage the bumper and other components when parking the vehicle. In order to avoid any damage, stop the vehicle before the wheels can touch the bollards or kerbs.
• Drive carefully through dips in the road, over driveways, ramps, kerbstones and other objects. Low-lying vehicle components such as the bumper, spoiler and parts of the running gear, engine or exhaust system could be dam-aged.
• If the handbrake Is not applied fully when the vehicle Is stationary and the brake pedal Is released when then selector lever Is in posi-tion P, the vehicle may move a few centimetres forwards or backwards.
Page 280 of 486
Saving fuel
1/100 km
-10°C
+20 oc
L----------------tkm 5 15 25 30
en-o11S
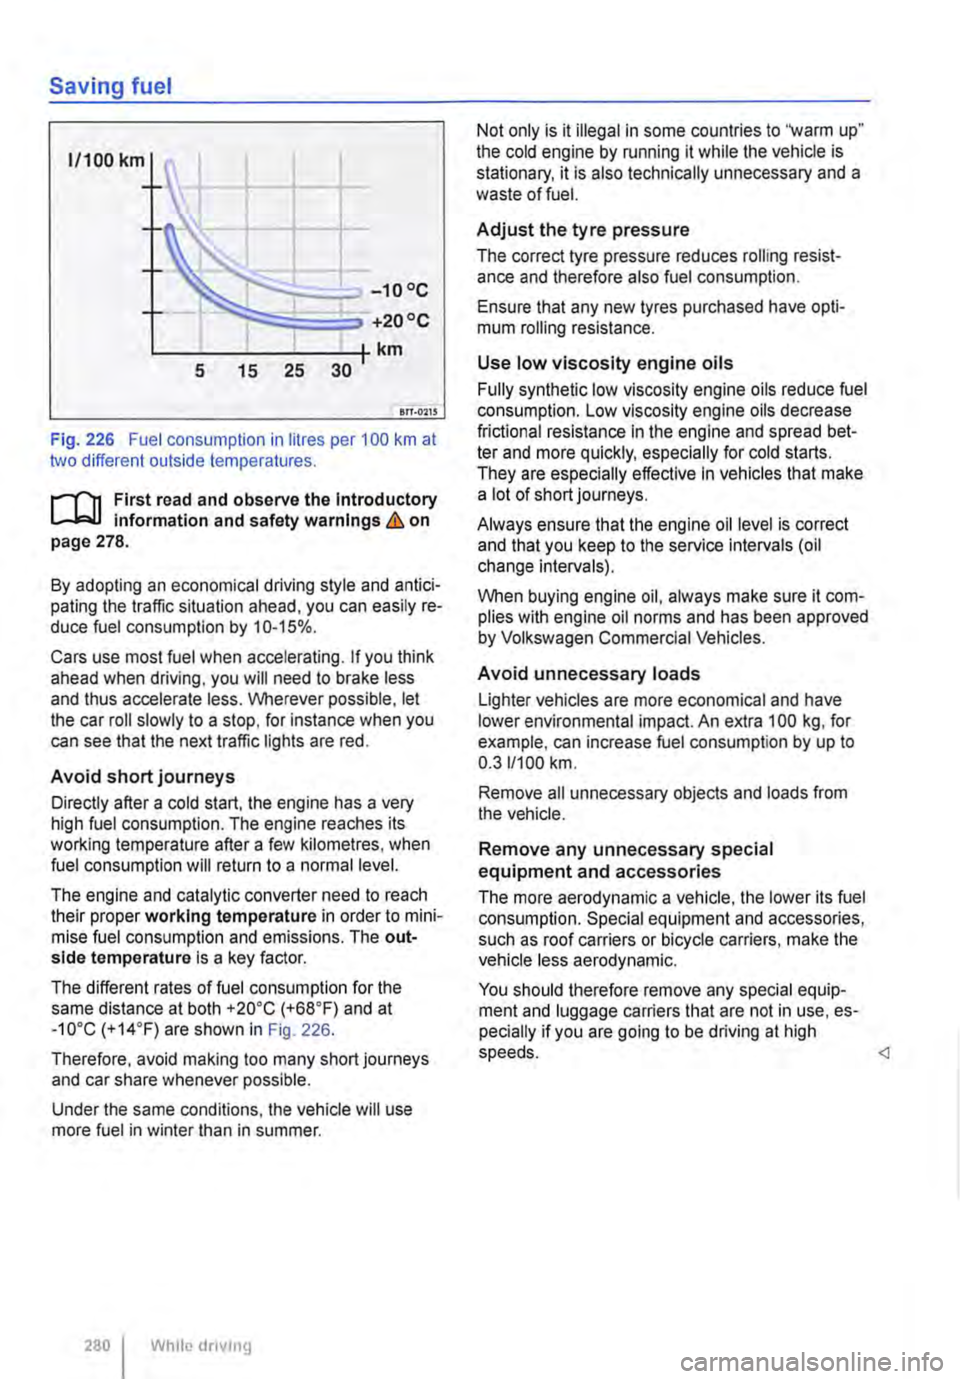
Fig. 226 Fuel consumption in litres per 100 km at two different outside temperatures.
r-1"'11 First read and observe the Introductory Information and safety warnings&. on page 278.
By adopting an economical driving style and antici-pating the traffic situation ahead, you can easily re-duce fuel consumption by 10-15%.
Cars use most fuel when accelerating. If you think ahead when driving, you will need to brake less and thus accelerate less. Wherever possible, let the car roll slowly to a stop, for instance when you can see that the next traffic lights are red.
Avoid short journeys
Directly after a cold start, the engine has a very high fuel consumption. The engine reaches its working temperature after a few kilometres, when fuel consumption will return to a normal level.
The engine and catalytic converter need to reach their proper working temperature in order to mini-mise fuel consumption and emissions. The out-side temperature is a key factor.
The different rates of fuel consumption for the same distance at both +20"C (+68"F) and at -10"C (+14"F) are shown in Fig. 226.
Therefore, avoid making too many short journeys and car share whenever possible.
Under the same conditions, the vehicle will use more fuel in winter than in summer.
280 I While dnvmg
Not only is it illegal in some countries to "warm up" the cold engine by running it while the vehicle is stationary, it is also technically unnecessary and a waste of fuel.
Adjust the tyre pressure
The correct tyre pressure reduces rolling resist-ance and therefore also fuel consumption.
Ensure that any new tyres purchased have opti-mum rolling resistance.
Use low viscosity engine oils
Fully synthetic low viscosity engine oils reduce fuel consumption. Low viscosity engine oils decrease frictional resistance in the engine and spread bet-ter and more quickly, especially for cold starts. They are especially effective In vehicles that make alotofshortjourneys.
Always ensure that the engine oil level is correct and that you keep to the service intervals (oil change intervals).
When buying engine oil, always make sure it com-plies with engine oil norms and has been approved by Volkswagen Commercial Vehicles.
Avoid unnecessary loads
Lighter vehicles are more economical and have lower environmental impact. An extra 100 kg, for example, can increase fuel consumption by up to 0.311100 km.
Remove all unnecessary objects and loads from the vehicle.
Remove any unnecessary special equipment and accessories
The more aerodynamic a vehicle, the lower its fuel consumption. Special equipment and accessories, such as roof carriers or bicycle carriers, make the vehicle less aerodynamic.
You should therefore remove any special equip-ment and luggage carriers that are not in use, es-pecially if you are going to be driving at high speeds.
Page 319 of 486
A WARNING
The intelligent tyre monitoring system tech-nology cannot overcome the laws of physics, and functions only within the limits of the system. Incorrect handling of the wheels and tyres can lead to a sudden loss of pressure in the tyres, tread separation and even tyre blow-out.
• Check tyre pressures regularly and always maintain the specified tyre pressure value =>page 367. If the tyre pressure is too low, it is possible that the tyre temperature will in· crease to such an extent that the tread peels off and the tyre bursts.
• Always maintain correct cold tyre pres-sure as listed on the tyre pressure label =>page 367.
• Check tyre Inflation pressure regularly when the tyres are cold. Adjust tyre pressure in the cold tyre to the recommended tyre pressure for the tyres Installed on your vehi· cle as necessary.
• Check your tyres regularly for signs of wear or damage.
• Never exceed the top speed and load per-mitted for the fitted tyres.
CD
If valve caps are missing, the valve could be damaged. Always use valve caps that comply with the factory-fitted valve cap specifications. Always screw on valve caps fully. Do not use metal valve caps.
Indicator lamp
Under-inflated tyres will increase fuel con-W sumption and tyre wear. A higher tyre pres-sure generally reduces the fuel consumption. How-ever, the maximum tyre pressures specified by the manufacturer must always be adhered to.
m When new tyres are driven at high speeds for L!..J the first time, they can expand slightly and trigger a one-off pressure warning.
m Old tyres should only be replaced by tyres L!..J that have been approved by Volkswagen Commercial Vehicles for the vehicle type.
m Do not rely solely on the tyre monitoring sys-L!..J tern. Check your tyres regularly to ensure that they are properly inflated and have no signs of damage, such as punctures, cuts, cracks, and blis-ters. Remove any objects that become embedded in the tyre tread but have not penetrated into the body of the tyre itself.
m The tyre monitoring system is adjusted for L!..J the factory-recommended tyre pressures to be found on the tyre pressure label.
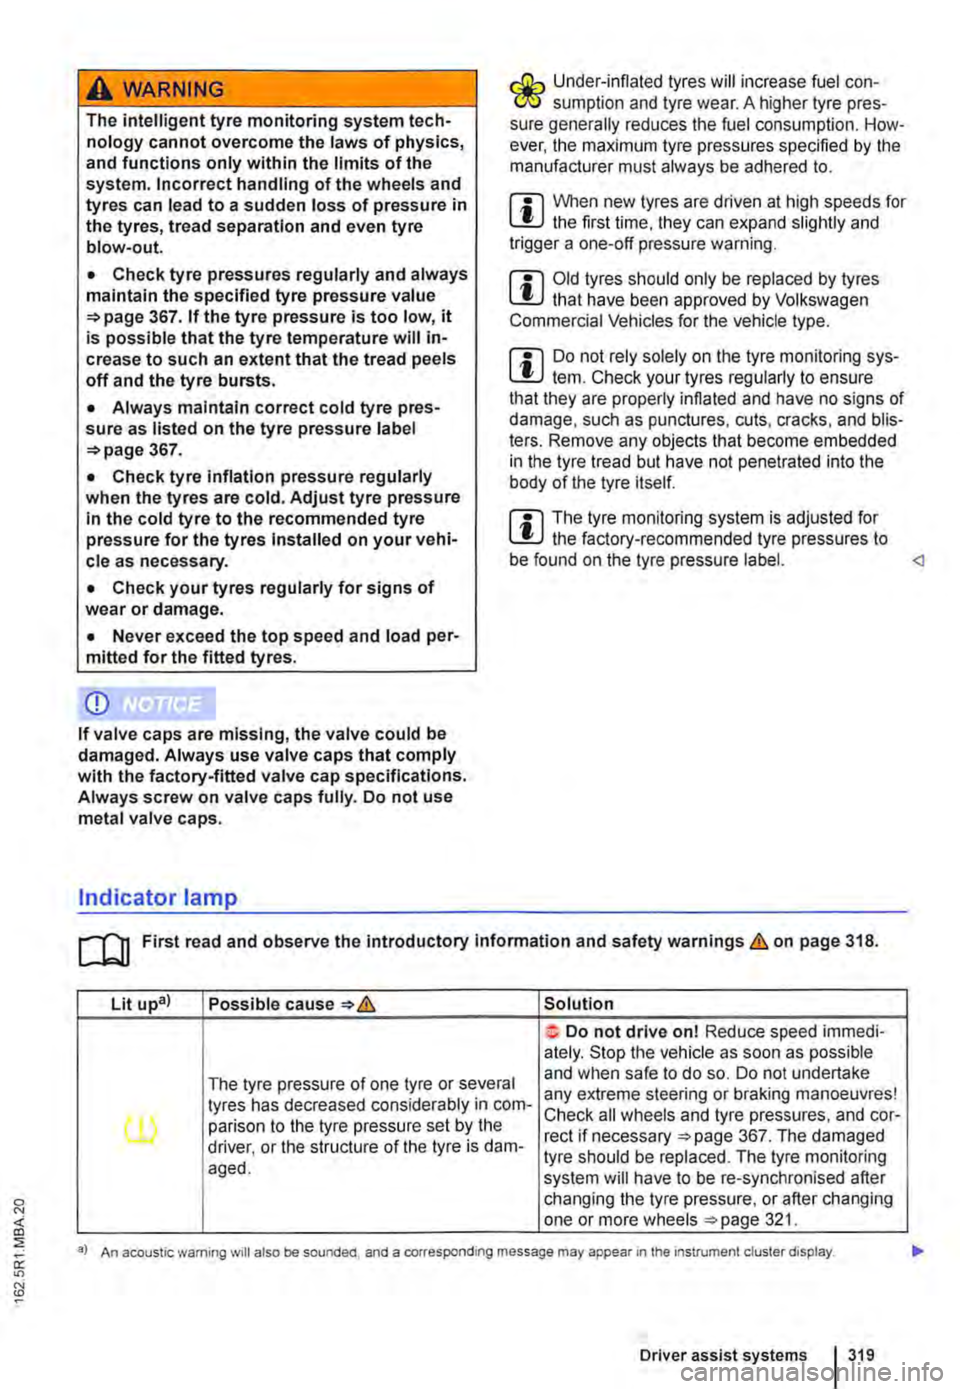
Lit upa) Possible cause=>& Solution
Do not drive on! Reduce speed immedi· ately. Stop the vehicle as soon as possible
The tyre pressure of one tyre or several and when safe to do so. Do not undertake
tyres has decreased considerably in com-any extreme steering or braking manoeuvres!
(l) parison to the tyre pressure set by the Check all wheels and tyre pressures, and cor-rect if necessary =>page 367. The damaged driver, or the structure of the tyre is dam-tyre should be replaced. The tyre monitoring aged. system will have to be re-synchronised after changing the tyre pressure, or after changing one or more wheels =>page 321.
a) An acoustic warning will also be sounded, and a corresponding message may appear 1n the instrument cluster display.
Driver assist systems I 319
Page 343 of 486
Capacities
r--('n First read and observe the introductory L-W.I information and safety warnings & on page 340.
Checks when filling the tank
r--r'n First read and observe the introductory L-W.I information and safety warnings & on page 340.
Checklist
Never carry out any work on the engine or in the engine compartment if you are not familiar with the necessary procedures and the general safety re-quirements or if the correct operating equipment, fluids and unsuitable tools are not available 350, Preparation for working in the engine compartment! The work should be carried out by a qualified workshop if you are uncertain. Please en-sure that the following are checked regular1y, pref-erably every time you fill the tank:
..( Windscreen washer fluid level 116
..( Engine oil level 353
Fuel
c:QJ Introduction
This chapter contains information on the following subjects:
Petrol
Diesel ...
344 345
Different engines require different fuels. The facto-ry-fitted sticker on the inside of the tank flap indi-cates the fuel type that is required for your particu-lar vehicle.
Volkswagen Commercial Vehicles recommends us-ing fuels with a low sulphur content or which are sulphur-free in order to reduce fuel consumption and prevent damage to the engine.
If the engine is not running smoothly or begins to judder, this can indicate poor or inadequate fuel quality, e.g. water in the fuel. If these symptoms appear, reduce the vehicle speed immediately and drive to the nearest qualified workshop at medium engine speeds, avoiding high engine loading. If these symptoms occur immediately after the vehi-
Fuel tank capacity
Approx. 80.0 I,
..( Engine coolant level 358
..( Brake fluid level 269
..( Tyre pressure 367
..( Vehicle lighting necessary for traffic safety:
-Turn signals
-Side lights, dipped beam headlights and main beam headlights
-Tail light cluster
-Brake lights
-Rear fog light 1 08
Information on changing bulbs 432.
cle has been refuelled, switch the engine off as soon as it is safe to do so and seek expert assis-tance. This can help to prevent further damage.
Additional information and warnings:
• Filling the tank 340
• Engine management system and exhaust puri-fication system 407
• Service schedule
A WARNING
Incorrect handling of fuel can cause explo-sions, fire, serious burns and other injuries.
• Fuel is highly explosive and inflammable.
• Never handle fuel near open flames, sparks or glowing matter (e.g. cigarettes).
• Keep naked flames, hot parts and sparks at a safe distance.
At the filling station 1343