Page 226 of 349
AUDIO/VIDEO SYSTEM
226
(e) Searching for a title
Push or select “Search” to dis-
play the screen to search for a title.
Select the title number , and push “ENT” to
input it. Select “Back” to return to the pre-
vious screen.
(f) Changing the subtitle language
Push or select “Sub Title” to dis-
play the subtitle language screen.
Each time
is pushed or “Sub Title”
is selected, another language stored on
the disc is selected.
Select “Back” to return to the previous
screen. (g) Changing the audio language
Push or select “Audio” to display
the audio language screen.
Each time
is pushed or “Audio” is
selected, another language stored on the
disc is selected.
Select “Back” to return to the previous
screen.
(h) Changing the angle
Push or select “Angle” to display
the screen to change the angle.
Each time
is pushed or “Angle” is
selected, the angle changes.
Select “Back” to return to the previous
screen.
Page 229 of 349
AUDIO/VIDEO SYSTEM
229
�
Remote controller
1Selecting a switch
2Selecting a chapter
3Playing/pausing a disc
4Reversing a disc
5Displaying operation switches
6Inputting the selected switch
7Fast forwarding a disc
8Stopping a disc
9Changing the initial setting
�Unit
1Skipping to the desired chapter
2Playing/pausing a disc
3Selecting a switch
4Inputting the selected switch
— Using the DVD player
(video CD)
Page 230 of 349
AUDIO/VIDEO SYSTEM
230
�
Display (page 1)
1Selecting a disc menu number
2Turning off the menu screen
3Displaying to page 2
4Turning on the disc menu
5Returning to the previous page
screen (with the disc menu dis-
played)
6Proceeding to the next page screen
(with the disc menu displayed)
7Changing to a multiplex transmission
�Display (page 2)
8Displaying to page 1
9Reversing a disc
10Pausing
the disc/canceling the pause
11Fast forwarding a disc
INFORMATION
To operate from the front audio sys-
tem, see “— DVD player operation”
on page 184.
Page 231 of 349
AUDIO/VIDEO SYSTEM
231
�
Selecting a disc menu number
Select “Select Number” to display the
disc menu number search screen.
Select the disc menu number, and push
“ENT” to input it.
Select “Back” to return to the previous
screen.�Using the control screen
Using the control screen, push or
to display the control screen.
1Repeat play
2Random playback
3Search playback
Canceling random, repeat and scan
play
Select “RPT” , “RAND” or “SCAN” again.
INFORMATION
To operate from the front audio sys-
tem, see “— DVD player operation”
on page 184.
— Using the DVD player
(audio CD/CD text)
Page 232 of 349

AUDIO/VIDEO SYSTEM
232
�
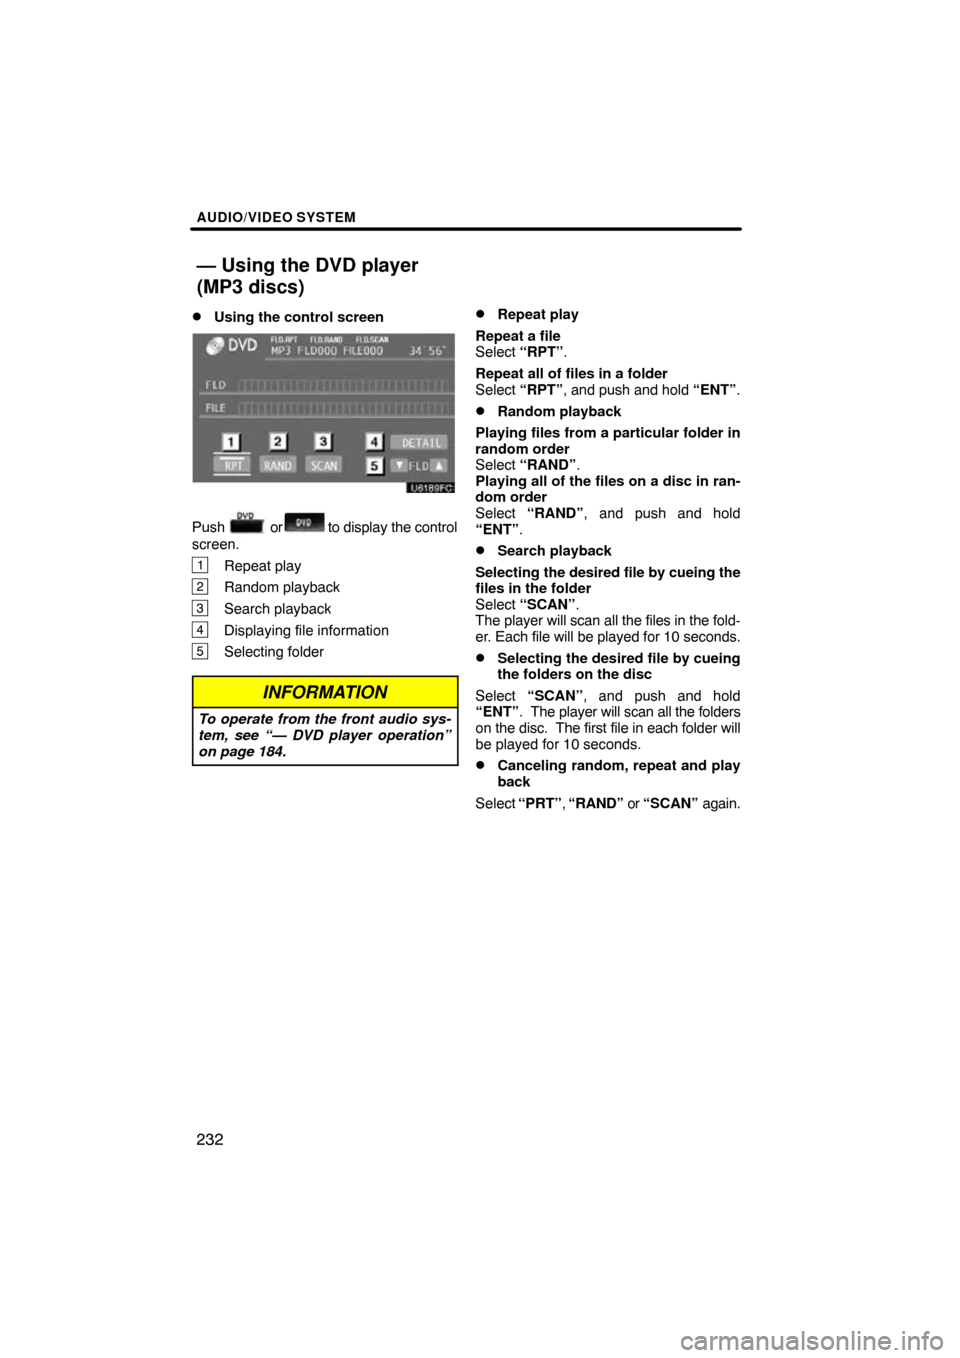
Using the control screen
Push or to display the control
screen.
1Repeat play
2Random playback
3Search playback
4Displaying file information
5Selecting folder
INFORMATION
To operate from the front audio sys-
tem, see “— DVD player operation”
on page 184.
�Repeat play
Repeat a file
Select “RPT” .
Repeat all of files in a folder
Select “RPT”, and push and hold “ENT”.
�Random playback
Playing files from a particular folder in
random order
Select “RAND” .
Playing all of the files on a disc in ran-
dom order
Select “RAND” , and push and hold
“ENT” .
�Search playback
Selecting the desired file by cueing the
files in the folder
Select “SCAN” .
The player will scan all the files in the fold-
er. Each file will be played for 10 seconds.
�Selecting the desired file by cueing
the folders on the disc
Select “SCAN” , and push and hold
“ENT” . The player will scan all the folders
on the disc. The first file in each folder will
be played for 10 seconds.
�Canceling random, repeat and play
back
Select “PRT” , “RAND” or “SCAN” again.
— Using the DVD player
(MP3 discs)
Page 237 of 349
AUDIO/VIDEO SYSTEM
237
�
Setting the display mode
Pushing changes the display
modes sequentially as follows:
Normal → “Wide 1” →Wide 2
Returning to the previous screen
Select “BACK” , and push “ENT” .
�To initialize the password
Push � on the remote controller or unit ten
times when the screen to enter the person-
al code is displayed.
�Adjusting the screen
Push .
Select the brightness, contrast, tone or col-
or, and make adjustments. Push
or
“ENT” to input it.
Brightness, contrast, tone and color
adjustment
“Brightness” “+”:
Brightens the screen.
“Brightness” “�”:
Darkens the screen.
“Contrast” “+”:
Strengthens the contrast of the screen.
“Contrast” “�”:
Weakens the contrast of the screen.
“Tone” “+”: Strengthens the tone of the
screen.
“Tone” “�”: Weakens the tone of the
screen.
“Color” “Red”:
Strengthens the red color of the screen.
“Color” “Green”:
Strengthens the green color of the screen.
Page 244 of 349

AUDIO/VIDEO SYSTEM
244
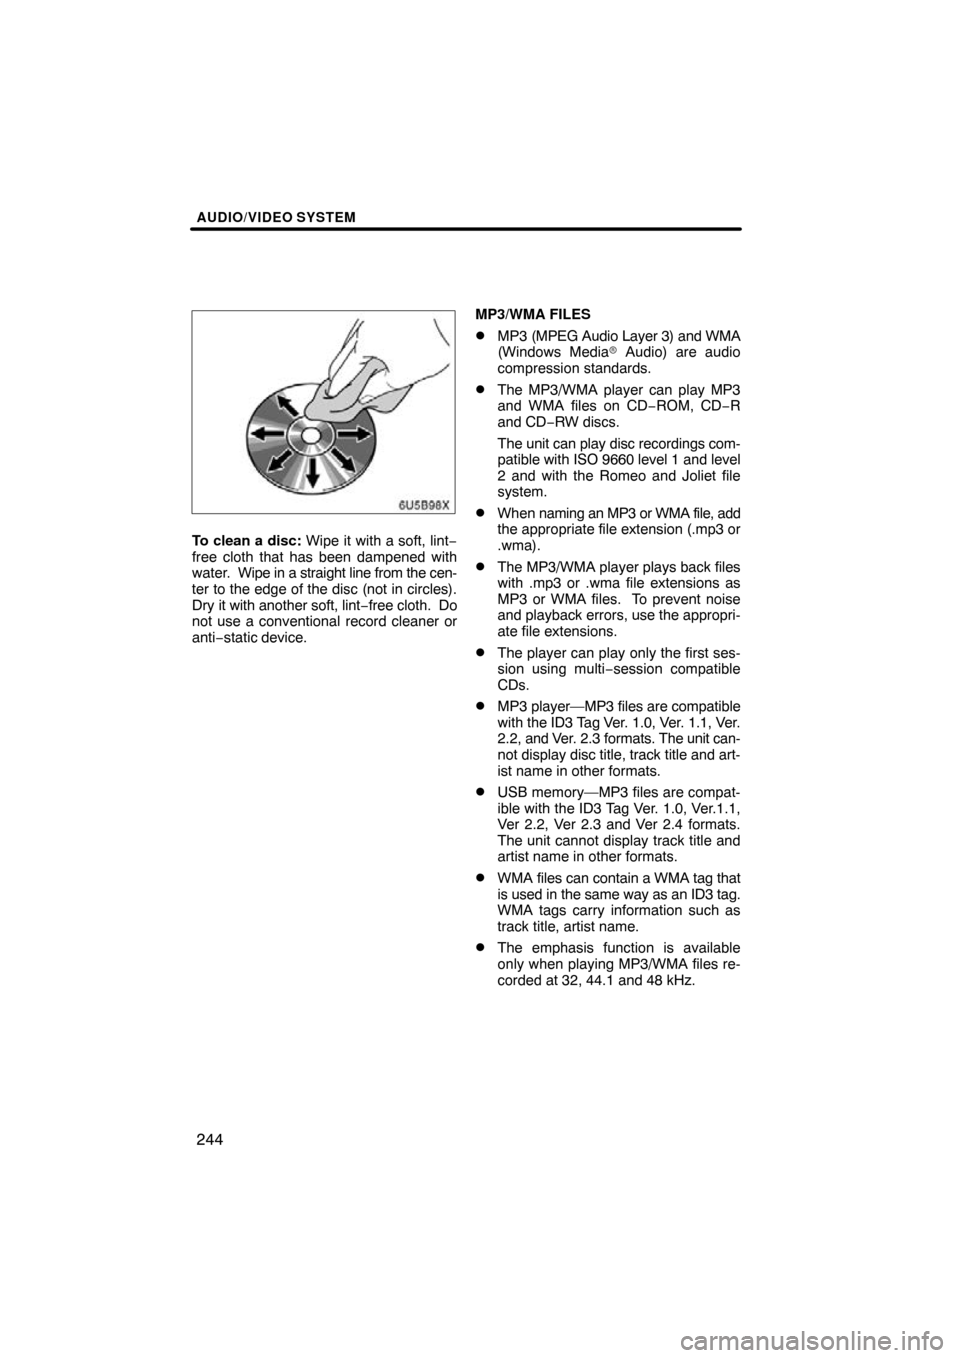
6U5B98X
To clean a disc: Wipe it with a soft, lint−
free cloth that has been dampened with
water. Wipe in a straight line from the cen-
ter to the edge of the disc (not in circles).
Dry it with another soft, lint− free cloth. Do
not use a conventional record cleaner or
anti−static device. MP3/WMA FILES
�MP3 (MPEG Audio Layer 3) and WMA
(Windows Media
� Audio) are audio
compression standards.
�The MP3/WMA player can play MP3
and WMA files on CD −ROM, CD−R
and CD −RW discs.
The unit can play disc recordings com-
patible with ISO 9660 level 1 and level
2 and with the Romeo and Joliet file
system.
�When naming an MP3 or WMA file, add
the appropriate file extension (.mp3 or
.wma).
�The MP3/WMA player plays back files
with .mp3 or .wma file extensions as
MP3 or WMA files. To prevent noise
and playback errors, use the appropri-
ate file extensions.
�The player can play only the first ses-
sion using multi −session compatible
CDs.
�MP3 player—MP3 files are compatible
with the ID3 Tag Ver. 1.0, Ver. 1.1, Ver.
2.2, and Ver. 2.3 formats. The unit can-
not display disc title, track title and art-
ist name in other formats.
�USB memory—MP3 files are compat-
ible with the ID3 Tag Ver. 1.0, Ver.1.1,
Ver 2.2, Ver 2.3 and Ver 2.4 formats.
The unit cannot display track title and
artist name in other formats.
�WMA files can contain a WMA tag that
is used in the same way as an ID3 tag.
WMA tags carry information such as
track title, artist name.
�The emphasis function is available
only when playing MP3/WMA files re-
corded at 32, 44.1 and 48 kHz.
Page 245 of 349

AUDIO/VIDEO SYSTEM
245
Sampling frequency
MP3 files for MP3 player:
MPEG 1 LAYER 3—32, 44.1, 48 kHz
MPEG 2 LSF LAYER 3—16, 22.05, 24 kHz
MP3 files for USB memory:
MPEG 1 AUDIO LAYER 2, 3—32,44.1, 48
kHz
MPEG 2 AUDIO LAYER 2, 3—16, 22.05,
24 kHz
MPEG 2.5—8, 11.025, 12 kHz
WMA files for WMA player:
Ver. 7, 8, 9 CBR—32, 44.1, 48kHz
WMA files for USB memory:
Ver. 9—HIGH PROFILE 32, 44.1, 48 kHz
�The sound quality of MP3/WMA files
generally improves with higher bit rate-
s. In order to achieve a reasonable lev-
el of sound quality, discs recorded with
a bit rate of at least 128 kbps are rec-
ommended.
Playable bit rates
MP3 files for MP3 player:
MPEG1 LAYER3—64 to 320 kbps
MPEG2 LSF LAYER3—64 to 160 kbps
MP3 files for USB memory:
MPEG 1 AUDIO LAYER 2, 3—32 to
320 kbps
MPEG 2 AUDIO LAYER 2, 3—32 to
160 kbps
MPEG 2.5—32 to 160 kbps
WMA files for WMA player:
Ver. 7, 8 CBR—48 to 192 kbps
Ver. 9 CBR—48 to 320 kbps
WMA files for USB memory:
Ver. 9—HIGH PROFILE 32 to 320
kbps, VBR (Variable Bit Rate)
�The MP3/WMA player does not play
back MP3/WMA files from discs re-
corder using packet write data transfer
(UDF format). Discs should be re-
corded using “pre −mastering” software
rather than packet− write software.
�M3u playlists are not compatible with
the audio player.
�MP3i (MP3 interactive) and MP3PRO
formats are not compatible with the au-
dio player.
�The player is compatible with VBR
(Variable Bit Rate).
�When playing back files recorded as
VBR (Variable Bit Rate) files, the play
time will not be correctly displayed if
fast−forward or reverse operations are
used.
�It is not possible to check folders that
do not include MP3/WMA files.
�MP3/WMA files in folders up to 8 levels
deep can be played. However, the
start of playback may be delayed when
using discs containing numerous lev-
els of folders. For this reason, we rec-
ommend creating discs with no more
than two levels of folders.
�It is possible to play up to 192 folders or
255 files on one disc.