2011 SKODA ROOMSTER seats
[x] Cancel search: seatsPage 64 of 212

Roof rack
General information
CAUTION
● Only use roof racks approved by ŠKODA.
● If you use other roof rack systems or if the roof bars are not properly fitted,
then any damage which may result to your car is not covered by the warranty
agreements. It is therefore essential to pay attention to the fitting instructions
supplied with the roof luggage rack system.
● Ensure that the opened boot lid does not collide with the roof load. For the sake of the environment
The increased aerodynamic drag results in a higher fuel consumption. Note
If a vehicle is not factory-equipped with a roof rack, it can be purchased from the
ŠKODA Original Accessories
Roof load Distribute the weight evenly over the roof luggage rack system. The maximum
permissible roof load (including roof rack system) of
75 kg and the maximum per-
missible total weight of the vehicle should not be exceeded.
You cannot make full use of the permissible roof load if you use a roof luggage
rack system with a lower load carrying capacity. The load transported on the roof
luggage rack system must not exceed the weight limit which is stated in the fit-
ting instructions. WARNING
● The items which you transport on the roof bar system must be reliably at-
tached - risk of accident!
● You must on no account exceed the permissible roof load, the permissible
axle loads and the permissible gross weight of your vehicle - risk of accident!
● Please note that the handling properties of your vehicle change when you
transport heavy or bulky items on the roof bar system as a result of the dis-
placement of the centre of gravity and the increased wind attack area - risk of
accident! You must absolutely adapt your style of driving and the speed of the
vehicle to the specific circumstances.
Front cup holder Fig. 57 Front centre console: Cup holder
You can place two cups or beverage cans into the recesses ⇒
fig. 57. WARNING
● Do not place any hot beverages into the cup holder. If the vehicle moves,
they may spill - risk of scalding!
● Do not use any cups or beakers which are made of brittle material (e.g.
glass, porcelain). This could lead to injuries in the event of an accident. CAUTION
Do not open the beverages in the cup holder while driving. There is a risk of spill-
ing e.g. when braking and therefore the electrical components or the seat uphols-
tery can be damaged. 62
Seats and Stowage
Page 65 of 212

Rear cup holder
Fig. 58 Centre console: Cup holder
You can place one cup or beverage can into the recess ⇒ fig. 58 . WARNING
● Do not place any hot beverages into the cup holder. If the vehicle moves,
they may spill - risk of scalding!
● Do not use any cups or beakers which are made of brittle material (e.g.
glass, porcelain). This could lead to injuries in the event of an accident. CAUTION
Do not open the beverages in the cup holder while driving. There is a risk of spill-
ing e.g. when braking and therefore the electrical components or the seat uphols-
tery can be damaged.
Parking ticket holder Fig. 59 Windshield: Parking ticket hold-
erThe parking ticket holder is designed e.g. for attaching a car park ticket in parking
areas.
The parking ticket must be
removed before starting off in order not to restrict the
driver's vision.
Ashtray Fig. 60 Centre console: Ashtray at the front/rear
Removing ashtray
–
Remove the ashtray ⇒ fig. 60 upwards. When removing do not hold the ash-
tray at the cover - risk of breakage.
Replacing ashtray
– Insert the ashtray vertically. WARNING
Never lay flammable objects in the ashtray basin - risk of fire! 63
Seats and Stowage Using the system Safety Driving Tips General Maintenance Breakdown assis-
tance Praktik Technical data
Page 66 of 212

Cigarette lighters and power sockets
Cigarette lighter You can also use the socket on the cigarette lighter for other elec-
trical appliances. Fig. 61 Centre console: Cigarette lighter
Using the cigarette lighter
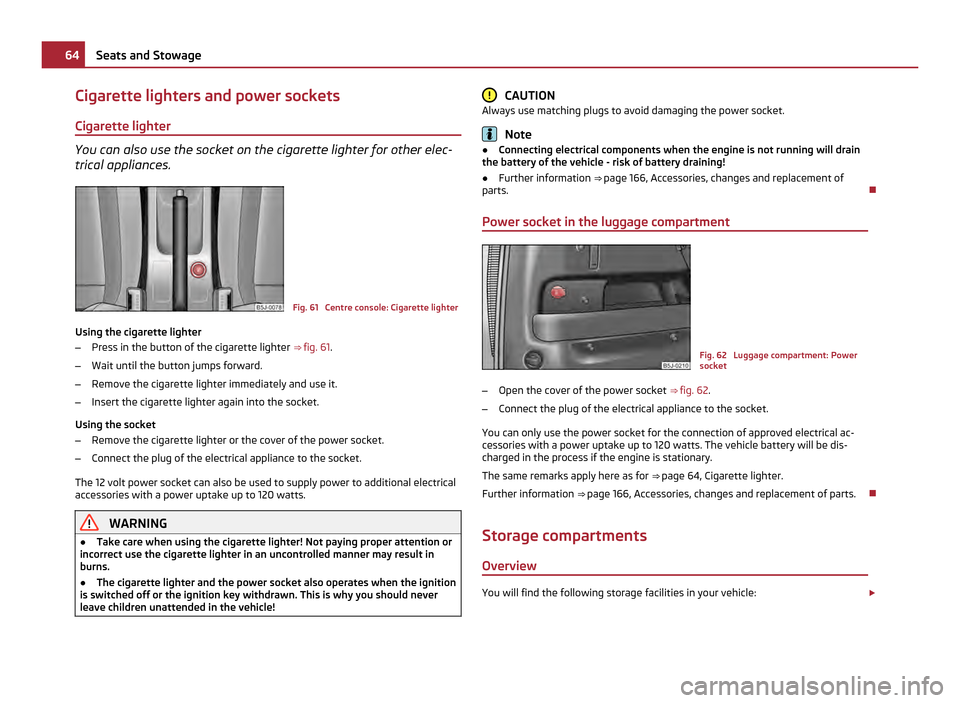
– Press in the button of the cigarette lighter ⇒ fig. 61 .
– Wait until the button jumps forward.
– Remove the cigarette lighter immediately and use it.
– Insert the cigarette lighter again into the socket.
Using the socket
– Remove the cigarette lighter or the cover of the power socket.
– Connect the plug of the electrical appliance to the socket.
The 12 volt power socket can also be used to supply power to additional electrical
accessories with a power uptake up to 120 watts. WARNING
● Take care when using the cigarette lighter! Not paying proper attention or
incorrect use the cigarette lighter in an uncontrolled manner may result in
burns.
● The cigarette lighter and the power socket also operates when the ignition
is switched off or the ignition key withdrawn. This is why you should never
leave children unattended in the vehicle! CAUTION
Always use matching plugs to avoid damaging the power socket. Note
● Connecting electrical components when the engine is not running will drain
the battery of the vehicle - risk of battery draining!
● Further information ⇒ page 166 , Accessories, changes and replacement of
parts.
Power socket in the luggage compartment Fig. 62 Luggage compartment: Power
socket
– Open the cover of the power socket ⇒
fig. 62.
– Connect the plug of the electrical appliance to the socket.
You can only use the power socket for the connection of approved electrical ac-
cessories with a power uptake up to 120 watts. The vehicle battery will be dis-
charged in the process if the engine is stationary.
The same remarks apply here as for ⇒ page 64
, Cigarette lighter.
Further information ⇒ page 166, Accessories, changes and replacement of parts.
Storage compartments Overview You will find the following storage facilities in your vehicle:
£64
Seats and Stowage
Page 67 of 212

Storage compartments on the front passenger side ⇒ page 65
Storage compartment on the driver's side ⇒ page 66
Stowage compartment for spectacles ⇒ page 66
Stowage compartment in centre console ⇒ page 66
Storage compartment in the front seat ⇒ page 66
Front seat armrest with storage compartment ⇒ page 67
Storage compartment in the front doors ⇒ page 67
Storage compartments in the luggage compartment ⇒ page 67
Flexible storage compartment ⇒ page 68
Clothes hooks ⇒ page 68
WARNING
● Please do not place anything on top of the dash panel. Such objects might
slide or fall down when driving (when accelerating or cornering) and may dis-
tract you from concentrating on the traffic situation - risk of accident!
● Ensure that when driving no objects from the centre console of from other
storage possibilities may get into the footwell of the driver. You would then
no longer be able to apply the brakes, operate the clutch or accelerator - risk
of accident!
Storage compartments on the front passenger side Fig. 63 Dash panel: Storage compart-
ments on the front passenger side
On some vehicles, the storage compartments are not equipped with lids.
Opening and closing the storage compartments on the front passenger side
– Pull the handle of the lid in direction of arrow ⇒ fig. 63 and fold it open. –
Swivel the flap until it is heard to lock.
A pin holder is located inside the lower flap. WARNING
The storage compartments must always be closed when driving for safety rea-
sons.
Cooling of storage compartment on front passenger side Fig. 64 Storage compartment: Using
cooling system
– You can switch the cooling system on or off using the control dial ⇒ fig. 64 .
Opening the air inlet when the air conditioning system is on causes fresh or interi-
or air to flow into the storage compartment.
We recommend that you switch off the cooling if it is operating in the heating
mode or if you are not using the cooling system for the storage compartment. 65
Seats and Stowage Using the system Safety Driving Tips General Maintenance Breakdown assis-
tance Praktik Technical data
Page 68 of 212

Storage compartment on the driver's side
Fig. 65 Dash panel: Storage compart-
ment on the driver's side
Unlockable compartment below the steering wheel on the left.
Stowage compartment for spectacles Fig. 66 Detail of the headliner: Stowage
compartment for spectacles
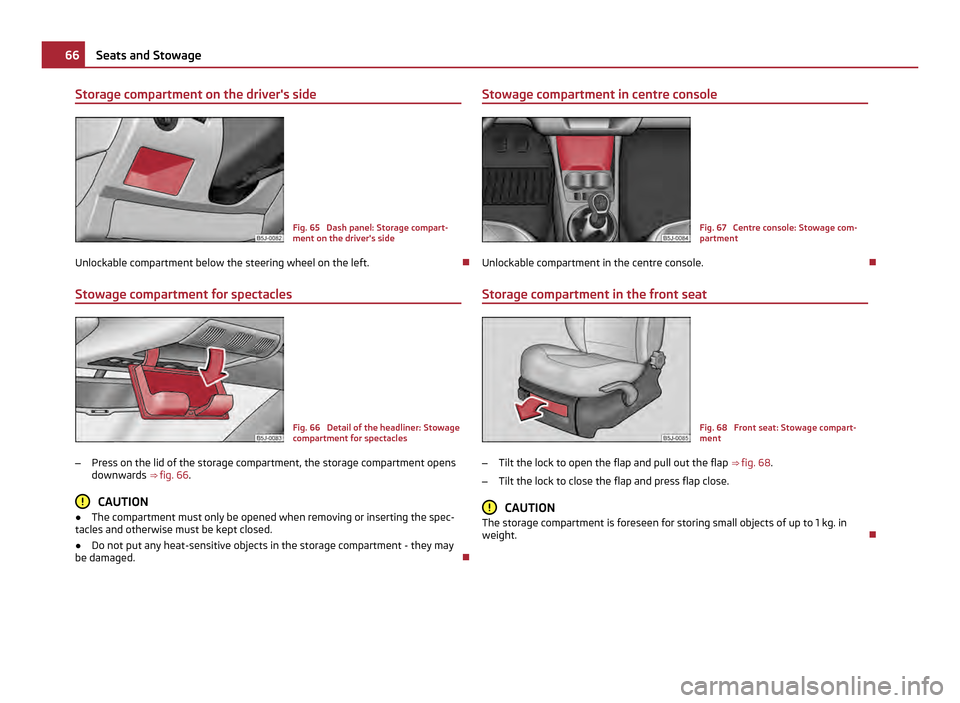
– Press on the lid of the storage compartment, the storage compartment opens
downwards ⇒ fig. 66 . CAUTION
● The compartment must only be opened when removing or inserting the spec-
tacles and otherwise must be kept closed.
● Do not put any heat-sensitive objects in the storage compartment - they may
be damaged. Stowage compartment in centre console
Fig. 67 Centre console: Stowage com-
partment
Unlockable compartment in the centre console.
Storage compartment in the front seat Fig. 68 Front seat: Stowage compart-
ment
– Tilt the lock to open the flap and pull out the flap ⇒ fig. 68.
– Tilt the lock to close the flap and press flap close. CAUTION
The storage compartment is foreseen for storing small objects of up to 1 kg. in
weight. 66
Seats and Stowage
Page 69 of 212

Front seat armrest with storage compartment
Fig. 69 Armrest: Storage compartment/open storage compartment
Fold the armrest
– Press the bottom button on the face end of the armrest ⇒ fig. 69 on the left.
Fold the armrest forwards and release the button.
Opening storage compartment
– Press the top button and fold up the cover of the storage compartment
⇒ fig. 69 on the right. Note
The moving space of the arms can be restricted if the armrest is folded down. In
city traffic the armrest should not be folded down.
Storage compartment in the front doors Fig. 70 Stowage compartment in door
panelA bottle holder is located in the area
B of the storage compartment for the front
doors. WARNING
Use the area A ⇒ fig. 70
of the storage compartment only for storing objects
which do not project so that the effectiveness of the side airbag is not im-
paired.
Storage compartments in the luggage compartment Fig. 71 Storage compartments in the
side trim panel
Storage compartments are located on both sides of the luggage compartment
⇒ fig. 71. CAUTION
The storage compartments are intended for storing small objects of up to 1.5 kg in
weight. 67
Seats and Stowage Using the system Safety Driving Tips General Maintenance Breakdown assis-
tance Praktik Technical data
Page 70 of 212

Flexible storage compartment
Fig. 72 Flexible storage compartment
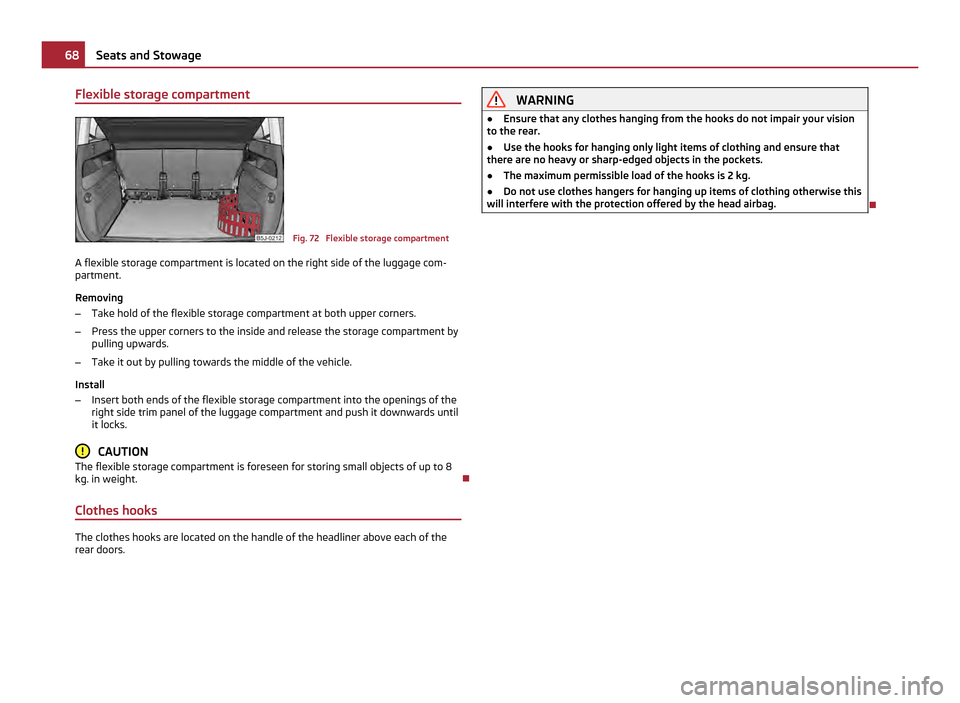
A flexible storage compartment is located on the right side of the luggage com-
partment.
Removing
– Take hold of the flexible storage compartment at both upper corners.
– Press the upper corners to the inside and release the storage compartment by
pulling upwards.
– Take it out by pulling towards the middle of the vehicle.
Install
– Insert both ends of the flexible storage compartment into the openings of the
right side trim panel of the luggage compartment and push it downwards until
it locks. CAUTION
The flexible storage compartment is foreseen for storing small objects of up to 8
kg. in weight.
Clothes hooks The clothes hooks are located on the handle of the headliner above each of the
rear doors. WARNING
● Ensure that any clothes hanging from the hooks do not impair your vision
to the rear.
● Use the hooks for hanging only light items of clothing and ensure that
there are no heavy or sharp-edged objects in the pockets.
● The maximum permissible load of the hooks is 2 kg.
● Do not use clothes hangers for hanging up items of clothing otherwise this
will interfere with the protection offered by the head airbag. 68
Seats and Stowage
Page 102 of 212

Store voice recording of a contact
If automatic name recognition does not work reliably for some contacts, you will
can choose to save your own voice entry for the contact in the menu point
Phone
book - Voice Tag - Record.
You can also store your own voice entry using voice control in the menu FURTHER
OPTIONS .
Music playback via Bluetooth ®The universal telephone preinstallation GSM IIl makes it possible to play back mu-
sic via Bluetooth ®
from the devices such as MP3 player, mobile phone or note-
book.
In order to enable the music playback via Bluetooth ®
, it is necessary to connect
the terminal device with the hands-free system in the menu Phone - Bluetooth -
Media player .
The operation of the music playback from the connected device can be performed
via the hands-free system with the voice control ⇒ page 99
, Basic voice com-
mands for operating the telephone control unit or directly via the connected de-
vice. Note
● The device to be connected must support the Bluetooth ®
profile A2DP, see
Owner's manual of the device to be coupled.
● This function is not available in vehicles fitted with the car radio Blues.
Inputs AUX-IN and MDI The input AUX-IN is located below the armrest of the front seats and is marked
with
.
The input MDI is located in the front below the front passenger storage compart-
ment.
The inputs AUX-IN and MDI connect the external audio sources (e.
g. iPod or MP3
player) and playback music from these devices via your radio or factory-fitted car
radio or radio navigation system.
The description of the operation can be found in the relevant Owner's Manual of
your radio or your radio navigation system. Note
The loudspeakers in the vehicle are matched to a power output of the radio and
radio navigation system of 4x 20 W. 100
Communication