2011 Peugeot 308 CC air condition
[x] Cancel search: air conditionPage 59 of 292

3
ii
i
57
COMFORT
When the engine is cold, to prevent
too great a distribution of cold air,
the air fl ow will reach its optimum
level gradually.
In cold weather, it favours the distri-
bution of warm air to the windscreen,
side windows and footwells only. On entering the vehicle, if the in-
terior temperature is much colder
or warmer than the comfort value,
there is no need to change the value displayed in order to obtain the
comfort required. The system cor-
rects the difference in temperature
automatically and as quickly as
possible.
The air conditioning can only operate
with the engine running. The driver and his front pas-
senger can each adjust the
temperature to their require-
ments.
�)
Turn control 2
or 3
to the left or to
the right respectively to decrease or
increase this value.
A setting around the value 21 provides
optimum comfort. However, depending
on your requirements, a setting between
18 and 24 is normal.
You are advised to avoid a left/right setting
difference of more than 3.
4. Automatic visibility programme
The automatic comfort pro-
gramme may not be suffi cient
to quickly demist or defrost the
windscreen and side windows
(humidity, several passengers,
ice, etc.).
�)
In this case, select the automatic
visibility programme.
The system automatically controls the
air conditioning, the air fl ow and the air
intake and provides optimum distribu-
tion of the ventilation to the windscreen
and side windows.
Automatic operation
�)
Press the "AUTO"
button.
The indicator lamp on the
button comes on.
2. Driver's side adjustment
DUAL-ZONE DIGITAL AIR
CONDITIONING
We recommend the use of this mode:
it permits automatic and optimised ad-
justment of all of the functions, passen-
ger compartment temperature, air fl ow,
air distribution and air recirculation, in
accordance with the comfort value that
you have chosen.
This system is designed to operate
effectively in all seasons, with automatic
adaptation in the "cabriolet" confi guration. The value indicated on the display cor-
responds to a level of comfort and not
to a temperature in degrees Celsius or
Fahrenheit.
�)
To switch it off, press the "visibility"
button again or press the "AUTO"
button, the indicator lamp in the but-
ton goes off and the indicator lamp in
the "AUTO"
button comes on.
1. Automatic comfort programme
3. Passenger side adjustment
With Stop & Start, when demisting
has been activated, the STOP mode
is not available.
Page 60 of 292
3
!
i
58
COMFORT
Manual operation
If you wish, you can make a different
choice from that offered by the system
by changing a setting. The other func-
tions will still be controlled automatically.
�)
Pressing the "AUTO"
button returns
the system to completely automatic
operation.
�)
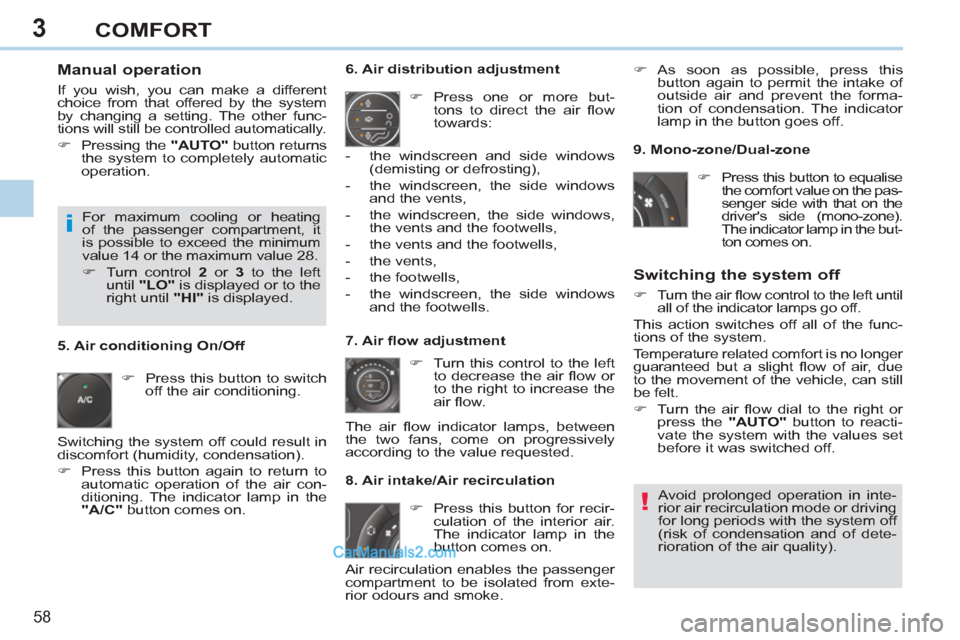
Press this button to switch
off the air conditioning.
6. Air distribution adjustment
�)
Press one or more but-
tons to direct the air fl ow
towards:
7. Air fl ow adjustment
�)
Turn this control to the left
to decrease the air fl ow or
to the right to increase the
air fl ow.
8. Air intake/Air recirculation
Switching the system off
�)
Turn the air fl ow control to the left until
all of the indicator lamps go off.
This action switches off all of the func-
tions of the system.
Temperature related comfort is no longer
guaranteed but a slight fl ow of air, due
to the movement of the vehicle, can still
be felt.
�)
Turn the air fl ow dial to the right or
press the "AUTO"
button to reacti-
vate the system with the values set
before it was switched off.
�)
Press this button for recir-
culation of the interior air.
The indicator lamp in the
button comes on.
5. Air conditioning On/Off
Avoid prolonged operation in inte-
rior air recirculation mode or driving
for long periods with the system off
(risk of condensation and of dete-
rioration of the air quality).
- the windscreen and side windows
(demisting or defrosting),
- the windscreen, the side windows
and the vents,
- the windscreen, the side windows,
the vents and the footwells,
- the vents and the footwells,
- the vents,
- the footwells,
- the windscreen, the side windows
and the footwells.
The air fl ow indicator lamps, between
the two fans, come on progressively
according to the value requested.
�)
As soon as possible, press this
button again to permit the intake of
outside air and prevent the forma-
tion of condensation. The indicator
lamp in the button goes off.
For maximum cooling or heating
of the passenger compartment, it
is possible to exceed the minimum
value 14 or the maximum value 28.
�)
Turn control 2
or 3
to the left
until "LO"
is displayed or to the
right until "HI"
is displayed.
9. Mono-zone/Dual-zone
�)
Press this button to equalise
the comfort value on the pas-
senger side with that on the
driver's side (mono-zone).
The indicator lamp in the but-
ton comes on.
Air recirculation enables the passenger
compartment to be isolated from exte-
rior odours and smoke.
Switching the system off could result in
discomfort (humidity, condensation).
�)
Press this button again to return to
automatic operation of the air con-
ditioning. The indicator lamp in the
"A/C"
button comes on.
Page 89 of 292
5
87
VISIBILITY
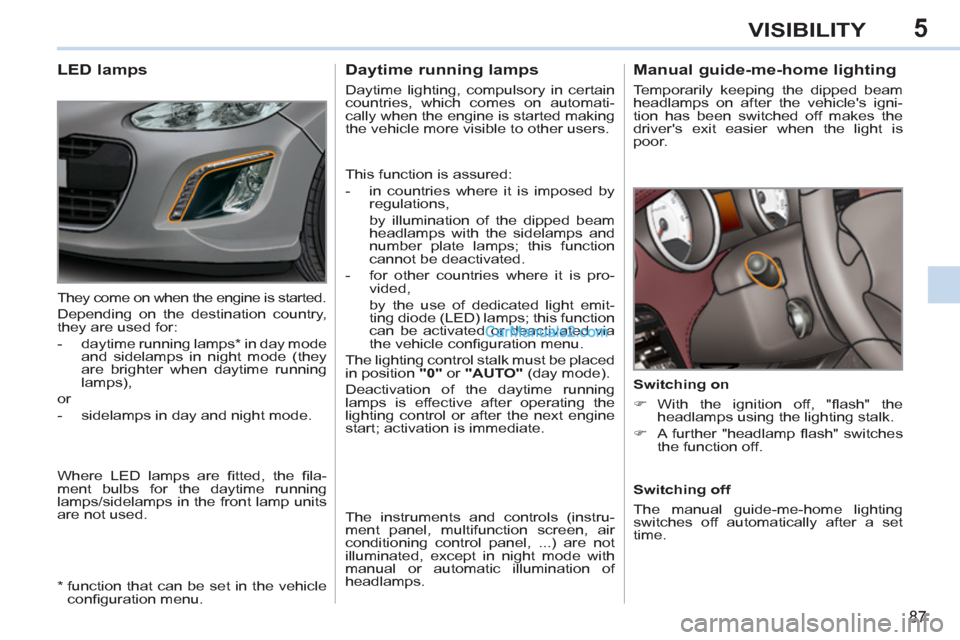
Manual guide-me-home lighting
Temporarily keeping the dipped beam
headlamps on after the vehicle's igni-
tion has been switched off makes the
driver's exit easier when the light is
poor.
Switching on
�)
With the ignition off, "fl ash" the
headlamps using the lighting stalk.
�)
A further "headlamp fl ash" switches
the function off.
Switching off
The manual guide-me-home lighting
switches off automatically after a set
time.
Daytime running lamps
Daytime lighting, compulsory in certain
countries, which comes on automati-
cally when the engine is started making
the vehicle more visible to other users.
This function is assured:
- in countries where it is imposed by
regulations,
by illumination of the dipped beam
headlamps with the sidelamps and
number plate lamps; this function
cannot be deactivated.
- for other countries where it is pro-
vided,
by the use of dedicated light emit-
ting diode (LED) lamps; this function
can be activated or deactivated via
the vehicle confi guration menu.
The lighting control stalk must be placed
in position "0"
or "AUTO"
(day mode).
Deactivation of the daytime running
lamps is effective after operating the
lighting control or after the next engine
start; activation is immediate.
The instruments and controls (instru-
ment panel, multifunction screen, air
conditioning control panel, ...) are not
illuminated, except in night mode with
manual or automatic illumination of
headlamps.
LED lamps
Where LED lamps are fi tted, the fi la-
ment bulbs for the daytime running
lamps/sidelamps in the front lamp units
are not used. They come on when the engine is started.
Depending on the destination country,
they are used for:
- daytime running lamps * in day mode
and sidelamps in night mode (they
are brighter when daytime running
lamps),
or
- sidelamps in day and night mode.
*
function that can be set in the vehicle
confi guration menu.
Page 107 of 292
7
!
105
SAFETY
The ESP/ASR systems offer ex-
ceptional safety in normal driving,
but this should not encourage the
driver to take extra risks or drive at
high speed.
The correct functioning of these
systems depends on observation
of the manufacturer's recommen-
dations on:
- wheels (tyres and rims),
- braking components,
- electronic components,
- repair and assembly procedures.
After an impact, have these sys-
tems checked by a PEUGEOT
dealer or a qualifi ed workshop.
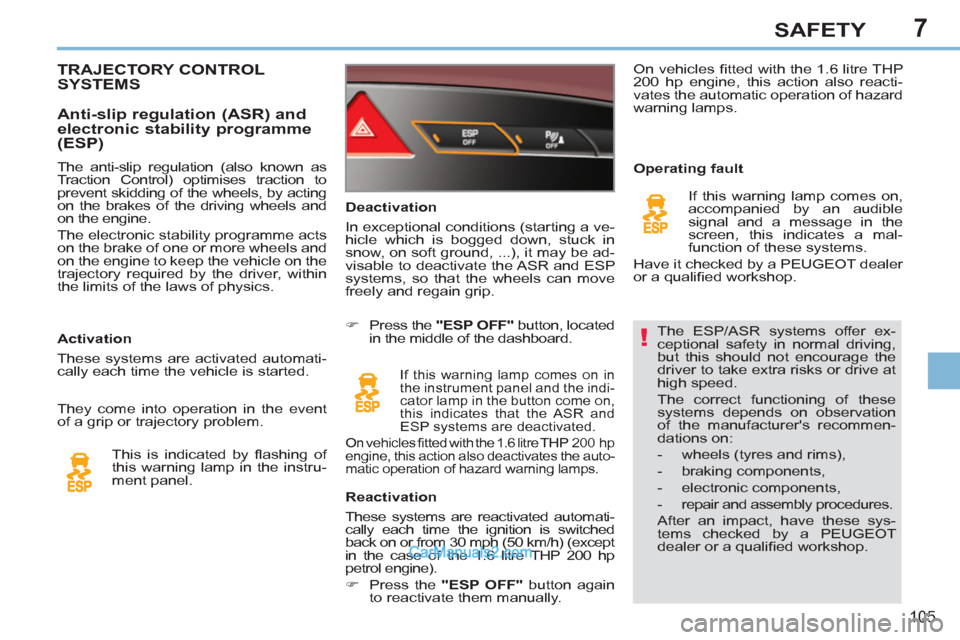
Deactivation
In exceptional conditions (starting a ve-
hicle which is bogged down, stuck in
snow, on soft ground, ...), it may be ad-
visable to deactivate the ASR and ESP
systems, so that the wheels can move
freely and regain grip.
�)
Press the "ESP OFF"
button, located
in the middle of the dashboard.
If this warning lamp comes on in
the instrument panel and the indi-
cator lamp in the button come on,
this indicates that the ASR and
ESP systems are deactivated.
On vehicles fi tted with the 1.6 litre THP 200 hp
engine, this action also deactivates the auto-
matic operation of hazard warning lamps.
Reactivation
These systems are reactivated automati-
cally each time the ignition is switched
back on or from 30 mph (50 km/h) (except
in the case of the 1.6 litre THP 200 hp
petrol engine).
�)
Press the "ESP OFF"
button again
to reactivate them manually.
Operating fault
If this warning lamp comes on,
accompanied by an audible
signal and a message in the
screen, this indicates a mal-
function of these systems.
Have it checked by a PEUGEOT dealer
or a qualifi ed workshop.
TRAJECTORY CONTROL
SYSTEMS
Activation
These systems are activated automati-
cally each time the vehicle is started.
Anti-slip regulation (ASR) and
electronic stability programme
(ESP)
They come into operation in the event
of a grip or trajectory problem.
This is indicated by fl ashing of
this warning lamp in the instru-
ment panel.
The anti-slip regulation (also known as
Traction Control) optimises traction to
prevent skidding of the wheels, by acting
on the brakes of the driving wheels and
on the engine.
The electronic stability programme acts
on the brake of one or more wheels and
on the engine to keep the vehicle on the
trajectory required by the driver, within
the limits of the laws of physics. On vehicles fi tted with the 1.6 litre THP
200 hp engine, this action also reacti-
vates the automatic operation of hazard
warning lamps.
Page 112 of 292
7
i
!
11 0
SAFETY
AIRBAGS
The airbags have been designed to max-
imise the safety of the occupants in the
event of violent collisions. They supple-
ment the action of the force-limiting seat
belts.
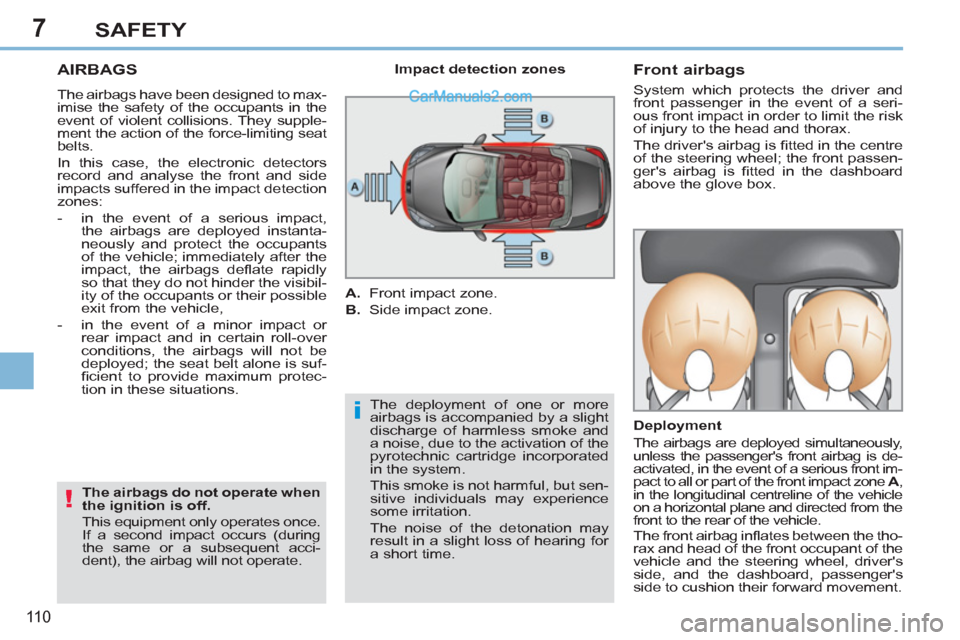
In this case, the electronic detectors
record and analyse the front and side
impacts suffered in the impact detection
zones:
- in the event of a serious impact,
the airbags are deployed instanta-
neously and protect the occupants
of the vehicle; immediately after the
impact, the airbags defl ate rapidly
so that they do not hinder the visibil-
ity of the occupants or their possible
exit from the vehicle,
- in the event of a minor impact or
rear impact and in certain roll-over
conditions, the airbags will not be
deployed; the seat belt alone is suf-
fi cient to provide maximum protec-
tion in these situations.
The deployment of one or more
airbags is accompanied by a slight
discharge of harmless smoke and
a noise, due to the activation of the
pyrotechnic cartridge incorporated
in the system.
This smoke is not harmful, but sen-
sitive individuals may experience
some irritation.
The noise of the detonation may
result in a slight loss of hearing for
a short time.
Front airbags
System which protects the driver and
front passenger in the event of a seri-
ous front impact in order to limit the risk
of injury to the head and thorax.
The driver's airbag is fi tted in the centre
of the steering wheel; the front passen-
ger's airbag is fi tted in the dashboard
above the glove box.
Deployment
The airbags are deployed simultaneously,
unless the passenger's front airbag is de-
activated, in the event of a serious front im-
pact to all or part of the front impact zone A
,
in the longitudinal centreline of the vehicle
on a horizontal plane and directed from the
front to the rear of the vehicle.
The front airbag infl ates between the tho-
rax and head of the front occupant of the
vehicle and the steering wheel, driver's
side, and the dashboard, passenger's
side to cushion their forward movement.
Impact detection zones
A.
Front impact zone.
B.
Side impact zone.
The airbags do not operate when
the ignition is off.
This equipment only operates once.
If a second impact occurs (during
the same or a subsequent acci-
dent), the airbag will not operate.
Page 130 of 292
8
!
i
i
128
DRIVING
STOP & START
The Stop & Start system puts the en-
gine temporarily into standby - STOP
mode - during stops in the traffi c (red
lights, traffi c jams, etc...). The engine
restarts automatically - START mode -
as soon as you want to move off. The
restart takes place instantly, quickly and
silently.
Perfect for urban use, the Stop & Start
system reduces fuel consumption and
exhaust emissions as well as offering
the comfort of silence when stationary.
Operation
Going into engine STOP mode
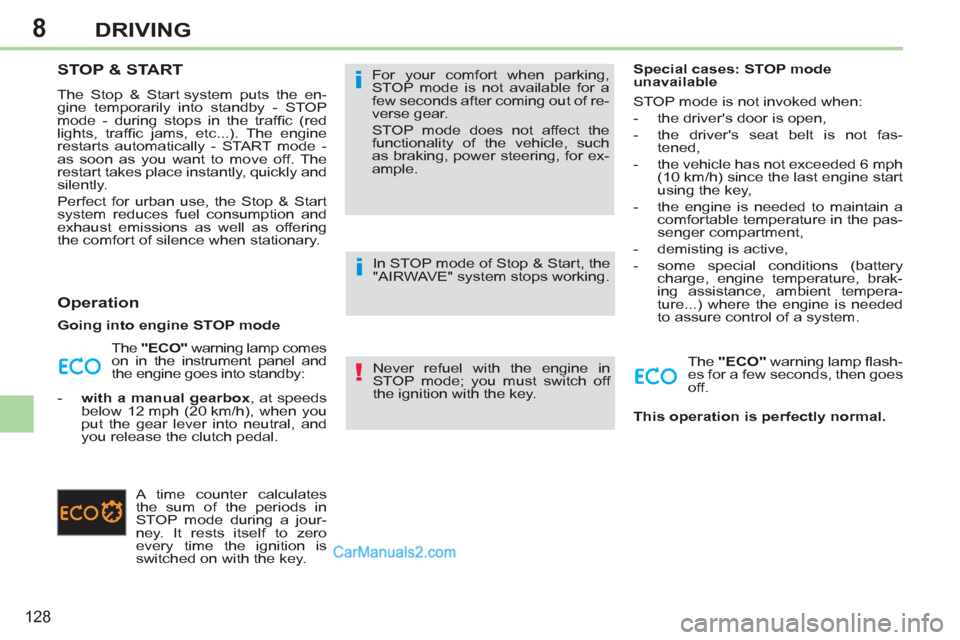
The "ECO"
warning lamp comes
on in the instrument panel and
the engine goes into standby:
- with a manual gearbox
, at speeds
below 12 mph (20 km/h), when you
put the gear lever into neutral, and
you release the clutch pedal.
A time counter calculates
the sum of the periods in
STOP mode during a jour-
ney. It rests itself to zero
every time the ignition is
switched on with the key. For your comfort when parking,
STOP mode is not available for a
few seconds after coming out of re-
verse gear.
STOP mode does not affect the
functionality of the vehicle, such
as braking, power steering, for ex-
ample.
Never refuel with the engine in
STOP mode; you must switch off
the ignition with the key.
Special cases: STOP mode
unavailable
STOP mode is not invoked when:
- the driver's door is open,
- the driver's seat belt is not fas-
tened,
- the vehicle has not exceeded 6 mph
(10 km/h) since the last engine start
using the key,
- the engine is needed to maintain a
comfortable temperature in the pas-
senger compartment,
- demisting is active,
- some special conditions (battery
charge, engine temperature, brak-
ing assistance, ambient tempera-
ture...) where the engine is needed
to assure control of a system.
The "ECO"
warning lamp fl ash-
es for a few seconds, then goes
off.
This operation is perfectly normal.
In STOP mode of Stop & Start, the
"AIRWAVE" system stops working.
Page 146 of 292
9
i
144
CHECKS
CHECKS
Unless otherwise indicated, check
these components in accordance with
the Warranty and Maintenance Record
and according to your engine.
Otherwise, have them checked by a
PEUGEOT dealer or a qualifi ed workshop.
Battery
The battery does not require any
maintenance.
However, check that the terminals
are clean and correctly tightened,
particularly in summer and winter.
When carrying out work on the battery, re-
fer to the "Practical information" section for
details of the precautions to be taken before
disconnecting the battery and following its
reconnection.
Air filter and passenger compartment filter
Refer to the Warranty and
Maintenance Record for de-
tails of the replacement inter-
vals for these components.
Depending on the environ-
ment (e.g. dusty atmosphere) and the
use of the vehicle (e.g. city driving), re-
place them twice as often if necessary
(refer to the "Engines" section).
A clogged passenger compartment fi lter
may have an adverse effect on the per-
formance of the air conditioning system
and generate undesirable odours.
Oil filter
Replace the oil fi lter each time
the engine oil is changed.
Refer to the Warranty and
Maintenance Record for de-
tails of the replacement inter-
val for this component.
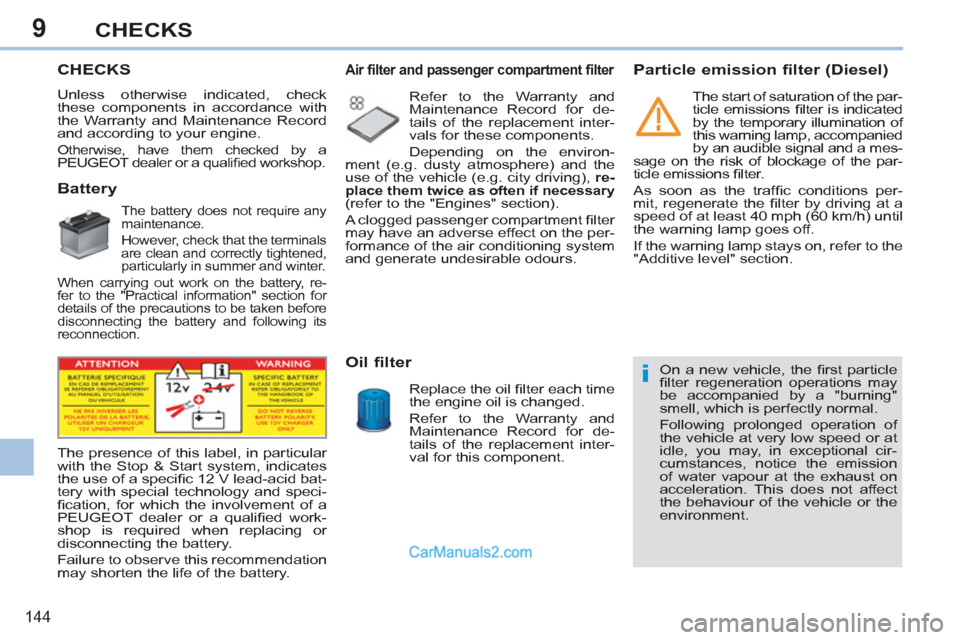
The presence of this label, in particular
with the Stop & Start system, indicates
the use of a specifi c 12 V lead-acid bat-
tery with special technology and speci-
fi cation, for which the involvement of a
PEUGEOT dealer or a qualifi ed work-
shop is required when replacing or
disconnecting the battery.
Failure to observe this recommendation
may shorten the life of the battery.
Particle emission filter (Diesel)
On a new vehicle, the fi rst particle
fi lter regeneration operations may
be accompanied by a "burning"
smell, which is perfectly normal.
Following prolonged operation of
the vehicle at very low speed or at
idle, you may, in exceptional cir-
cumstances, notice the emission
of water vapour at the exhaust on
acceleration. This does not affect
the behaviour of the vehicle or the
environment.
The start of saturation of the par-
ticle emissions fi lter is indicated
by the temporary illumination of
this warning lamp, accompanied
by an audible signal and a mes-
sage on the risk of blockage of the par-
ticle emissions fi lter.
As soon as the traffi c conditions per-
mit, regenerate the fi lter by driving at a
speed of at least 40 mph (60 km/h) until
the warning lamp goes off.
If the warning lamp stays on, refer to the
"Additive level" section.
Page 162 of 292
10
!
i
160
PRACTICAL INFORMATION
PEUGEOT will not accept responsibility
for the cost incurred in repairing your ve-
hicle or for rectifying malfunctions result-
ing from the installation of accessories
not supplied and not recommended by
PEUGEOT and not installed in accord-
ance with its instructions, in particular
when the combined consumption of all
of the additional equipment connected
exceeds 10 milliamperes.
Installing electrical accessories
Your vehicle’s electrical system is
designed to operate with standard
or optional equipment.
Before installing other electrical
equipment or accessories on your
vehicle, contact a PEUGEOT deal-
er or a qualifi ed workshop.
CHANGING A FUSE
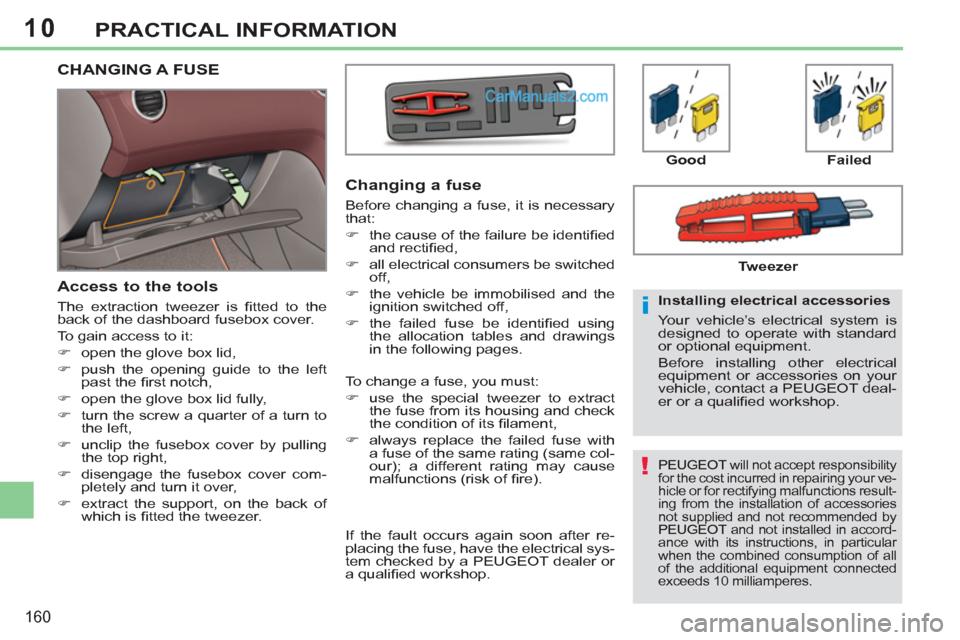
Access to the tools
The extraction tweezer is fi tted to the
back of the dashboard fusebox cover.
To gain access to it:
�)
open the glove box lid,
�)
push the opening guide to the left
past the fi rst notch,
�)
open the glove box lid fully,
�)
turn the screw a quarter of a turn to
the left,
�)
unclip the fusebox cover by pulling
the top right,
�)
disengage the fusebox cover com-
pletely and turn it over,
�)
extract the support, on the back of
which is fi tted the tweezer.
Changing a fuse
Before changing a fuse, it is necessary
that:
�)
the cause of the failure be identifi ed
and rectifi ed,
�)
all electrical consumers be switched
off,
�)
the vehicle be immobilised and the
ignition switched off,
�)
the failed fuse be identifi ed using
the allocation tables and drawings
in the following pages.
Good
Failed
Tweezer
To change a fuse, you must:
�)
use the special tweezer to extract
the fuse from its housing and check
the condition of its fi lament,
�)
always replace the failed fuse with
a fuse of the same rating (same col-
our); a different rating may cause
malfunctions (risk of fi re).
If the fault occurs again soon after re-
placing the fuse, have the electrical sys-
tem checked by a PEUGEOT dealer or
a qualifi ed workshop.