Page 237 of 446
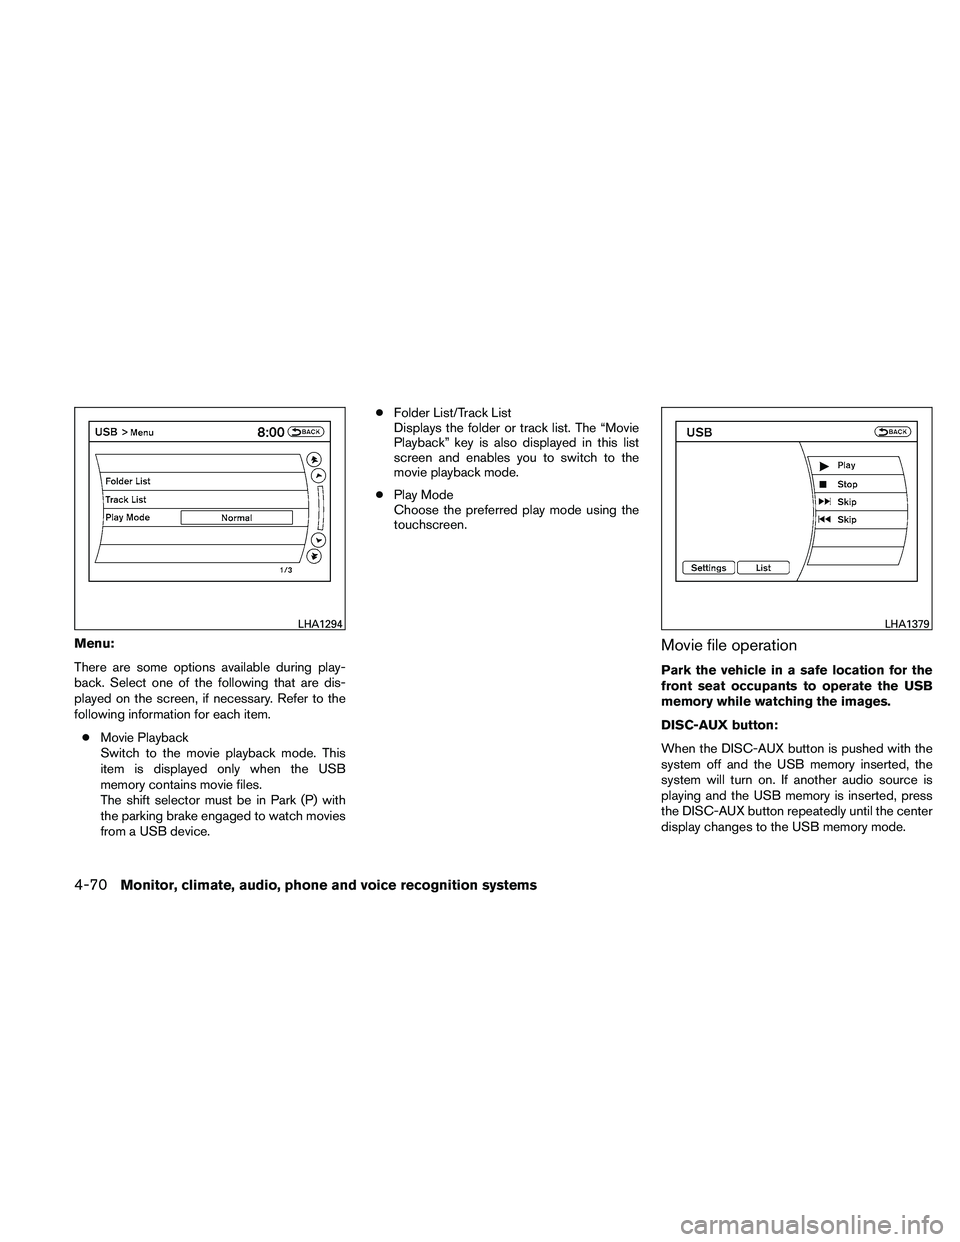
Menu:
There are some options available during play-
back. Select one of the following that are dis-
played on the screen, if necessary. Refer to the
following information for each item.● Movie Playback
Switch to the movie playback mode. This
item is displayed only when the USB
memory contains movie files.
The shift selector must be in Park (P) with
the parking brake engaged to watch movies
from a USB device. ●
Folder List/Track List
Displays the folder or track list. The “Movie
Playback” key is also displayed in this list
screen and enables you to switch to the
movie playback mode.
● Play Mode
Choose the preferred play mode using the
touchscreen.Movie file operation
Park the vehicle in a safe location for the
front seat occupants to operate the USB
memory while watching the images.
DISC-AUX button:
When the DISC-AUX button is pushed with the
system off and the USB memory inserted, the
system will turn on. If another audio source is
playing and the USB memory is inserted, press
the DISC-AUX button repeatedly until the center
display changes to the USB memory mode.
Page 239 of 446
●10 Key Search
Select the “10 Key Search” key to open the
number entry screen. Input the number you
want to search for and the specified file or
folder will be played.
● Display
Adjust the image quality of the screen.
● DRC
DRC (Dynamic Range Compression) auto-
matically adjusts the soundtrack volume
level to maintain a more even sound to the
speakers.
● Audio
Choose the preferred language of the audio.
● Subtitle
Choose the preferred language of the sub-
titles.
● Display Mode
Choose between the “Normal”, “Wide”,
“Cinema” or “Full” display modes.
iPod�* PLAYER OPERATION
WITHOUT NAVIGATION SYSTEM (if
so equipped)
Connecting iPod�
To connect an iPod� to the vehicle so that the
iPod� can be controlled with the audio system
controls and display screen, use the USB jack
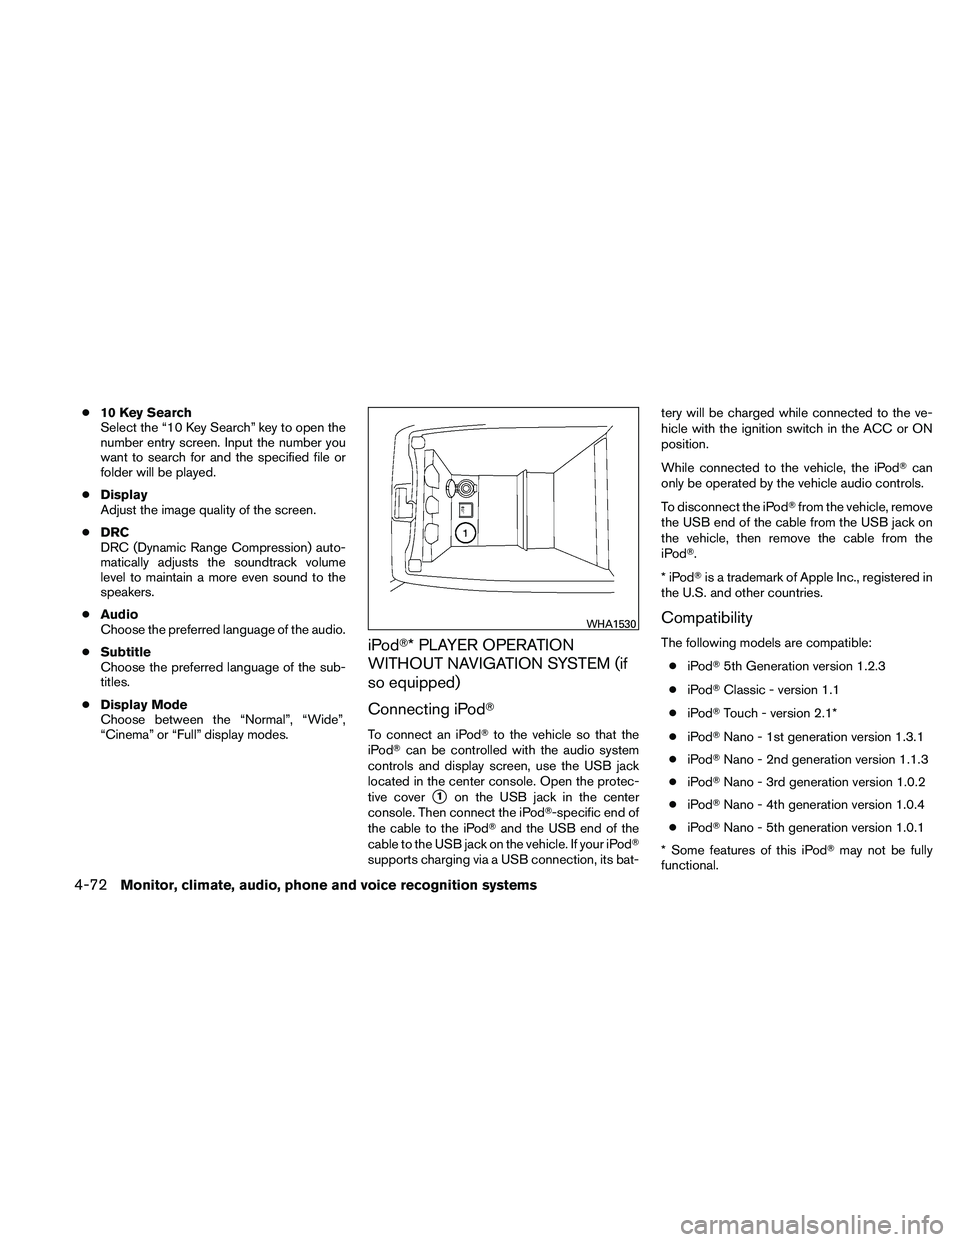
located in the center console. Open the protec-
tive cover
�1on the USB jack in the center
console. Then connect the iPod�-specific end of
the cable to the iPod� and the USB end of the
cable to the USB jack on the vehicle. If your iPod�
supports charging via a USB connection, its bat- tery will be charged while connected to the ve-
hicle with the ignition switch in the ACC or ON
position.
While connected to the vehicle, the iPod�
can
only be operated by the vehicle audio controls.
To disconnect the iPod� from the vehicle, remove
the USB end of the cable from the USB jack on
the vehicle, then remove the cable from the
iPod�.
*iPod �is a trademark of Apple Inc., registered in
the U.S. and other countries.
Compatibility
The following models are compatible:
● iPod� 5th Generation version 1.2.3
● iPod� Classic - version 1.1
● iPod� Touch - version 2.1*
● iPod� Nano - 1st generation version 1.3.1
● iPod� Nano - 2nd generation version 1.1.3
● iPod� Nano - 3rd generation version 1.0.2
● iPod� Nano - 4th generation version 1.0.4
● iPod� Nano - 5th generation version 1.0.1
* Some features of this iPod� may not be fully
functional.
Page 240 of 446
Make sure that your iPod�firmware is updated to
the version indicated above.
Audio main operation
AUX button:
Place the ignition switch in the ACC or ON
position and press the AUX button repeatedly
until the iPod� mode is displayed on the screen.
If another audio source is playing and the iPod� is
connected, press the AUX button repeatedly to
switch to the iPod� mode.
If the vehicle audio system is turned off while the
iPod� is playing, the iPod� will start when the
VOL/ON-OFF control knob is pressed.
Interface:
The interface for iPod� operation shown on the
vehicle’s audio system display screen is similar to
the iPod� interface. Use the TUNE/SCROLL
knob and ENTER button to navigate the menus
on the screen. The iPod� MENU button on the
vehicle audio system is used to move up one level
in the iPod� menus.
Depending on the iPod� model, the following
items may be available on the menu list screen.
For further information about each item, see the
iPod� Owner’s Manual.
● Playlists ●
Artists
● Albums
● Songs
● Podcasts
● Genres
● Composers
● Audiobooks
● ShuffleSongs
Page 241 of 446
iPod�* PLAYER OPERATION WITH
NAVIGATION SYSTEM (if so
equipped)
Connecting iPod�
To connect an iPod�to the vehicle so that the
iPod� can be controlled with the audio system
controls and display screen, use the USB jack
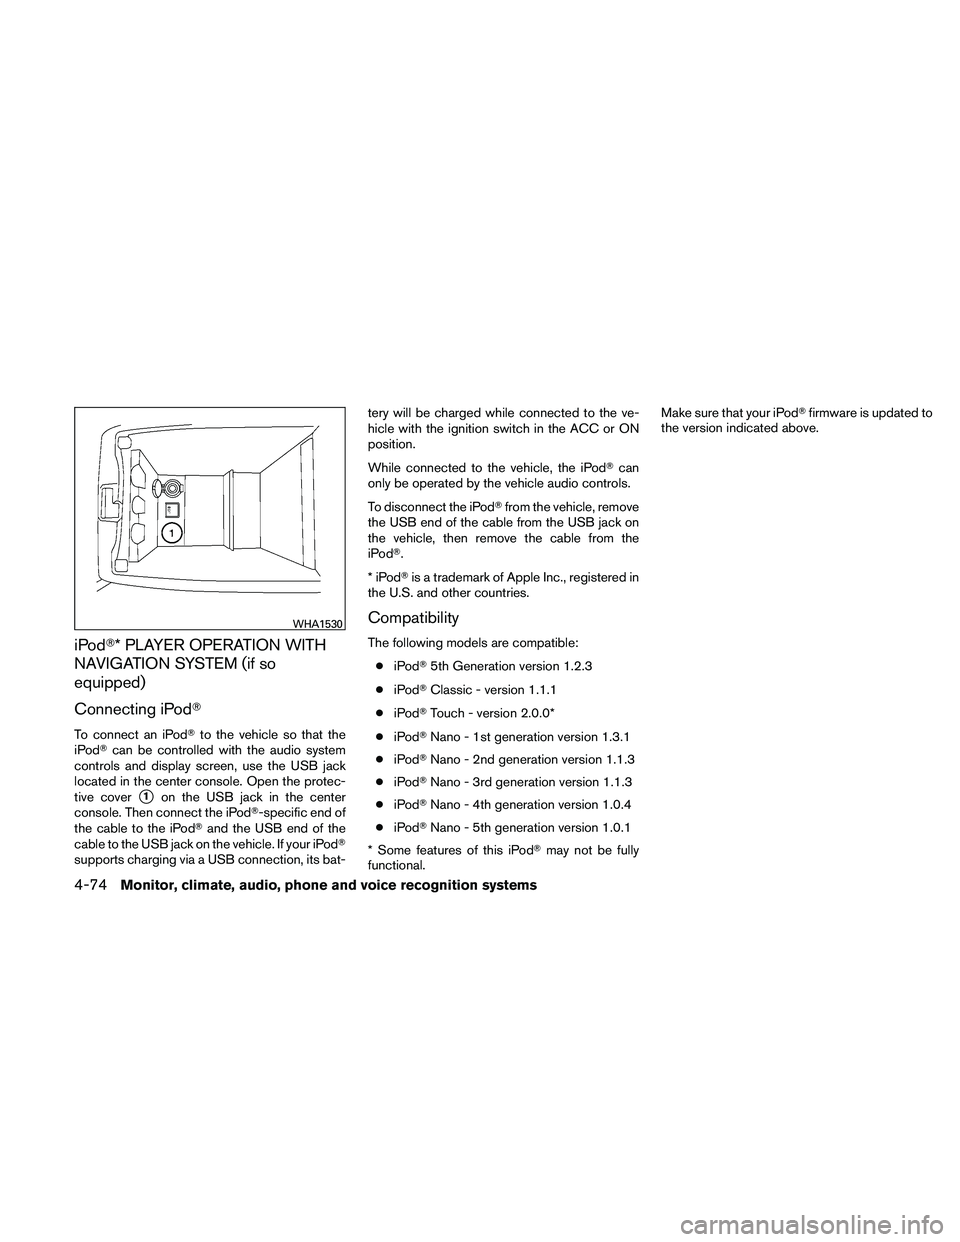
located in the center console. Open the protec-
tive cover
�1on the USB jack in the center
console. Then connect the iPod�-specific end of
the cable to the iPod� and the USB end of the
cable to the USB jack on the vehicle. If your iPod�
supports charging via a USB connection, its bat- tery will be charged while connected to the ve-
hicle with the ignition switch in the ACC or ON
position.
While connected to the vehicle, the iPod�
can
only be operated by the vehicle audio controls.
To disconnect the iPod� from the vehicle, remove
the USB end of the cable from the USB jack on
the vehicle, then remove the cable from the
iPod�.
*iPod �is a trademark of Apple Inc., registered in
the U.S. and other countries.
Compatibility
The following models are compatible:
● iPod� 5th Generation version 1.2.3
● iPod� Classic - version 1.1.1
● iPod� Touch - version 2.0.0*
● iPod� Nano - 1st generation version 1.3.1
● iPod� Nano - 2nd generation version 1.1.3
● iPod� Nano - 3rd generation version 1.1.3
● iPod� Nano - 4th generation version 1.0.4
● iPod� Nano - 5th generation version 1.0.1
* Some features of this iPod� may not be fully
functional. Make sure that your iPod�
firmware is updated to
the version indicated above.
Page 242 of 446
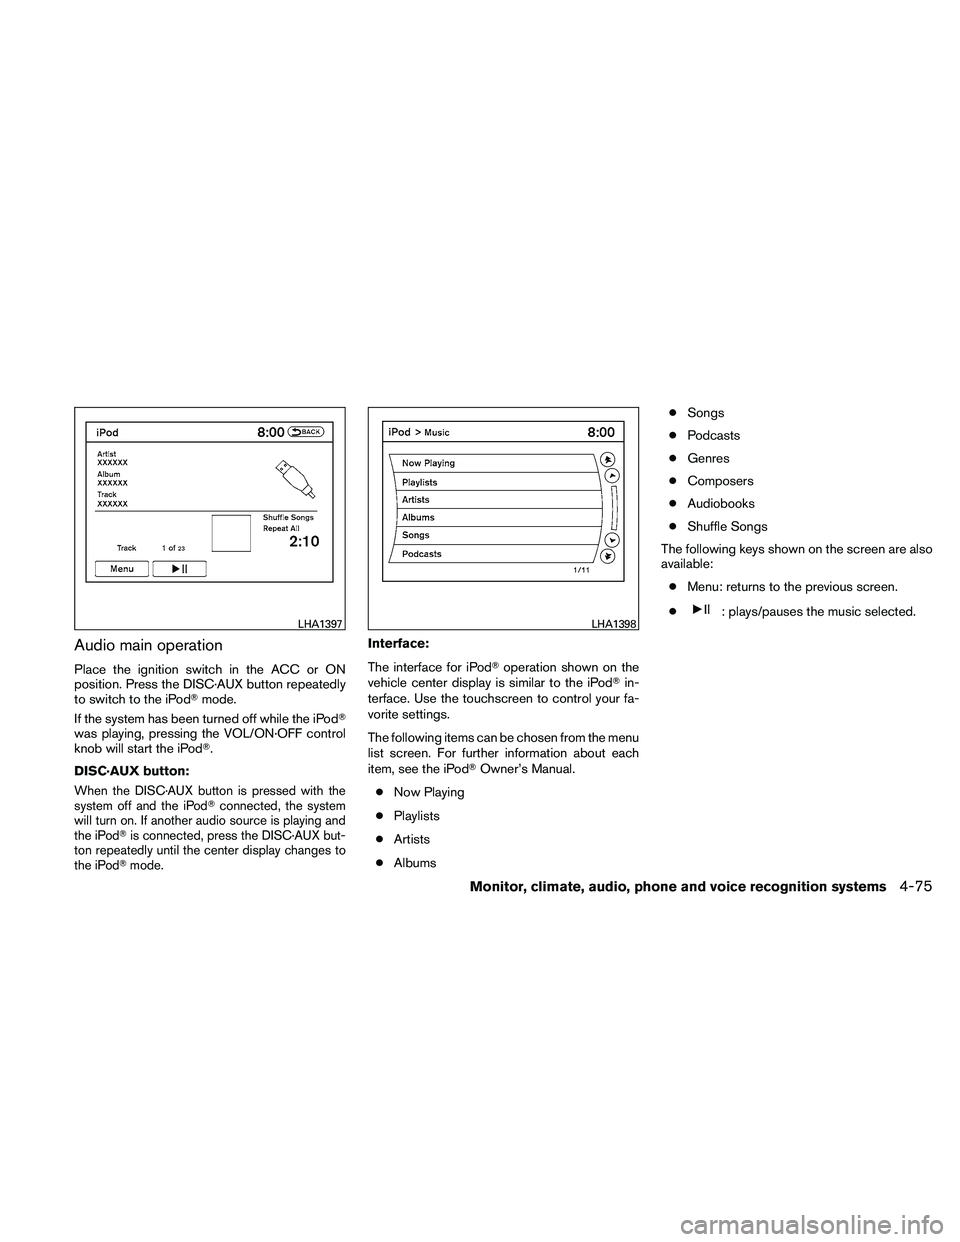
Audio main operation
Place the ignition switch in the ACC or ON
position. Press the DISC·AUX button repeatedly
to switch to the iPod�mode.
If the system has been turned off while the iPod�
was playing, pressing the VOL/ON·OFF control
knob will start the iPod�.
DISC·AUX button:
When the DISC·AUX button is pressed with the
system off and the iPod� connected, the system
will turn on. If another audio source is playing and
the iPod� is connected, press the DISC·AUX but-
ton repeatedly until the center display changes to
the iPod� mode.
Interface:
The interface for iPod� operation shown on the
vehicle center display is similar to the iPod� in-
terface. Use the touchscreen to control your fa-
vorite settings.
The following items can be chosen from the menu
list screen. For further information about each
item, see the iPod� Owner’s Manual.
● Now Playing
● Playlists
● Artists
● Albums ●
Songs
● Podcasts
● Genres
● Composers
● Audiobooks
● Shuffle Songs
The following keys shown on the screen are also
available: ● Menu: returns to the previous screen.
●
Page 243 of 446
Play mode:
While the iPod�is playing, touch the “Menu” key
to display the iPod� menu. Touch the “Play
Mode” key to display the Play Mode screen and
adjust the settings for Shuffle, Repeat and Audio-
books. For further information about each item,
see the iPod� Owner’s Manual.
Seeking button:
When the
Page 244 of 446
MUSIC BOX�(if so equipped)
The Music Box system can store songs from CDs
being played. The system has a 9.3 gigabyte
(GB) storage capacity.
The following CDs can be recorded in the Music
Box system:
● CDs without MP3/WMA files.
● Hybrid Compact Disc Digital Audio (Hybrid
CD-DA) specification in Super Audio CDs.
● Compact Disc Digital Audio (CD-DA) speci-
fication in CD-Extras.
● First session of multisession disc.
Extreme temperature conditions [below �4°F
(�20°C) and above 158°F (70°C)] could affect
the performance of the hard-disk.
NOTE:
If the hard drive needs to be replaced due
to a malfunction, all stored music data will
be erased.
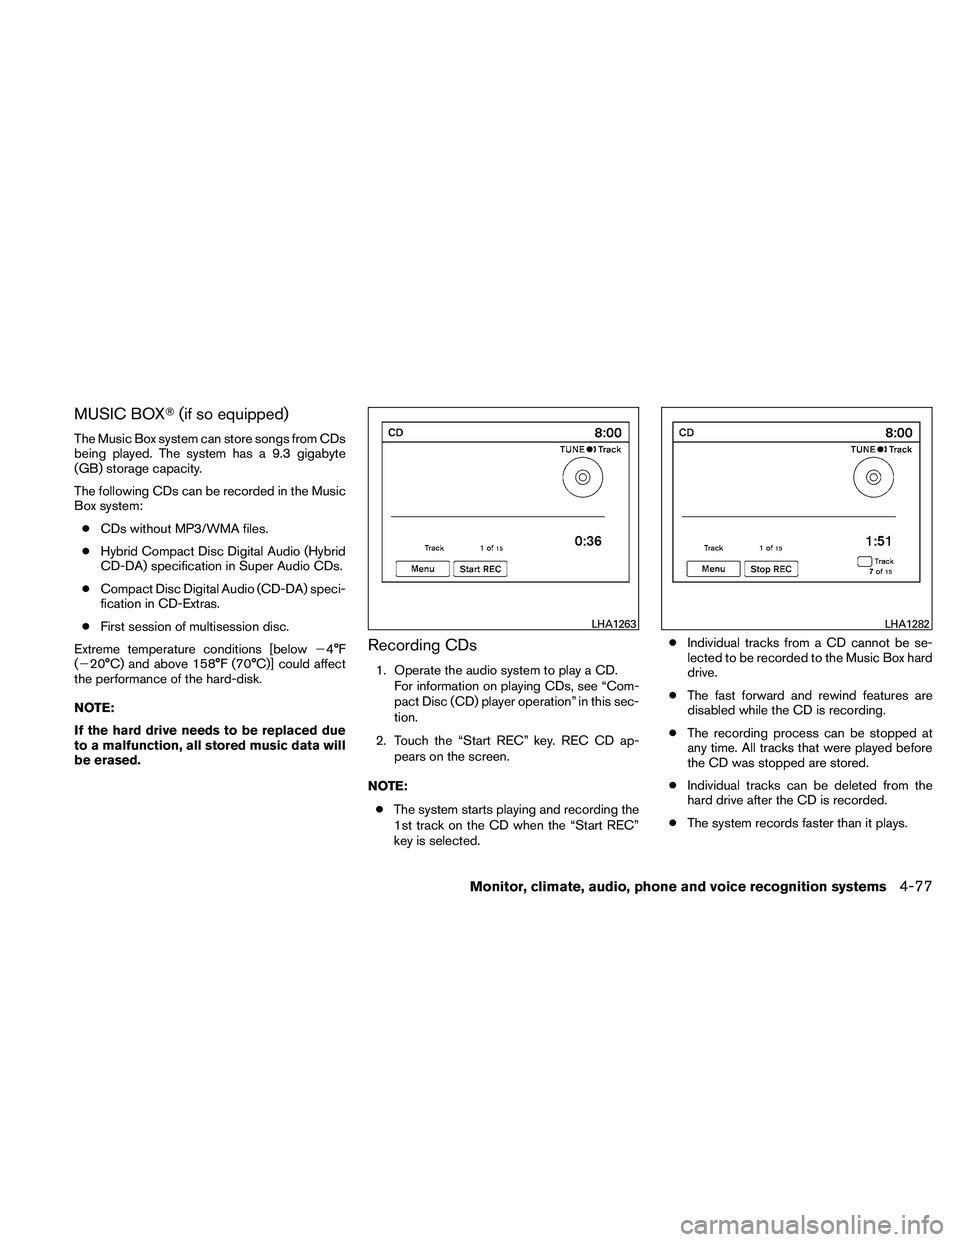
Recording CDs
1. Operate the audio system to play a CD.
For information on playing CDs, see “Com-
pact Disc (CD) player operation” in this sec-
tion.
2. Touch the “Start REC” key. REC CD ap- pears on the screen.
NOTE: ● The system starts playing and recording the
1st track on the CD when the “Start REC”
key is selected. ●
Individual tracks from a CD cannot be se-
lected to be recorded to the Music Box hard
drive.
● The fast forward and rewind features are
disabled while the CD is recording.
● The recording process can be stopped at
any time. All tracks that were played before
the CD was stopped are stored.
● Individual tracks can be deleted from the
hard drive after the CD is recorded.
● The system records faster than it plays.
Page 246 of 446
Stopping playback:
The system stops playing when:● Another mode (radio, CD, USB, Bluetooth�
Audio or AUX) is selected.
● The audio system is turned off.
● The ignition switch is placed in the OFF
position.
Seeking button:
Press the