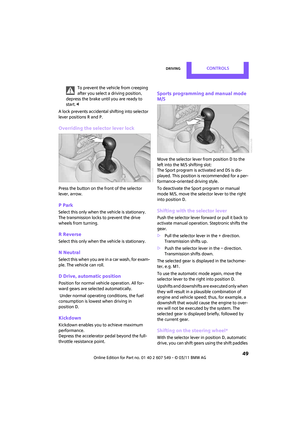
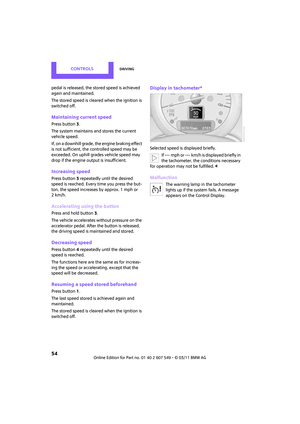
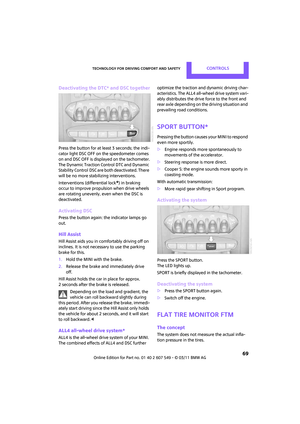
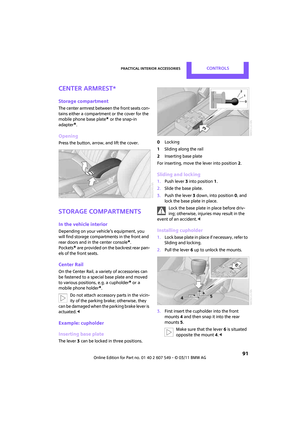
Page 89 of 254

ClimateCONTROLS
87
Defrosting windows and removing
condensation
Quickly removes ice and condensa-
tion from the windshield and front
side windows.
For this purpose, also switch on the
cooling function.
The windshield heating
* is switched on auto-
matically.
Windshield heating*
The windshield heating is switched
off automatically after a certain
time.
Cooling function
The passenger compartment can only be cooled
while the engine is running.
When the cooling function is on,
the air is cooled, dried, then
reheated according to the temper-
ature setting.
The cooling function helps prevent condensa-
tion on the windows or removes it quickly.
Depending on the weather, the windshield may
fog over briefly when the engine is started. The
recirculated-air mode may be switched on auto-
matically.
When the AUTO button is pressed, the cooling
function switches on automatically.
Microfilter/activated-charcoal filter
The microfilter captures dust and pollen. The
activated-charcoal filter provides additional pro-
tection by filtering gase ous pollutants from the
outside air. Your MINI dealer replaces this com-
bined filter as a standard part of your scheduled
maintenance.
You can call up further information in the service
requirements display, page 59.
Ventilation
1 Knob for continuous opening and closing
2 Jet for direction of air flow
Opening/closing
Turn the knob.
Direction of air flow
Swivel the entire jet.
Page 90 of 254

CONTROLSPractical interior accessories
88
Practical interior accessories
Integrated universal
remote control*
The concept
The integrated universal remote control can
replace as many as three hand-held transmitters
for various remote-controlled devices, such as
garage and gate openers and lighting systems.
The integrated universal remote control regis-
ters and stores signals from the original hand-
held transmitters.
The signal of an original hand-held transmitter
can be programmed on one of the three mem-
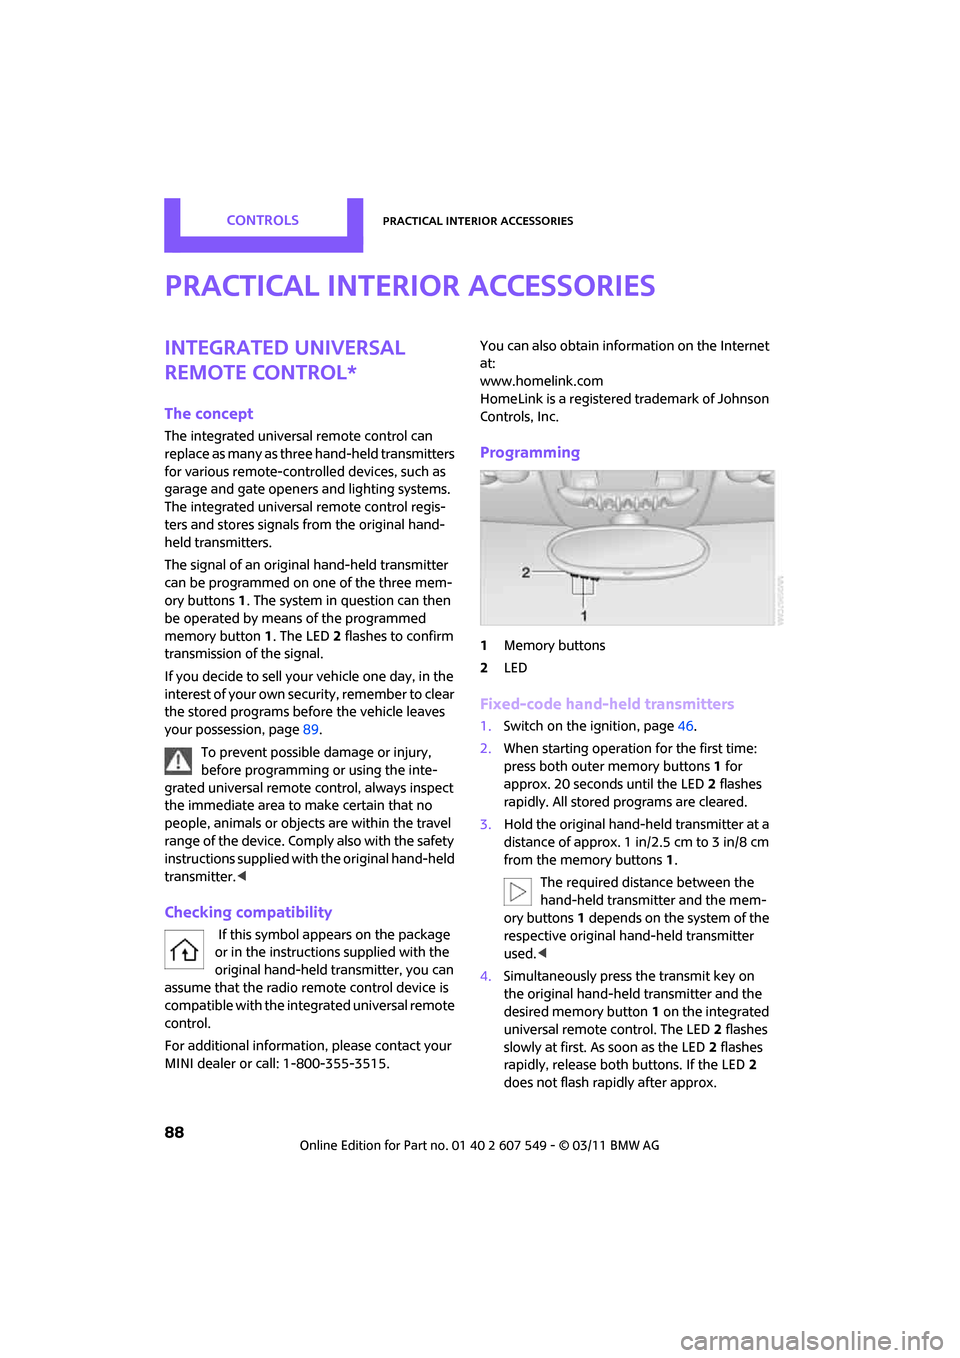
ory buttons 1. The system in question can then
be operated by means of the programmed
memory button 1. The LED 2 flashes to confirm
transmission of the signal.
If you decide to sell your vehicle one day, in the
interest of your own security, remember to clear
the stored programs before the vehicle leaves
your possession, page 89.
To prevent possible damage or injury,
before programming or using the inte-
grated universal remote control, always inspect
the immediate area to make certain that no
people, animals or object s are within the travel
range of the device. Comply also with the safety
instructions supplied with the original hand-held
transmitter. <
Checking compatibility
If this symbol a ppears on the package
or in the instructions supplied with the
original hand-held transmitter, you can
assume that the radio remote control device is
compatible with the integrated universal remote
control.
For additional informatio n, please contact your
MINI dealer or call: 1-800-355-3515. You can also obtain info
rmation on the Internet
at:
www.homelink.com
HomeLink is a registered trademark of Johnson
Controls, Inc.
Programming
1 Memory buttons
2 LED
Fixed-code hand-held transmitters
1.Switch on the ignition, page 46.
2. When starting operation for the first time:
press both outer memory buttons 1 for
approx. 20 seconds until the LED 2 flashes
rapidly. All stored programs are cleared.
3. Hold the original hand-held transmitter at a
distance of approx. 1in/2.5cm to 3in/8cm
from the memory buttons 1.
The required distance between the
hand-held transmitter and the mem-
ory buttons 1 depends on the system of the
respective original hand-held transmitter
used. <
4. Simultaneously press the transmit key on
the original hand-hel d transmitter and the
desired memory button 1 on the integrated
universal remote control. The LED 2 flashes
slowly at first. As soon as the LED 2 flashes
rapidly, release both buttons. If the LED 2
does not flash rapidly after approx.
Page 91 of 254

Practical interior accessoriesCONTROLS
89
60 seconds, alter the distance and repeat
this step.
Canada: if the LED is not flashing rapidly
after 60 seconds, change the distance and
repeat the step or, if the programming was
interrupted by the hand-held transmitter,
press and hold the memory button and
press the button on the hand-held transmit-
ter for 2 seconds and release several times.
5. To program other original hand-held trans-
mitters, repeat steps 3 and 4.
The corresponding memory button 1 is now
programmed with the signal of the original
hand-held transmitter.
You can operate the system with the engine
running or with the ignition switched on.
If the system fails to function even after
repeated programming, check whether
the original hand-held transmitter uses an alter-
nating-code system. To do so, either read the
instructions for the original hand-held transmit-
ter or hold down the programmed memory
button 1 of the integrated universal remote con-
trol. If the LED 2 on the integrated universal
remote control flashes ra pidly and then remains
lit for about two seconds, then the original
hand-held transmitter uses an alternating-code
system. If it uses an alternating-code system,
program the memory buttons 1 as described
under Alternating-code hand-held transmit-
ters. <
Alternating-code hand-held
transmitters
To program the integrated universal remote
control, consult the operating instructions for
the device to be set. You will find information
there on the possibilities for synchronization or
programming of additional hand-held transmit-
ters.
When programming hand-held transmitters that
employ an alternating co de, please observe the
following supplementary instructions:
Programming will be easier with the aid of
a second person. < 1.
Park your vehicle within the range of the
remote-controlled device.
Do not exceed a distance of 164 ft/
50 m from the radio remote con-
trolled device. <
2. Program the integrated universal remote
control as described above in the section
Fixed-code hand-held transmitters.
3. Locate the button on the receiver of the
device to be set, e.g. on the drive unit.
4. Press the button on the receiver of the
device to be set. After step 4, you have
approx. 30 seconds for the next step 5.
5. Press and hold the programmed memory
button 1 on the integrated universal remote
control for approx. 3 seconds.
If necessary, repeat the step up to three
times.
The corresponding memory button1 is now
programmed with the signal of the original
hand-held transmitter.
Clearing stored programs
Press both oute r memory buttons 1 for approx.
20 seconds until the LED 2 flashes: all stored
programs are cleared.
It is not possible to cl ear individual programs.
Reassigning individual programs
1.Hold the original hand-held transmitter at a
distance of approx. 1 in/2.5 cm to 3 in/8 cm
from the memory buttons 1.
The required distance between the
hand-held transmitter and the mem-
ory buttons 1 depends on the system of the
respective original hand-held transmitter
used. <
2. Press the desired memory button 1 of the
integrated universal remote control.
If the LED 2 flashes slowly after approx.
20 seconds, press the transmit key of the
original hand-held tr ansmitter and release
both buttons as soon as the LED 2 flashes
Page 92 of 254

CONTROLSPractical interior accessories
90
rapidly.
If the LED2 does not flash rapidly after
approx. 60 seconds, alter the distance and
repeat this step.
Canada: if the LED is not flashing rapidly
after 60 seconds, chan ge the distance and
repeat the step or, if the programming was
interrupted by the hand-held transmitter,
press and hold the memory button and
press the button on the hand-held transmit-
ter for 2 seconds and release several times.
Glove compartment
Opening
Pull the handle to open the cover.
The light in the glove compartment comes on.
Closing
Fold cover up.
To prevent injury in the event of an acci-
dent, close the glove compartment after
use while the vehicle is being driven. <
Ventilation*
Depending on your vehicle's equipment, the
glove compartment can be ventilated and, if the
cooling function
* is switched on, can also be
cooled.
Opening
Rotate the switch in the direction of the arrow.
Closing
Rotate the switch in the opposite direction of the
arrow until it is in the vertical position.
Depending on the temperature setting of the air
conditioner or the automatic climate control,
high temperatures may result in the glove com-
partment.
USB interface for data transmission*
Connection for importing data from a USB stor-
age device, e.g. software update, refer to
page 149.
The USB interface is located in the upper region
of the glove compartment.
Observe the following when connecting:
> Do not use force when plugging the connec-
tor into the USB audio interface.
> Do not connect devices such as fans or
lamps to the USB interface.
> Do not connect USB hard discs.
> Do not use the USB interface to recharge
external devices.
Connection for external
audio device
You can connect an external audio device such
as a CD or MP3 player and play audio tracks over
the vehicle's speaker syst em, refer to the Enter-
tainment chapter starting on page 142.
Page 93 of 254

Practical interior accessoriesCONTROLS
91
Center armrest*
Storage compartment
The center armrest between the front seats con-
tains either a compartment or the cover for the
mobile phone base plate
* or the snap-in
adapter
*.
Opening
Press the button, arrow, and lift the cover.
Storage compartments
In the vehicle interior
Depending on your vehicle's equipment, you
will find storage compar tments in the front and
rear doors and in the center console
*.
Pockets
* are provided on the backrest rear pan-
els of the front seats.
Center Rail
On the Center Rail, a va riety of accessories can
be fastened to a specia l base plate and moved
to various positions, e.g. a cupholder
* or a
mobile phone holder
*.
Do not attach accessory parts in the vicin-
ity of the parking brake; otherwise, they
can be damaged when the parking brake lever is
actuated. <
Example: cupholder
Inserting base plate
The lever 3 can be locked in three positions. 0
Locking
1 Sliding along the rail
2 Inserting base plate
For inserting, move th e lever into position2.
Sliding and locking
1. Push lever 3 into position 1.
2. Slide the base plate.
3. Push the lever 3 down, into position 0, and
lock the base plate in place.
Lock the base plate in place before driv-
ing; otherwise, injuries may result in the
event of an accident. <
Installing cupholder
1.Lock base plate in plac e if necessary, refer to
Sliding and locking.
2. Pull the lever 6 up to unlock the mounts.
3. First insert the cupholder into the front
mounts 4 and then snap it into the rear
mounts 5.
Make sure that the lever 6 is situated
opposite the mount 4.<
Page 94 of 254

CONTROLSPractical interior accessories
92
Clothes hooks
There are clothes hooks on the grab handles in
the rear passenger compartment.Items of clothing hung from the hooks
must not obstruct the driver's view. Do not
hang heavy objects from the hooks; otherwise,
they could endanger the ca r's occupants, e.g. in
case of heavy braking or sudden swerving. <
In the cargo area
Depending on your vehicle's equipment, you
have the following storage options:
>Storage compartment under the flat load
floor
*
>Bag holder on the support for the cargo area
cover
Cupholders and ashtray*
Cupholders*
Use lightweight, nonbreakable containers
and do not transport hot beverages. Oth-
erwise, there is an increased risk of injury in the
event of an accident. <
Do not push unsuitable containers forcibly
into the cupholder. Otherwise, you may
damage it. <
Additional cupholders can be attached to the
Center Rail in the rear passenger compartment.
Ashtray*
The ashtray is located in one of the cupholders in
the center console.
Emptying
Remove the entire ashtray.
Lighter
With the engine running or the ignition switched
on, press in the cigarette lighter.
The lighter can be pulled out as soon as it pops
back out.
Hold or touch the hot cigarette lighter by
the knob only. Holding or touching it in
other areas could result in burns.
When leaving the car, al ways remove the key so
that children cannot operate the cigarette
lighter and burn themselves. <
Connecting electrical
appliances
In your MINI, when the engine is running or the
ignition is switched on, you can use electrical
devices such as flashlights, car vacuum cleaners,
etc., up to approx. 140 watts at 12 volts, as long
as one of the following sockets is available.
Avoid damaging the sockets by attempting to
insert plugs of unsui table shape or size.
Cigarette lighter socket
Remove the lighter* or cover from the socket.
Page 95 of 254
Practical interior accessoriesCONTROLS
93
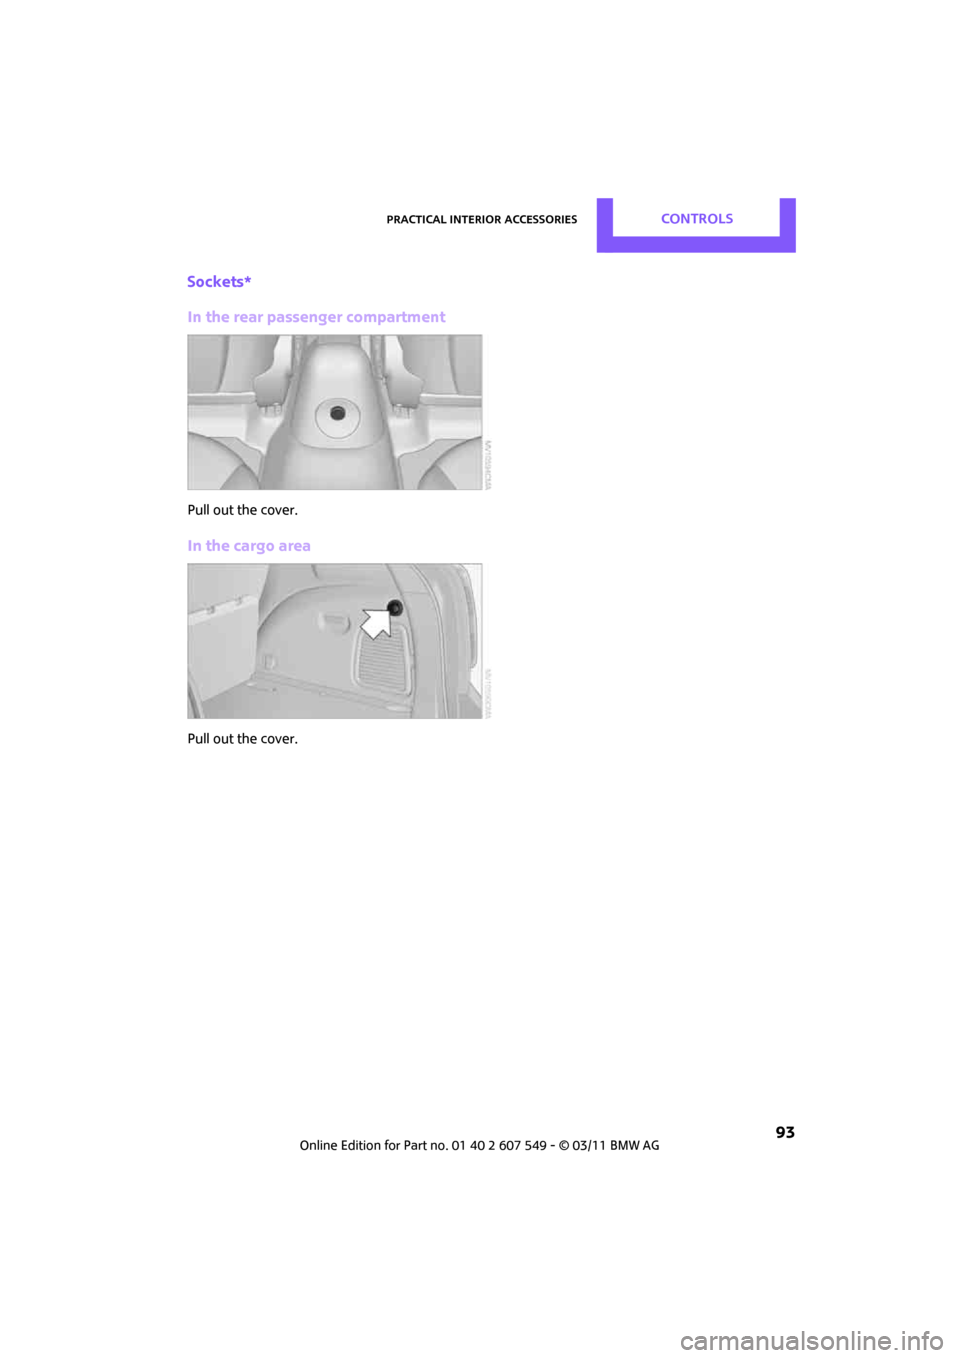
Sockets*
In the rear passenger compartment
Pull out the cover.
In the cargo area
Pull out the cover.
Page 96 of 254