2011 MERCEDES-BENZ SLS AMG ignition
[x] Cancel search: ignitionPage 334 of 436
Restarting Advanced TPMSGWarning!
It is the driver’s responsibility to set the tire
inflation pressure to the recommended cold
tire inflation pressure. Underinflated tires
affect the ability to steer or brake the vehicle.
You might lose control over the vehicle.
When you restart the TPMS, the system sets
new reference values for each tire.
The TPMS must be restarted when you have
adjusted the tire inflation pressure to a new
level (e.g. because of different load or driving
conditions). The TPMS is then recalibrated to
the current tire inflation pressures.
i Canada only:
The TPMS usually recognizes tire pressure
adjustments and sets new reference values
automatically. You can, however, restart
the TPMS manually as described.
Restart the TPMS after adjusting the tire
inflation pressure to the inflation pressure
recommended for the vehicle operating
condition. Tire inflation pressure should only
be adjusted on cold tires. Observe the
recommended tire inflation pressure on the
Tire and Loading Information placard on the
driver’s door B-pillar. Some vehicles may have
supplemental tire inflation pressure
information for driving at high speeds or for
vehicle loads less than the maximum loaded
vehicle condition. If such information is
provided, it can be found on the inside of the
fuel filler flap.
XUsing the Tire and Loading Information
placard on the driver’s door B-pillar
( Y page 334) or the supplemental tire
inflation pressure information on the inside
of the fuel filler flap, make sure the tire
inflation pressure of all four tires is correct.XSwitch on the ignition.XPress button 0040 or 003E on the
multifunction steering wheel to select the
Service menu.XPress button 003C or 003D on the
multifunction steering wheel to select
Tire Pressure .XPress button 0064.
The current inflation pressure for each tire
appears in the multifunction display or the
following message appears in the
multifunction display:
Tire pressures
will be displayed
after driving
a few minutesXPress button 003D.
The following message appears in the
multifunction display:
Use Current
Pressures as New
Reference Values
Press 'OK' to ConfirmXPress button 0064.
The following message appears in the
multifunction display:
Tire Press. Monitor
Restarted
After driving a few minutes the system
verifies that the current tire inflation
pressures are within the system’s specified
range. Afterwards the current tire inflation
pressures are accepted as reference values
and then monitored.XIf you wish to cancel: Press button 0041.
or
XPress button 003C to exit the menu screen.
i
When the wheel positions have been
changed, the inflation pressure of a tire
may be displayed for the wrong position
temporarily. After driving for a few minutes,
the inflation pressure will be shown for the
correct position.
332Tires and wheelsOperation
BA 197 USA, CA Edition A 2011; 1; 27, en-UShereepeVersion: 3.0.3.52010-03-24T15:31:10+01:00 - Seite 332
Page 352 of 436
advisable to brake the vehicle with
considerable force prior to parking. The heat
generated serves to dry the brakes.
Salt-covered roadsGWarning!
A layer of salt on the brake discs and the brake
linings may cause a delay in the braking
effect, resulting in a significantly increased
braking distance, which could lead to an
accident.
To avoid this danger, you should:
R occasionally brake carefully when you are
driving on salt-covered roads, so that any
layer of salt that may have built up on the
brake discs and the brake linings is
removed without putting other road users
at risk
R maintain a greater distance to the vehicle
ahead and drive with particular care
R carefully apply the brakes at the end of a
trip and immediately after commencing a
new trip, so that salt residues are removed
from the brake disc
Brake service
! The brake fluid level in the reservoir may
be too low if the red brake warning lamp in
the instrument cluster comes on while the
engine is running and an acoustic warning
sounds. Observe additional messages in
the multifunction display that may appear.
Brake pad wear or a leak in the system may
be the reason for low brake fluid in the
reservoir.
Have the brake system inspected
immediately. Contact an authorized
Mercedes-Benz Center.
All checks and service work on the brake
system should be carried out by qualified
technicians only. Contact an authorized
Mercedes-Benz Center.
Only install brake pads and use brake fluid
recommended by Mercedes-Benz.
GWarning!
If other than recommended brake pads are
installed, or other than recommended brake
fluid is used, the braking properties of the
vehicle can be degraded to an extent that safe
braking is substantially impaired. This could
result in an accident.
! Because the ESC operates automatically,
the engine and ignition must be shut off
(KEYLESS-GO start/stop button in position
0 or 1, or SmartKey in starter switch
position 0 or 1) when the electronic parking
brake is being tested on a brake test
dynamometer or when the vehicle is being
towed with the rear axle raised.
Active braking action through the ESC may
otherwise seriously damage the brake
system which is not covered by the
Mercedes-Benz Limited Warranty.
If your brake system is only subjected to
moderate loads, you should occasionally test
the effectiveness of the brakes by applying
above-normal braking pressure at higher
speeds. This will also enhance the grip of the
brake pads.
GWarning!
Make sure not to endanger any other road
users when carrying out these braking
maneuvers.
Refer to the description of the Brake Assist
System (BAS) ( Y page 62).
High-performance brake system and
ceramic brake system
GWarning!
New vehicle brake pads and disks, and
replacement brake pads and disks may take
several hundred miles of driving until they
provide optimum braking efficiency. Until that
time, you may need to use increased brake
pedal pressure while braking. Please be aware
of this and adjust your driving and braking
accordingly during this break-in period.
350Driving instructionsOperation
BA 197 USA, CA Edition A 2011; 1; 27, en-UShereepeVersion: 3.0.3.52010-03-24T15:31:10+01:00 - Seite 350
Page 355 of 436
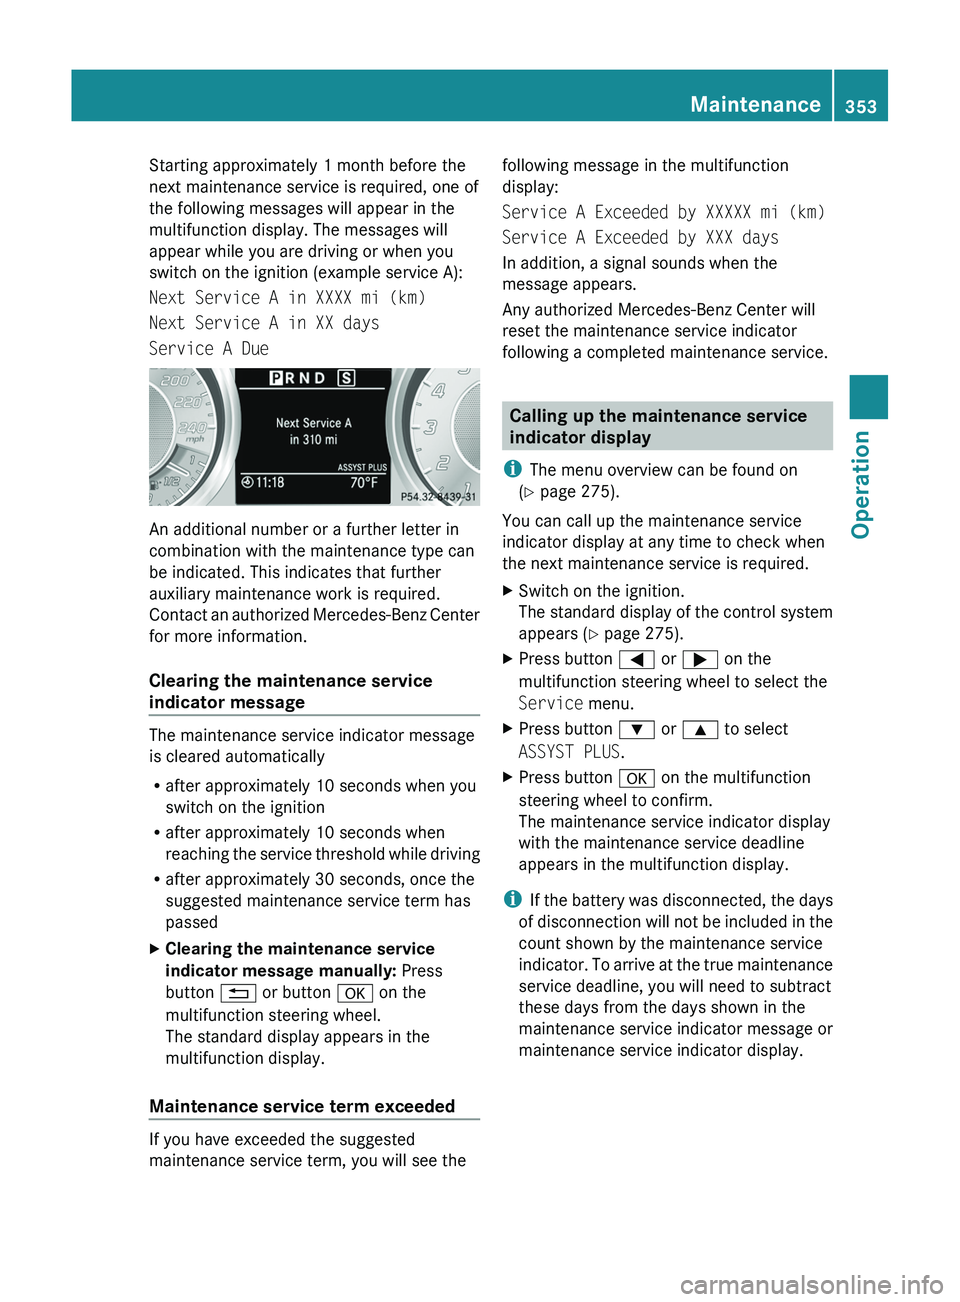
Starting approximately 1 month before the
next maintenance service is required, one of
the following messages will appear in the
multifunction display. The messages will
appear while you are driving or when you
switch on the ignition (example service A):
Next Service A in XXXX mi (km)
Next Service A in XX days
Service A Due
An additional number or a further letter in
combination with the maintenance type can
be indicated. This indicates that further
auxiliary maintenance work is required.
Contact an authorized Mercedes-Benz Center
for more information.
Clearing the maintenance service
indicator message
The maintenance service indicator message
is cleared automatically
R after approximately 10 seconds when you
switch on the ignition
R after approximately 10 seconds when
reaching the service threshold while driving
R after approximately 30 seconds, once the
suggested maintenance service term has
passed
XClearing the maintenance service
indicator message manually: Press
button 0041 or button 0064 on the
multifunction steering wheel.
The standard display appears in the
multifunction display.
Maintenance service term exceeded
If you have exceeded the suggested
maintenance service term, you will see the
following message in the multifunction
display:
Service A Exceeded by XXXXX mi (km)
Service A Exceeded by XXX days
In addition, a signal sounds when the
message appears.
Any authorized Mercedes-Benz Center will
reset the maintenance service indicator
following a completed maintenance service.
Calling up the maintenance service
indicator display
i The menu overview can be found on
( Y page 275).
You can call up the maintenance service
indicator display at any time to check when
the next maintenance service is required.
XSwitch on the ignition.
The standard display of the control system
appears ( Y page 275).XPress button 0040 or 003E on the
multifunction steering wheel to select the
Service menu.XPress button 003D or 003C to select
ASSYST PLUS .XPress button 0064 on the multifunction
steering wheel to confirm.
The maintenance service indicator display
with the maintenance service deadline
appears in the multifunction display.
i If the battery was disconnected, the days
of disconnection will not be included in the
count shown by the maintenance service
indicator. To arrive at the true maintenance
service deadline, you will need to subtract
these days from the days shown in the
maintenance service indicator message or
maintenance service indicator display.
Maintenance353OperationBA 197 USA, CA Edition A 2011; 1; 27, en-UShereepeVersion: 3.0.3.52010-03-24T15:31:10+01:00 - Seite 353Z
Page 360 of 436
XOnly use clean water and a soft, non-
scratching cloth to clean rear view camera
lens 0046.
Be careful not to apply wax to rear view
camera lens 0046 when waxing the vehicle. If
necessary, remove the wax using the
Mercedes-Benz approved Car Shampoo with
plenty of water.
! Do not clean the camera and the area
around the camera
R with a high-pressure cleaner
R with a dry cloth and strong pressure
R with aggressive cleaning agents
You could otherwise damage the camera.
Cleaning the windows and the wiper
blades
! The windshield wipers must be in a
vertical position before folding them away
from the windshield. They could otherwise
damage the hood.
Never open the hood when the wiper arms
are folded forward.
XMake sure the hood is fully closed.XSwitch on the ignition.XTurn combination switch to wiper setting
00B6 (Y page 253).XWith wiper arms in vertical position, switch
off the ignition.GWarning!
For safety reasons, switch off wipers and
remove SmartKey from starter switch before
cleaning the windshield and/or the wiper
blades. KEYLESS-GO: Make sure the vehicle’s
on-board electronics have status 0.
Otherwise, the wiper motor could suddenly
turn on and cause injury.
! Do not pull on the wiper blade inserts.
They could tear.
XFold the wiper arms forward until they snap
into place.XClean the windshield and the wiper blade
inserts with a clean cloth and mild
detergent solution.XUse a soft, clean cloth and a mild window
cleaning solution on all outside and inside
glass surfaces.
An automotive glass cleaner is
recommended.
! Fold the windshield wiper arms back onto
the windshield before pressing the
KEYLESS-GO start/stop button or turning
the SmartKey in the starter switch.
Hold on to the wiper when folding the wiper
arm back. If released, the force of the
impact from the tensioning spring could
crack the windshield.
! To clean the window interior, do not use
a dry cloth, abrasives, solvents or cleaners
containing solvents. Do not touch the
inside of the windows with hard objects
such as an ice scraper or ring. Doing so may
damage the windows.
Light alloy wheels
If possible, clean wheels once a week.
XUse Mercedes-Benz approved Wheel Care,
a soft bristle brush and a strong spray of
water for cleaning the light alloy wheels.
! Only use acid-free cleaning materials.
Acid may cause corrosion or damage the
clear coat.
! The vehicle should not be parked for an
extended period of time immediately after
it has been cleaned. This applies especially
after the wheel rims have been cleaned
with wheel rim cleaner. Wheel rim cleaners
can lead to increased corrosion of the
brake disks and brake pads. Non-approved
wheel cleaners may also damage the wheel
paint if the vehicle is not driven after
cleaning.
358Vehicle careOperation
BA 197 USA, CA Edition A 2011; 1; 27, en-UShereepeVersion: 3.0.3.52010-03-24T15:31:10+01:00 - Seite 358
Page 362 of 436
Leather upholstery
Please note that leather upholstery is a
natural product and is therefore subject to a
natural aging process. Leather upholstery
may also react to certain ambient influences
such as high humidity or high temperature by
showing wrinkles for example.
XWipe leather upholstery with a damp cloth
and dry thoroughly or clean with Mercedes-
Benz approved Leather Care.
! To avoid damage to leather upholstery:
RWipe with light pressure only.
RDo not clean with abrasive cleaning
agents such as scouring milk or powder.
RDo not soak the leather upholstery.
As leather is a natural product, it could
otherwise harden or become porous.
RExercise particular care when cleaning
perforated leather as its underside
should not become wet.
Chrome-plated exhaust tip
Regular cleaning and care of chrome-plated
exhaust tips will help to maintain their shine
and the classy appearance.
XUse Mercedes-Benz approved Chrome
Polishing Paste each time the vehicle has
been washed, especially during the winter.
! Do not use alkaline cleaners such as
wheel cleaners as they could cause
corrosion.
Trunk Wing
You can extend and retract the Trunk Wing
manually for cleaning.
GWarning!
Make sure that nobody can become trapped
when you retract the Trunk Wing manually. If
there is a risk of entrapment, release the
Trunk Wing switch to stop the retraction
process. The Trunk Wing will then extend
again.
Never leave children unattended in the
vehicle. They could inadvertently retract the
extended Trunk Wing. Somebody could
become trapped and be seriously injured.
! Do not enter an automatic car wash with
the Trunk Wing extended. Otherwise, the
Trunk Wing could be damaged.
Only extend the Trunk Wing in order to
clean it by hand. Retract it again after
cleaning.
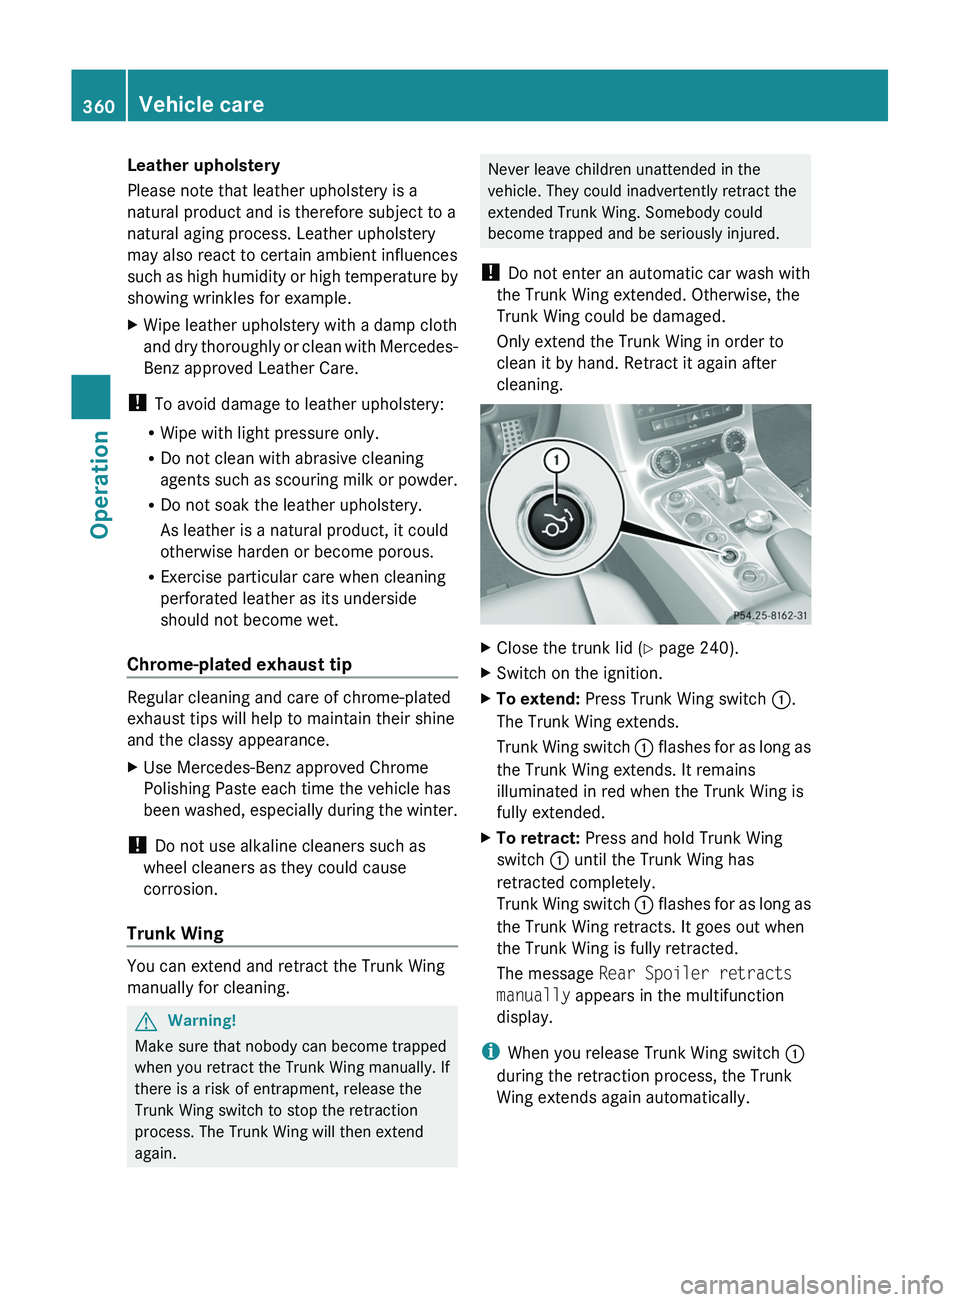
XClose the trunk lid (Y page 240).XSwitch on the ignition.XTo extend: Press Trunk Wing switch \000F.
The Trunk Wing extends.
Trunk Wing switch \000F flashes for as long as
the Trunk Wing extends. It remains
illuminated in red when the Trunk Wing is
fully extended.
XTo retract: Press and hold Trunk Wing
switch \000F until the Trunk Wing has
retracted completely.
Trunk Wing switch \000F flashes for as long as
the Trunk Wing retracts. It goes out when
the Trunk Wing is fully retracted.
The message Rear Spoiler retracts
manually appears in the multifunction
display.
iWhen you release Trunk Wing switch \000F
during the retraction process, the Trunk
Wing extends again automatically.
360Vehicle careOperation
BA 197 USA, CA Edition A 2011; 1; 27, en-UShereepeVersion: 3.0.3.52010-03-24T15:31:10+01:00 - Seite 360
Page 367 of 436
Text messages
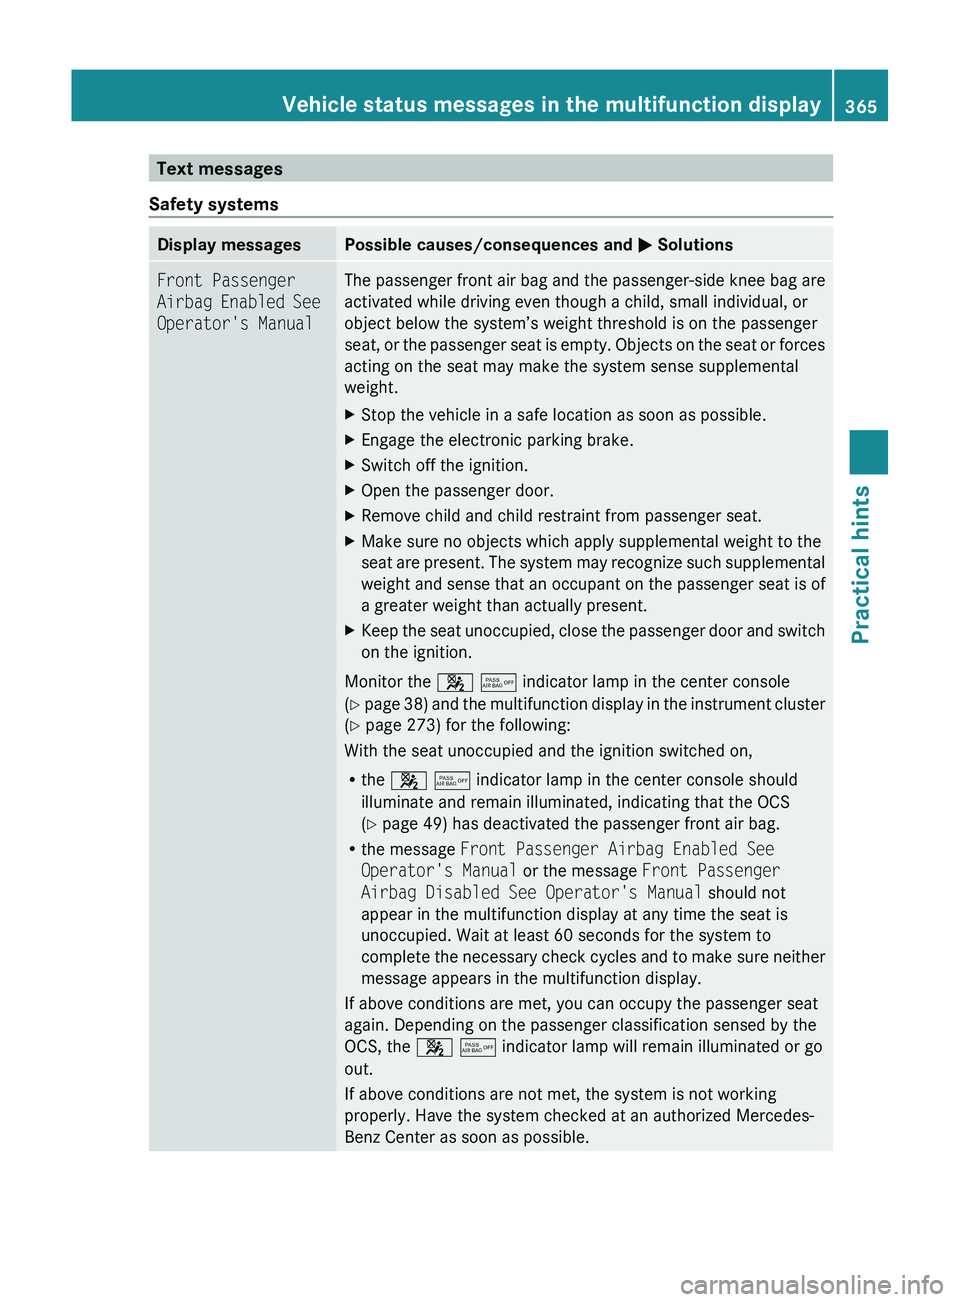
Safety systemsDisplay messagesPossible causes/consequences and 0050 SolutionsFront Passenger
Airbag Enabled See
Operator's ManualThe passenger front air bag and the passenger-side knee bag are
activated while driving even though a child, small individual, or
object below the system’s weight threshold is on the passenger
seat, or the passenger seat is empty. Objects on the seat or forces
acting on the seat may make the system sense supplemental
weight. XStop the vehicle in a safe location as soon as possible.XEngage the electronic parking brake.XSwitch off the ignition.XOpen the passenger door.XRemove child and child restraint from passenger seat.XMake sure no objects which apply supplemental weight to the
seat are present. The system may recognize such supplemental
weight and sense that an occupant on the passenger seat is of
a greater weight than actually present.XKeep the seat unoccupied, close the passenger door and switch
on the ignition.
Monitor the 007F 0080 indicator lamp in the center console
( Y page 38) and the multifunction display in the instrument cluster
( Y page 273) for the following:
With the seat unoccupied and the ignition switched on,
R the 007F 0080 indicator lamp in the center console should
illuminate and remain illuminated, indicating that the OCS
( Y page 49) has deactivated the passenger front air bag.
R the message Front Passenger Airbag Enabled See
Operator's Manual or the message Front Passenger
Airbag Disabled See Operator's Manual should not
appear in the multifunction display at any time the seat is
unoccupied. Wait at least 60 seconds for the system to
complete the necessary check cycles and to make sure neither
message appears in the multifunction display.
If above conditions are met, you can occupy the passenger seat
again. Depending on the passenger classification sensed by the
OCS, the 007F 0080 indicator lamp will remain illuminated or go
out.
If above conditions are not met, the system is not working
properly. Have the system checked at an authorized Mercedes-
Benz Center as soon as possible.
Vehicle status messages in the multifunction display365Practical hintsBA 197 USA, CA Edition A 2011; 1; 27, en-UShereepeVersion: 3.0.3.52010-03-24T15:31:10+01:00 - Seite 365Z
Page 368 of 436
GWarning!
If the 007F 0080 indicator lamp remains out even after performing the above corrective steps,
do not have any children 12 years old and under and other small individuals use the passenger
seat until the system has been repaired.
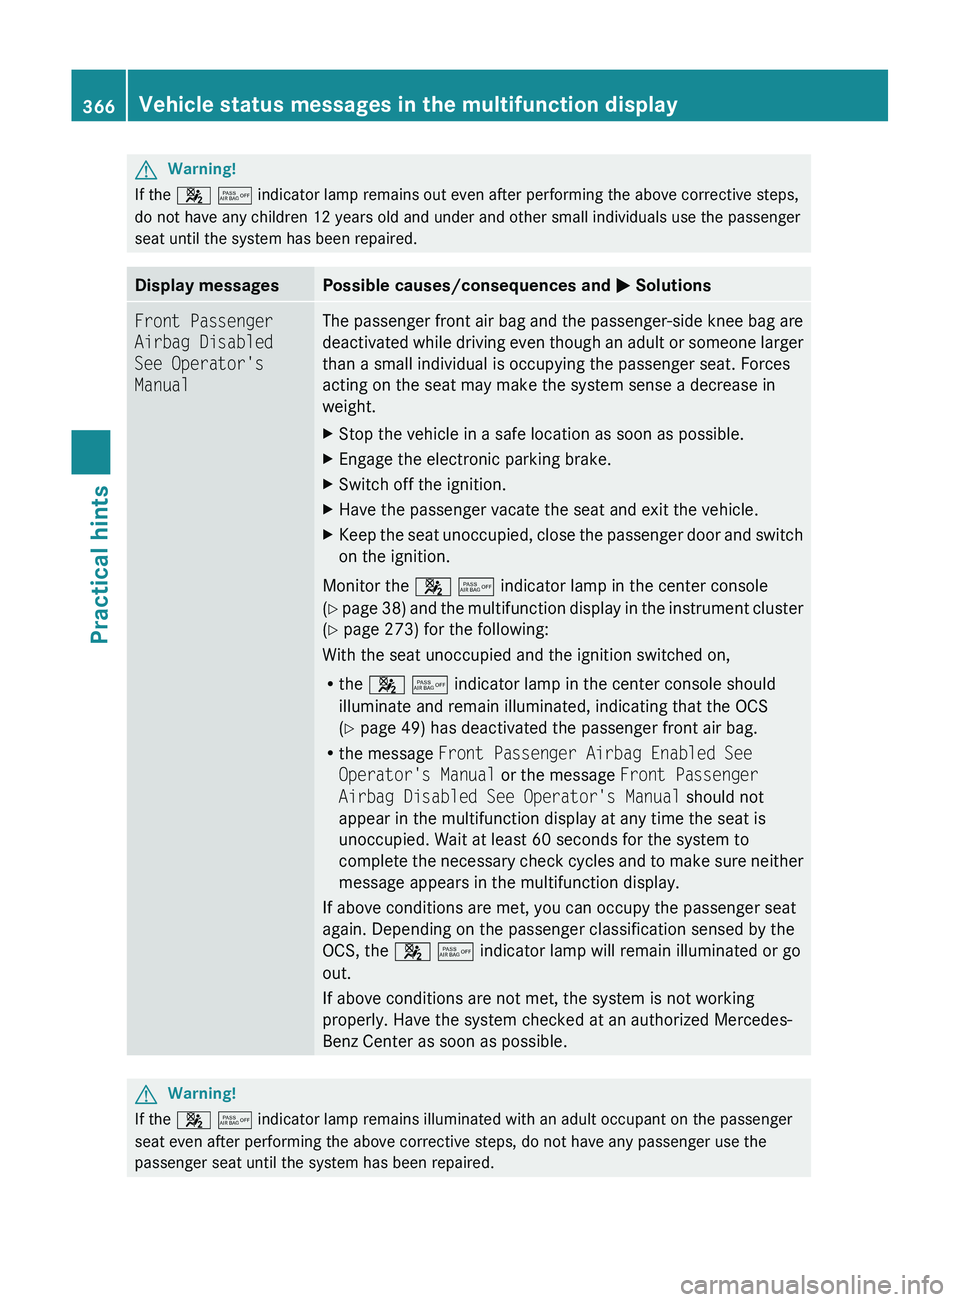
Display messagesPossible causes/consequences and 0050 SolutionsFront Passenger
Airbag Disabled
See Operator's
ManualThe passenger front air bag and the passenger-side knee bag are
deactivated while driving even though an adult or someone larger
than a small individual is occupying the passenger seat. Forces
acting on the seat may make the system sense a decrease in
weight.XStop the vehicle in a safe location as soon as possible.XEngage the electronic parking brake.XSwitch off the ignition.XHave the passenger vacate the seat and exit the vehicle.XKeep the seat unoccupied, close the passenger door and switch
on the ignition.
Monitor the 007F 0080 indicator lamp in the center console
( Y page 38) and the multifunction display in the instrument cluster
( Y page 273) for the following:
With the seat unoccupied and the ignition switched on,
R the 007F 0080 indicator lamp in the center console should
illuminate and remain illuminated, indicating that the OCS
( Y page 49) has deactivated the passenger front air bag.
R the message Front Passenger Airbag Enabled See
Operator's Manual or the message Front Passenger
Airbag Disabled See Operator's Manual should not
appear in the multifunction display at any time the seat is
unoccupied. Wait at least 60 seconds for the system to
complete the necessary check cycles and to make sure neither
message appears in the multifunction display.
If above conditions are met, you can occupy the passenger seat
again. Depending on the passenger classification sensed by the
OCS, the 007F 0080 indicator lamp will remain illuminated or go
out.
If above conditions are not met, the system is not working
properly. Have the system checked at an authorized Mercedes-
Benz Center as soon as possible.
GWarning!
If the 007F 0080 indicator lamp remains illuminated with an adult occupant on the passenger
seat even after performing the above corrective steps, do not have any passenger use the
passenger seat until the system has been repaired.
366Vehicle status messages in the multifunction displayPractical hints
BA 197 USA, CA Edition A 2011; 1; 27, en-UShereepeVersion: 3.0.3.52010-03-24T15:31:10+01:00 - Seite 366
Page 375 of 436
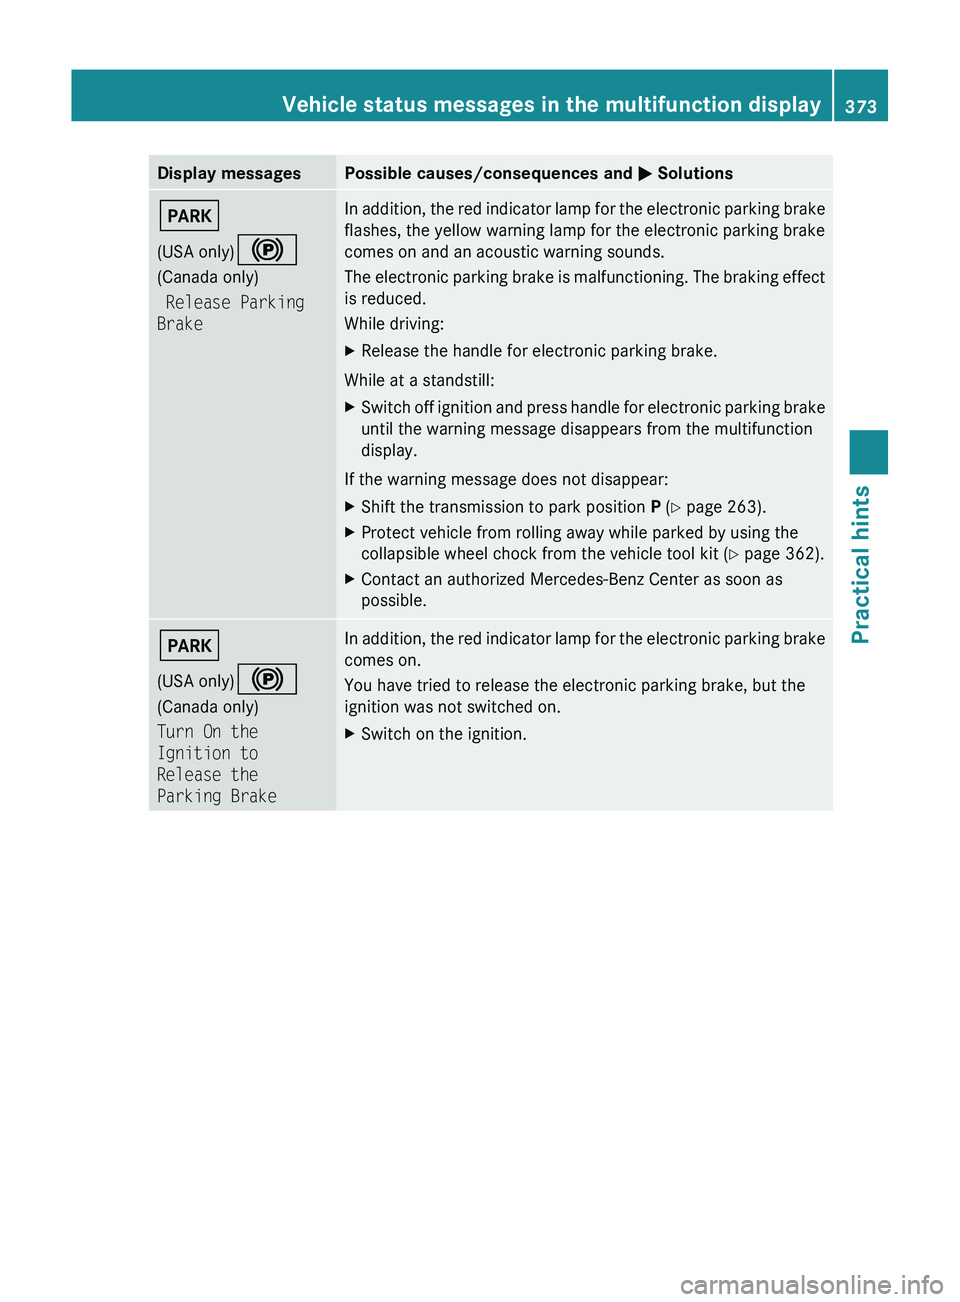
Display messagesPossible causes/consequences and 0050 Solutions0049
(USA only) 0024
(Canada only)
Release Parking
BrakeIn addition, the red indicator lamp for the electronic parking brake
flashes, the yellow warning lamp for the electronic parking brake
comes on and an acoustic warning sounds.
The electronic parking brake is malfunctioning. The braking effect
is reduced.
While driving:XRelease the handle for electronic parking brake.
While at a standstill:
XSwitch off ignition and press handle for electronic parking brake
until the warning message disappears from the multifunction
display.
If the warning message does not disappear:
XShift the transmission to park position P (Y page 263).XProtect vehicle from rolling away while parked by using the
collapsible wheel chock from the vehicle tool kit ( Y page 362).XContact an authorized Mercedes-Benz Center as soon as
possible.0049
(USA only) 0024
(Canada only)
Turn On the
Ignition to
Release the
Parking BrakeIn addition, the red indicator lamp for the electronic parking brake
comes on.
You have tried to release the electronic parking brake, but the
ignition was not switched on.XSwitch on the ignition.Vehicle status messages in the multifunction display373Practical hintsBA 197 USA, CA Edition A 2011; 1; 27, en-UShereepeVersion: 3.0.3.52010-03-24T15:31:10+01:00 - Seite 373Z