2011 MERCEDES-BENZ S-Class fuel cap
[x] Cancel search: fuel capPage 13 of 524

F
Favorites (COMAND) ......................... 118
First-aid kit ......................................... 462
First list entry Accepting ...................................... 129
Flat tire
Changing a wheel/mounting the
spare wheel ................................... 463
MOExtended run-flat system .........467
Preparing the vehicle .....................463
Raising the vehicle .........................464
Floormat ............................................. 442
Freeway information ......................... 185
Frequency input Manual ........................................... 209
Front fog lamp (display message) ... 395
Front multicontour seat
(COMAND) .......................................... 266
Front-passenger seat Adjusting from the driver's seat ..... 103
Adjusting from the rear
compartment ................................. 103
Fuel
Additives ........................................ 513
Notes ............................................. 512
Premium-grade unleaded gasoline . 512
Refueling ........................................ 313
Specifications ................................ 512
Tank content/reserve fuel .............511
Troubleshooting ............................. 316
Fuel consumption
Current (on-board computer) .........368
Notes ............................................. 319
Fuel filler cap (display message) ..... 400
Fuel filler flap Opening/closing ....... 314
Fuel level Calling up the range (on-board
computer) ...................................... 368
Fuel tank
Filling capacity ............................... 511
Function buttons (COMAND) ............ 117
Function restrictions Video DVD mode ........................... 237
Fuse allocation chart (vehicle tool
kit) ...................................................... 462Fuses
Dashboard fuse box .......................476
Engine emergency stop .................477
Fuse allocation chart .....................475
Fuse box in the engine
compartment ................................. 476
Fuse box in the rear compartment . 476
Notes ............................................. 475
G
Garage door opener Clearing the memory .....................442
Notes ............................................. 439
Opening/closing the garage door ..441
Programming the remote control ...440
Gear indicator (on-board
computer) .......................................... 371
Gear or selector lever (cleaning
guidelines) ......................................... 458
Genuine Mercedes-Benz parts ......... 508
Genuine wood trim and trim strips
(cleaning instructions) ...................... 458
Glove box ........................................... 422
Gracenote Media Database .............. 222
H
Hands-free microphone Switching on/off ........................... 198
harman/kardon ®
Logic 7 ®
Surround Sound system ................... 134
Hazard warning lamps ...................... 276
HD Radio™ ......................................... 212
Headlamp cleaning system .............. 276
Adding washer fluid .......................450
Notes ............................................. 515
Headlamp mode (daytime driving)
see Daytime running lamps
Headlamps
Cleaning ......................................... 456
Misting up ...................................... 277
Head restraint
NECK-PRO ..................................... 104
NECK-PRO luxury ........................... 104
Index11
Page 20 of 524

Seat beltsAdjusting the driver's and front-
passenger seat belt .........................58
Adjusting the height ......................... 58
Automatic comfort-fit feature ..........60
Belt force limiters ............................ 59
Cleaning ......................................... 459
Correct usage .................................. 56
Emergency Tensioning Devices ........ 59
Fastening ......................................... 57
Important safety guidelines .............55
Releasing ......................................... 58
Safety guidelines ............................. 43
Special seat belt retractor ...............62
Switching belt adjustment on/off
(on-board computer) ......................378
Warning lamp ................................. 414
Warning lamp (function) ................... 58
Seat heating
Indicator lamp (Malfunction) ..........107
Seats
Adjusting (electrically) ...................102
Adjusting lumbar support ..............106
Adjusting the head restraint ..........104
Cleaning the cover .........................458
Correct driver's seat position ........100
Important safety notes ..................101
Multicontour seat .......................... 106
Storing settings (memory
function) ........................................ 111
Switching seat heating on/off .......106
Switching the seat ventilation on/
off .................................................. 107
Seat ventilation
Indicator lamp (Malfunction) ..........107
Sensors (cleaning instructions) ....... 456
Service indicator see Service interval display
Service interval display .................... 451
Displaying a service message (on-
board computer) ............................ 452
Service menu (on-board computer) . 377
Service products Brake fluid ..................................... 514
Capacities ...................................... 511
Coolant (engine) ............................ 515
Engine oil ....................................... 513
Fuel ................................................ 512Important safety notes ..................510
Notes ............................................. 510
Refrigerant (air-conditioning
system) .......................................... 514
Washer fluid ................................... 515
Settings
On-board computer .......................377
Setting the air distribution
COMAND ....................................... 263
Shift ranges ....................................... 311
Showing the distance display (on-
board computer) ............................... 375
Side impact air bag ............................. 46
Side marker lamp (display
message) ............................................ 396
Side windows Convenience closing feature ............91
Convenience opening feature ..........90
Important safety information ...........89
Opening/closing .............................. 90
Resetting ......................................... 92
Troubleshooting ............................... 92
Skipping back
CD/DVD mode .............................. 222
Skipping forwards
CD/DVD mode .............................. 222
Sliding sunroof
Important safety information ...........93
Opening/closing .............................. 94
Resetting ......................................... 94
Troubleshooting ............................... 97
see Panorama roof with power
tilt/sliding panel
SmartKey
Changing the battery .......................80
Changing the programming .............79
Checking the battery .......................80
Convenience closing feature ............91
Convenience opening feature ..........90
Display message ............................ 411
Important safety notes ....................76
Malfunction ...................................... 81
Starting the engine ........................301
Snow chains ...................................... 482
Socket ................................................ 431
Dashboard ..................................... 432
Rear compartment .........................432
Trunk ............................................. 43218Index
Page 316 of 524

GWarning
Hybrid vehicles: ensure that you read the
"HYBRID" supplement. You may otherwise fail
to recognize dangers.
! Do not use diesel to refuel vehicles with a
gasoline engine. Even small amounts of the
wrong fuel result in damage to the fuel
system and engine.
! Do not switch on the ignition if you
accidentally refuel with the wrong fuel.
Otherwise, the fuel will enter the fuel lines.
Notify a qualified specialist workshop and
have the fuel tank and fuel lines drained
completely.
Gasoline
Fuel grade
! You should only refuel with unleaded
premium-grade gasoline as this avoids
damaging the catalytic converter.
If engine running problems are apparent,
have the cause checked immediately and
repaired. Excess unburned fuel can
otherwise enter the catalytic converter,
leading to overheating and possibly
causing a fire.
iOnly refuel with unleaded premium-grade
gasoline with a specified minimum octane
number of 91 (average value of 96 RON/
86 MON).
Usually you will find information about the
fuel grade on the pump. If you cannot find
the label on the gasoline pump, ask the gas
station staff.
You can find further information under
"Fuel" (Y page 512), by consulting an
authorized Mercedes-Benz Center or
visiting http://www.mbusa.com (USA
only).
Refueling
Fuel filler flap
The fuel filler flap is unlocked or locked
automatically when you open or close the
vehicle with the key or using KEYLESS-GO.
The fuel filler flap is located to the rear on the
right. The position of the fuel filler cap is
displayed in the instrument cluster 8. The
arrow next to the filling pump indicates the
side of the vehicle.
:To open the fuel filler flap;To insert the fuel filler cap=Tire pressure table?Fuel type
Opening
XSwitch off the engine.
iWhen the engine is running and the fuel
filler flap is open, the ; engine
diagnostics warning lamp may light up.
For further information on warning and
indicator lamps in the instrument cluster,
see (Y page 418).
XRemove the SmartKey from the ignition
lock.
KEYLESS-GO: open the driver's door. This
returns the ignition to position 0, which
corresponds to the SmartKey being
314RefuelingDriving and parking
Page 317 of 524

removed. The driver's door can be closed
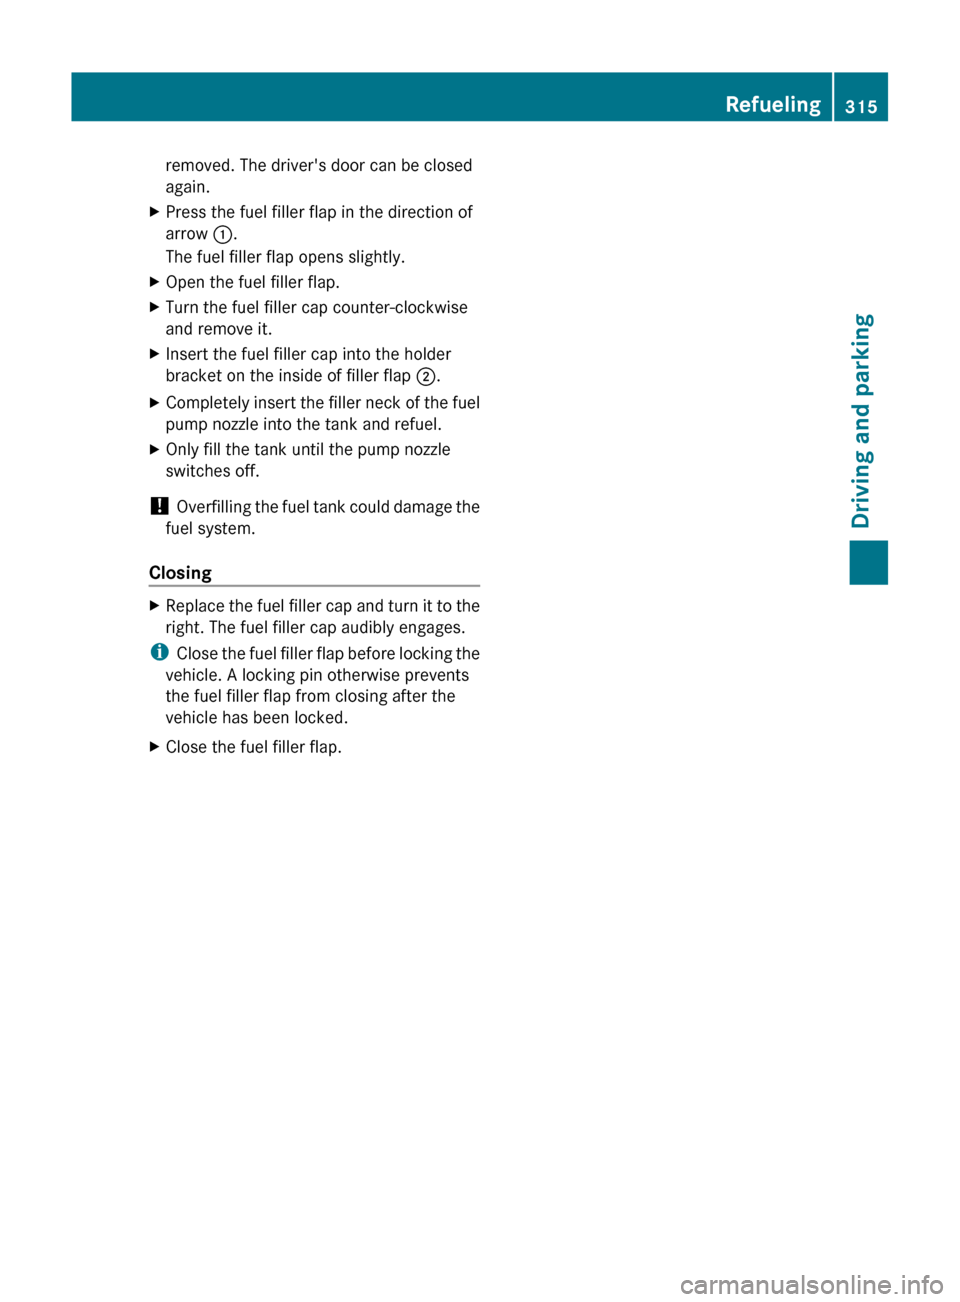
again.XPress the fuel filler flap in the direction of
arrow :.
The fuel filler flap opens slightly.XOpen the fuel filler flap.XTurn the fuel filler cap counter-clockwise
and remove it.XInsert the fuel filler cap into the holder
bracket on the inside of filler flap ;.XCompletely insert the filler neck of the fuel
pump nozzle into the tank and refuel.XOnly fill the tank until the pump nozzle
switches off.
! Overfilling the fuel tank could damage the
fuel system.
Closing
XReplace the fuel filler cap and turn it to the
right. The fuel filler cap audibly engages.
i Close the fuel filler flap before locking the
vehicle. A locking pin otherwise prevents
the fuel filler flap from closing after the
vehicle has been locked.
XClose the fuel filler flap.Refueling315Driving and parkingZ
Page 402 of 524

The display messages and the corresponding symbol that indicate that the oil level is too
low must not be ignored.Display messagesPossible causes/consequences and M Solutions4
Engine Oil Level
Low Stop Vehicle
Turn Engine OffVehicles without an oil dipstick: the engine oil level is too low.
There is a risk of engine damage.XPull over and stop the vehicle safely and switch off the engine,
paying attention to road and traffic conditions.XApply the parking brake.XAdd the engine oil ( Y page 449) and check the oil level
( Y page 447).4
Engine Oil Level
Too HighVehicles without an oil dipstick: you have added too much engine
oil. There is a risk of damage to the engine or to the catalytic
converter.XHave the excess oil siphoned off at a qualified specialist
workshop. Observe the legal requirements.4
Engine Oil Level
Cannot Be MeasuredVehicles without an oil dipstick: the measuring system is faulty.XVisit a qualified specialist workshop.CThere is only a small amount of fuel in the fuel tank.XRefuel at the nearest gas station.8
Reserve FuelThe fuel level has dropped into the reserve range.XRefuel at the nearest gas station.8
Gas Cap LooseThe fuel system pressure is too low. The fuel filler cap is not closed
correctly or the fuel system is leaking.XCheck that the fuel filler cap is correctly closed.XIf the fuel filler cap is not correctly closed: close the fuel filler
cap.XIf the fuel filler cap is closed: visit a qualified specialist
workshop.400Display messagesOn-board computer and displays
Page 420 of 524

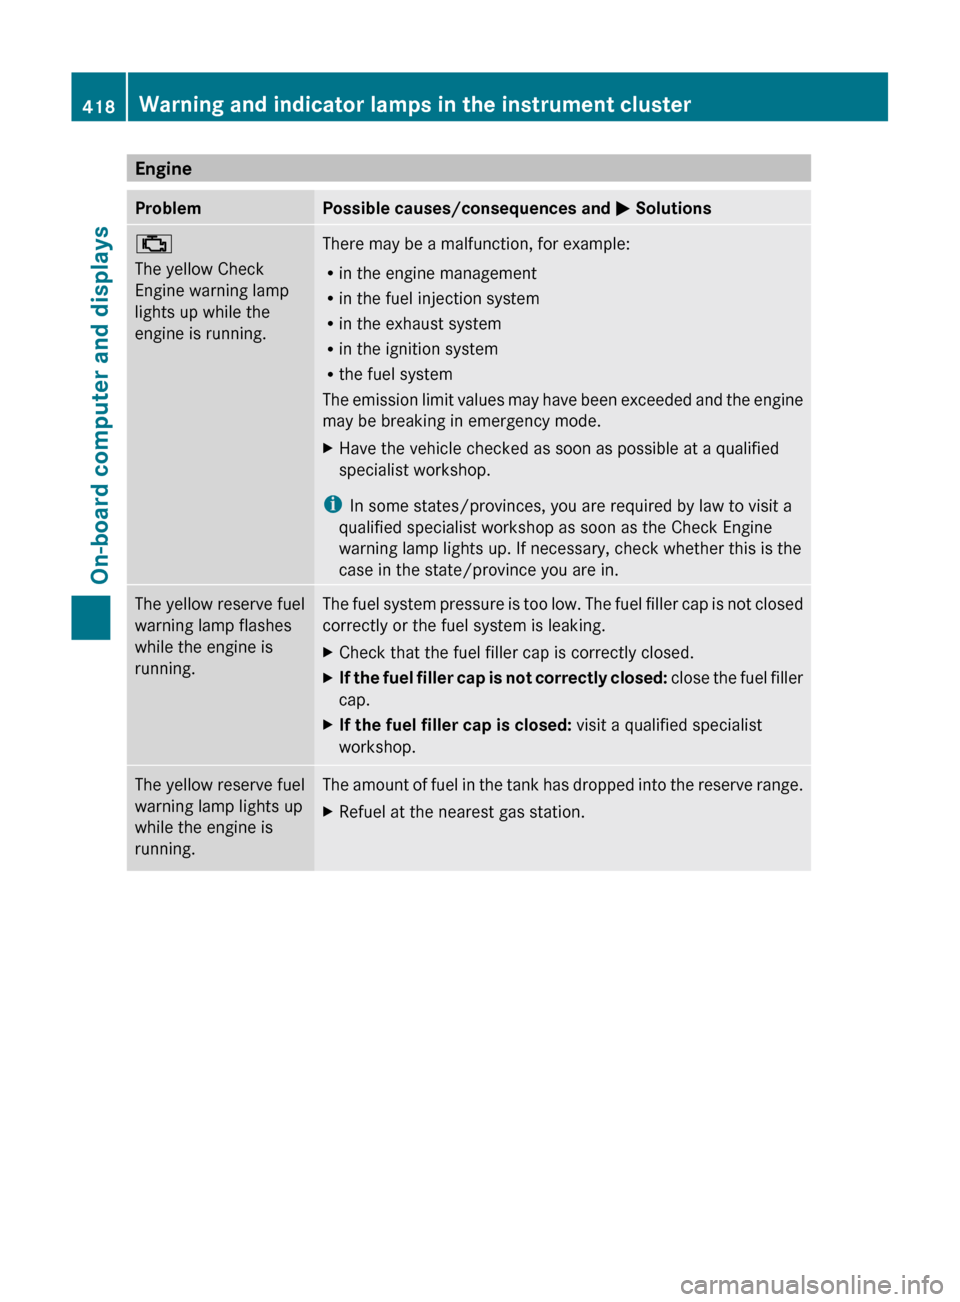
EngineProblemPossible causes/consequences and M Solutions;
The yellow Check
Engine warning lamp
lights up while the
engine is running.There may be a malfunction, for example:
R in the engine management
R in the fuel injection system
R in the exhaust system
R in the ignition system
R the fuel system
The emission limit values may have been exceeded and the engine
may be breaking in emergency mode.XHave the vehicle checked as soon as possible at a qualified
specialist workshop.
i In some states/provinces, you are required by law to visit a
qualified specialist workshop as soon as the Check Engine
warning lamp lights up. If necessary, check whether this is the
case in the state/province you are in.
The yellow reserve fuel
warning lamp flashes
while the engine is
running.The fuel system pressure is too low. The fuel filler cap is not closed
correctly or the fuel system is leaking.XCheck that the fuel filler cap is correctly closed.XIf the fuel filler cap is not correctly closed: close the fuel filler
cap.XIf the fuel filler cap is closed: visit a qualified specialist
workshop.The yellow reserve fuel
warning lamp lights up
while the engine is
running.The amount of fuel in the tank has dropped into the reserve range.XRefuel at the nearest gas station.418Warning and indicator lamps in the instrument clusterOn-board computer and displays
Page 485 of 524

"Technical Data" section to avoid damage
to the vehicle or the wheels.
R Only use snow chains when driving on an
area completely covered by snow. Do not
exceed the maximum permissible speed of
30 mph (50 km/h). Remove the snow
chains as soon as possible when you are no
longer driving on snow-covered roads.
R Local regulations may restrict the use of
snow chains. Applicable regulations must
be observed if you wish to mount snow
chains.
R Snow chains must not be mounted on
emergency spare wheels.
If you intend to mount snow chains, please
bear the following points in mind:
R you may not attach snow chains to all
wheel-tire combinations; see the "Tires and
wheels" section in the "Technical data"
chapter.
R mount snow chains only in pairs and only
on the rear wheels. Observe the
manufacturer's installation instructions.
! If snow chains are mounted on the front
wheels, the snow chains could grind
against the bodywork or components of the
chassis. This could result in damage to the
vehicle or the tires.
! Vehicles with steel wheels
If you wish to mount snow chains to steel
wheels, make sure that you remove the
respective wheels' hubcaps first. The
hubcaps may otherwise be damaged.
i You may wish to deactivate
ESP ®
(Y page 69) when pulling away with
snow chains installed. This way you can
allow the wheels to spin in a controlled
manner, achieving an increased driving
force (cutting action).Tire pressure
Tire pressure specifications
GWarning
Follow recommended tire inflation pressures.
Do not underinflate tires. Underinflated tires
wear excessively and/or unevenly, adversely
affect handling and fuel economy, and are
more likely to fail from being overheated.
Do not overinflate tires. Overinflated tires can
adversely affect handling and ride comfort,
wear unevenly, increase stopping distance,
and result in sudden deflation (blowout)
because they are more likely to become
punctured or damaged by road debris,
potholes etc.
Do not overload the tires by exceeding the
specified load limit as indicated on the Tire
and Loading Information placard on the
driver's door B-pillar. Overloading the tires
can overheat them, possibly causing a
blowout. Overloading the tires can also result
in handling or steering problems, or brake
failure.
You will find a table of recommended tire
pressures on the Tire and Loading
Information placard on the B-pillar on the
driver's side ( Y page 490). You will find a
table of tire pressures for various operating
conditions on the inside of your vehicle's fuel
filler flap.
Use a suitable pressure gauge. The outer
appearance of a tire does not permit any
reliable conclusion about the tire pressure.
On vehicles equipped with the electronic tire
pressure monitor, the tire pressure can be
checked using the on-board computer.
GWarning
Should the tire pressure drop repeatedly:
Tire pressure483Tires and wheelsZ
Page 486 of 524

Rcheck the tire for foreign bodies.
R check whether the wheel is losing air or the
valve is leaking.
R make sure that only a valve cap approved
by Mercedes-Benz is installed on the tire
valve.
Tire pressures that are too low have a
negative effect on vehicle safety, which could
lead you to cause an accident.
Only correct tire pressures when the tires are
cold. The tires are cold when the vehicle has
been parked for at least three hours or driven
for less than 1 mile (1.6 km). The tire
temperature changes depending on the
outside temperature, the vehicle speed and
the tire load. If the tire temperature changes
by 18 ‡ (10 †), the tire pressure changes by
approximately 10 kPa (0.1 bar/1.5 psi). Take
this into account when checking the pressure
of warm tires and only correct the tire
pressure if it is too low for the current
operating conditions. If you check the tire
pressure when the tires are warm, the reading
will be higher than if the tires were cold. This
is normal. Do not reduce the tire pressure to
the value specified for cold tires. The tire
pressure would otherwise be too low.
Observe the recommended tire pressure
specifications for cold tires on the Tire and
Loading Information placard on the B-pillar on
the driver's side.
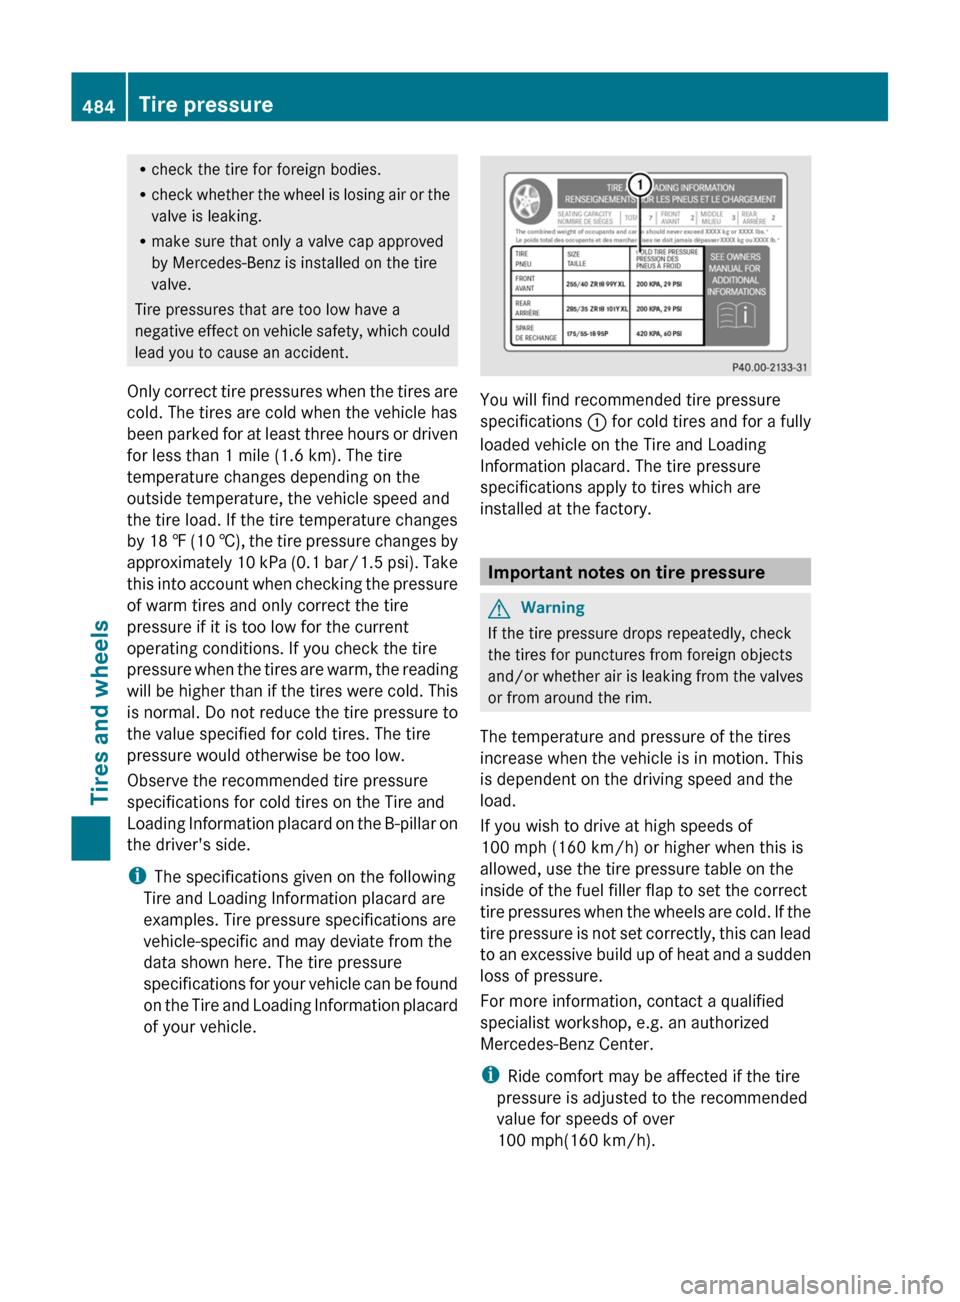
i The specifications given on the following
Tire and Loading Information placard are
examples. Tire pressure specifications are
vehicle-specific and may deviate from the
data shown here. The tire pressure
specifications for your vehicle can be found
on the Tire and Loading Information placard
of your vehicle.
You will find recommended tire pressure
specifications : for cold tires and for a fully
loaded vehicle on the Tire and Loading
Information placard. The tire pressure
specifications apply to tires which are
installed at the factory.
Important notes on tire pressure
GWarning
If the tire pressure drops repeatedly, check
the tires for punctures from foreign objects
and/or whether air is leaking from the valves
or from around the rim.
The temperature and pressure of the tires
increase when the vehicle is in motion. This
is dependent on the driving speed and the
load.
If you wish to drive at high speeds of
100 mph (160 km/h) or higher when this is
allowed, use the tire pressure table on the
inside of the fuel filler flap to set the correct
tire pressures when the wheels are cold. If the
tire pressure is not set correctly, this can lead
to an excessive build up of heat and a sudden
loss of pressure.
For more information, contact a qualified
specialist workshop, e.g. an authorized
Mercedes-Benz Center.
i Ride comfort may be affected if the tire
pressure is adjusted to the recommended
value for speeds of over
100 mph(160 km/h).
484Tire pressureTires and wheels