2011 INFINITI QX56 display
[x] Cancel search: displayPage 5499 of 5598
U1000 CAN COMM CIRCUITWT-49
< DTC/CIRCUIT DIAGNOSIS >
C
DF
G H
I
J
K L
M A
B
WT
N
O P
U1000 CAN COMM CIRCUIT
DescriptionINFOID:0000000006225524
CAN (Controller Area Network) is a serial communication li ne for real time application. It is an on-vehicle mul-
tiplex communication line with high data communication speed and excellent error detection ability. Many elec-
tronic control units are equipped onto a vehicle, and each control unit shares information and links with other
control units during operation (not independent). In CAN communication, control units are connected with 2
communication lines (CAN-H line, CAN-L line) allowing a high rate of information transmission with less wiring.
Each control unit communicates data but selectively reads required data only.
DTC LogicINFOID:0000000006225525
DTC DETECTION LOGIC
DTC CONFIRMATION PROCEDURE
1.PERFORM DTC CONFIRMATION
With CONSULT-III
1. Drive for several minutes at a speed of 40 km/h (25 MPH) or more.
2. Stop the vehicle.
3. Perform self-diagnosis for “AIR PRESSURE MONITOR”.
Is DTC
“U1000” detected?
YES >> Proceed to WT-49, "Diagnosis Procedure".
NO >> INSPECTION END
Diagnosis ProcedureINFOID:0000000006225526
Proceed to LAN-27, "CAN COMMUNICATION SYSTEM : CA N System Specification Chart".
DTC Display item Malfunction detected condition Possible cause
U1000 CAN COMM CIRCUIT Low tire pressure warn
ing control unit is
not communicating CAN communication
signal for 2 seconds or more. CAN communication malfunction
Malfunction of low tire pressure warn-
ing control unit
Revision: 2010 May2011 QX56
Page 5500 of 5598
WT-50
< DTC/CIRCUIT DIAGNOSIS >
U1010 CONTROL UNIT (CAN)
U1010 CONTROL UNIT (CAN)
DescriptionINFOID:0000000006225527
CAN (Controller Area Network) is a serial communication line for real time application. It is an on-vehicle mul-
tiplex communication line with high data communication s peed and excellent error detection ability. Many elec-
tronic control units are equipped onto a vehicle, and each control unit shares information and links with other
control units during operation (not independent). In CA N communication, control units are connected with 2
communication lines (CAN-H line, CAN-L line) allowing a high rate of information transmission with less wiring.
Each control unit communicates data but selectively reads required data only.
DTC LogicINFOID:0000000006225528
DTC DETECTION LOGIC
DTC CONFIRMATION PROCEDURE
1.PERFORM DTC CONFIRMATION
With CONSULT-III
1. Drive for several minutes at a s peed of 40 km/h (25 MPH) or more.
2. Stop the vehicle.
3. Perform self-diagnosis for “AIR PRESSURE MONITOR”.
Is DTC
“U1010” detected?
YES >> Proceed to WT-50, "Diagnosis Procedure".
NO >> INSPECTION END
Diagnosis ProcedureINFOID:0000000006225529
1.CHECK LOW TIRE PRESSURE WARNING CONTROL UNIT
Check low tire pressure warning control uni t harness connector for disconnection or deformation.
Is the inspection result normal?
YES >> Replace low tire pressure warning control unit. Refer to WT-65, "Removal and Installation".
NO >> Repair or replace error-detected parts.
DTC Display item Malfunction detected condition Possible cause
U1010 CONTROL UNIT (CAN) Detecting error during the initial diagno-
sis of CAN controller of low tire pressure
warning control unit.Malfunction of low tire pressure warning
control unit
Revision: 2010 May2011 QX56
Page 5502 of 5598
WT-52
< DTC/CIRCUIT DIAGNOSIS >
LOW TIRE PRESSURE WARNING LAMP
LOW TIRE PRESSURE WARNING LAMP
Component Function CheckINFOID:0000000006225531
1.CHECK LOW TIRE PRESSURE WARNING LAMP OPERATION
Check that the low tire pressure warning lamp is tu rned OFF after turns ON for approximately 1 second, when
the ignition switch is turned ON.
Is the inspection result normal?
YES >> INSPECTION END
NO >> Proceed to WT-52, "
Diagnosis Procedure".
Diagnosis ProcedureINFOID:0000000006225532
1.CHECK LOW TIRE PRESSURE WARNING CONT ROL UNIT POWER SUPPLY AND GROUND CIRCUIT
Perform the trouble diagnosis for power supply and ground circuit. Refer to WT-51, "
Diagnosis Procedure".
Is the inspection result normal?
YES >> GO TO 2.
NO >> Repair or replace error-detected parts.
2.PERFORM LOW TIRE PRESSURE WARNI NG CONTROL UNIT SELF-DIAGNOSIS
With CONSULT-III
1. Drive for several minutes at a s peed of 40 km/h (25 MPH) or more.
2. Stop the vehicle.
3. Perform self-diagnosis for “AIR PRESSURE MONITOR”.
Is any DTC detected?
YES >> Perform trouble diagnosis for detected DTC. Refer to WT-18, "DTC Index".
NO >> GO TO 3.
3.CHECK LOW TIRE PRESSURE WARNING LAMP SIGNAL
With CONSULT-III
1. Turn the ignition switch ON.
CAUTION:
Never start engine.
2. Select “DATA MONITOR” for “AIR PR ESSURE MONITOR” with CONSULT-III.
3. Read out the value of “WARNING LAMP”. For low tire pressure warning lamp condition, refer to “LOW TIRE PRESSURE WARNING LA MP CONTROL CONDITION” in WT-9, "
System Description".
Does the data monitor display change normal?
YES >> GO TO 4.
NO >> Replace the low tire pressure warning control unit. Refer to WT-65, "
Removal and Installation".
4.CHECK COMBINATION METER POWER SUPPLY CIRCUIT
Perform the trouble diagnosis for combination meter power supply circuit. Refer to MWI-64, "
COMBINATION
METER : Diagnosis Procedure".
Is the inspection result normal?
YES >> INSPECTION END
NO >> Repair or replace error-detected parts.
Revision: 2010 May2011 QX56
Page 5505 of 5598
TPMS SYMPTOMSWT-55
< SYMPTOM DIAGNOSIS >
C
DF
G H
I
J
K L
M A
B
WT
N
O P
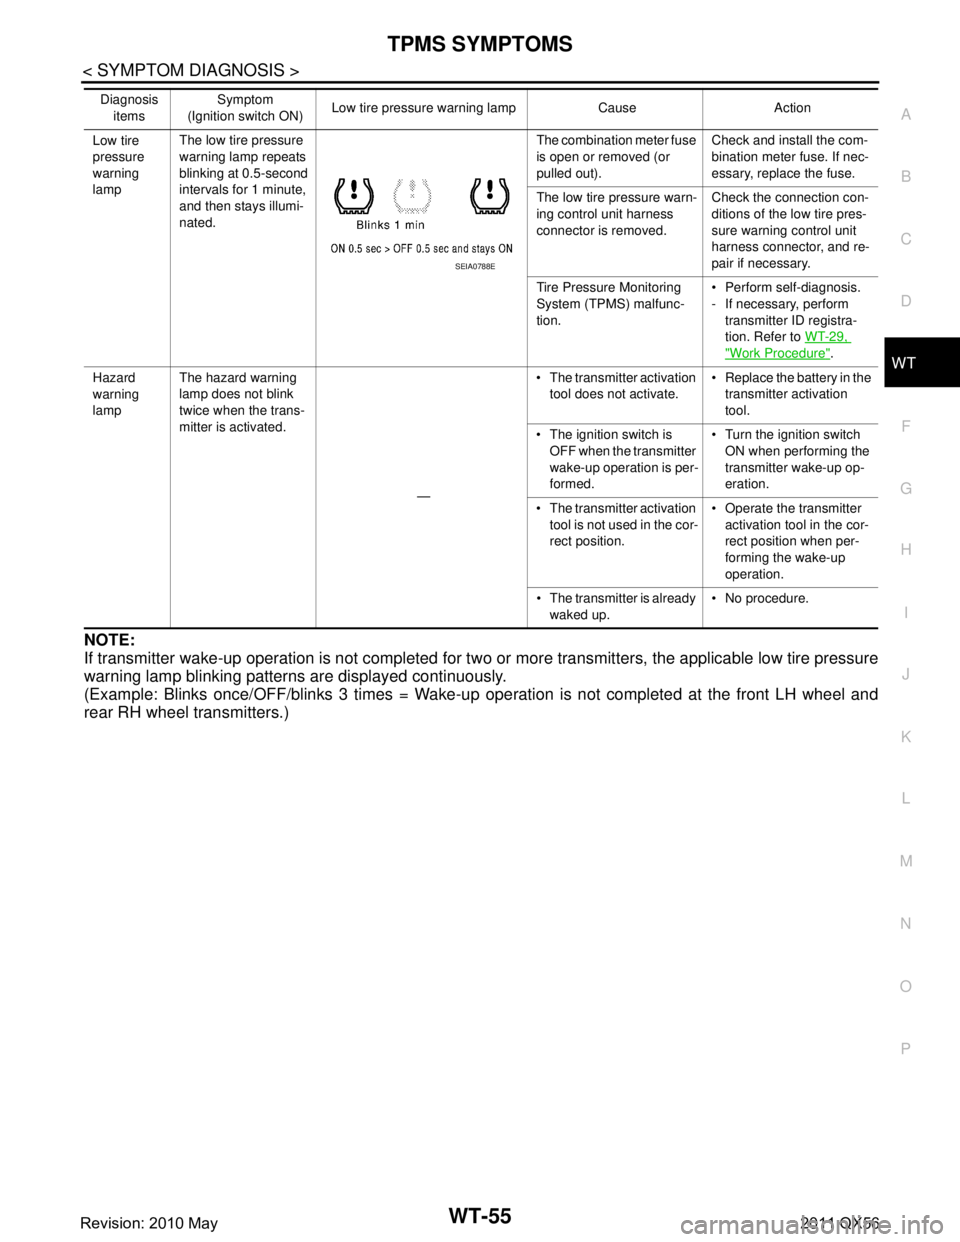
NOTE:
If transmitter wake-up operation is not completed for tw o or more transmitters, the applicable low tire pressure
warning lamp blinking patterns are displayed continuously.
(Example: Blinks once/OFF/blinks 3 times = Wake-up operation is not completed at the front LH wheel and
rear RH wheel transmitters.)
Low tire
pressure
warning
lamp The low tire pressure
warning lamp repeats
blinking at 0.5-second
intervals for 1 minute,
and then stays illumi-
nated. The combination meter fuse
is open or removed (or
pulled out).
Check and install the com-
bination meter fuse. If nec-
essary, replace the fuse.
The low tire pr essure warn-
ing control unit harness
connector is removed. Check the connection con-
ditions of the low tire pres-
sure warning
control unit
harness connector, and re-
pair if necessary.
Tire Pressure Monitoring
System (TPMS) malfunc-
tion. Perform self-diagnosis.
- If necessary, perform
transmitter ID registra-
tion. Refer to WT-29,
"Work Procedure".
Hazard
warning
lamp The hazard warning
lamp does not blink
twice when the trans-
mitter is activated.
— The transmitter activation
tool does not activate. Replace the battery in the
transmitter activation
tool.
The ignition switch is OFF when the transmitter
wake-up operation is per-
formed. Turn the ignition switch
ON when performing the
transmitter wake-up op-
eration.
The transmitter activation tool is not used in the cor-
rect position. Operate the transmitter
activation tool in the cor-
rect position when per-
forming the wake-up
operation.
The transmitter is already waked up. No procedure.
Diagnosis
items Symptom
(Ignition switch ON) Low tire pressure wa
rning lamp Cause Action
SEIA0788E
Revision: 2010 May2011 QX56
Page 5507 of 5598
LOW TIRE PRESSURE WARNING LAMP DOES NOT TURN OFFWT-57
< SYMPTOM DIAGNOSIS >
C
DF
G H
I
J
K L
M A
B
WT
N
O P
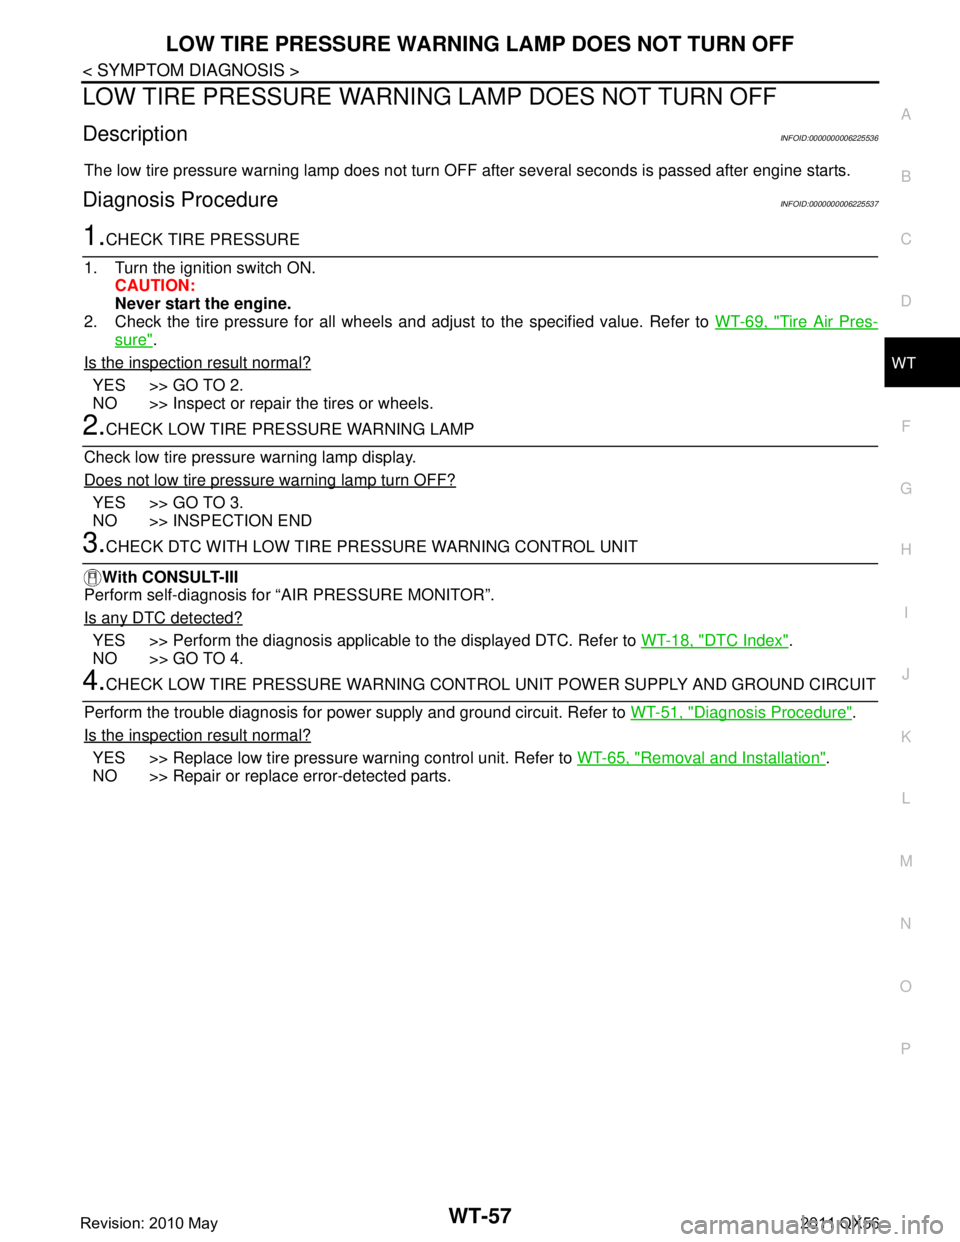
LOW TIRE PRESSURE WARNING LAMP DOES NOT TURN OFF
DescriptionINFOID:0000000006225536
The low tire pressure warning lamp does not turn OFF after several seconds is passed after engine starts.
Diagnosis ProcedureINFOID:0000000006225537
1.CHECK TIRE PRESSURE
1. Turn the ignition switch ON. CAUTION:
Never start the engine.
2. Check the tire pressure for all wheels and adjust to the specified value. Refer to WT-69, "
Tire Air Pres-
sure".
Is the inspection result normal?
YES >> GO TO 2.
NO >> Inspect or repair the tires or wheels.
2.CHECK LOW TIRE PRE SSURE WARNING LAMP
Check low tire pressure warning lamp display.
Does not low tire pressure warning lamp turn OFF?
YES >> GO TO 3.
NO >> INSPECTION END
3.CHECK DTC WITH LOW TIRE PR ESSURE WARNING CONTROL UNIT
With CONSULT-III
Perform self-diagnosis for “AIR PRESSURE MONITOR”.
Is any DTC detected?
YES >> Perform the diagnosis applicable to the displayed DTC. Refer to WT-18, "DTC Index".
NO >> GO TO 4.
4.CHECK LOW TIRE PRESSURE WARNING CONT ROL UNIT POWER SUPPLY AND GROUND CIRCUIT
Perform the trouble diagnosis for power supply and ground circuit. Refer to WT-51, "
Diagnosis Procedure".
Is the inspection result normal?
YES >> Replace low tire pressure warning control unit. Refer to WT-65, "Removal and Installation".
NO >> Repair or replace error-detected parts.
Revision: 2010 May2011 QX56
Page 5510 of 5598
WT-60
< SYMPTOM DIAGNOSIS >
ID REGISTRATION CANNOT BE COMPLETED
ID REGISTRATION CANNOT BE COMPLETED
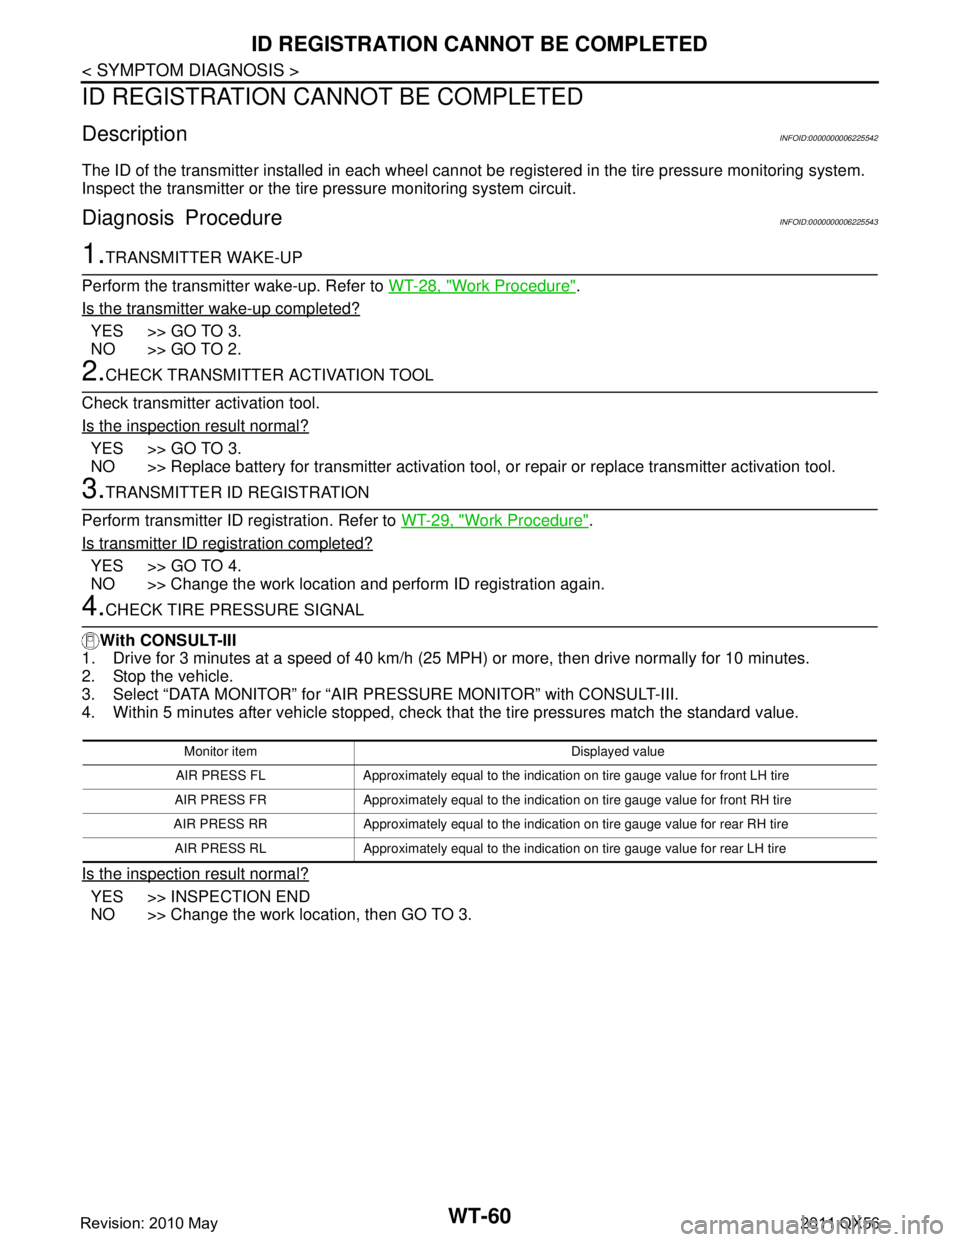
DescriptionINFOID:0000000006225542
The ID of the transmitter installed in each wheel cannot be registered in the tire pressure monitoring system.
Inspect the transmitter or the tire pressure monitoring system circuit.
Diagnosis ProcedureINFOID:0000000006225543
1.TRANSMITTER WAKE-UP
Perform the transmitter wake-up. Refer to WT-28, "
Work Procedure".
Is the transmitter wake-up completed?
YES >> GO TO 3.
NO >> GO TO 2.
2.CHECK TRANSMITTER ACTIVATION TOOL
Check transmitter activation tool.
Is the inspection result normal?
YES >> GO TO 3.
NO >> Replace battery for transmitter activation tool, or repair or replace transmitter activation tool.
3.TRANSMITTER ID REGISTRATION
Perform transmitter ID registration. Refer to WT-29, "
Work Procedure".
Is transmitter ID registration completed?
YES >> GO TO 4.
NO >> Change the work location and perform ID registration again.
4.CHECK TIRE PRESSURE SIGNAL
With CONSULT-III
1. Drive for 3 minutes at a speed of 40 km/h (25 MPH) or more, then drive normally for 10 minutes.
2. Stop the vehicle.
3. Select “DATA MONITOR” for “AIR PR ESSURE MONITOR” with CONSULT-III.
4. Within 5 minutes after vehicle stopped, check t hat the tire pressures match the standard value.
Is the inspection result normal?
YES >> INSPECTION END
NO >> Change the work location, then GO TO 3.
Monitor item Displayed value
AIR PRESS FL Approximately equal to the indication on tire gauge value for front LH tire
AIR PRESS FR Approximately equal to the indica tion on tire gauge value for front RH tire
AIR PRESS RR Approximately equal to the indica tion on tire gauge value for rear RH tire
AIR PRESS RL Approximately equal to the indicati on on tire gauge value for rear LH tire
Revision: 2010 May2011 QX56
Page 5529 of 5598
WW-10
< SYSTEM DESCRIPTION >
SYSTEM
IPDM E/R detects front wiper stop position by a front wiper stop position signal.
When a front wiper stop position signal is in the conditi ons listed below, IPDM E/R stops power supply to wiper
after repeating a front wiper 10 seconds activation and 20 seconds stop five times.
NOTE:
This operation status can be confirmed on the IPDM E/ R “Data Monitor” that displays “BLOCK” for the item
“WIP PROT” while the wiper is stopped.
BCM
BCM detects the rain sensor serial link error and the light & rain sensor malfunction.
BCM controls the following fail-safe when light & rain sensor has a malfunction.
Fail-safe Control
Front wiper control
- Front wiper switch AUTO and sensing rain drop: The c ondition just before the activation of fail-safe is main-
tained until the front wiper switch is turned OFF.
- Front wiper switch AUTO and not sensing rain drop: Front wiper is LO operation until the front wiper switch is
turned off.
REAR WIPER AND WASHER SYSTEM
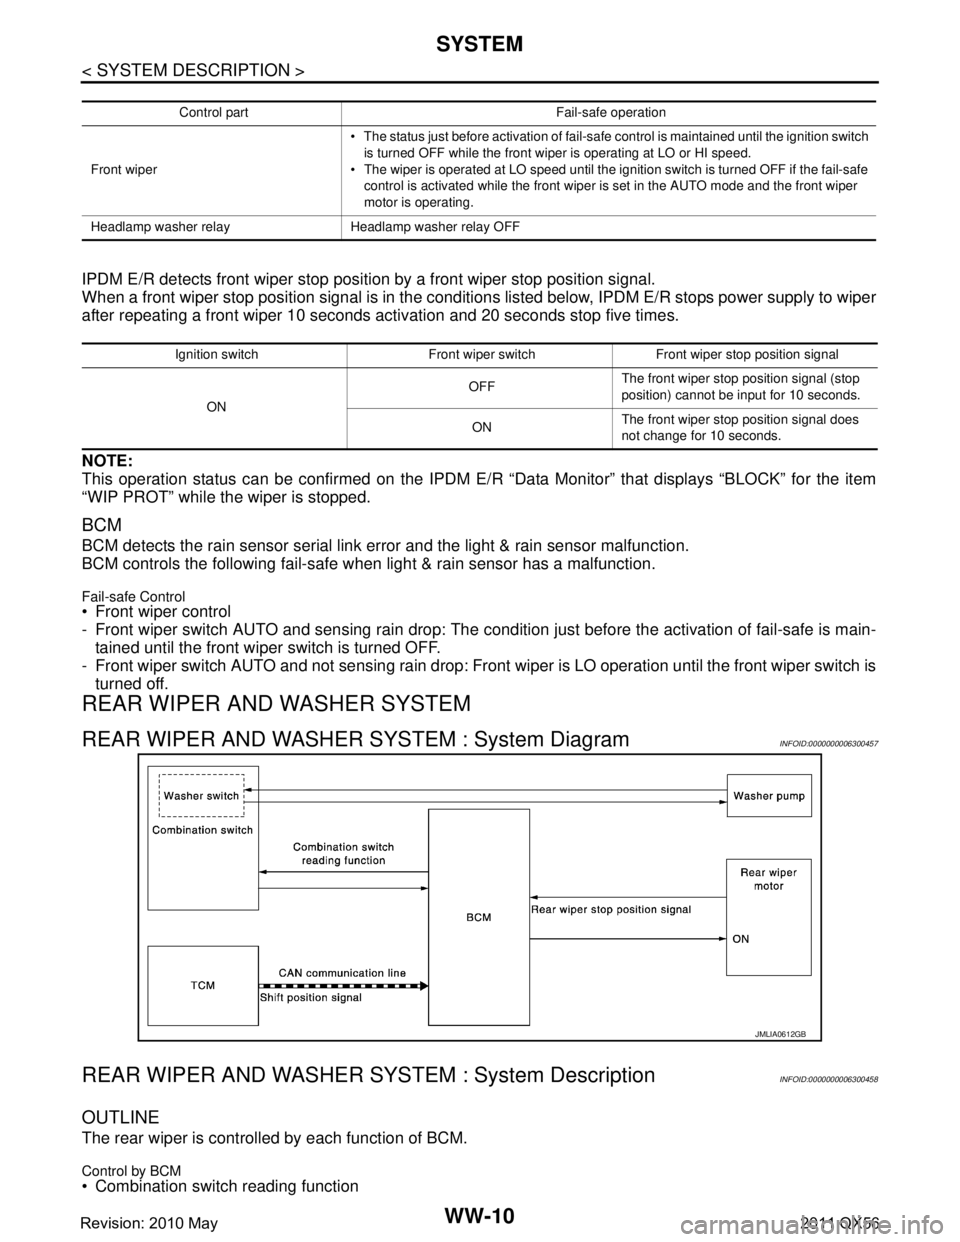
REAR WIPER AND WASHER SYSTEM : System DiagramINFOID:0000000006300457
REAR WIPER AND WASHER S YSTEM : System DescriptionINFOID:0000000006300458
OUTLINE
The rear wiper is controlled by each function of BCM.
Control by BCM
Combination switch reading function
Control part Fail-safe operation
Front wiper The status just before activation of fail-safe control is maintained until the ignition switch
is turned OFF while the front wiper is operating at LO or HI speed.
The wiper is operated at LO speed until the ignition switch is turned OFF if the fail-safe
control is activated while the front wiper is set in the AUTO mode and the front wiper
motor is operating.
Headlamp washer relay Headlamp washer relay OFF
Ignition switch Front wiper switch Front wiper stop position signal
ON OFF
The front wiper stop position signal (stop
position) cannot be input for 10 seconds.
ON The front wiper stop position signal does
not change for 10 seconds.
JMLIA0612GB
Revision: 2010 May2011 QX56
Page 5533 of 5598

WW-14
< SYSTEM DESCRIPTION >
DIAGNOSIS SYSTEM (BCM)
DIAGNOSIS SYSTEM (BCM)
COMMON ITEM
COMMON ITEM : CONSULT-III Function (BCM - COMMON ITEM)INFOID:0000000006349813
APPLICATION ITEM
CONSULT-III performs the following functions via CAN communication with BCM.
SYSTEM APPLICATION
BCM can perform the following functions for each system.
NOTE:
It can perform the diagnosis modes except the following for all sub system selection items.
×: Applicable item
*: This item is indicated, but not used.
FREEZE FRAME DATA (FFD)
The BCM records the following vehicle condition at the time a particular DTC is detected, and displays on
CONSULT-III.
Diagnosis mode Function Description
Work Support Changes the setting for each system function.
Self Diagnostic Result Displays the diagnosis results judged by BCM. Refer to BCS-57, "
DTCIndex".
CAN Diag Support Monitor Monitors the reception status of CAN communication viewed from BCM. Refer to CONSULT-III opera-
tion manual.
Data Monitor The BCM input/output signals are displayed.
Active Test The signals used to activate ea ch device are forcibly supplied from BCM.
Ecu Identification The BCM part number is displayed.
Configuration Read and save the vehicle specification.
Write the vehicle specification when replacing BCM.
System Sub system selection item Diagnosis mode
Work Support Data Monitor Active Test
Door lock DOOR LOCK ×××
Rear window defogger REAR DEFOGGER ××
Warning chime BUZZER ××
Interior room lamp timer INT LAMP ×××
Exterior lamp HEAD LAMP ×××
Wiper and washer WIPER ×××
Turn signal and hazard warning lamps FLASHER ×××
— AIR CONDITONER* ××
Intelligent Key system
Engine start system INTELLIGENT KEY
×××
Combination switch COMB SW ×
Body control system BCM ×
IVIS IMMU ×××
Interior room lamp battery saver BATTERY SAVER ×××
Back door TRUNK ×
Vehicle security system THEFT ALM ×××
RAP system RETAINED PWR ×
Signal buffer system SIGNAL BUFFER ××
Revision: 2010 May2011 QX56