Page 1 of 382
OOWW NNEERR ''SS MM AANN UUAA LL
Operation MaintenanceSpecifications
All information in this Owner's Manual is current at the time of publication.
However, Hyundai reserves the right to make changes at any time so that
our policy of continual product improvement may be carried out.
This manual applies to all Hyundai models and includes descriptions and
explanations of optional as well as standard equipment. As a result, you may
find material in this manual that does not apply to your specific vehicle.
Page 10 of 382

13
Introduction
Your new vehicle is designed to use only
unleaded fuel having a pump octane
number ((R+M)/2) of 87 or higher.
Your new vehicle is designed to obtain
maximum performance with UNLEADED
FUEL, as well as minimize exhaust emis-
sions and spark plug fouling.Gasoline containing alcohol andmethanol
Gasohol, a mixture of gasoline and
ethanol (also known as grain alcohol), and gasoline or gasohol containing
methanol (also known as wood alcohol)
are being marketed along with or instead
of leaded or unleaded gasoline. Do not use gasohol containing more than 10% ethanol, and do not use gasoline or
gasohol containing any methanol. Either
of these fuels may cause drivability prob- lems and damage to the fuel system.
Discontinue using gasohol of any kind if
drivability problems occur.
Vehicle damage or drivability problems
may not be covered by the manufactur-
er’s warranty if they result from the use of:
1. Gasohol containing more than 10% ethanol.
2. Gasoline or gasohol containing methanol.
3. Leaded fuel or leaded gasohol.
FUEL REQUIREMENTS
CAUTION
Never add any fuel system cleaning
agents to the fuel tank other than what has been specified. (Consult
an authorized HYUNDAI dealer fordetails.)
WARNING
• Do not "top off" after the nozzle automatically shuts off when refueling.
Tighten the cap until it clicks one time, otherwise the Check Engine
light will illuminate.
Always check that the fuel cap is installed securely to prevent fuel
spillage in the event of an acci- dent.
Page 12 of 382
15
Introduction
As with other vehicles of this type, failure
to operate this vehicle correctly mayresult in loss of control, an accident or
vehicle rollover.
Specific design characteristics (higher
ground clearance, track, etc.) give this
vehicle a higher center of gravity than
other types of vehicles. It is not designed
for cornering at the same speeds as a
conventional 2-wheel drive sedans or
sports coupe. Avoid sharp turns or abrupt
maneuvers. Failure to operate this vehi-
cle correctly may result in loss of control,
an accident or vehicle rollover.Be sure
to read the “Reducing the risk of a
rollover” driving guidelines, in section
5 of this manual. No special break-in period is needed.
By following a few simple precautions
for the first 600 miles (1,000 km) you
may add to the performance, economy
and life of your vehicle.
Do not race the engine.
While driving, keep your engine speed
(rpm, or revolutions per minute)
between 2,000 rpm and 4,000 rpm.
Do not maintain a single speed for long periods of time, either fast or slow.
Varying engine speed is needed to
properly break-in the engine.
Avoid hard stops, except in emergen- cies, to allow the brakes to seat prop-
erly.
Don't let the engine idle longer than 3 minutes at one time.
Don't tow a trailer during the first 1,200
miles (2,000 km) of operation.
VEHICLE BREAK-IN PROCESS
VEHICLE HANDLING
INSTRUCTIONS
Page 13 of 382
Introduction
6
1
This vehicle is equipped with an event
data recorder (EDR). The main pur-
pose of an EDR is to record, in certaincrash or near crash-like situations,
such as an air bag deployment or hit-
ting a road obstacle, data that will
assist in understanding how a vehi-
cle's systems performed. The EDR is
designed to record data related to
vehicle dynamics and safety systems
for a short period of time, typically 30
seconds or less. The EDR in this vehi-
cle is designed to record such data as:
* How various systems in your vehicle
were operating:
* Whether or not the driver and pas- senger safety belts were buckled/ fastened;
* How far (if at all) the driver was depressing the accelerator and/or
brake pedal; and,
* How fast the vehicle was traveling. These data can help provide a better
understanding of the circumstances
in which crashes and injuries occur.
NOTE: EDR data are recorded by your
vehicle only if a nontrivial crash situa-
tion occurs; no data are recorded by the EDR under normal driving condi-
tions and no personal data (e.g.,
name, gender, age, and crash loca-
tion) are recorded. However, other
parties, such as law enforcement, could combine the EDR data with the
type of personally identifying data
routinely acquired during a crash
investigation.
To read data recorded by an EDR, spe-
cial equipment is required, and
access to the vehicle or the EDR is needed.
In addition to the vehicle manufactur-
er, other parties, such as law enforce-
ment, that have the special equip-
ment, can read the information if they
have access to the vehicle or the EDR.
VEHICLE DATA COLLECTION AND EVENT DATA RECORDERS
Page 23 of 382
35
Safety features of your vehicle
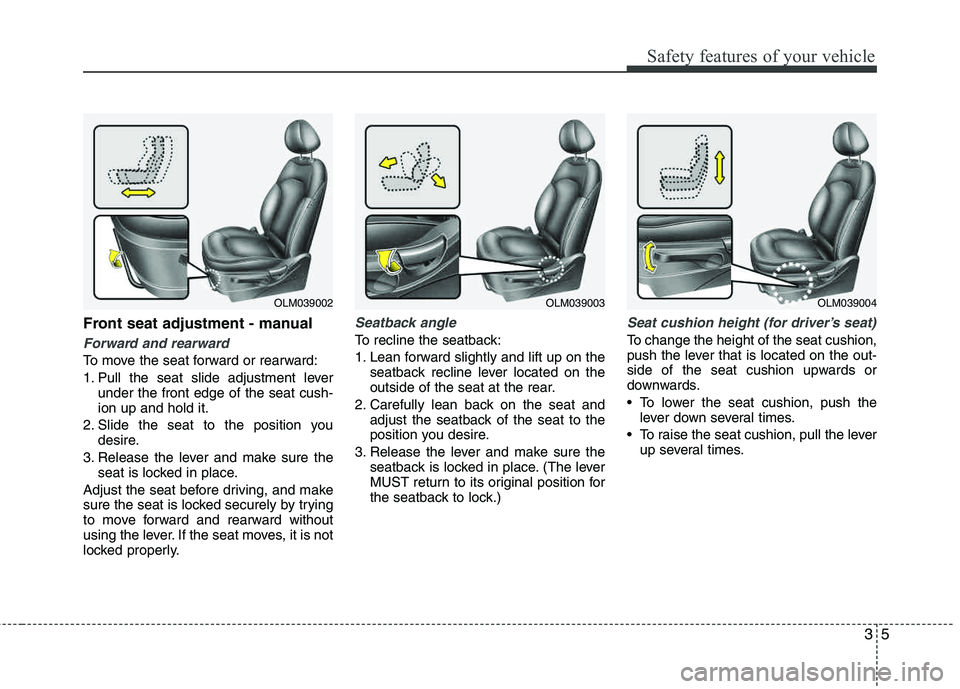
Front seat adjustment - manual
Forward and rearward
To move the seat forward or rearward:
1. Pull the seat slide adjustment leverunder the front edge of the seat cush- ion up and hold it.
2. Slide the seat to the position you desire.
3. Release the lever and make sure the seat is locked in place.
Adjust the seat before driving, and make
sure the seat is locked securely by trying
to move forward and rearward without
using the lever. If the seat moves, it is not
locked properly.
Seatback angle
To recline the seatback:
1. Lean forward slightly and lift up on the seatback recline lever located on the
outside of the seat at the rear.
2. Carefully lean back on the seat and adjust the seatback of the seat to the
position you desire.
3. Release the lever and make sure the seatback is locked in place. (The lever
MUST return to its original position for
the seatback to lock.)
Seat cushion height (for driver’s seat)
To change the height of the seat cushion,
push the lever that is located on the out-
side of the seat cushion upwards or
downwards.
To lower the seat cushion, push thelever down several times.
To raise the seat cushion, pull the lever up several times.
OLM039004OLM039003OLM039002
Page 24 of 382
Safety features of your vehicle
6
3
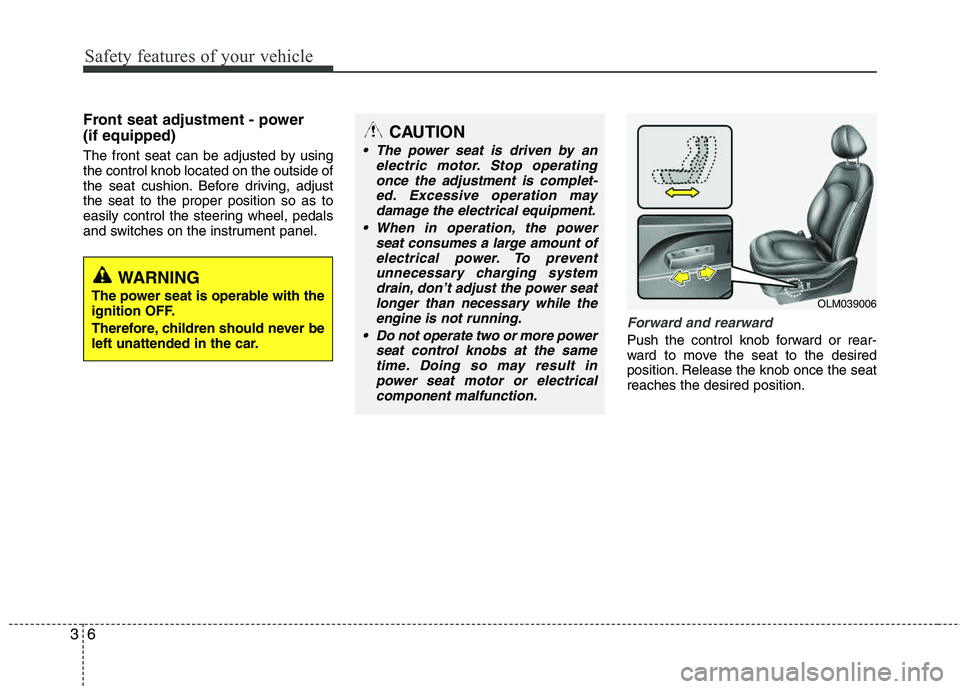
Front seat adjustment - power (if equipped)
The front seat can be adjusted by using the control knob located on the outside of
the seat cushion. Before driving, adjust the seat to the proper position so as to
easily control the steering wheel, pedals
and switches on the instrument panel.
Forward and rearward
Push the control knob forward or rear-
ward to move the seat to the desired
position. Release the knob once the seatreaches the desired position.
OLM039006
CAUTION
The power seat is driven by an
electric motor. Stop operatingonce the adjustment is complet-
ed. Excessive operation maydamage the electrical equipment.
When in operation, the power seat consumes a large amount of
electrical power. To prevent unnecessary charging systemdrain, don’t adjust the power seat
longer than necessary while theengine is not running.
Do not operate two or more power seat control knobs at the same
time. Doing so may result inpower seat motor or electrical component malfunction.
WARNING
The power seat is operable with the
ignition OFF.
Therefore, children should never be
left unattended in the car.
Page 28 of 382
Safety features of your vehicle
10
3
Seat warmer (if equipped)
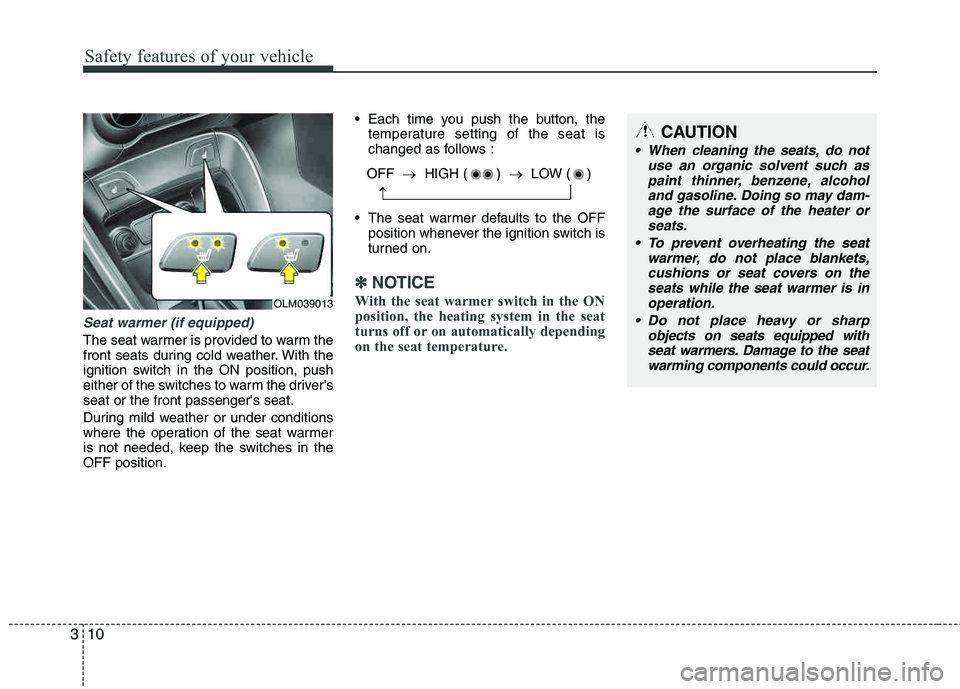
The seat warmer is provided to warm the
front seats during cold weather. With the
ignition switch in the ON position, push
either of the switches to warm the driver's seat or the front passenger's seat.
During mild weather or under conditions
where the operation of the seat warmer
is not needed, keep the switches in the OFF position. Each time you push the button, the
temperature setting of the seat is
changed as follows :
The seat warmer defaults to the OFF position whenever the ignition switch is
turned on.
✽✽ NOTICE
With the seat warmer switch in the ON
position, the heating system in the seat
turns off or on automatically depending
on the seat temperature.
CAUTION
When cleaning the seats, do not use an organic solvent such aspaint thinner, benzene, alcohol
and gasoline. Doing so may dam-age the surface of the heater orseats.
To prevent overheating the seat warmer, do not place blankets,cushions or seat covers on theseats while the seat warmer is in
operation.
Do not place heavy or sharp objects on seats equipped withseat warmers. Damage to the seat
warming components could occur.
OFF �HIGH ( ) �LOW ( )
�
OLM039013
Page 35 of 382
317
Safety features of your vehicle
Seat belt warning
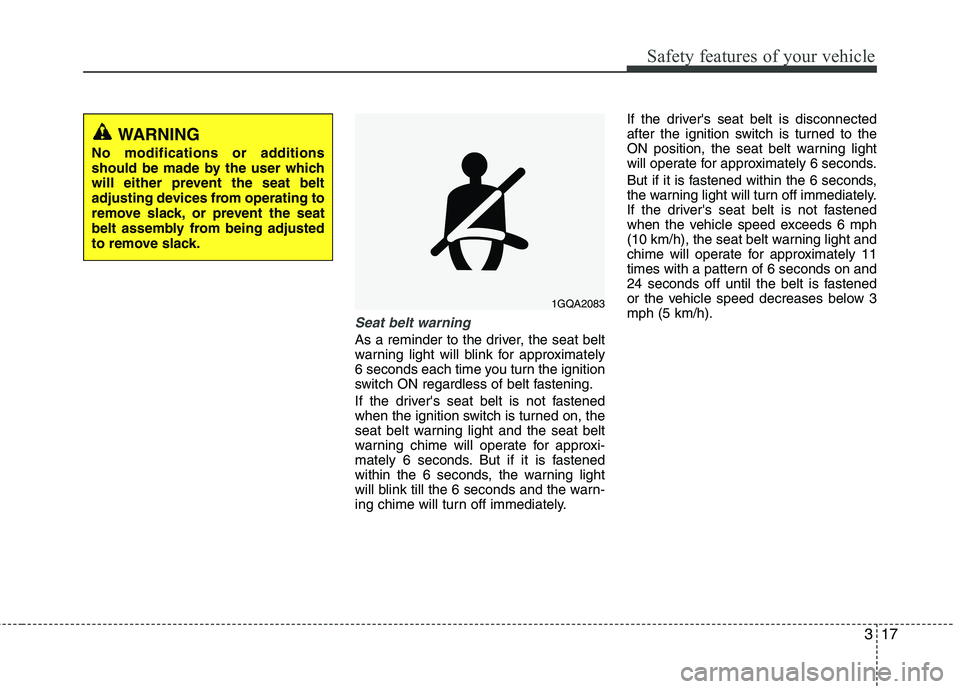
As a reminder to the driver, the seat belt
warning light will blink for approximately
6 seconds each time you turn the ignition
switch ON regardless of belt fastening.
If the driver's seat belt is not fastened
when the ignition switch is turned on, the
seat belt warning light and the seat belt
warning chime will operate for approxi-
mately 6 seconds. But if it is fastened
within the 6 seconds, the warning light
will blink till the 6 seconds and the warn-
ing chime will turn off immediately.If the driver's seat belt is disconnected
after the ignition switch is turned to the
ON position, the seat belt warning light
will operate for approximately 6 seconds.
But if it is fastened within the 6 seconds,
the warning light will turn off immediately.
If the driver's seat belt is not fastened
when the vehicle speed exceeds 6 mph
(10 km/h), the seat belt warning light and
chime will operate for approximately 11
times with a pattern of 6 seconds on and
24 seconds off until the belt is fastened
or the vehicle speed decreases below 3mph (5 km/h).
WARNING
No modifications or additions
should be made by the user which
will either prevent the seat belt
adjusting devices from operating to
remove slack, or prevent the seat
belt assembly from being adjusted
to remove slack.
1GQA2083