Page 6 of 560
Introduction
6
1
INDICATOR SYMBOLS ON THE INSTRUMENT CLUSTER
Engine oil pressure warning light
Seat belt warning light
Door and tailgate open position light
High beam indicator
Light on indicator*
Turn signal indicator
ABS warning light
Parking brake & Brake fluid
warning light
4WD system warning light* 4WD LOCK indicator*
Malfunction indicator*
Air bag warning light
Cruise SET indicator*
Low fuel level warning light
Charging system warning light
Door ajar warning light
Glow indicator (Diesel only)
Fuel filter warning light (Diesel only)
Cruise indicator*
ESP indicator*
ESP OFF indicator*
Immobiliser indicator*
Shift pattern indicator*
Front fog light indicator*
Rear fog light indicator*
Low beam indicator*
Electric power steering (EPS)
system warning light*
Key out warning*
KEY
OUT
DBC indicator*
Tailgate open warning light
Engine oil level warning light (Diesel engine*)
Low tyre pressure telltale*
Manual transaxle shift indicator*
EL UK 1.QXP 1/12/2010 2:51 PM Page 6
Page 76 of 560
4
Keys / 4-2
Remote keyless entry / 4-5
Smart key / 4-8
Theft-alarm system / 4-11
Door locks / 4-13
Tailgate / 4-17
Windows / 4-19
Hood / 4-24
Fuel filler lid / 4-26
Panorama Sunroof / 4-29
Steering wheel / 4-33
Mirrors / 4-35
Instrument cluster / 4-42
Rear parking assist system / 4-67
Rearview camera / 4-71
Hazard warning flasher / 4-71
Lighting / 4-72
Wipers and washers / 4-78
Interior light / 4-82
Defroster / 4-85
Manual climate control system / 4-87
Automatic climate control system / 4-96
Windshield defrosting and defogging / 4-104
Storage compartment / 4-108
Interior features / 4-110
Exterior features / 4-117
Audio system / 4-118
Features of your vehicle
Page 127 of 560

Features of your vehicle
52
4
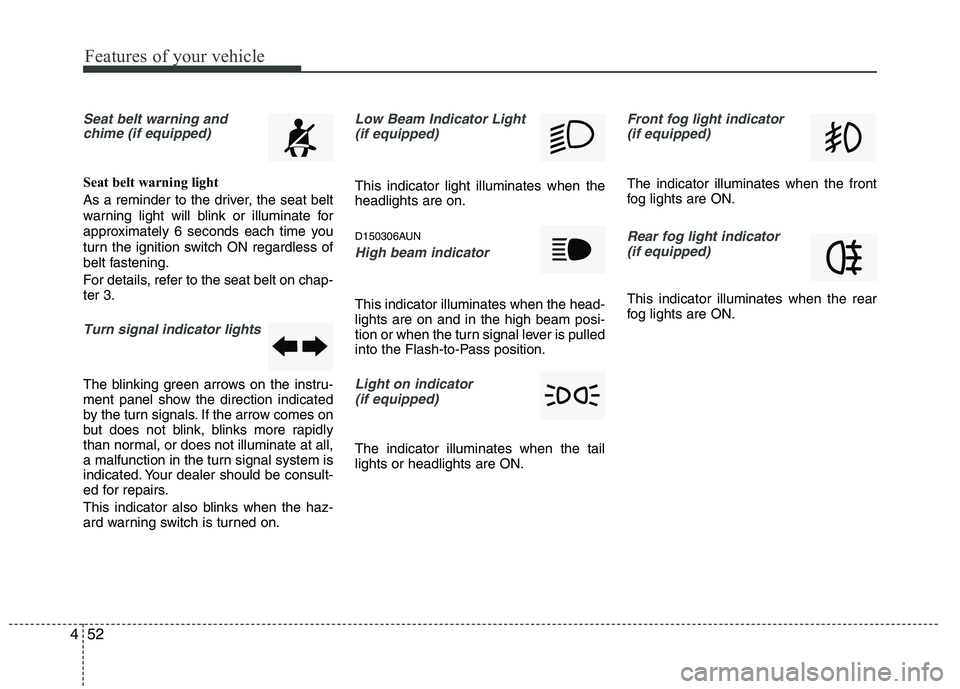
Seat belt warning and
chime (if equipped)
Seat belt warning light
As a reminder to the driver, the seat belt
warning light will blink or illuminate for
approximately 6 seconds each time you
turn the ignition switch ON regardless of
belt fastening.
For details, refer to the seat belt on chap- ter 3.
Turn signal indicator lights
The blinking green arrows on the instru-
ment panel show the direction indicated
by the turn signals. If the arrow comes on
but does not blink, blinks more rapidly
than normal, or does not illuminate at all,
a malfunction in the turn signal system is
indicated. Your dealer should be consult-
ed for repairs.
This indicator also blinks when the haz-
ard warning switch is turned on.
Low Beam Indicator Light
(if equipped)
This indicator light illuminates when the headlights are on.
D150306AUN
High beam indicator
This indicator illuminates when the head- lights are on and in the high beam posi-
tion or when the turn signal lever is pulled
into the Flash-to-Pass position.
Light on indicator (if equipped)
The indicator illuminates when the tail lights or headlights are ON.
Front fog light indicator (if equipped)
The indicator illuminates when the front
fog lights are ON.
Rear fog light indicator
(if equipped)
This indicator illuminates when the rear
fog lights are ON.
Page 150 of 560

475
Features of your vehicle
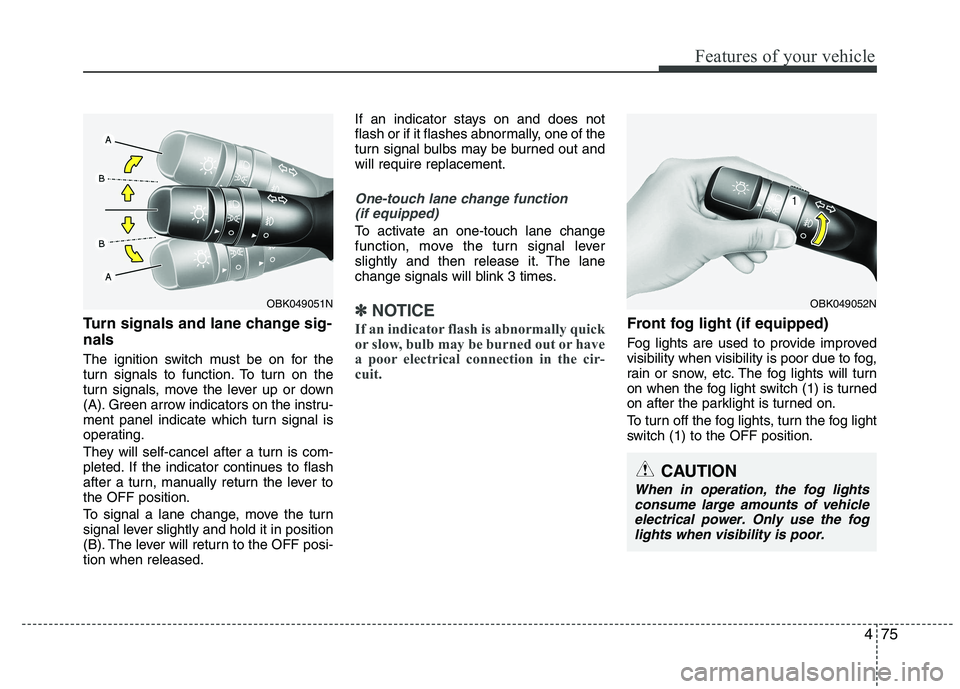
Turn signals and lane change sig- nals
The ignition switch must be on for the
turn signals to function. To turn on the
turn signals, move the lever up or down
(A). Green arrow indicators on the instru-
ment panel indicate which turn signal is
operating.
They will self-cancel after a turn is com-
pleted. If the indicator continues to flash
after a turn, manually return the lever tothe OFF position.
To signal a lane change, move the turn
signal lever slightly and hold it in position
(B). The lever will return to the OFF posi-tion when released.If an indicator stays on and does not
flash or if it flashes abnormally, one of the
turn signal bulbs may be burned out andwill require replacement.
One-touch lane change function
(if equipped)
To activate an one-touch lane change
function, move the turn signal lever
slightly and then release it. The lane
change signals will blink 3 times.
✽✽ NOTICE
If an indicator flash is abnormally quick
or slow, bulb may be burned out or have
a poor electrical connection in the cir-
cuit.Front fog light (if equipped)
Fog lights are used to provide improved
visibility when visibility is poor due to fog,
rain or snow, etc. The fog lights will turn
on when the fog light switch (1) is turned
on after the parklight is turned on.
To turn off the fog lights, turn the fog light
switch (1) to the OFF position.
OBK049052N
CAUTION
When in operation, the fog lights consume large amounts of vehicle electrical power. Only use the foglights when visibility is poor.
OBK049051N
Page 151 of 560

Features of your vehicle
76
4
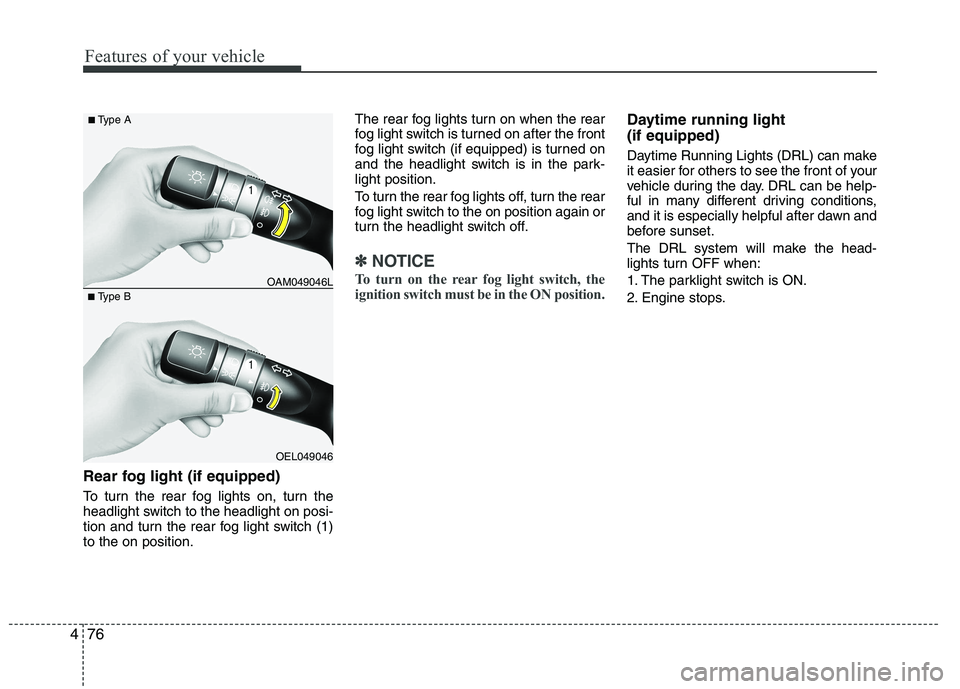
Rear fog light (if equipped)
To turn the rear fog lights on, turn the
headlight switch to the headlight on posi-
tion and turn the rear fog light switch (1)to the on position. The rear fog lights turn on when the rear
fog light switch is turned on after the front
fog light switch (if equipped) is turned on
and the headlight switch is in the park-light position.
To turn the rear fog lights off, turn the rear
fog light switch to the on position again or
turn the headlight switch off.
✽✽
NOTICE
To turn on the rear fog light switch, the
ignition switch must be in the ON position.
Daytime running light (if equipped)
Daytime Running Lights (DRL) can make
it easier for others to see the front of your
vehicle during the day. DRL can be help-
ful in many different driving conditions,
and it is especially helpful after dawn and
before sunset.
The DRL system will make the head-
lights turn OFF when:
1. The parklight switch is ON.
2. Engine stops.
OEL049046
■
Type B OAM049046L
■
Type A
Page 167 of 560

Features of your vehicle
92
4
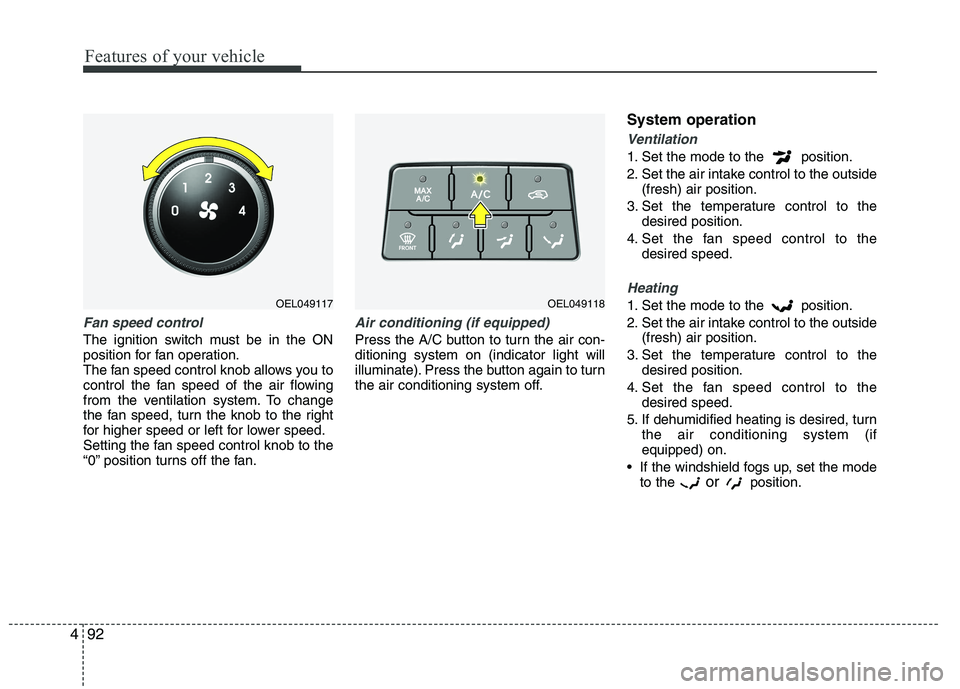
Fan speed control
The ignition switch must be in the ON
position for fan operation.
The fan speed control knob allows you to
control the fan speed of the air flowing
from the ventilation system. To change
the fan speed, turn the knob to the right
for higher speed or left for lower speed.
Setting the fan speed control knob to the
“0” position turns off the fan.
Air conditioning (if equipped)
Press the A/C button to turn the air con- ditioning system on (indicator light will
illuminate). Press the button again to turn
the air conditioning system off. System operation
Ventilation
1. Set the mode to the position.
2. Set the air intake control to the outside
(fresh) air position.
3. Set the temperature control to the desired position.
4. Set the fan speed control to the desired speed.
Heating
1. Set the mode to the position.
2. Set the air intake control to the outside(fresh) air position.
3. Set the temperature control to the desired position.
4. Set the fan speed control to the desired speed.
5. If dehumidified heating is desired, turn the air conditioning system (if equipped) on.
If the windshield fogs up, set the mode to the or
position.OEL049118OEL049117
Page 365 of 560

745
Maintenance
No.Fuse ratingSymbolFuse NameCircuit Protected
1010AAIR BAGSRS Control Module, Passenger Air Bag Lamp
1110AMODULE 1
IPS Control Module (ON/START Input), 4WD ECM, ICM Relay Box (DBC Relay),
DBC Switch, Multifunction Switch (Light), Steering Angle Sensor,
Stop Lamp Switch (G4KD), EPS Control Module, Tyre Pressure Monitoring Module,
ESP Off Switch, E/R Fuse & Relay Box (RLY. 8 - ESS)
1210AFOG LP RRICM Relay Box (Rear Fog Lamp Relay)
1325AWIPER FRTE/R Fuse & Relay Box (RLY. 12 - Front Wiper LO,RLY. 13 - Rain Wiper),
Front Wiper Motor, Multifunction Switch (Wiper)
1415AS/HEATER FRTConsole Switch
1515APOWER OUTLET 1Cigarette Lighter & Front Power Outlet
1610ABACK-UP LPBack-Up Lamp Relay, Electro Chromic Mirror, BCM, Rear Combination Lamp (IN)
LH/RH, Rear Parking Assist Sensor LH/RH, Rear Parking Assist Sensor Centre
LH/RH, Smart Parking Assist Sensor Out RH
1715ADR LOCKDoor Lock/Unlock Relay, Tail Gate Relay, ICM Relay Box (Dead Lock Relay)
187.5AMODULE 5BCM, Smart Key Control Module, PDM
1915AWIPER RRICM Relay Box (Rear Wiper Relay), Rear Wiper Motor, Multifunction Switch (Wiper)
2015ASUNROOFSunroof Motor
EL UK 7.QXP 1/25/2010 10:04 AM Page 45
Page 370 of 560
Maintenance
50
7
G220100AUN
Headlight, position light, turn sig-
nal light, front fog light bulbreplacement
(1) Front turn signal light
(2) Position light
(3) Headlight (High)
(4) Headlight (Low)
(5) Front fog light (if equipped)Headlight (High/Low)
1. Open the bonnet.
2. Remove the headlight bulb cover by
turning it counterclockwise.
3. Disconnect the headlight bulb socket- connector. 4. Unsnap the headlight bulb retaining
wire by depressing the end and push-
ing it upward.
5. Remove the bulb from the headlight assembly.
6. Install a new headlight bulb and snap the headlight bulb retaining wire into
position by aligning the wire with the
groove on the bulb.
7. Connect the headlight bulb socket- connector.
8. Install the headlight bulb cover by turn- ing it clockwise.✽✽ NOTICE
If the headlight aiming adjustment is
necessary after the headlight assembly is
reinstalled, consult a HYUNDAI autho-
rised repairer.
OEL079056OEL079029
EL UK 7.QXP 1/25/2010 10:05 AM Page 50