2011 HYUNDAI IX35 fog light
[x] Cancel search: fog lightPage 409 of 560

Index
8
I
Electric chromic mirror (ECM) with compass ········4-36
Inside rearview mirror ··············································4-35
Outside rearview mirror ···········································4-39
Moonroof, see panorama sunroof ··································4-29
Motorway driving ··························································5-53
Neck restraints, see head restraint ··························3-6, 3-10Odometer ·······································································4-46
Oil (Engine) ···································································7-12
Outside mirror defroster ················································4-86
Outside thermometer·······················································4-45
Outside rearview mirror ·················································4-39Overheats ·········································································6-7
Owner maintenance ·························································7-6
Panorama sunroof ··························································4-29
Parking brake inspect ·····················································7-17
Parking brake ·································································5-31
Passenger's front air bag ················································3-47
Position light bulb replacement ·····································7-52
Power brakes ··································································5-30 Power outlet ·································································4-110
Power window lock button ············································4-22
Pre-tensioner seat belt ····················································3-22
Push starting ·····································································6-6 Rear combination light bulb replacement ······················7-53
Rear fog light ··································································4-76
Rear fog light bulb replacement ·····································7-55
Rear seat ·········································································3-10
Rear parking assist system ·············································4-67
Rear window defroster····················································4-85
Rearview camera ···························································4-71Recommended cold tyre inflation pressures ··················7-29
Recommended lubricants and capacities ·························8-4
Recommended SAE viscosity number ······················8-6
Remote keyless entry ·······················································4-5
Road warning ···································································6-2
Rocking the vehicle ·······················································5-50
Roof rack ·····································································4-115
Room lamp······································································4-83
R
O
P
N
EL UK INDEX.QXP 1/12/2010 3:27 PM Page 8
Page 413 of 560
4
Keys / 4-2 Remote keyless entry / 4-5Smart key / 4-8
Theft-alarm system / 4-11
Door locks / 4-13
Tailgate / 4-17
Windows / 4-19Bonnet / 4-24
Fuel filler lid / 4-26
Panorama Sunroof / 4-29
Steering wheel / 4-33
Mirrors / 4-35
Instrument cluster / 4-42
Rear parking assist system / 4-67Rearview camera / 4-71
Hazard warning flasher / 4-71Lighting / 4-72
Wipers and washers / 4-78
Interior light / 4-82
Defroster / 4-85
Manual climate control system / 4-87
Automatic climate control system / 4-96
Windscreen defrosting and defogging / 4-103
Storage compartment / 4-106
Interior features / 4-108
Exterior features / 4-115
Audio system / 4-116
Features of your vehicle
EL UK 4A.QXP 1/25/2010 9:42 AM Page 1
Page 464 of 560
Features of your vehicle
52
4
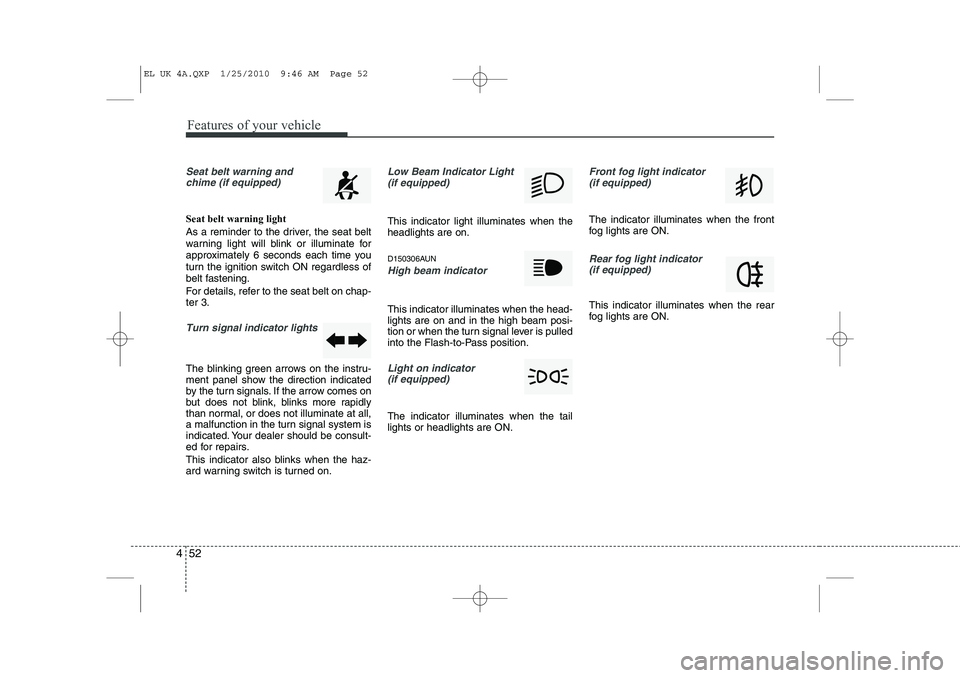
Seat belt warning and
chime (if equipped)
Seat belt warning light
As a reminder to the driver, the seat belt
warning light will blink or illuminate for
approximately 6 seconds each time you
turn the ignition switch ON regardless of
belt fastening.
For details, refer to the seat belt on chap- ter 3.
Turn signal indicator lights
The blinking green arrows on the instru-
ment panel show the direction indicated
by the turn signals. If the arrow comes on
but does not blink, blinks more rapidly
than normal, or does not illuminate at all,
a malfunction in the turn signal system is
indicated. Your dealer should be consult-
ed for repairs.
This indicator also blinks when the haz-
ard warning switch is turned on.
Low Beam Indicator Light
(if equipped)
This indicator light illuminates when the headlights are on.
D150306AUN
High beam indicator
This indicator illuminates when the head- lights are on and in the high beam posi-
tion or when the turn signal lever is pulled
into the Flash-to-Pass position.
Light on indicator (if equipped)
The indicator illuminates when the tail lights or headlights are ON.
Front fog light indicator (if equipped)
The indicator illuminates when the front
fog lights are ON.
Rear fog light indicator
(if equipped)
This indicator illuminates when the rear
fog lights are ON.
EL UK 4A.QXP 1/25/2010 9:46 AM Page 52
Page 487 of 560
475
Features of your vehicle
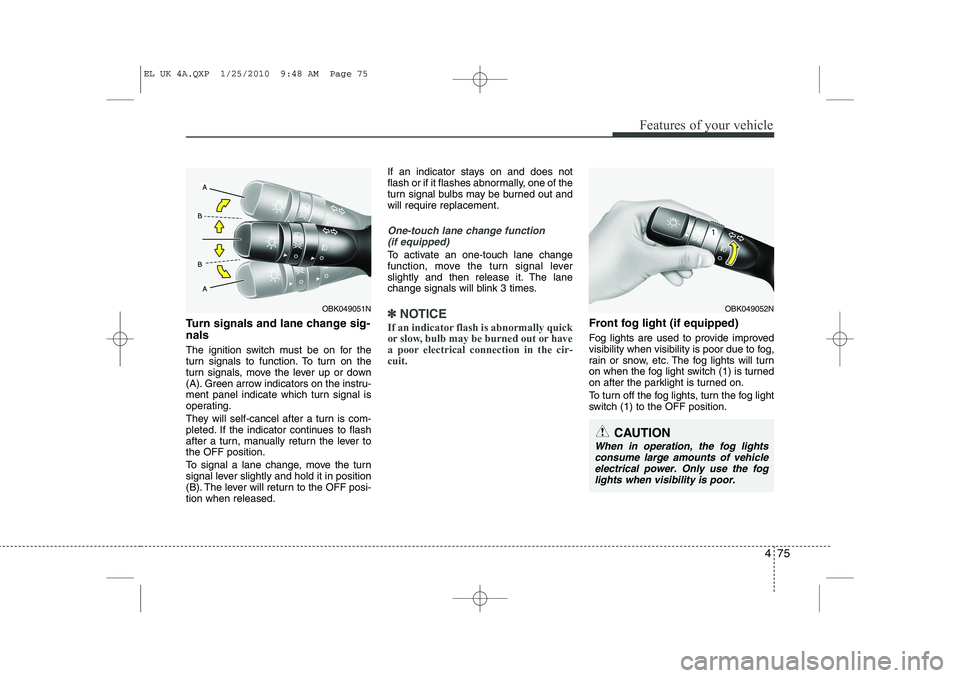
Turn signals and lane change sig- nals
The ignition switch must be on for the
turn signals to function. To turn on the
turn signals, move the lever up or down
(A). Green arrow indicators on the instru-
ment panel indicate which turn signal is
operating.
They will self-cancel after a turn is com-
pleted. If the indicator continues to flash
after a turn, manually return the lever tothe OFF position.
To signal a lane change, move the turn
signal lever slightly and hold it in position
(B). The lever will return to the OFF posi-tion when released.If an indicator stays on and does not
flash or if it flashes abnormally, one of the
turn signal bulbs may be burned out andwill require replacement.
One-touch lane change function
(if equipped)
To activate an one-touch lane change
function, move the turn signal lever
slightly and then release it. The lane
change signals will blink 3 times.
✽✽ NOTICE
If an indicator flash is abnormally quick
or slow, bulb may be burned out or have
a poor electrical connection in the cir-cuit.Front fog light (if equipped)
Fog lights are used to provide improved
visibility when visibility is poor due to fog,
rain or snow, etc. The fog lights will turn
on when the fog light switch (1) is turned
on after the parklight is turned on.
To turn off the fog lights, turn the fog light
switch (1) to the OFF position.
OBK049052N
CAUTION
When in operation, the fog lights consume large amounts of vehicleelectrical power. Only use the foglights when visibility is poor.
OBK049051N
EL UK 4A.QXP 1/25/2010 9:48 AM Page 75
Page 488 of 560
Features of your vehicle
76
4
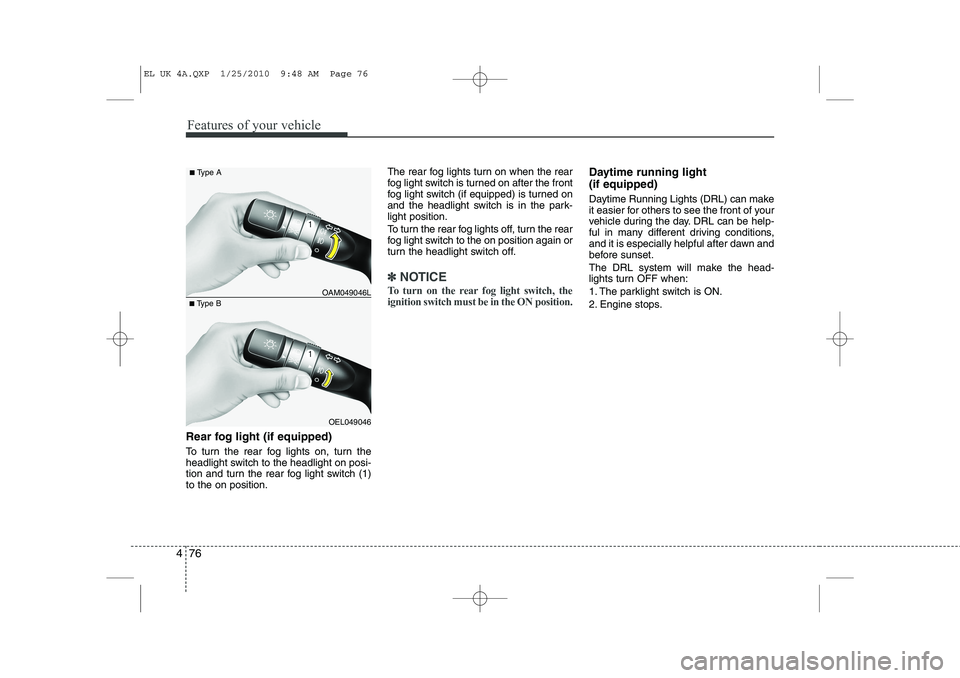
Rear fog light (if equipped)
To turn the rear fog lights on, turn the
headlight switch to the headlight on posi-
tion and turn the rear fog light switch (1)to the on position. The rear fog lights turn on when the rear
fog light switch is turned on after the front
fog light switch (if equipped) is turned on
and the headlight switch is in the park-light position.
To turn the rear fog lights off, turn the rear
fog light switch to the on position again or
turn the headlight switch off.
✽✽
NOTICE
To turn on the rear fog light switch, the ignition switch must be in the ON position.
Daytime running light (if equipped)
Daytime Running Lights (DRL) can make
it easier for others to see the front of your
vehicle during the day. DRL can be help-
ful in many different driving conditions,
and it is especially helpful after dawn and
before sunset.
The DRL system will make the head-
lights turn OFF when:
1. The parklight switch is ON.
2. Engine stops.
OEL049046
■
Type B OAM049046L
■
Type A
EL UK 4A.QXP 1/25/2010 9:48 AM Page 76
Page 504 of 560
Features of your vehicle
92
4
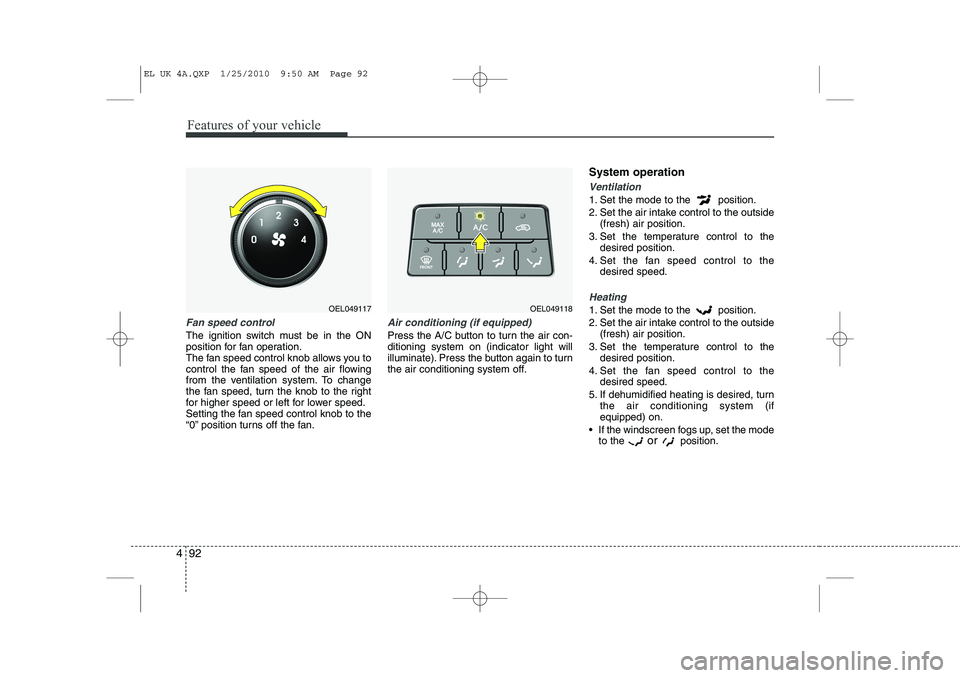
Fan speed control
The ignition switch must be in the ON
position for fan operation.
The fan speed control knob allows you to
control the fan speed of the air flowing
from the ventilation system. To change
the fan speed, turn the knob to the right
for higher speed or left for lower speed.
Setting the fan speed control knob to the
“0” position turns off the fan.
Air conditioning (if equipped)
Press the A/C button to turn the air con- ditioning system on (indicator light will
illuminate). Press the button again to turn
the air conditioning system off. System operation
Ventilation
1. Set the mode to the position.
2. Set the air intake control to the outside
(fresh) air position.
3. Set the temperature control to the desired position.
4. Set the fan speed control to the desired speed.
Heating
1. Set the mode to the position.
2. Set the air intake control to the outside(fresh) air position.
3. Set the temperature control to the desired position.
4. Set the fan speed control to the desired speed.
5. If dehumidified heating is desired, turn the air conditioning system (if equipped) on.
If the windscreen fogs up, set the mode to the or
position.OEL049118OEL049117
EL UK 4A.QXP 1/25/2010 9:50 AM Page 92