Page 141 of 560

Features of your vehicle
66
4
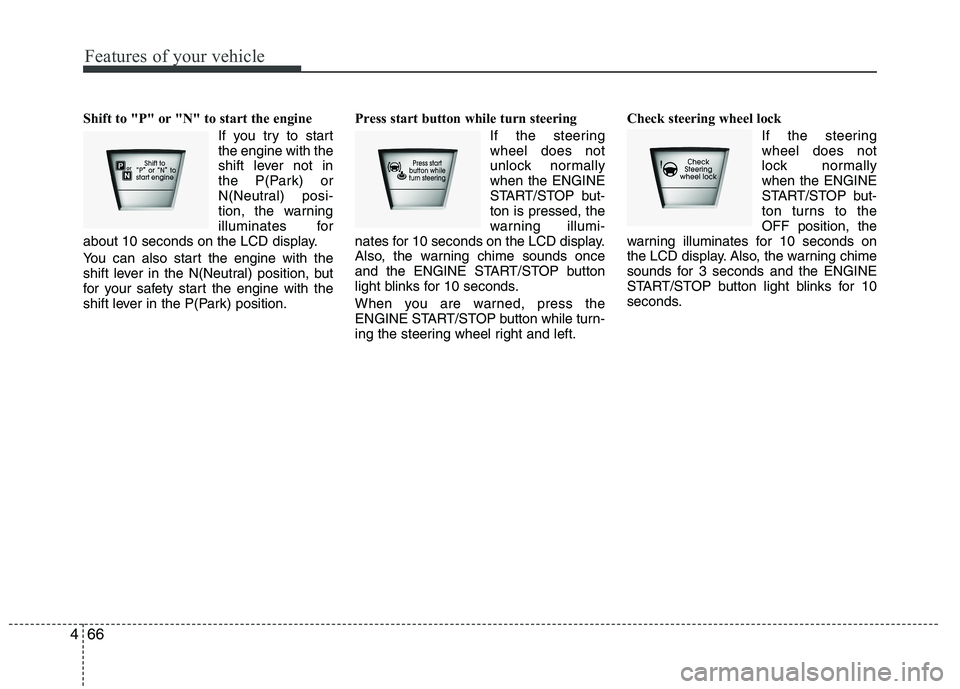
Shift to "P" or "N" to start the engine
If you try to start the engine with the
shift lever not in
the P(Park) or
N(Neutral) posi-
tion, the warning
illuminates for
about 10 seconds on the LCD display.
You can also start the engine with the
shift lever in the N(Neutral) position, but
for your safety start the engine with the
shift lever in the P(Park) position. Press start button while turn steering
If the steeringwheel does not
unlock normallywhen the ENGINE
START/STOP but-ton is pressed, the
warning illumi-
nates for 10 seconds on the LCD display.
Also, the warning chime sounds once
and the ENGINE START/STOP button
light blinks for 10 seconds.
When you are warned, press the
ENGINE START/STOP button while turn-
ing the steering wheel right and left. Check steering wheel lock
If the steeringwheel does not
lock normallywhen the ENGINE
START/STOP but-
ton turns to theOFF position, the
warning illuminates for 10 seconds on
the LCD display. Also, the warning chime
sounds for 3 seconds and the ENGINE
START/STOP button light blinks for 10
seconds.
Page 165 of 560
Features of your vehicle
90
4
Instrument panel vents
The outlet vents can be opened or closed
separately using the thumbwheel.
Also, you can adjust the direction of air
delivery from these vents using the vent
control lever as shown.Temperature control
The temperature control knob allows you
to control the temperature of the air flow-
ing from the ventilation system. To
change the air temperature in the pas-
senger compartment, turn the knob to
the right position for warm and hot air or
left position for cooler air.
Air intake control
The air intake control is used to select the outside (fresh) air position or recircu-lated air position.
To change the air intake control position,
press the control button.
OEL049114OEL049115OEL049116
Page 174 of 560
499
Features of your vehicle
Maximum (MAX) defrost mode
When you select the MAX defrost mode,
the following system settings will bemade automatically;
turned on.
selected.
speed.
To turn the MAX defrost mode off, press
the mode button or MAX defrost button
again or AUTO button. Instrument panel vents
The outlet vents can be opened or closed
separately using the thumbwheel.
Also, you can adjust the direction of air
delivery from these vents using the vent
control lever as shown.
Temperature control
The temperature will increase to the
maximum (HI) by holding the
▲button.
The temperature will decrease to the
minimum (Lo) by holding the ▼button.
OEL049124OEL049114
OEL049125R
■
Type B OEL049125
■
Type A
Page 194 of 560

4119
Features of your vehicle
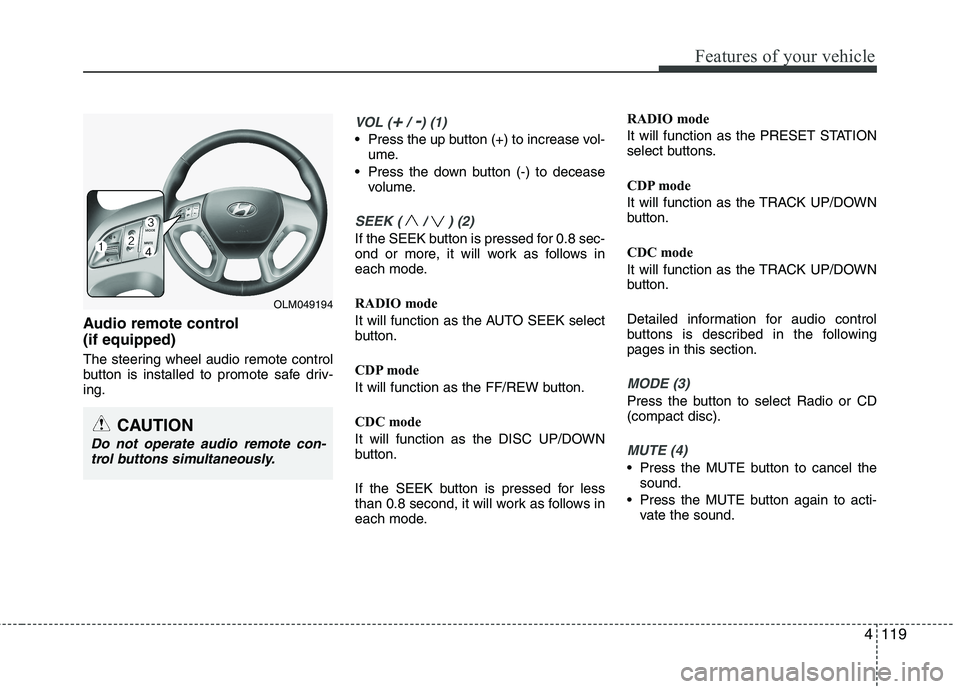
Audio remote control (if equipped)
The steering wheel audio remote control
button is installed to promote safe driv-ing.
VOL (+/ -) (1)
• Press the up button (+) to increase vol-ume.
Press the down button (-) to decease volume.
SEEK ( / ) (2)
If the SEEK button is pressed for 0.8 sec-
ond or more, it will work as follows in
each mode.
RADIO mode
It will function as the AUTO SEEK select
button.
CDP mode
It will function as the FF/REW button.
CDC mode
It will function as the DISC UP/DOWN
button.
If the SEEK button is pressed for less
than 0.8 second, it will work as follows in
each mode. RADIO mode
It will function as the PRESET STATION
select buttons.
CDP mode
It will function as the TRACK UP/DOWN
button.
CDC mode
It will function as the TRACK UP/DOWN
button.
Detailed information for audio control
buttons is described in the followingpages in this section.
MODE (3)
Press the button to select Radio or CD (compact disc).
MUTE (4)
Press the MUTE button to cancel the
sound.
Press the MUTE button again to acti- vate the sound.
CAUTION
Do not operate audio remote con-
trol buttons simultaneously.
OLM049194
Page 219 of 560

Features of your vehicle
144
4
■■
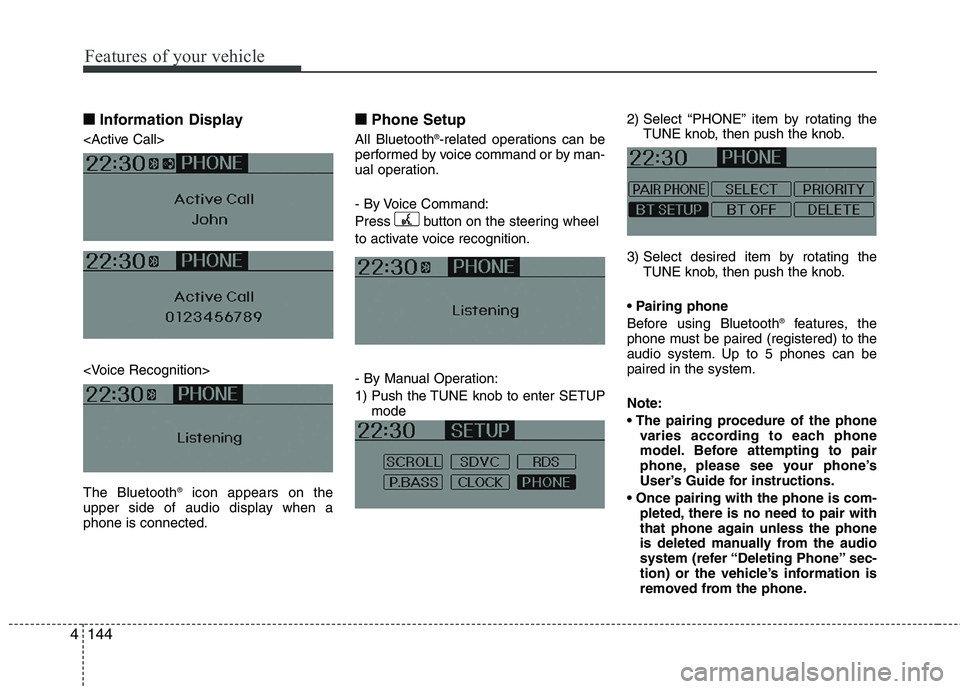
Information Display
The Bluetooth ®
icon appears on the
upper side of audio display when a phone is connected. ■■
Phone Setup
All Bluetooth ®
-related operations can be
performed by voice command or by man-
ual operation.
- By Voice Command:
Press button on the steering wheel
to activate voice recognition.
- By Manual Operation:
1) Push the TUNE knob to enter SETUP mode 2) Select “PHONE” item by rotating the
TUNE knob, then push the knob.
3) Select desired item by rotating the TUNE knob, then push the knob.
Before using Bluetooth ®
features, the
phone must be paired (registered) to the
audio system. Up to 5 phones can bepaired in the system. Note:
varies according to each phone
model. Before attempting to pair
phone, please see your phone’s
User’s Guide for instructions.
pleted, there is no need to pair with
that phone again unless the phone
is deleted manually from the audio
system (refer “Deleting Phone” sec-
tion) or the vehicle’s information is
removed from the phone.
Page 224 of 560

4149
Features of your vehicle
A phone call can be made by dialing the
spoken numbers. The system can recog-
nize single digits from zero to nine.
1. Press button.
2. Say “Call”.
3. Say “Number” when prompted.
4. Say desired phone numbers.
5. Say “Dial” to complete the number andmake a call.
✽
✽ TIP
A shortcut to each of the following
functions is available:
1. Say “Dial Number”
2. Say “Dial ” ■
■
Receiving a Phone Call
When receiving a phone call, a ringtone
is audible from speakers and the audio
system changes into telephone mode.
When receiving a phone call, “Incoming”
message and incoming phone number
(if available) are displayed on the audio.
- Press button on the steering wheel.
- Press button on the steering wheel.
- Use VOLUME buttons on the steering wheel.
Call):
- Press and hold button on the steer- ing wheel until the audio system trans-
fers a call to the phone. ■■
Talking on the Phone
When talking on the phone, “Active Calls”
message and the other party’s phone
number (if available) are displayed on the
audio.
- Press button on the steering wheel.
- Press button on the steering wheel.
✽
✽ NOTICE
In the following situations, you or the
other party may have difficulty hearing
each other:
1. Speaking at the same time, your voice
may not reach each other parties.
(This is not a malfunction.) Speak
alternately with the other party on the
phone.
2. Keep the Bluetooth(R) volume to a
low level. High-level volume may
result in distortion and echo.
3. When driving on a rough road.
4. When driving at high speeds.
5. When the window is open.
6. When the air conditioning vents are facing the microphone.
7. When the sound of the air condition-
ing fan is loud.
Page 226 of 560
5
Before driving / 5-3 Key positions / 5-4Engine start/stop button / 5-8Manual transaxle / 5-14Automatic transaxle / 5-17
Four wheel drive (4WD) / 5-23Brake system / 5-30
Cruise control system / 5-43Active ECO system / 5-47Economical operation / 5-48Special driving conditions / 5-50
Winter driving / 5-54
Trailer towing / 5-58
Vehicle weight / 5-67
Driving your vehicle
EL UK 5.QXP 1/25/2010 9:54 AM Page 1
Page 229 of 560

Driving your vehicle
4
5
Illuminated ignition switch (if equipped)
Whenever a front door is opened, the
ignition switch will be illuminated for your
convenience, provided the ignition switch
is not in the ON position. The light will go
off immediately when the ignition switch
is turned on or go off after about 30 sec-onds when the door is closed. Ignition switch position
LOCK
The steering wheel locks to protect
against theft. The ignition key can be
removed only in the LOCK position.
When turning the ignition switch to the
LOCK position, push the key inward at
the ACC position and turn the key towardthe LOCK position.
ACC (Accessory)
The steering wheel is unlocked and elec-
trical accessories are operative.
✽✽
NOTICE
If difficulty is experienced turning the
ignition switch to the ACC position, turnthe key whilst turning the steering wheel
right and left to release the tension.
ON
The warning lights can be checked
before the engine is started. This is the
normal running position after the engine
is started.
Do not leave the ignition switch ON if the engine is not running to prevent battery discharge.
START
Turn the ignition key to the START posi-
tion to start the engine. The engine will
crank until you release the key; then it
returns to the ON position. The brake
warning lamp can be checked in thisposition.
KEY POSITIONS
OXM059001OCM059002
EL UK 5.QXP 1/25/2010 9:54 AM Page 4