2011 HYUNDAI IX35 wheel
[x] Cancel search: wheelPage 466 of 560
Features of your vehicle
54
4
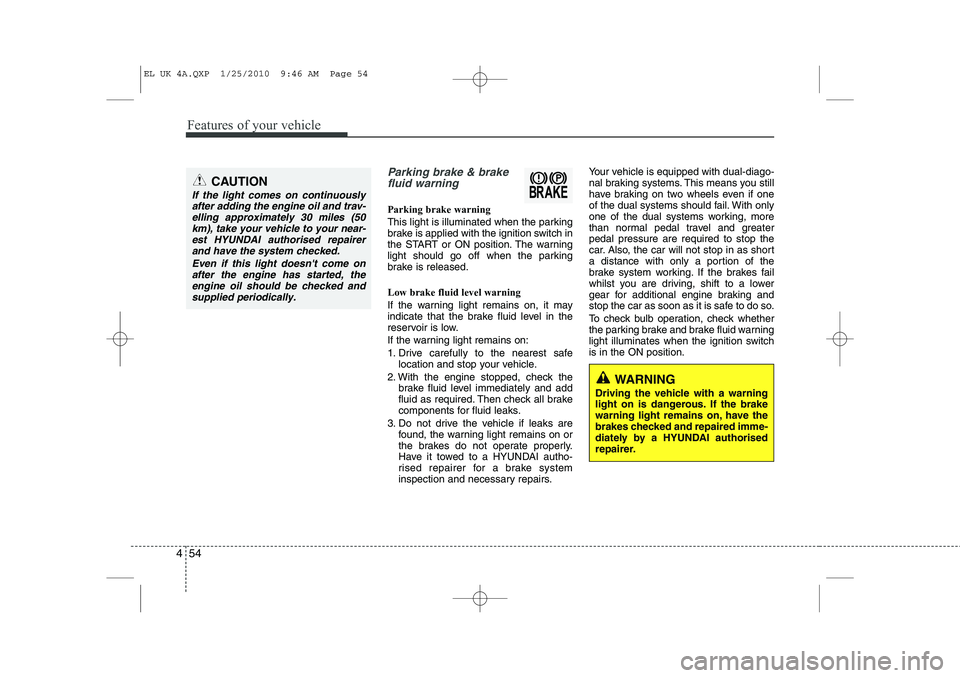
Parking brake & brake
fluid warning
Parking brake warning
This light is illuminated when the parking
brake is applied with the ignition switch in
the START or ON position. The warning
light should go off when the parking
brake is released. Low brake fluid level warning
If the warning light remains on, it may
indicate that the brake fluid level in the
reservoir is low.
If the warning light remains on:
1. Drive carefully to the nearest safe location and stop your vehicle.
2. With the engine stopped, check the brake fluid level immediately and add
fluid as required. Then check all brake
components for fluid leaks.
3. Do not drive the vehicle if leaks are found, the warning light remains on or
the brakes do not operate properly.
Have it towed to a HYUNDAI autho-
rised repairer for a brake system
inspection and necessary repairs. Your vehicle is equipped with dual-diago-
nal braking systems. This means you still
have braking on two wheels even if one
of the dual systems should fail. With only
one of the dual systems working, more
than normal pedal travel and greaterpedal pressure are required to stop the
car. Also, the car will not stop in as short
a distance with only a portion of the
brake system working. If the brakes fail
whilst you are driving, shift to a lower
gear for additional engine braking and
stop the car as soon as it is safe to do so.
To check bulb operation, check whether
the parking brake and brake fluid warning
light illuminates when the ignition switchis in the ON position.
WARNING
Driving the vehicle with a warning
light on is dangerous. If the brake
warning light remains on, have the
brakes checked and repaired imme-
diately by a HYUNDAI authorised
repairer.
CAUTION
If the light comes on continuously after adding the engine oil and trav-
elling approximately 30 miles (50km), take your vehicle to your near-est HYUNDAI authorised repairer and have the system checked.
Even if this light doesn't come onafter the engine has started, theengine oil should be checked andsupplied periodically.
EL UK 4A.QXP 1/25/2010 9:46 AM Page 54
Page 471 of 560
459
Features of your vehicle
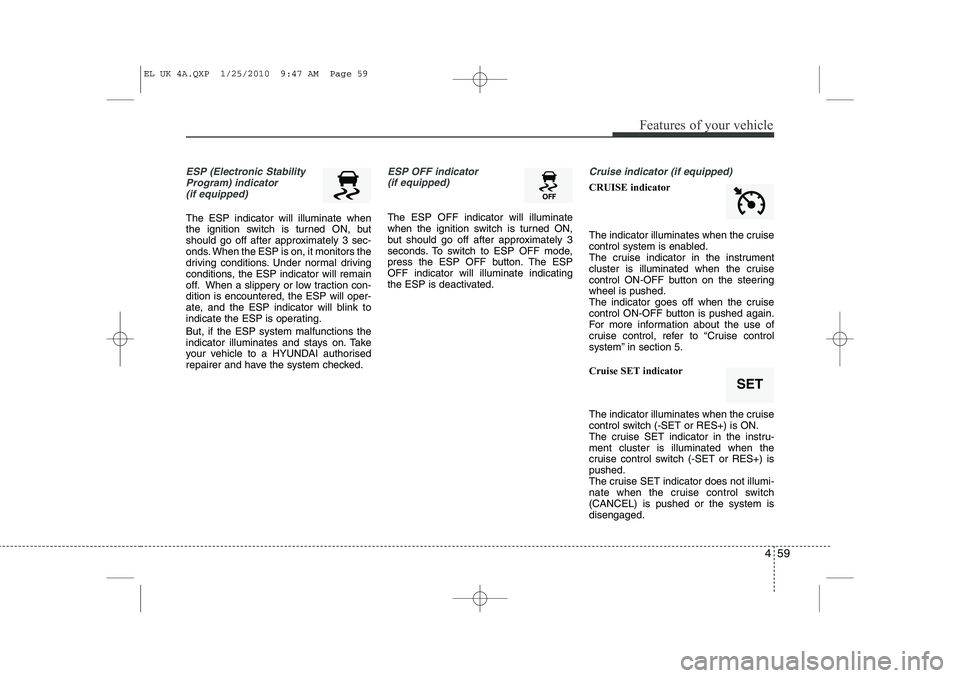
ESP (Electronic StabilityProgram) indicator(if equipped)
The ESP indicator will illuminate when
the ignition switch is turned ON, but
should go off after approximately 3 sec-
onds. When the ESP is on, it monitors the
driving conditions. Under normal driving
conditions, the ESP indicator will remain
off. When a slippery or low traction con-dition is encountered, the ESP will oper-
ate, and the ESP indicator will blink to
indicate the ESP is operating. But, if the ESP system malfunctions the
indicator illuminates and stays on. Take
your vehicle to a HYUNDAI authorised
repairer and have the system checked.
ESP OFF indicator (if equipped)
The ESP OFF indicator will illuminate
when the ignition switch is turned ON,
but should go off after approximately 3
seconds. To switch to ESP OFF mode,
press the ESP OFF button. The ESPOFF indicator will illuminate indicating
the ESP is deactivated.
Cruise indicator (if equipped)
CRUISE indicator
The indicator illuminates when the cruise
control system is enabled.
The cruise indicator in the instrument
cluster is illuminated when the cruise
control ON-OFF button on the steeringwheel is pushed.
The indicator goes off when the cruise
control ON-OFF button is pushed again.
For more information about the use of
cruise control, refer to “Cruise control
system” in section 5. Cruise SET indicator
The indicator illuminates when the cruise
control switch (-SET or RES+) is ON.
The cruise SET indicator in the instru-ment cluster is illuminated when the
cruise control switch (-SET or RES+) ispushed.
The cruise SET indicator does not illumi-
nate when the cruise control switch(CANCEL) is pushed or the system isdisengaged.
SET
EL UK 4A.QXP 1/25/2010 9:47 AM Page 59
Page 478 of 560
Features of your vehicle
66
4
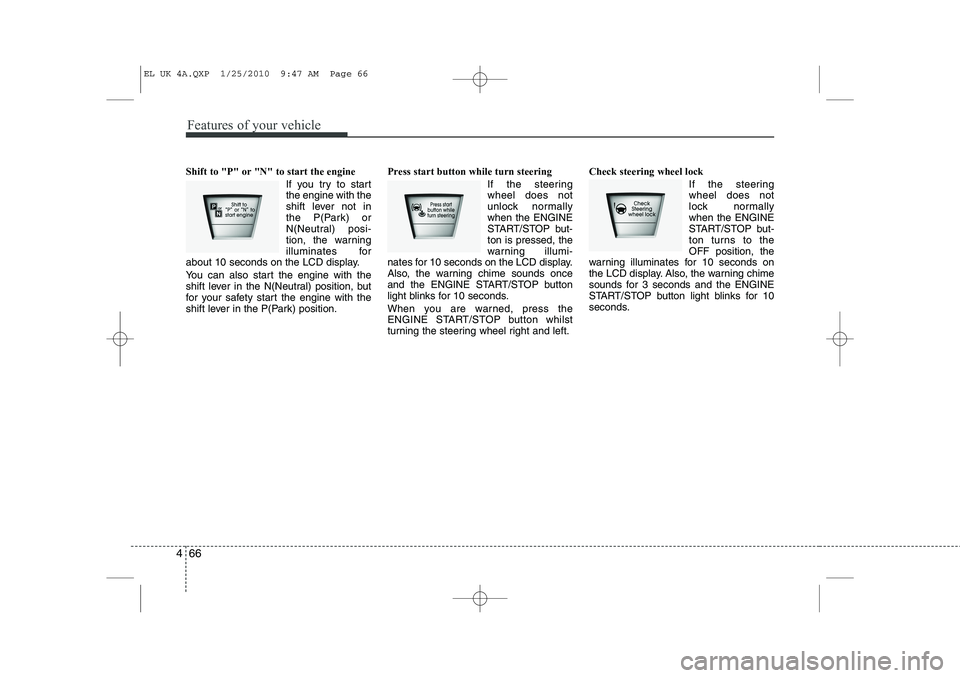
Shift to "P" or "N" to start the engine
If you try to start the engine with the
shift lever not in
the P(Park) or
N(Neutral) posi-
tion, the warning
illuminates for
about 10 seconds on the LCD display.
You can also start the engine with the
shift lever in the N(Neutral) position, but
for your safety start the engine with the
shift lever in the P(Park) position. Press start button while turn steering
If the steeringwheel does not
unlock normallywhen the ENGINE
START/STOP but-ton is pressed, the
warning illumi-
nates for 10 seconds on the LCD display.
Also, the warning chime sounds once
and the ENGINE START/STOP button
light blinks for 10 seconds.
When you are warned, press the
ENGINE START/STOP button whilst
turning the steering wheel right and left. Check steering wheel lock
If the steeringwheel does not
lock normallywhen the ENGINE
START/STOP but-
ton turns to theOFF position, the
warning illuminates for 10 seconds on
the LCD display. Also, the warning chime
sounds for 3 seconds and the ENGINE
START/STOP button light blinks for 10
seconds.
EL UK 4A.QXP 1/25/2010 9:47 AM Page 66
Page 502 of 560

Features of your vehicle
90
4
Instrument panel vents
The outlet vents can be opened or closed
separately using the thumbwheel.
Also, you can adjust the direction of air
delivery from these vents using the vent
control lever as shown.Temperature control
The temperature control knob allows you
to control the temperature of the air flow-
ing from the ventilation system. To
change the air temperature in the pas-
senger compartment, turn the knob to
the right position for warm and hot air or
left position for cooler air.
Air intake control
The air intake control is used to select the outside (fresh) air position or recircu-lated air position.
To change the air intake control position,
press the control button.
OEL049114ROEL049115OEL049116
EL UK 4A.QXP 1/25/2010 9:50 AM Page 90
Page 511 of 560
499
Features of your vehicle
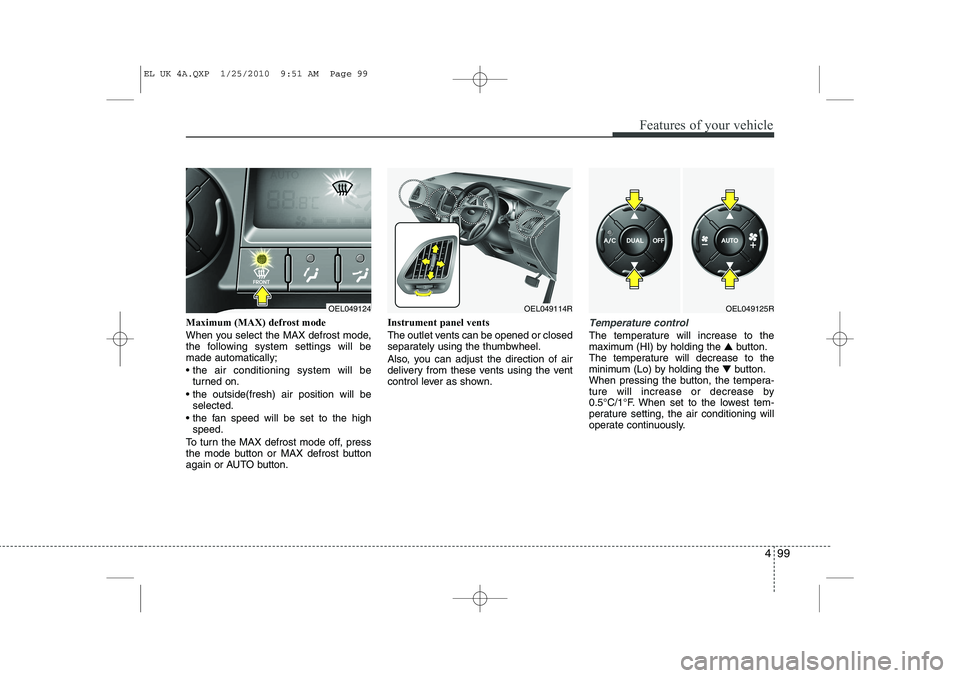
Maximum (MAX) defrost mode
When you select the MAX defrost mode,
the following system settings will bemade automatically;
the air conditioning system will beturned on.
the outside(fresh) air position will be selected.
the fan speed will be set to the high speed.
To turn the MAX defrost mode off, press
the mode button or MAX defrost button
again or AUTO button. Instrument panel vents
The outlet vents can be opened or closed
separately using the thumbwheel.
Also, you can adjust the direction of air
delivery from these vents using the vent
control lever as shown.Temperature control
The temperature will increase to the
maximum (HI) by holding the
▲button.
The temperature will decrease to the
minimum (Lo) by holding the ▼button.
When pressing the button, the tempera-
ture will increase or decrease by
0.5°C/1°F. When set to the lowest tem-
perature setting, the air conditioning will
operate continuously.
OEL049124OEL049114ROEL049125R
EL UK 4A.QXP 1/25/2010 9:51 AM Page 99
Page 529 of 560
4 117
Features of your vehicle
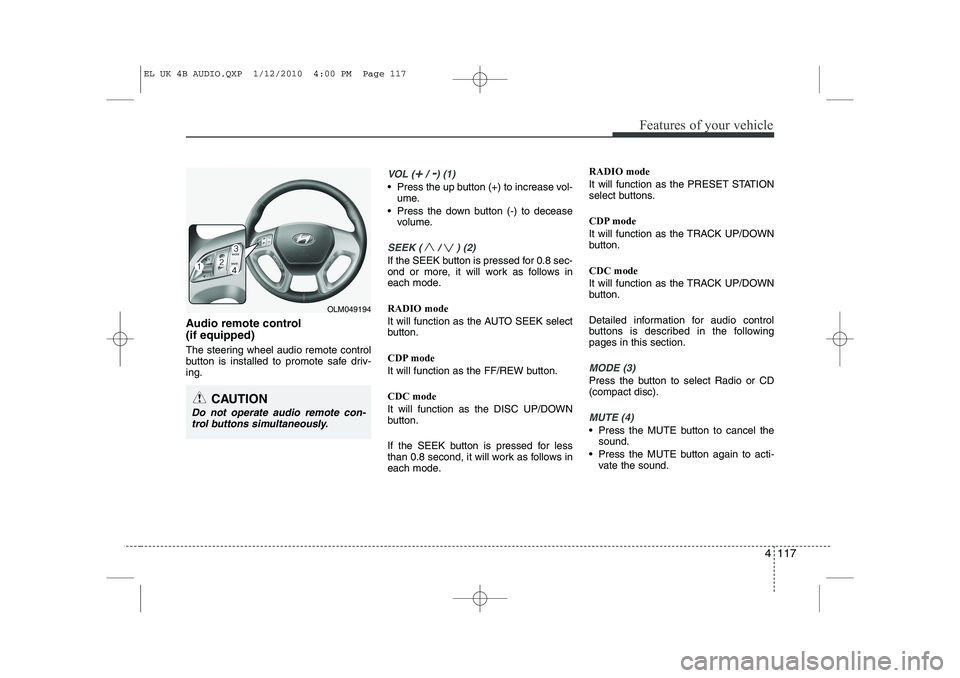
Audio remote control (if equipped)
The steering wheel audio remote control
button is installed to promote safe driv-ing.
VOL (+/ -) (1)
• Press the up button (+) to increase vol-ume.
Press the down button (-) to decease volume.
SEEK ( / ) (2)
If the SEEK button is pressed for 0.8 sec-
ond or more, it will work as follows in
each mode. RADIO mode
It will function as the AUTO SEEK select
button.
CDP mode
It will function as the FF/REW button. CDC mode
It will function as the DISC UP/DOWN
button.
If the SEEK button is pressed for less
than 0.8 second, it will work as follows in
each mode. RADIO mode
It will function as the PRESET STATION
select buttons.
CDP mode
It will function as the TRACK UP/DOWN
button. CDC mode
It will function as the TRACK UP/DOWN
button.
Detailed information for audio control
buttons is described in the followingpages in this section.
MODE (3)
Press the button to select Radio or CD (compact disc).
MUTE (4)
Press the MUTE button to cancel the
sound.
Press the MUTE button again to acti- vate the sound.
CAUTION
Do not operate audio remote con-
trol buttons simultaneously.
OLM049194
EL UK 4B AUDIO.QXP 1/12/2010 4:00 PM Page 117
Page 554 of 560
Features of your vehicle
142
4
■■
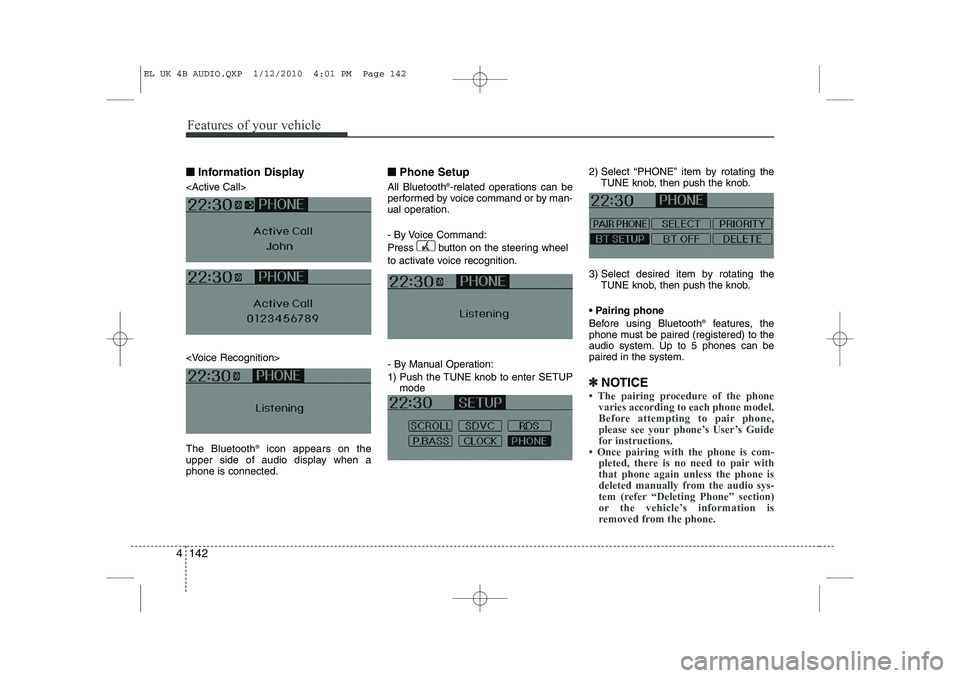
Information Display
icon appears on the
upper side of audio display when a phone is connected. ■■
Phone Setup
All Bluetooth ®
-related operations can be
performed by voice command or by man-
ual operation.
- By Voice Command:
Press button on the steering wheel
to activate voice recognition.
- By Manual Operation:
1) Push the TUNE knob to enter SETUP mode 2) Select “PHONE” item by rotating the
TUNE knob, then push the knob.
3) Select desired item by rotating the TUNE knob, then push the knob.
Pairing phone
Before using Bluetooth ®
features, the
phone must be paired (registered) to the
audio system. Up to 5 phones can bepaired in the system.
✽
✽ NOTICE
Page 559 of 560
4 147
Features of your vehicle
Dialing by Number
A phone call can be made by dialing the
spoken numbers. The system can recog-
nize single digits from zero to nine.
1. Press button.
2. Say “Call”.
3. Say “Number” when prompted.
4. Say desired phone numbers.
5. Say “Dial” to complete the number andmake a call.
✽
✽ TIP
A shortcut to each of the following
functions is available:
1. Say “Dial Number”
2. Say “Dial
■
Receiving a Phone Call
When receiving a phone call, a ringtone
is audible from speakers and the audio
system changes into telephone mode.
When receiving a phone call, “Incoming”
message and incoming phone number
(if available) are displayed on the audio.
To Answer a Call:
- Press button on the steering wheel.
To Reject a Call:
- Press button on the steering wheel.
To Adjust Ring Volume:
- Use VOLUME buttons on the steering wheel.
To Transfer a Call to the Phone (Secret Call):
- Press and hold button on the steer- ing wheel until the audio system trans-
fers a call to the phone. ■■
Talking on the Phone
When talking on the phone, “Active Calls”
message and the other party’s phone
number (if available) are displayed on the
audio.
To Mute the Microphone
- Press button on the steering wheel.
To Finish a Call
- Press button on the steering wheel.
✽
✽ NOTICE
In the following situations, you or the
other party may have difficulty hearingeach other:
1. Speaking at the same time, your voice
may not reach each other parties.(This is not a malfunction.) Speak
alternately with the other party on thephone.
2. Keep the Bluetooth(R) volume to a
low level. High-level volume may
result in distortion and echo.
3. When driving on a rough road.
4. When driving at high speeds.
5. When the window is open.
6. When the air conditioning vents are facing the microphone.
7. When the sound of the air condition-
ing fan is loud.
EL UK 4B AUDIO.QXP 1/12/2010 4:01 PM Page 147