2011 Hyundai H-100 Truck set clock
[x] Cancel search: set clockPage 35 of 211
1
FEATURES OF YOUR HYUNDAI
23
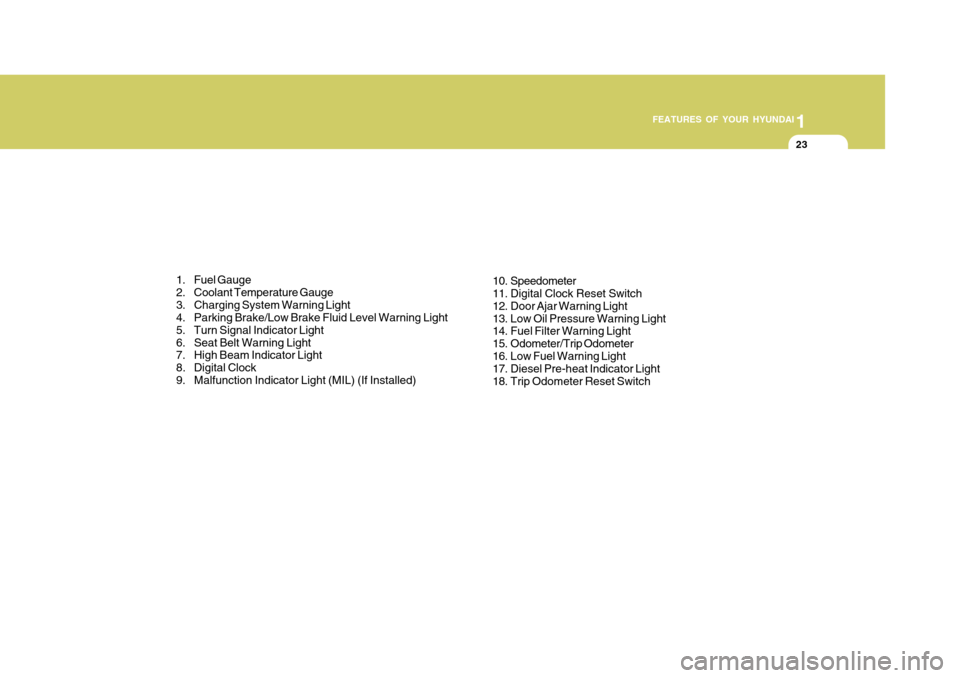
1. Fuel Gauge
2. Coolant Temperature Gauge
3. Charging System Warning Light
4. Parking Brake/Low Brake Fluid Level Warning Light
5. Turn Signal Indicator Light
6. Seat Belt Warning Light
7. High Beam Indicator Light
8. Digital Clock
9. Malfunction Indicator Light (MIL) (If Installed) 10. Speedometer
11. Digital Clock Reset Switch
12. Door Ajar Warning Light
13. Low Oil Pressure Warning Light
14. Fuel Filter Warning Light
15. Odometer/Trip Odometer
16. Low Fuel Warning Light
17. Diesel Pre-heat Indicator Light
18. Trip Odometer Reset Switch
Page 37 of 211
1
FEATURES OF YOUR HYUNDAI
25
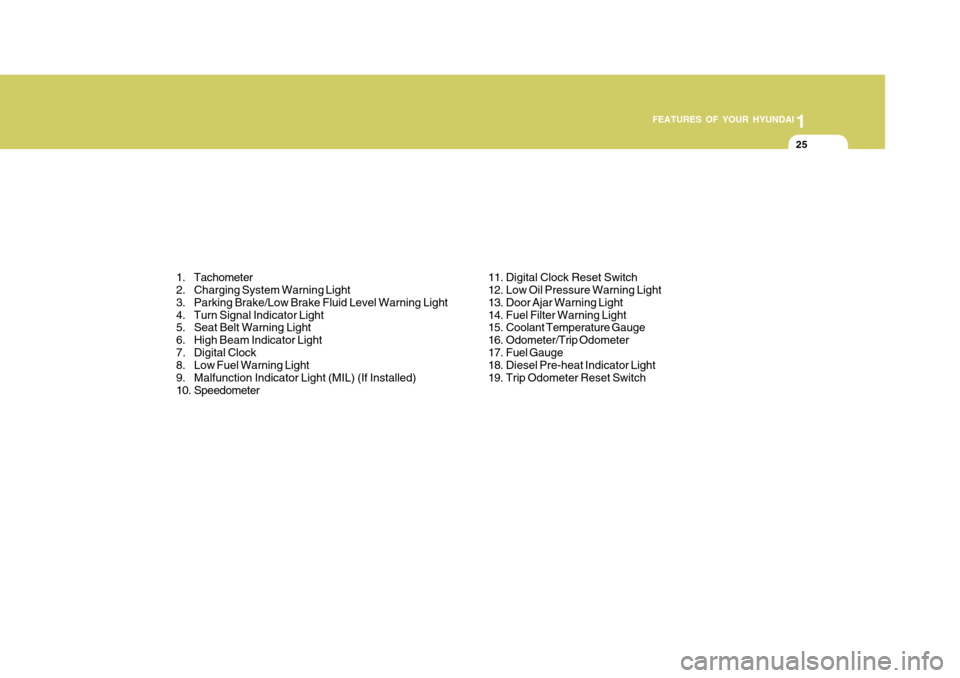
1. Tachometer
2. Charging System Warning Light
3. Parking Brake/Low Brake Fluid Level Warning Light
4. Turn Signal Indicator Light
5. Seat Belt Warning Light
6. High Beam Indicator Light
7. Digital Clock
8. Low Fuel Warning Light
9. Malfunction Indicator Light (MIL) (If Installed)
10. Speedometer 11. Digital Clock Reset Switch
12. Low Oil Pressure Warning Light
13. Door Ajar Warning Light
14. Fuel Filter Warning Light
15. Coolant Temperature Gauge
16. Odometer/Trip Odometer
17. Fuel Gauge
18. Diesel Pre-heat Indicator Light
19. Trip Odometer Reset Switch
Page 51 of 211
1
FEATURES OF YOUR HYUNDAI
39TICKET HOLDER
B590A01HR-GAT (If Installed)
For your convenience, it may be used for holding a tollgate ticket or a card. OHR028104
CAUTION:
Do not clean the inner side of therear window glass with an abrasive type of glass cleaner or use a scraper to remove foreign deposits from theinner surface of the glass as this may cause damage to the defroster ele- ments. NOTE: The engine must be running for the rear window defroster to operate.
!
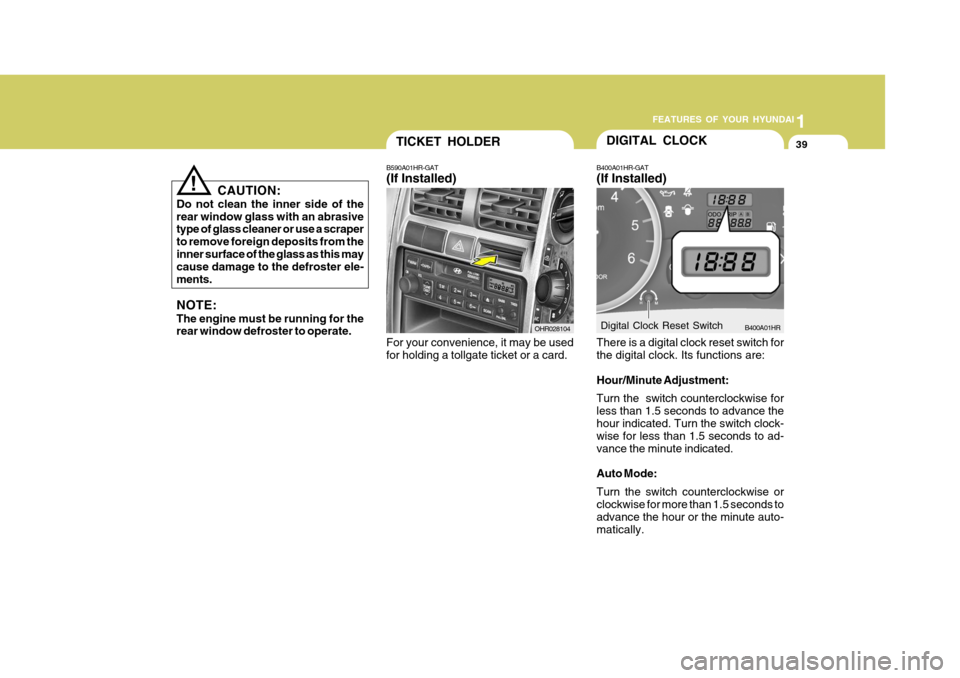
DIGITAL CLOCK
B400A01HR-GAT (If Installed) There is a digital clock reset switch for the digital clock. Its functions are: Hour/Minute Adjustment: Turn the switch counterclockwise for less than 1.5 seconds to advance thehour indicated. Turn the switch clock- wise for less than 1.5 seconds to ad- vance the minute indicated. Auto Mode: Turn the switch counterclockwise or clockwise for more than 1.5 seconds to advance the hour or the minute auto-matically. B400A01HR
Digital Clock Reset Switch
Page 52 of 211
1FEATURES OF YOUR HYUNDAI
40
CAUTION:
Do not use electric accessories or equipment other than the Hyundai genuine parts in the socket.
!
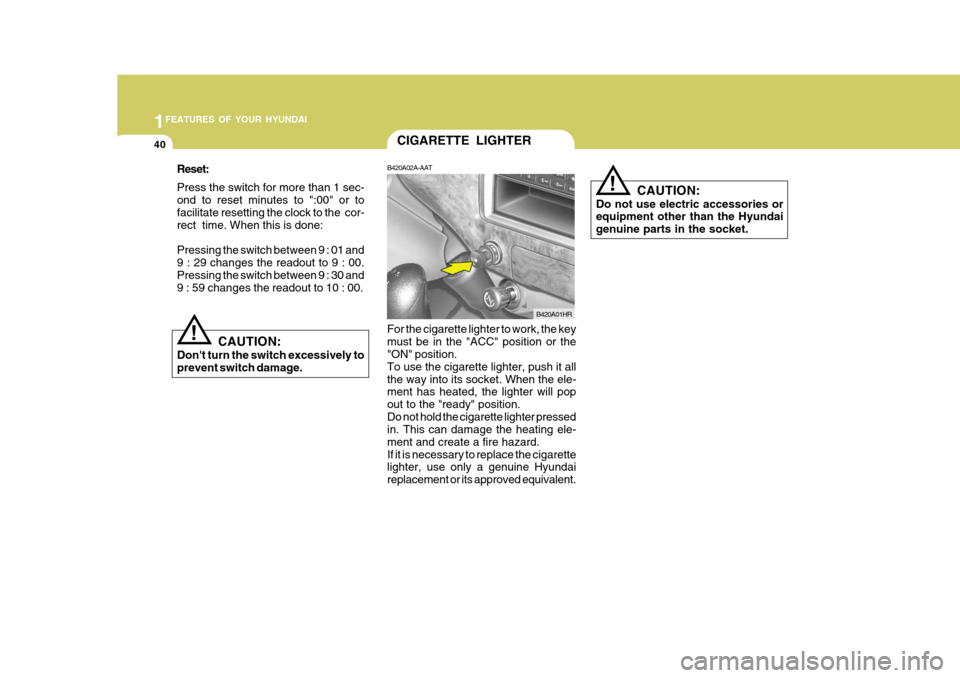
Reset: Press the switch for more than 1 sec- ond to reset minutes to ":00" or to facilitate resetting the clock to the cor-rect time. When this is done: Pressing the switch between 9 : 01 and 9 : 29 changes the readout to 9 : 00. Pressing the switch between 9 : 30 and 9 : 59 changes the readout to 10 : 00.
!
CIGARETTE LIGHTER
B420A02A-AAT For the cigarette lighter to work, the key must be in the "ACC" position or the "ON" position. To use the cigarette lighter, push it allthe way into its socket. When the ele- ment has heated, the lighter will pop out to the "ready" position.Do not hold the cigarette lighter pressed in. This can damage the heating ele- ment and create a fire hazard.If it is necessary to replace the cigarette lighter, use only a genuine Hyundai replacement or its approved equivalent. B420A01HR
CAUTION:
Don't turn the switch excessively toprevent switch damage.
Page 86 of 211

1FEATURES OF YOUR HYUNDAI
74
K220B01HR-GAT
1. POWER ON-OFF/VOLUMEControl Knob
The radio unit may be operated when the ignition key is in the "ACC" or "ON"position. Rotate the knob clockwise to switch the radio unit on and to increase the volume.The LCD shows the radio frequency in the radio mode. Turn the knob counter- clockwise to reduce the volume and toswitch the radio unit off. BAL (Balance) Control Knob Pull and turn the control knob clockwise to emphasize right speaker sound (left speaker sound will be attenuated). When the control knob is turned counterclock-wise, left speaker sound will be empha- sized (right speaker sound will be at- tenuated).After adjusting the balance, push the knob again to use the other function. SCAN Knob When the scan knob is pressed, the frequency will increase and the receiv-able stations will be tuned in one after another, receiving each station for 5 seconds. To stop scanning, press thescan knob again.
2. TUNE (manual) Select Button Press the ( ) side or ( ) side to increase or to decrease the frequency. With the button held down for 1 secondor more, the stop signal (broadcasting radio wave) is ignored and channel selection continues. SEEK Operation (Automatic Channel Selection) Press the TUNE select button for 1 second or more. When the ( ) side ispressed, the unit will automatically tune to the next higher frequency and when the ( ) side is pressed, it will automati-cally tune to the next lower frequency. 3. BAND Selector Pressing the button changes the AM, FM1 and FM2 bands. The modeselected is displayed on LCD. Each press of the button changes the display as follows;
FM1 � FM2 � AM � FM1
4. BASS Control Knob Press to pop the knob out and turn to the left or right for the desired bass tone. TREBLE Control Knob Pull the bass control knob further out. Turn to the left or right for the desiredtreble tone.
5. PRESET STATION Select But- tons
Six (6) stations for AM, FM1 and FM2 respectively can be preset in the elec- tronic memory circuit on this unit.
FM AM
Page 91 of 211

1
FEATURES OF YOUR HYUNDAI
79
FM/AM
K240B01HR-GAT
1. POWER ON-OFF Control
Knob
The radio unit may be operated when the ignition key is in the "ACC" or "ON"position. Press the knob to switch the power on. The LCD shows the radio frequency in the radio mode or the tapedirection indicator in the tape mode. To switch the power off, press the knob again. VOLUME Control Rotate the knob clockwise to increase the volume and turn the knob counter-clockwise to reduce the volume. 2. BAND Selector Pressing the button changes the AM, FM1 and FM2 bands. The mode selected is displayed on LCD.Each press of button changes the dis- play as follows; FM1 � FM2 � AM � FM1 3. LCD LCD shows the following informations; Band of FM1/FM2/AM frequency, pre-set channel number, ST in case of FM stereo. 4. TREB (Treble) Control Knob Press to pop the knob out and turn to the left or right for the desired trebletone. 5. TUNE (Manual) Select Button Press the ( ) side or ( ) side to increase or to decrease the frequency. Press either button and hold down to continu- ously scroll. Release button once thedesired station is reached. SEEK Operation (Automatic Channel Selection) Press the TUNE select button 0.5 sec or more. Releasing it will automatically tune to the next available station with a beep sound. When the ( ) side is pressed longer than0.5 second, releasing will automaticallytune to the next higher frequency and when the ( ) side is pressed longer than 0.5 second and releasing will automati-cally tune to the next lower frequency.
6. PRESET STATION Select But-
tons
Six (6) stations for AM, FM1 and FM2 respectively can be preset in the elec- tronic memory circuit on this unit. HOW TO PRESET STATIONS Six AM and twelve FM stations may be programmed into the memory of the radio. Then, by simply pressing theband select button and/or one of the six station select buttons, you may recall any of these stations instantly. To pro-gram the stations, follow these steps:
o Press band selector to set the band for AM, FM1, or FM2.
o Select the desired station to be stored
by seek or manual tuning.
o Determine the preset station select button you wish to use to access that station.
Page 92 of 211
1FEATURES OF YOUR HYUNDAI
80
o Press the station select button formore than two seconds. A select button indicator will show in the dis- play indicating which select button you have depressed. The frequencydisplay will flash after it has been stored into the memory with beep sound. You should then release thebutton, and proceed to program the next desired station. A total of 18 stations can be programmed by se-lecting one AM and two FM stations per button.
o When completed, any preset station may be recalled by selecting AM,FM1 or FM2 band and the appropri- ate station button.
7. SCAN Button When the scan button is pressed, the frequency will be increased and thereceivable stations will be tuned in one after another, receiving each station for 5 seconds. To stop scanning, press thescan button again. 8. BASS Control Knob Press to pop the knob out and turn to the left or right for the desired basstone. BAL (Balance) Control Knob Pull the bass control knob further out. Turn the control knob clockwise to emphasize right speaker sound (leftspeaker sound will be attenuated). When the control knob is turned coun- terclockwise, left speaker sound will beemphasized (right speaker sound will be attenuated).
!
CAUTION:
o Do not place beverages close to the audio system. The playback mechanism may be damaged if you spill them.
o Do not impact on the audio sys- tem, or the playback mechanismcould be damaged.
Page 119 of 211
3 WHAT TO DO IN AN EMERGENCY
4
!
IF THE ENGINE OVERHEATS
D030A01HR-GAT If your temperature gauge indicates overheating, you experience a loss of power, or hear loud pinging or knock- ing, the engine is probably too hot. Ifthis happens to you, you should:
1. Pull off the road and stop as soon as it is safe to do so.
2. Place the gear selector lever in neu-
tral and set the parking brake. If the air conditioning is on, turn it off.
3. If engine coolant is running out un-
der the car or steam is coming outfrom the hood, allow the engine to idle. Do not open the hood until the engine coolant has stopped runningor the steaming has stopped. If there is no visible loss of engine coolant and no steam, leave the enginerunning, lift up the passenger's seat
(Refer to "To Inspect the Engine
Compartment Under the Passenger's
Seat" on page 1-13.) and check to be sure the engine cooling fan is oper- ating. If the fan is not running, turnthe engine off.
6. Carefully remove the jumper cables
in the reverse order of attachment.
If you do not know why your batterybecame discharged (because the lightswere left on, etc.), have the charging system checked by your Hyundai dealer. 4. Check to see if the water pump drive
belt is missing. If it is not missing,check to see that it is tight. If the drive belt seems to be satisfactory, check for coolant leaking from theradiator, hoses or under the car. (If the air conditioning had been in use, it is normal for cold water to bedraining from it when you stop).
WARNING:
While the engine is running, keephair, hands, and clothing away from moving parts such as the fan and drive belts to prevent injury.
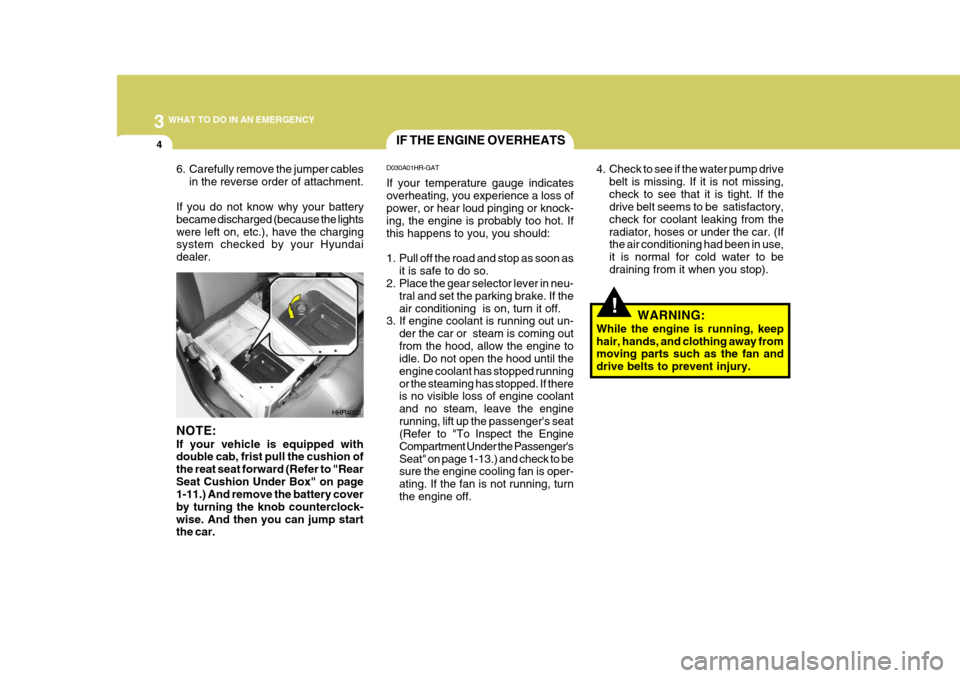
HHR4002
NOTE: If your vehicle is equipped with double cab, frist pull the cushion of the reat seat forward (Refer to "RearSeat Cushion Under Box" on page 1-11.) And remove the battery cover by turning the knob counterclock-wise. And then you can jump start the car.