2011 Hyundai H-100 Truck set clock
[x] Cancel search: set clockPage 122 of 211
3
WHAT TO DO IN AN EMERGENCY
7
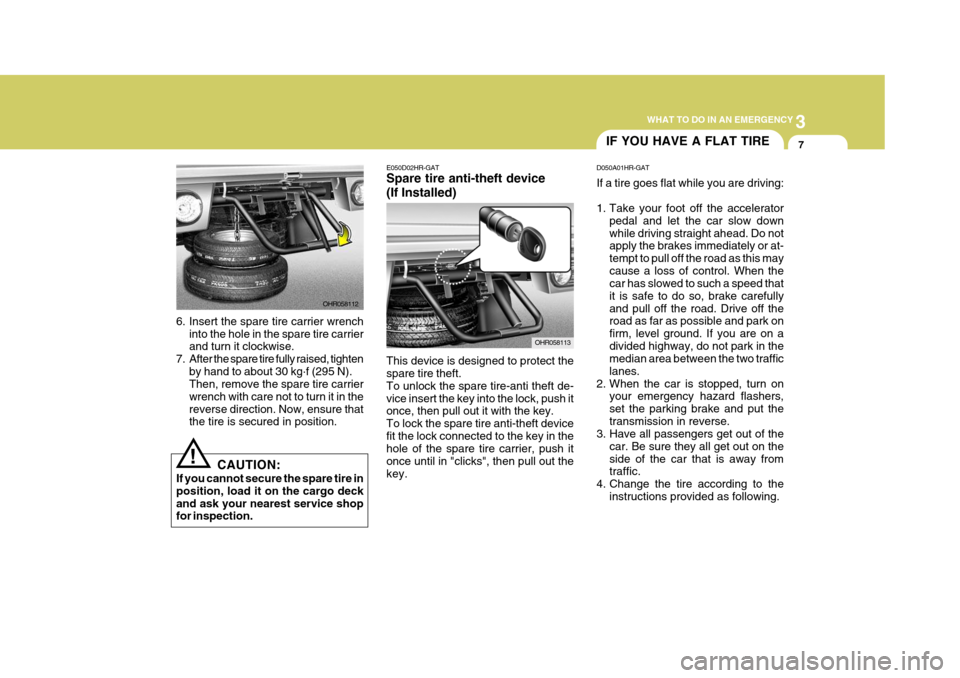
6. Insert the spare tire carrier wrench
into the hole in the spare tire carrier and turn it clockwise.
7. After the spare tire fully raised, tighten by hand to about 30 kg .
f (295 N).
Then, remove the spare tire carrier wrench with care not to turn it in thereverse direction. Now, ensure that the tire is secured in position.
! CAUTION:
If you cannot secure the spare tire in position, load it on the cargo deckand ask your nearest service shop for inspection. E050D02HR-GAT Spare tire anti-theft device (If Installed) This device is designed to protect the spare tire theft. To unlock the spare tire-anti theft de-vice insert the key into the lock, push it once, then pull out it with the key. To lock the spare tire anti-theft devicefit the lock connected to the key in the hole of the spare tire carrier, push it once until in "clicks", then pull out thekey.
OHR058113
OHR058112
IF YOU HAVE A FLAT TIRE
D050A01HR-GAT If a tire goes flat while you are driving:
1. Take your foot off the accelerator pedal and let the car slow down while driving straight ahead. Do not apply the brakes immediately or at- tempt to pull off the road as this maycause a loss of control. When the car has slowed to such a speed that it is safe to do so, brake carefullyand pull off the road. Drive off the road as far as possible and park on firm, level ground. If you are on adivided highway, do not park in the median area between the two traffic lanes.
2. When the car is stopped, turn on your emergency hazard flashers,set the parking brake and put thetransmission in reverse.
3. Have all passengers get out of the
car. Be sure they all get out on theside of the car that is away from traffic.
4. Change the tire according to the instructions provided as following.
Page 159 of 211
6 DO-IT-YOURSELF MAINTENANCE
8
The engine oil and filter should be changed at those intervals specified inthe maintenance schedule in Section 5. If the car is being driven in severe conditions, more frequent oil and filterchanges are required. The procedure for changing the oil and filter is as follows:
1. Park the car on level ground and set
the parking brake. Start the engine and let it warm up until the needle on the coolant temperature gauge movesabove the lowest mark. Turn the engine off and place the gear selec- tor lever in reverse gear.
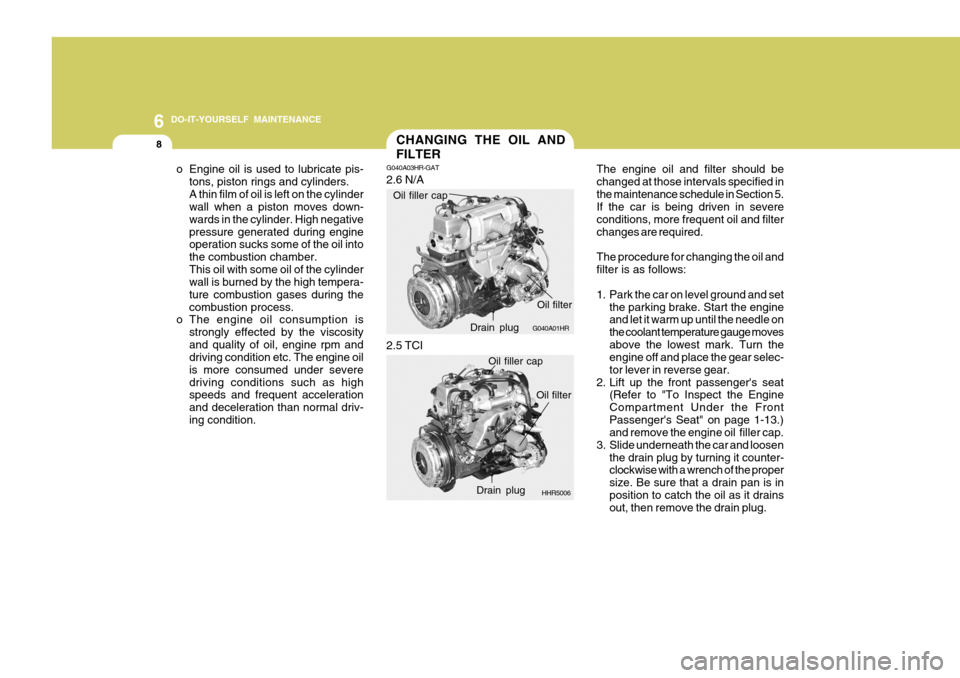
2. Lift up the front passenger's seat (Refer to "To Inspect the EngineCompartment Under the FrontPassenger's Seat" on page 1-13.) and remove the engine oil filler cap.
3. Slide underneath the car and loosen the drain plug by turning it counter-clockwise with a wrench of the proper size. Be sure that a drain pan is inposition to catch the oil as it drains out, then remove the drain plug.
CHANGING THE OIL AND FILTER
o Engine oil is used to lubricate pis- tons, piston rings and cylinders. A thin film of oil is left on the cylinder wall when a piston moves down- wards in the cylinder. High negativepressure generated during engine operation sucks some of the oil into the combustion chamber.This oil with some oil of the cylinder wall is burned by the high tempera-
ture combustion gases during thecombustion process.
o The engine oil consumption is
strongly effected by the viscosityand quality of oil, engine rpm and driving condition etc. The engine oil is more consumed under severedriving conditions such as high speeds and frequent acceleration and deceleration than normal driv-ing condition. G040A03HR-GAT 2.6 N/A
G040A01HR
Oil filler capDrain plugOil filter
2.5 TCI
HHR5006
Oil filler cap
Drain plug Oil filter
Page 162 of 211
6
DO-IT-YOURSELF MAINTENANCE
11
!
G050D01HR
G050D01HR-GAT To Change the Coolant The coolant should be changed at those intervals specified in the vehiclemaintenance schedule in Section 5.
CAUTION:
Engine coolant can damage the fin-ish of your car. If you spill enginecoolant on the car, wash it off thor- oughly with clean water.
!
1. Park the car on level ground, set the parking brake and lift up the front passenger's seat. (Refer to "To in- spect the Engine Compartment Un- der the Front Passenger's Seat" onpage 1-13). 2. Turn the radiator cap counterclock-
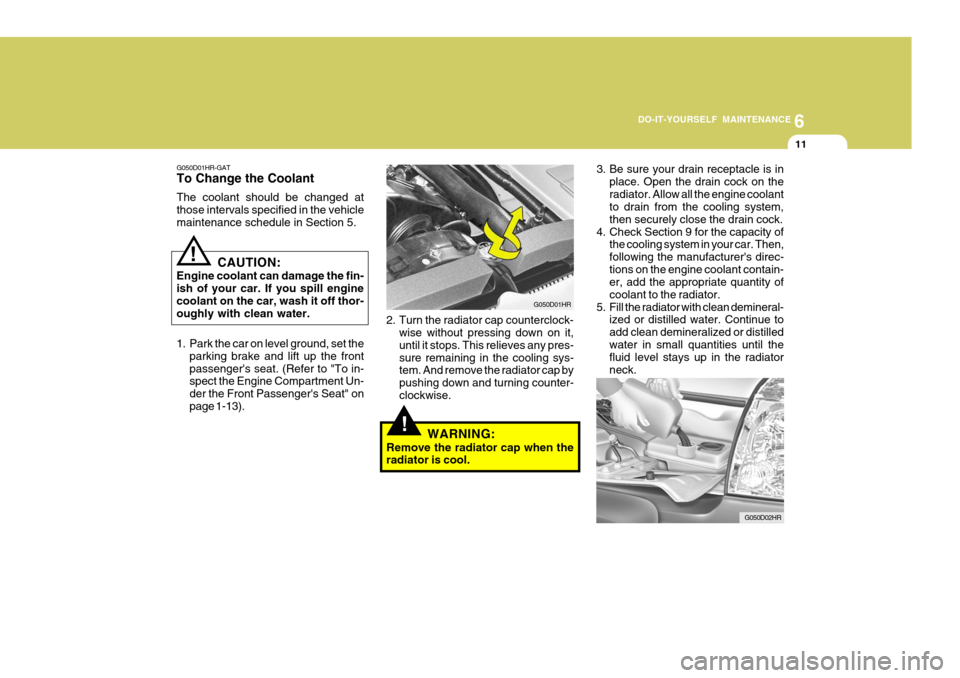
wise without pressing down on it,until it stops. This relieves any pres-sure remaining in the cooling sys- tem. And remove the radiator cap by pushing down and turning counter-clockwise.
WARNING:
Remove the radiator cap when the radiator is cool. 3. Be sure your drain receptacle is in
place. Open the drain cock on the radiator. Allow all the engine coolant to drain from the cooling system, then securely close the drain cock.
4. Check Section 9 for the capacity of the cooling system in your car. Then,following the manufacturer's direc-tions on the engine coolant contain- er, add the appropriate quantity of coolant to the radiator.
5. Fill the radiator with clean demineral- ized or distilled water. Continue toadd clean demineralized or distilledwater in small quantities until the fluid level stays up in the radiator neck.
G050D02HR
Page 175 of 211
6 DO-IT-YOURSELF MAINTENANCE
24
!
CHECKING THE BATTERY
G210A01A-AAT
WARNING:
Batteries can be dangerous! When working with batteries, carefully ob-serve the following precautions to avoid serious injuries. D010B01HR
The fluid in the battery contains a strong solution of sulfuric acid, which is poi- sonous and highly corrosive. Be careful not to spill it on yourself or the car. If youdo spill battery fluid on yourself, imme- diately do the following:
NOTE: See page 6-38 for the fuse panel descriptions. G200C01HR-GAT Power Connector
4. Insert the power connector in the
opposite direction.
NOTE:
o If the power connector is pulled up from the fuse panel, the warn- ing chime, audio, clock and inte-rior lamps, etc., will not operate. The following items must be reset after replacement.- Digital Clock
o Even though the power connector
is pulled up, the battery can stillbe discharged by operation of the headlights or other electrical de- vices.
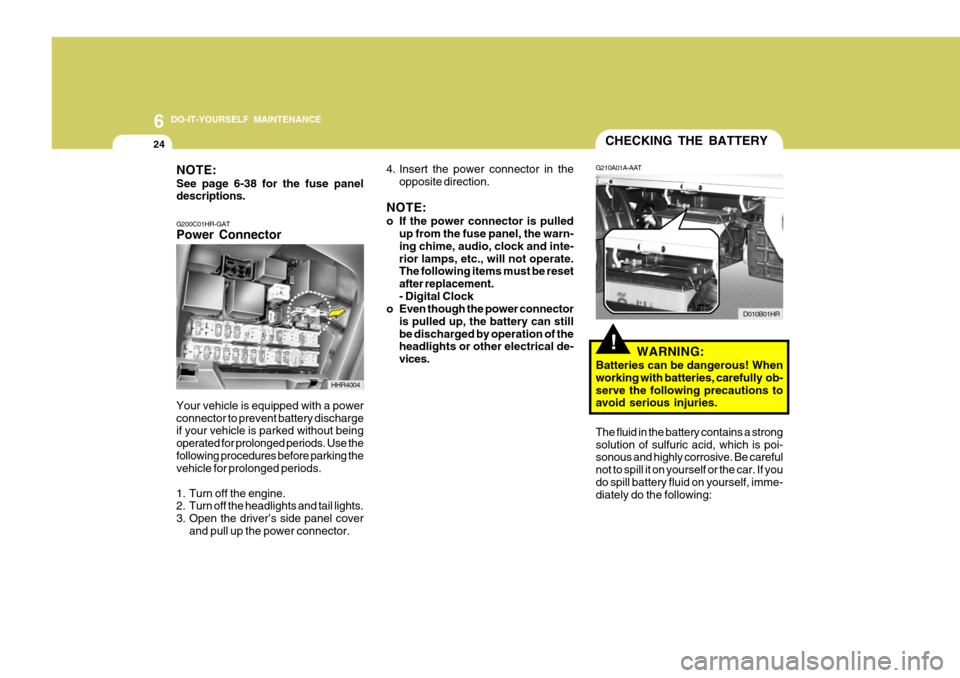
Your vehicle is equipped with a powerconnector to prevent battery discharge if your vehicle is parked without being operated for prolonged periods. Use thefollowing procedures before parking the vehicle for prolonged periods.
1. Turn off the engine.
2. Turn off the headlights and tail lights.
3. Open the driver’s side panel cover and pull up the power connector.
HHR4004
Page 207 of 211
10INDEX
2
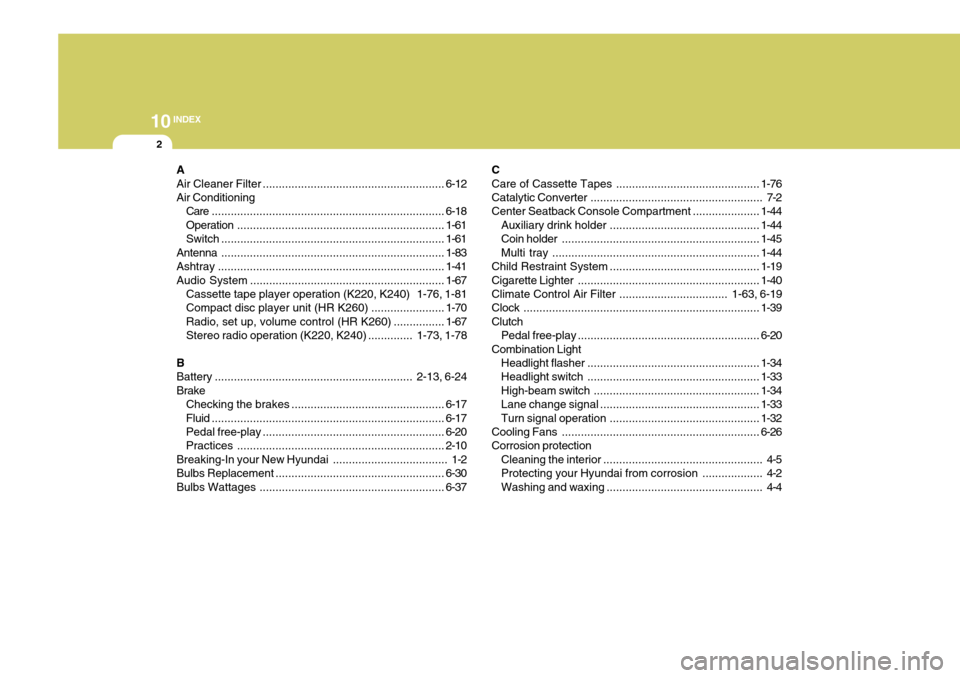
A Air Cleaner Filter ......................................................... 6-12
Air Conditioning Care ......................................................................... 6-18
Operation ................................................................. 1-61
Switch ...................................................................... 1-61
Antenna ...................................................................... 1-83
Ashtray ....................................................................... 1-41
Audio System ............................................................. 1-67
Cassette tape player operation (K220, K240) 1-76, 1-81
Compact disc player unit (HR K260) ....................... 1-70
Radio, set up, volume control (HR K260) ................ 1-67
Stereo radio operation (K220, K240) .............. 1-73, 1-78
BBattery .............................................................. 2-13, 6-24
Brake Checking the brakes ................................................ 6-17
Fluid ......................................................................... 6-17
Pedal free-play ......................................................... 6-20
Practices ................................................................. 2-10
Breaking-In your New Hyundai .................................... 1-2
Bulbs Replacem ent ..................................................... 6-30
Bulbs Watt ages .......................................................... 6-37C
Care of Cassette Tapes
............................................. 1-76
Catalytic Converter ...................................................... 7-2
Center Seatback Console Compart ment .....................1-44
Auxiliary drink holder ............................................... 1-44
Coin holder .............................................................. 1-45
Multi tray ................................................................. 1-44
Child Restraint System ............................................... 1-19
Cigarette Lighter ......................................................... 1-40
Climate Control Air Filter .................................. 1-63, 6-19
Clock .......................................................................... 1-39
Clutch Pedal free-play ......................................................... 6-20
Combination Light Headlight flasher ...................................................... 1-34
Headlight swi tch ...................................................... 1-33
High-beam switch .................................................... 1-34
Lane change si gnal .................................................. 1-33
Turn signal operation ............................................... 1-32
Cooling Fans .............................................................. 6-26
Corrosion protection
Cleaning the interior .................................................. 4-5
Protecting your Hyundai from corrosion ................... 4-2
Washing and waxing ................................................. 4-4